Important:
<script src="https://webapi.charityengine.net/api.js" async="" defer="defer"></script>
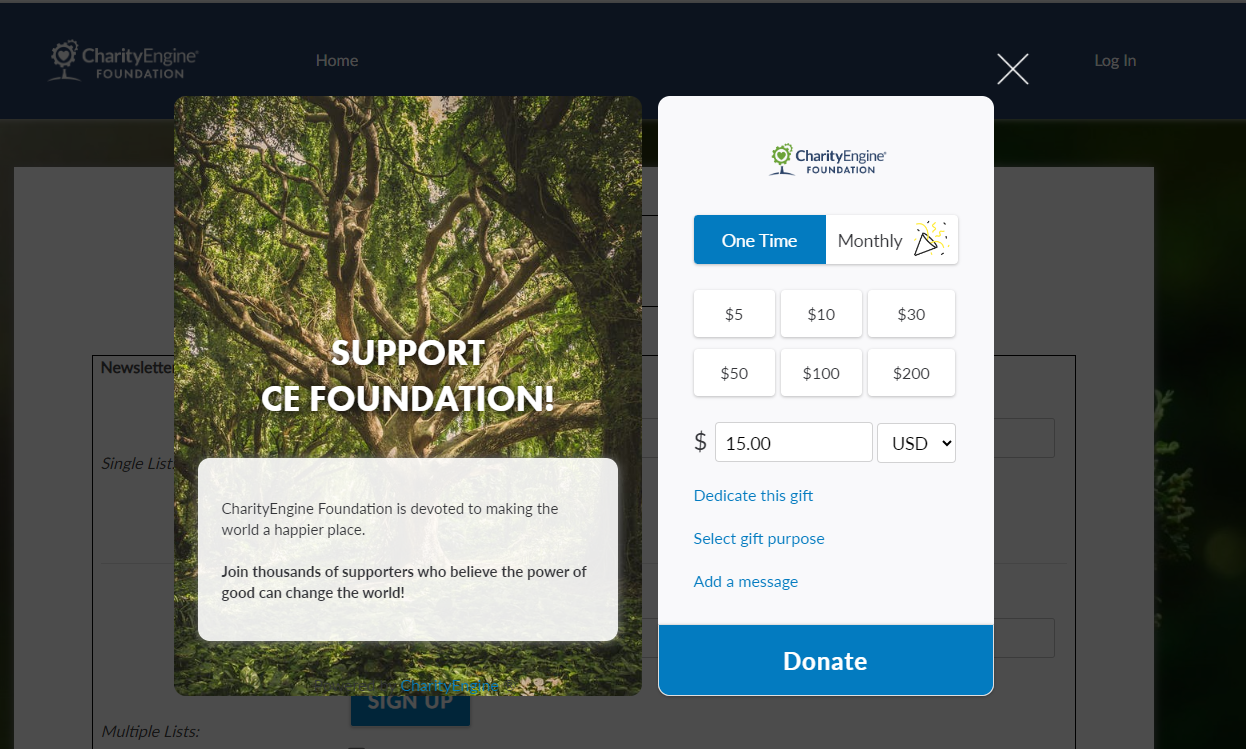
Basic Example - Demo:
To see a basic demonstration of available widget construct, please visit: CharityEngine Foundation
Please install the CharityEngine Public Web API before proceeding with quick action form embedding activities.
See more with our Help Center Article: Developer: API - Installing the CharityEngine Public Web API
Once you have the Public API installed on your site, you are ready to start using the embedded donation form. There are two ways to embed the form using HTML or Javascript.
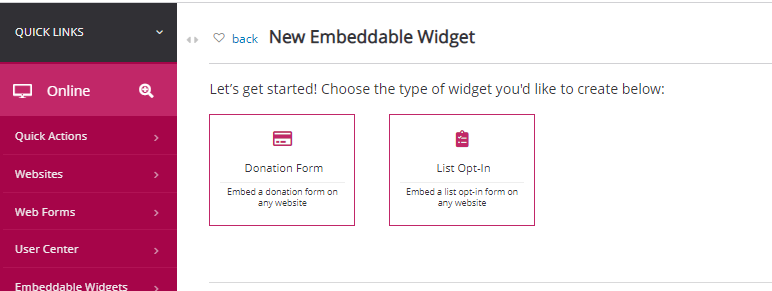
Step 1: Navigate to the Online App > Embeddable Widgets > Search & Manage > Create New > Donation Form
Step 2: From the General tab, update the widget Name
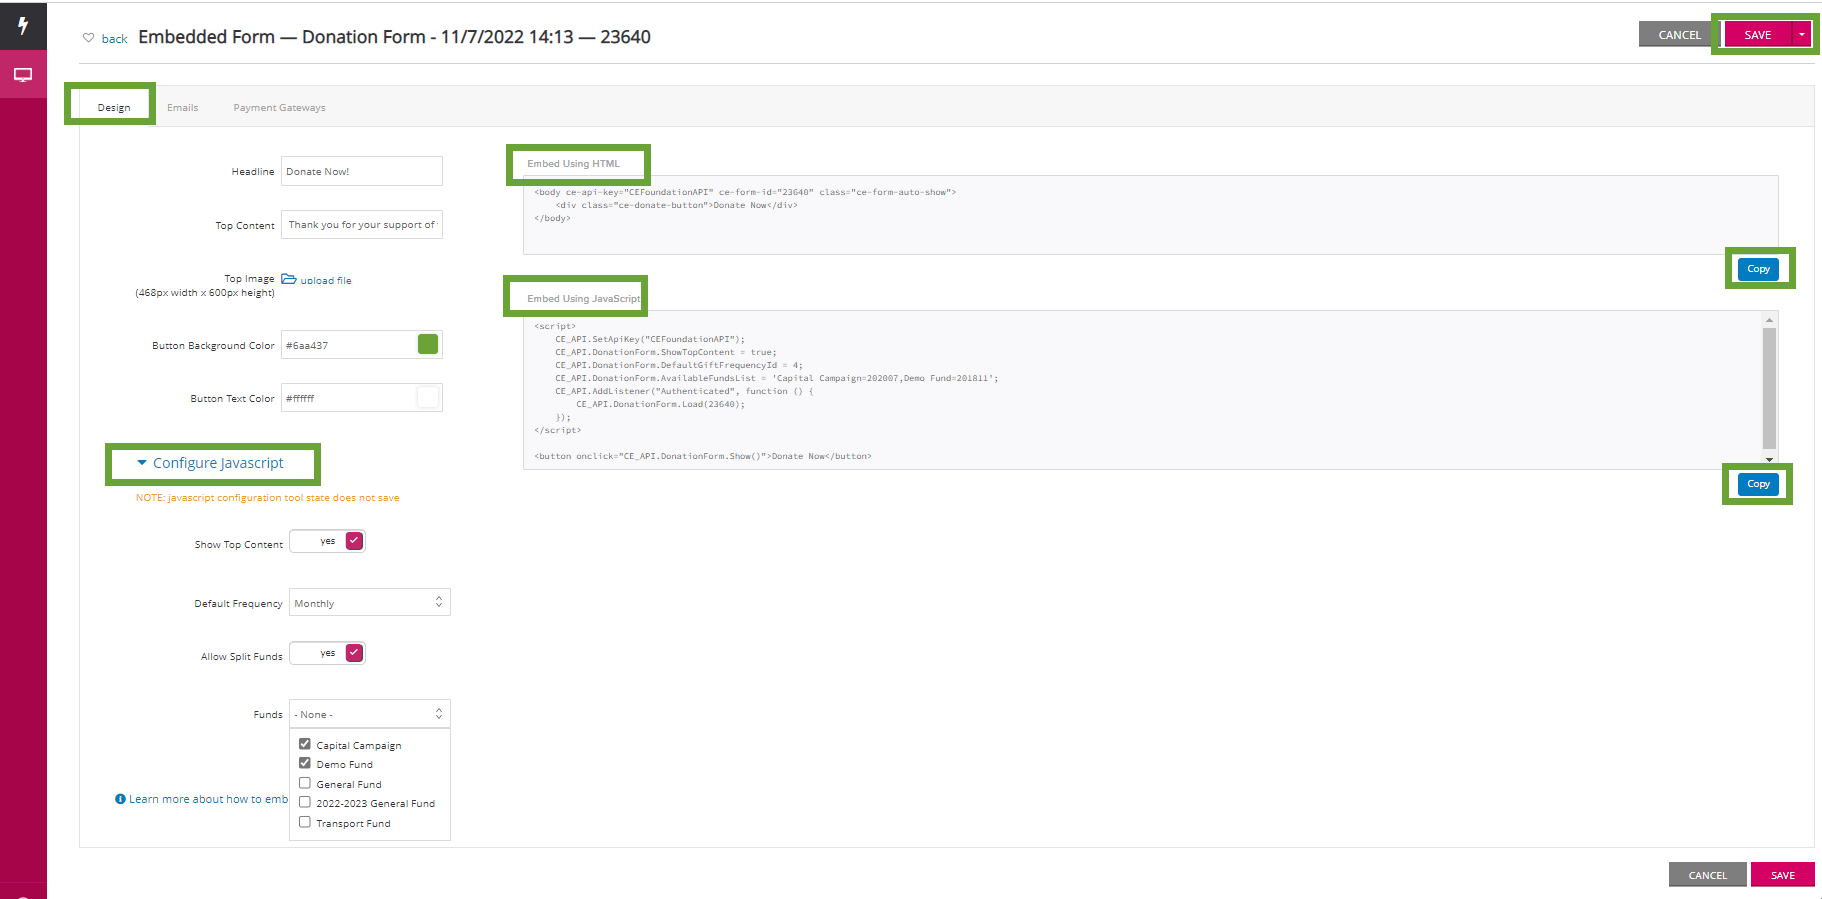
Step 3: From the Design tab, update:
Step 4: From the Emails tab, select appropriate acknowledgement and/or receipt templates as well as carbon copy needs for internal notifications
Step 5: From the Payment Gateway tab, select appropriate payment gateway to process transactions
Step 6: Click SAVE to secure your changes.
Step 7: Click Copy from either the "Embed Using HTML" or "Embed Using JavaScript" via the Design tab
Step 8: Add to your organization's web site
Important Note: If using HTML, please also: CE_API.SetApiKey("organziationskey"). This is the first line of the JavaScript script for reference as well.
Click here to read more about HTML configuration
Import Note: If using JavaScript, unlike the HTML method, using the CharityEngine JavaScript API only requires a few lines of JavaScript to load your Quick Action Form to your organization's web site. Then you can control the display and other configurations of the forms using our API.
Note: The CE API Key should be added to the header that wraps the script. While the <script> should be added to the body of the script. If using a platform such as WordPress, CharityEngine recommends adding as much scripting to the template area and the rendering components themselves.
Click here to read more about JavaScript configuration
Once you have the Public API installed on your site, you are ready to start using the embedded list opt-in form. (See Prerequisite above for more details)
Step 1: Navigate to the Online App > Embeddable Widgets > Create New > List Opt-In
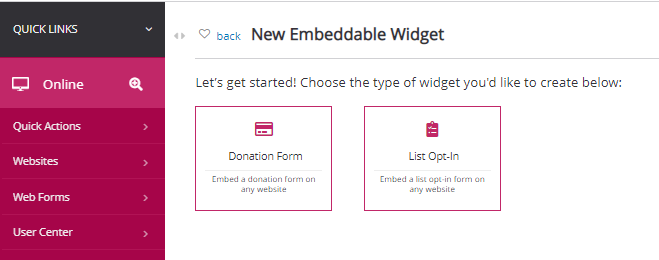
Step 2: Select
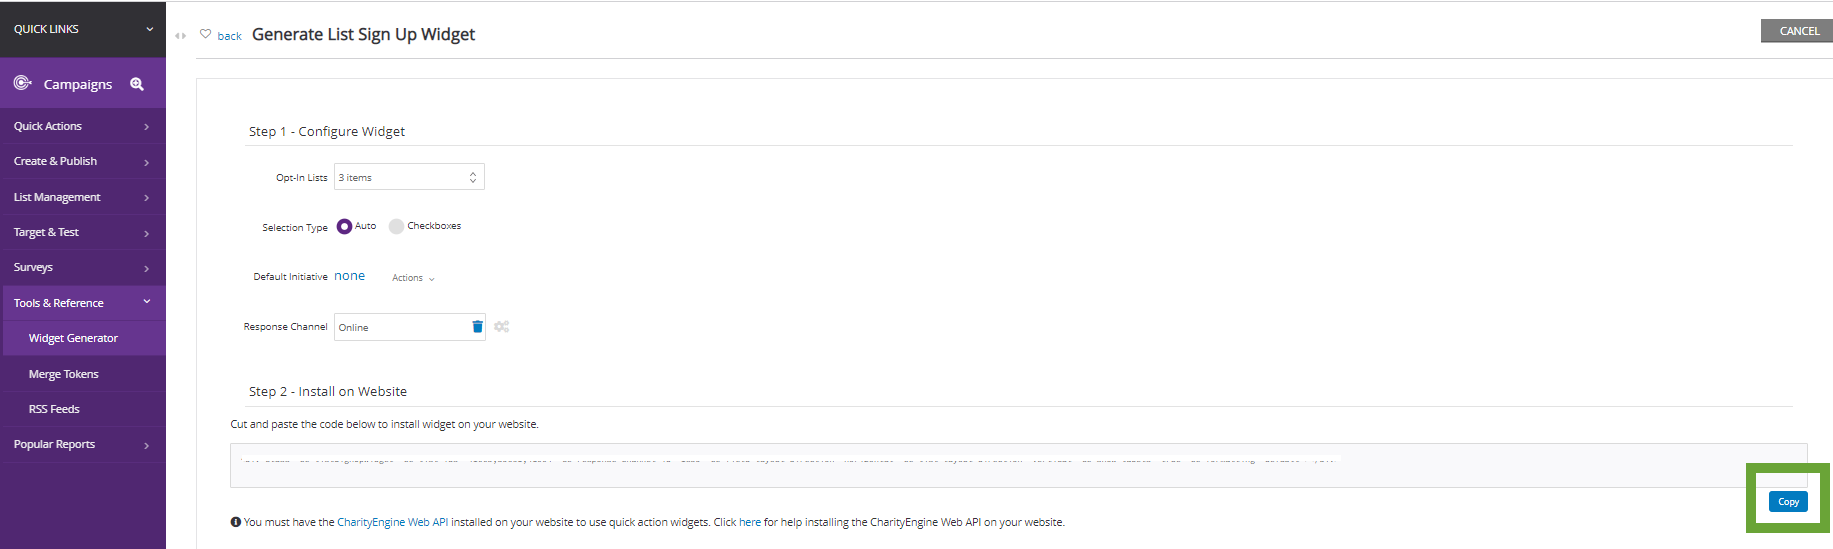
Step 3: Select Copy from the bottom right to copy the code presented in the box and paste to install this widget on your organization's website.
Step 4: Users can now easily enter information for list opt in.
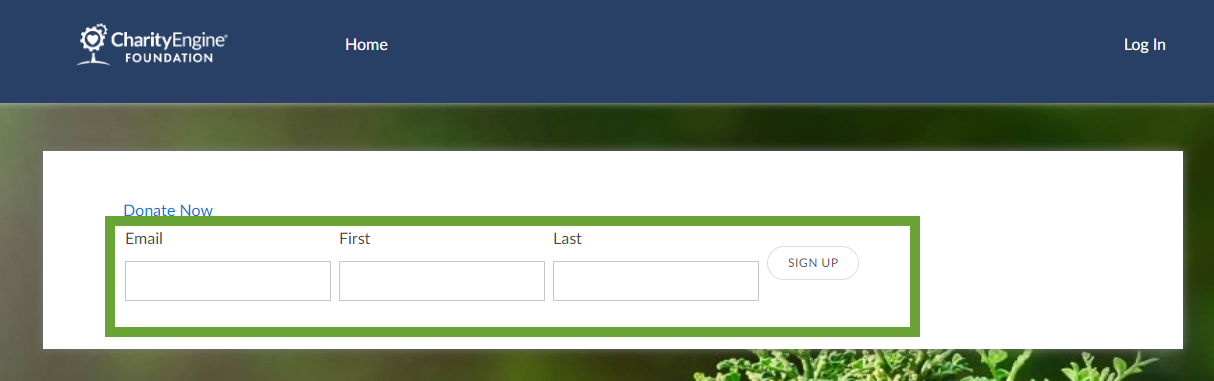
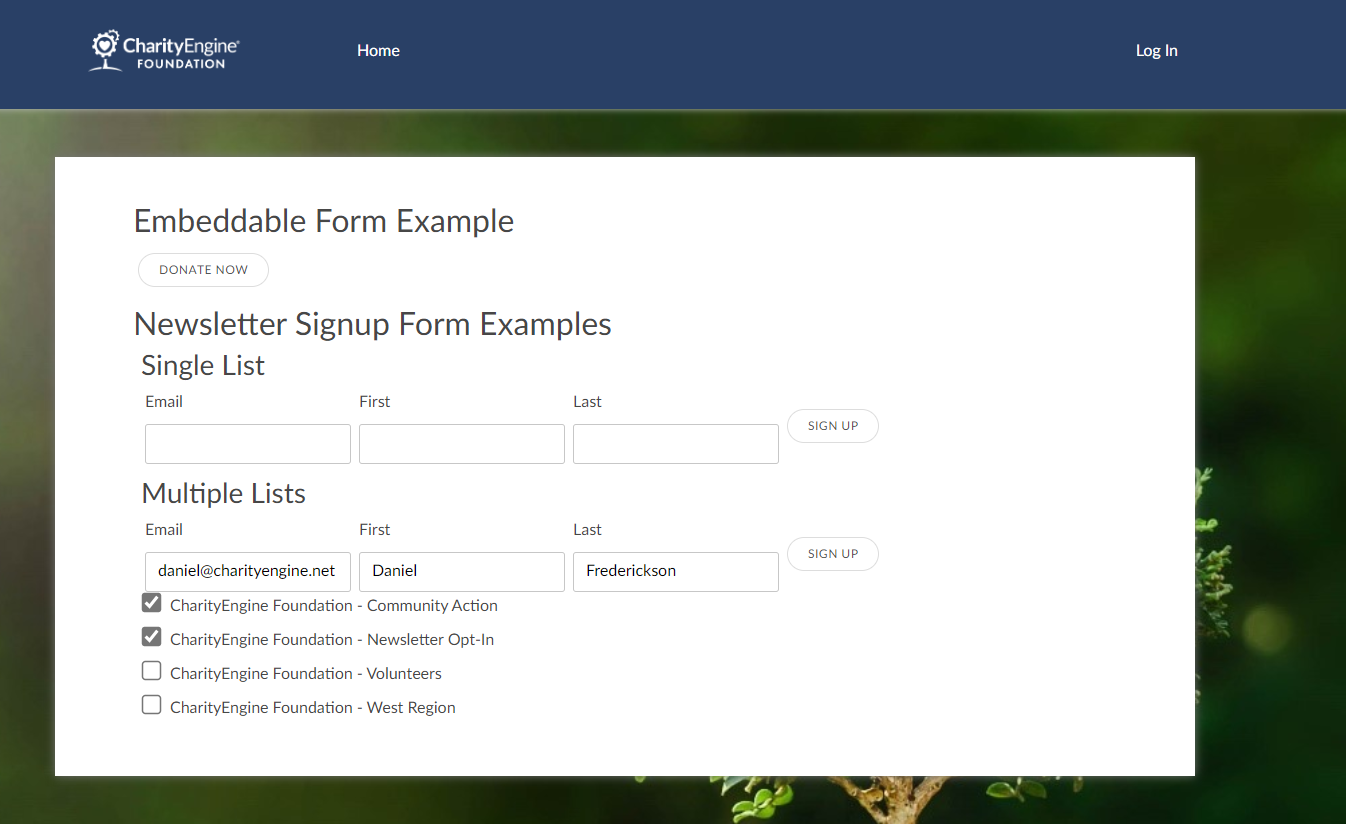
Below is an example which includes a general sign up as well as the option for a multiple list sign up:
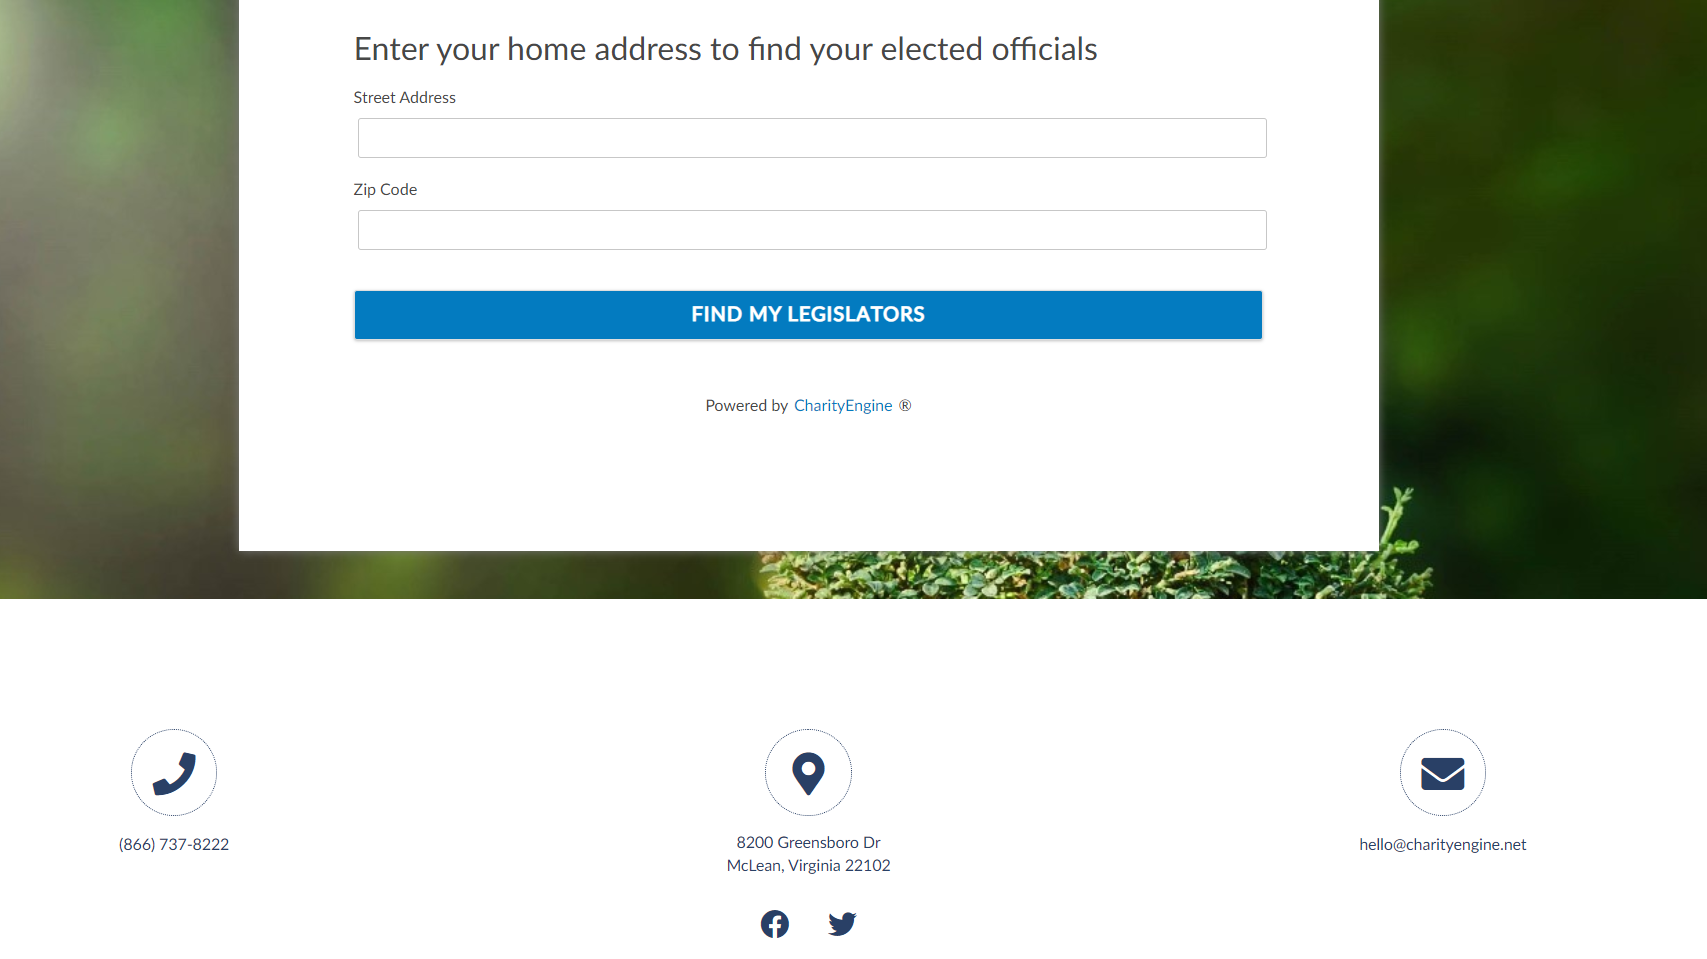
Once you have the Public API installed on your site, you are ready to start using the embedded legislator look-up. (See Prerequisite above for more details)
Add the following script to your site:
<div class="ce-legislatorLookUpWidget"></div>
Below is an example of a simple display:
Q. Is there any additional troubleshooting for API and web site issues?
A. If you are experiencing any unexpected behavior after following the directions above, first, verify the web API setup domain and the web api URL are aligned. In addition, ensure the domain matches entry into CharityEngine and the Form ID is correct in the API call. Finally, inspect your website code, ensure that you are returning a successful page load first and then an initialization - demonstrating connection with the API. If these are successful then the troubleshooting will likely be associated with the web domain/3rd party host. You may experience issues with security parameters with your 3rd party host. You can also visit our troubleshooting guide.
Q. I would like to have the widget 'pop-up' for my users. Can this be achieved?
A. Yes - this can be achieved with the HTML coding only. Leverage the HTML coding and ensure you have also included the key in your scripting: ce-api-key="OrganizationNameAPI"
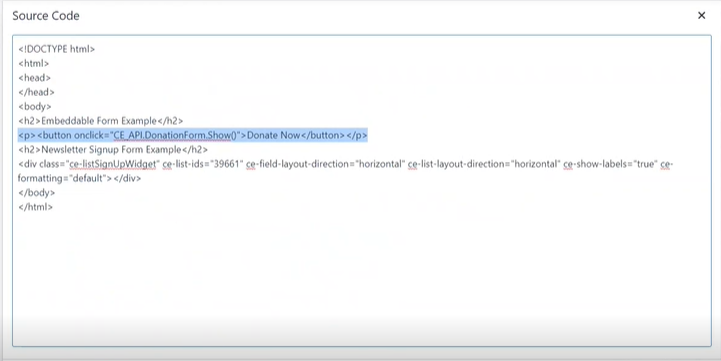
Q. Can I include a widget in a button?
A. Yes - a developer can integrate into a button for user to click to initiate the form itself.