Web Forms: Creating and Mapping Custom Field on a Form

Introduction
There will be time when you want to add additional fields to your forms to collect information on a donor and the field does not already exist within CharityEngine. On CharityEngine web forms, you can create custom fields to collect this data and then store that data on the contact record. In order for this data to appear on the contact record, you will have to map the field to the custom field on the record, otherwise the data will only be stored on the transaction record.Prerequisite
In order to map a field to a custom field on the contact record, you must first create the custom field in the Configuration application within CharityEngine. If you need help in creating a custom field, please read this article.Instructions
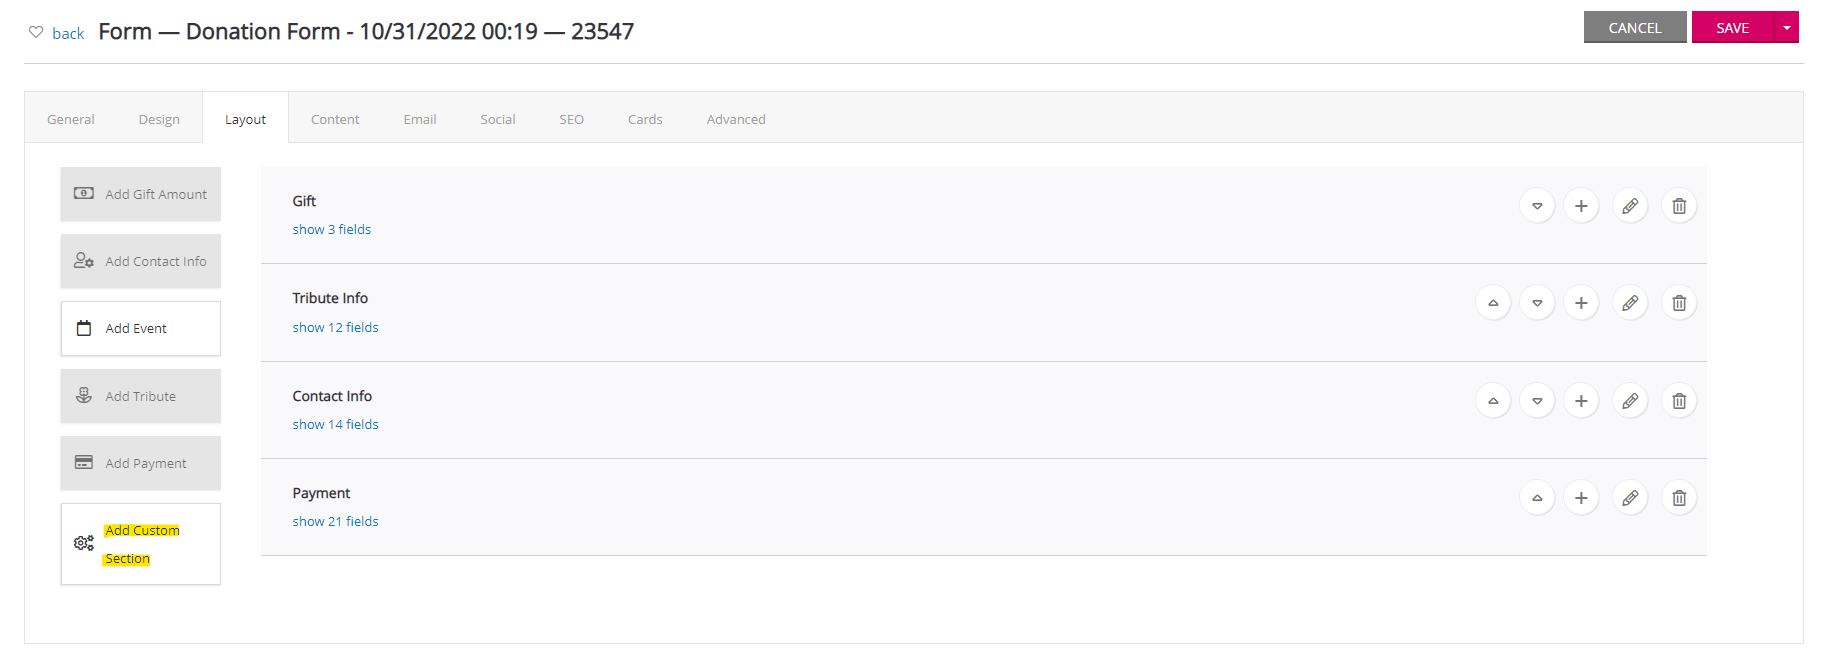
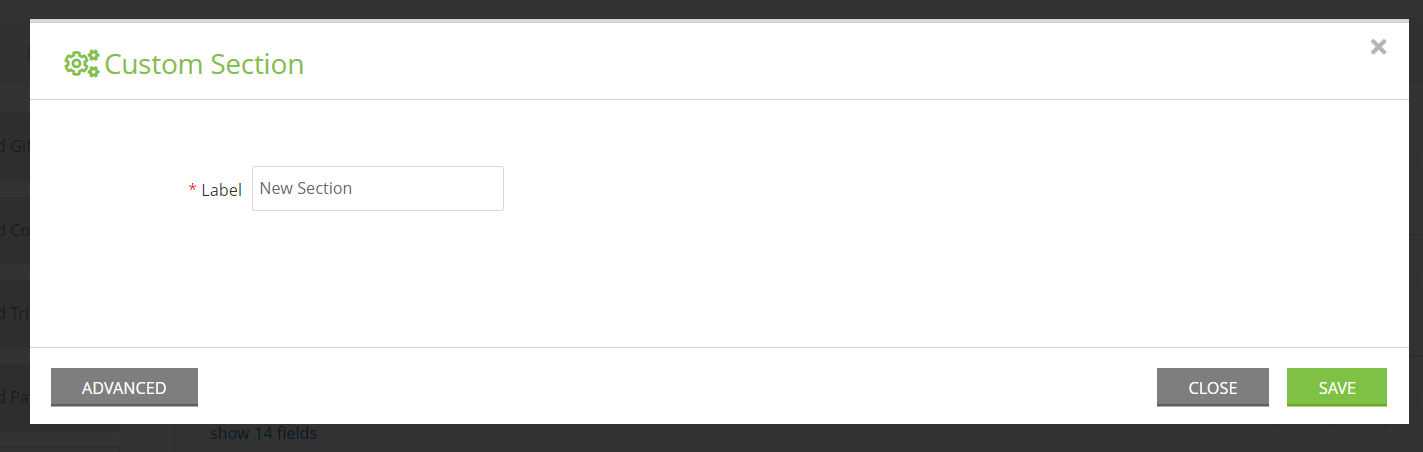
Custom fields on your webform can either be added to an existing form section or to a custom section. If you are creating a whole new section to house your custom field, click on Add Custom Section on the left hand side and name your section.
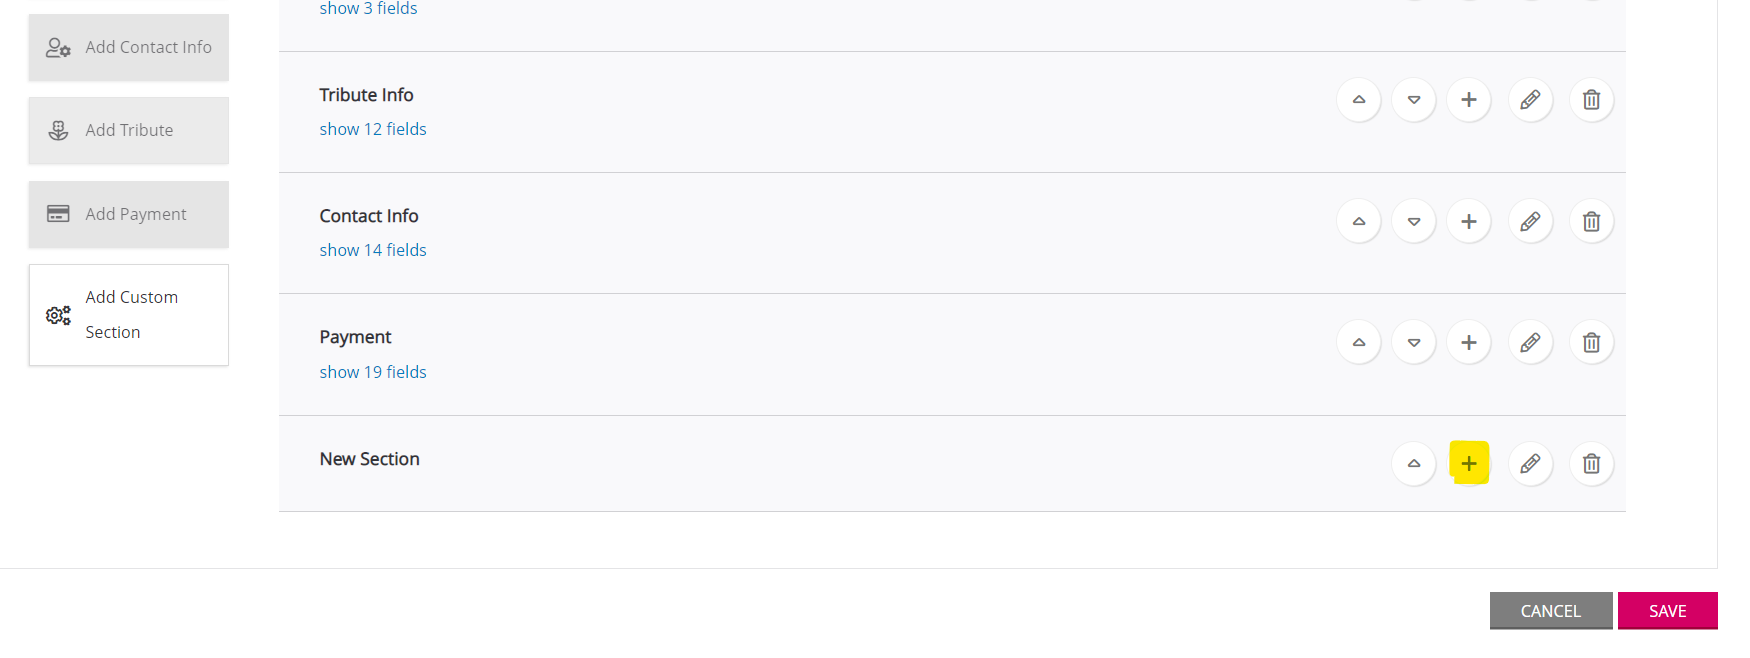
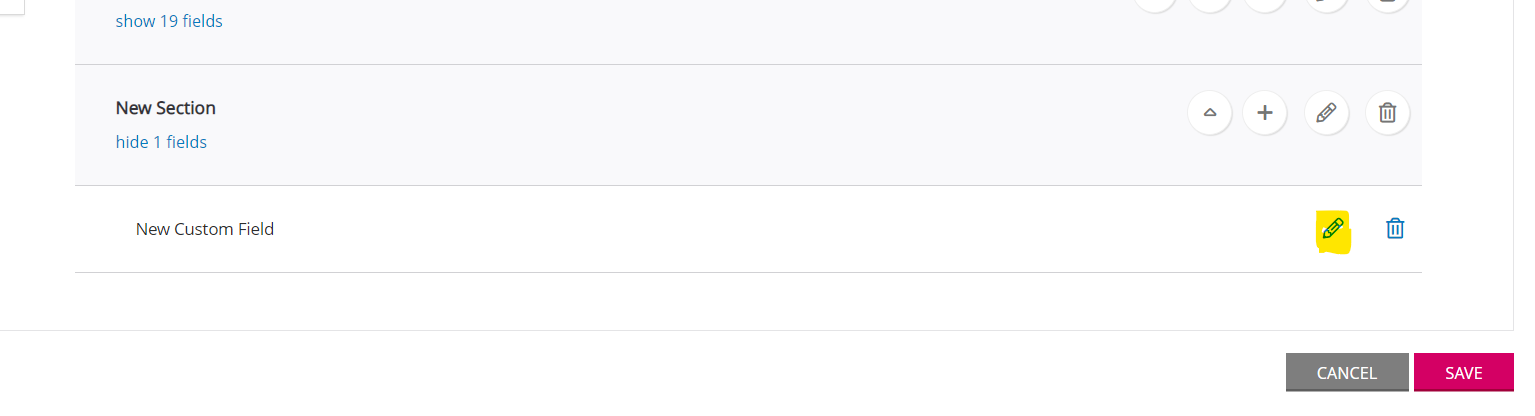
Then click on the Plus Icon to create a new field. If you are adding the field to an existing section, just click on the plus icon for the section you are adding the field to.
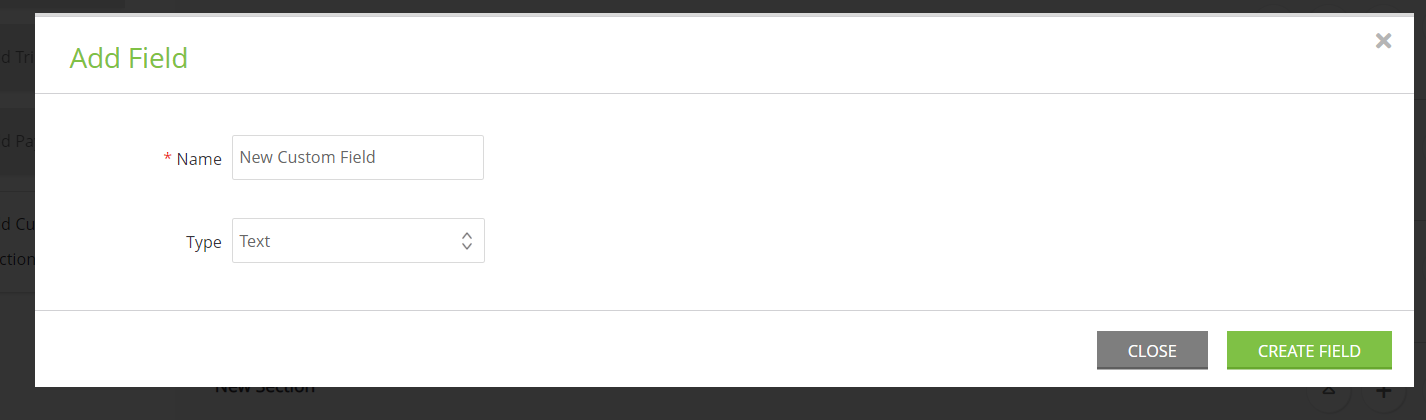
You will need to name the field as well as select the type of field form the dropdown. If you do not see the type of field you are looking for in the type dropdown, just select one and then you will be able to manage the field and change the type after creation.
Once the field has been created, click on the pencil icon to manage the field. By managing the field you will be able to change the type of field as well as add options for your donors to pick form, and mapping the field to a custom or system field within CharityEngine.
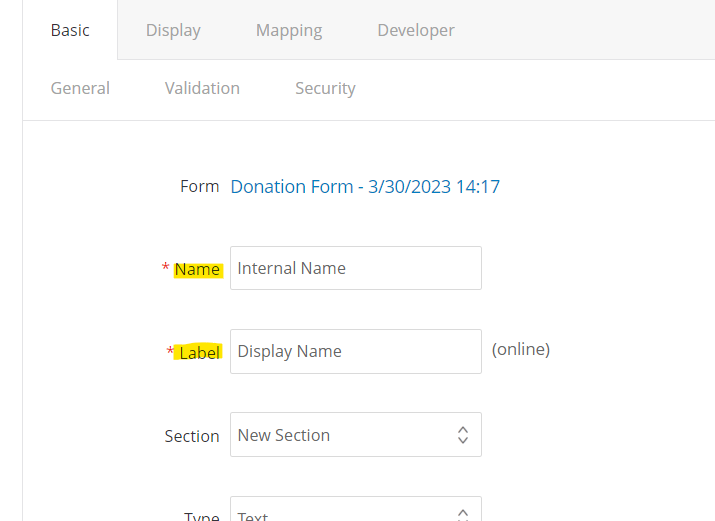
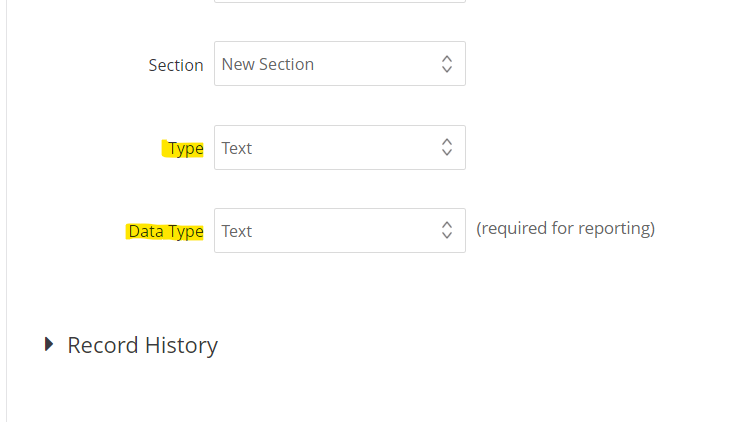
On the General Tab, you will be able to modify the Name and Label of the field, the type of field, and the Data type.
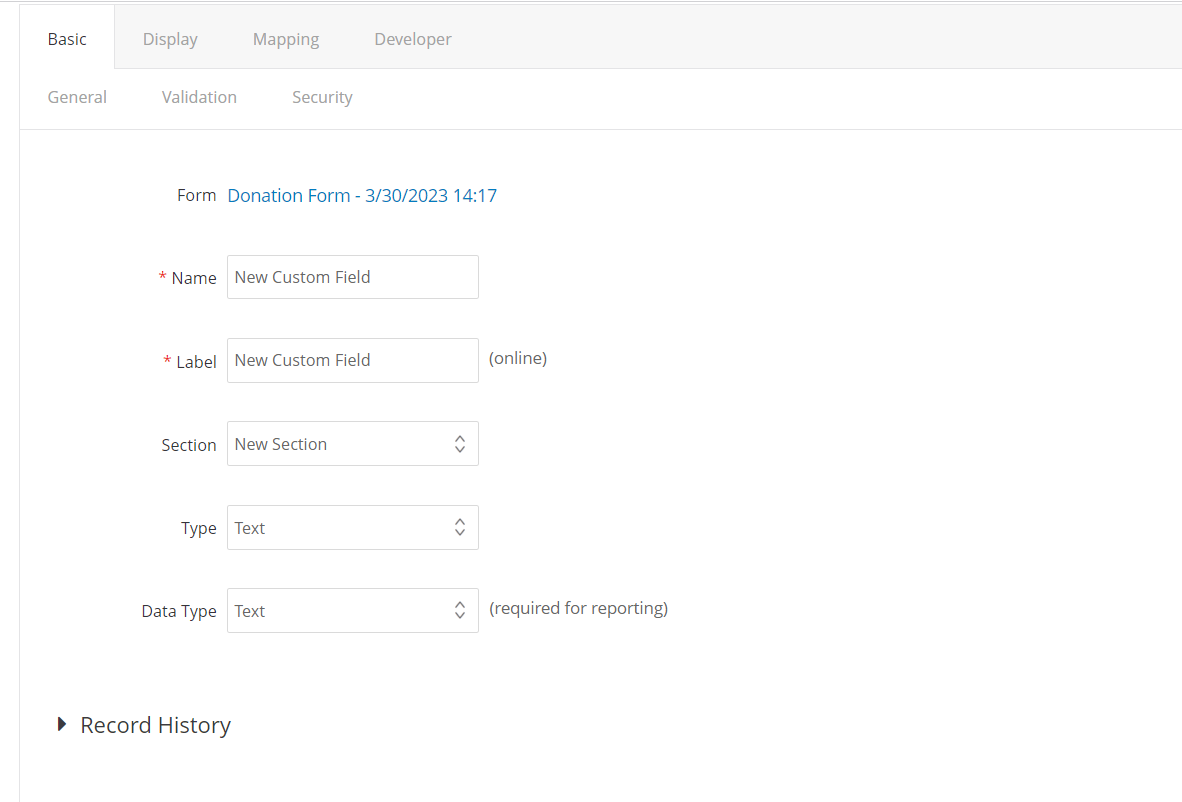
The Name and Label of the field do not have to be the same. The name of the field is what will show in reports and internally, while the the Label is what will actually display on the form.
When selecting the type form the dropdown you can select a system field that will already contain the mapping to the system field, or you can select a different type, like Text, Dropdown, Radio Button, or Checkbox that will require you to map the field to either a system field or a custom field. Additionally, it is important to select the correct data type, especially if you will be mapping to a custom field. Use the Data Type dropdown to select the exact type of data that will be collected. For example, if your are collecting Birth Day information the data type would be Datetime, but if you were collecting information on something more abstract, like what they might be interested in you would select Text. If you are mapping to a custom field on the contact record, make sure the data type matches the data type of the field or the data will not be stored properly.
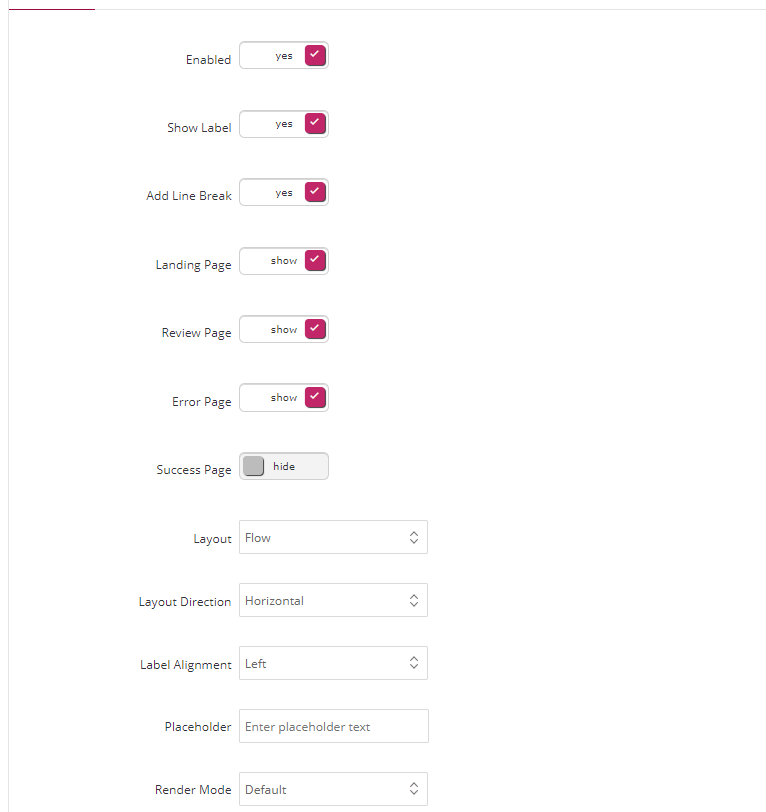
Once you have set your general settings, you can modify the display settings under the Display tab. On this tab you can enable the field, which will allow the donor to enter in or select their option, as well as set placeholder text if you want to provide an example of the type of answer that should be entered.
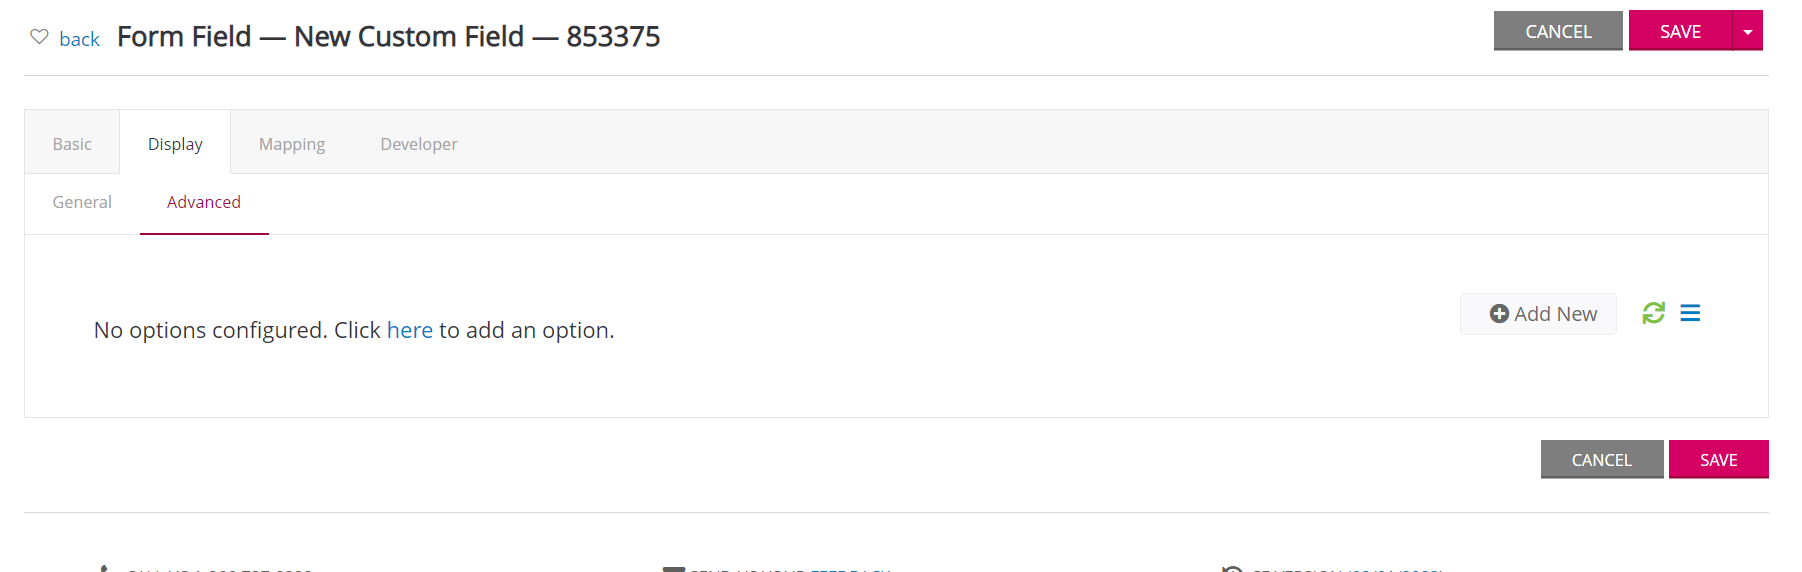
If your field type is anything other than Text, you will need to configure the the option under the Advanced subtab. Click Add New to add a option to the field.
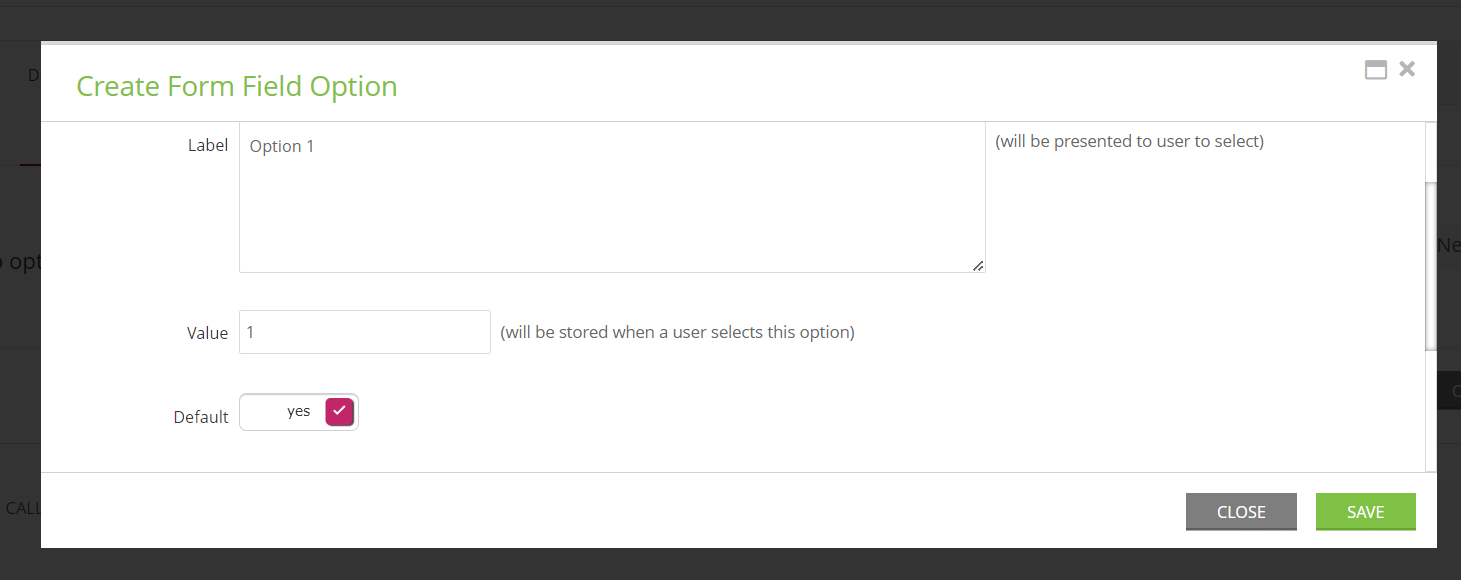
A pop-up will appear where you will be able to configure the settings on the option such as, Label, Value, and if the option should be the default option. Just as the name and label of the field can be the same, the same goes for the label and value of the option. The Label is what will be displayed on the form and the value is what will be displayed in reporting. Continue to add your options to the field until all your options are added.
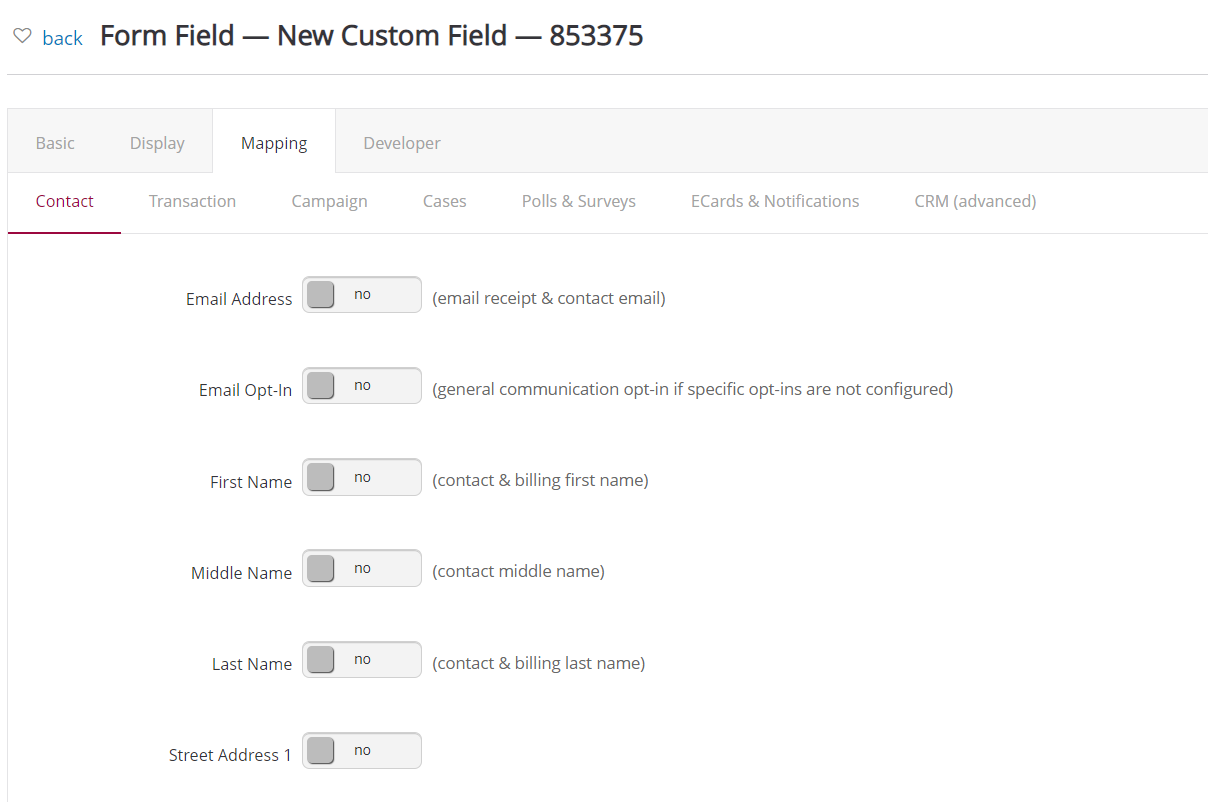
Once you have created your options, you will now need to map the field. If you do not need the data to be stored anywhere other than the transaction record, you can skip this part, otherwise, navigate to the Mapping Tab. You will see that there are system fields you can map the data to by toggling on the option to yes for Contacts, Transactions, Campaign, Cases, Polls & Surveys, and ECards & Notification. These are all system fields that you can map the data to without having to create a custom field.
If you are mapping to a custom field on the contact record, navigate to the CRM (advanced) sub tab and select the contact custom field from the dropdown. Additionally, you will need to determine what to do with the data by selecting either None, Create Only, Create & Update, or Update Only. Lastly, you will have to decide if you are mapping to only a person contact or a company contact record, or both.
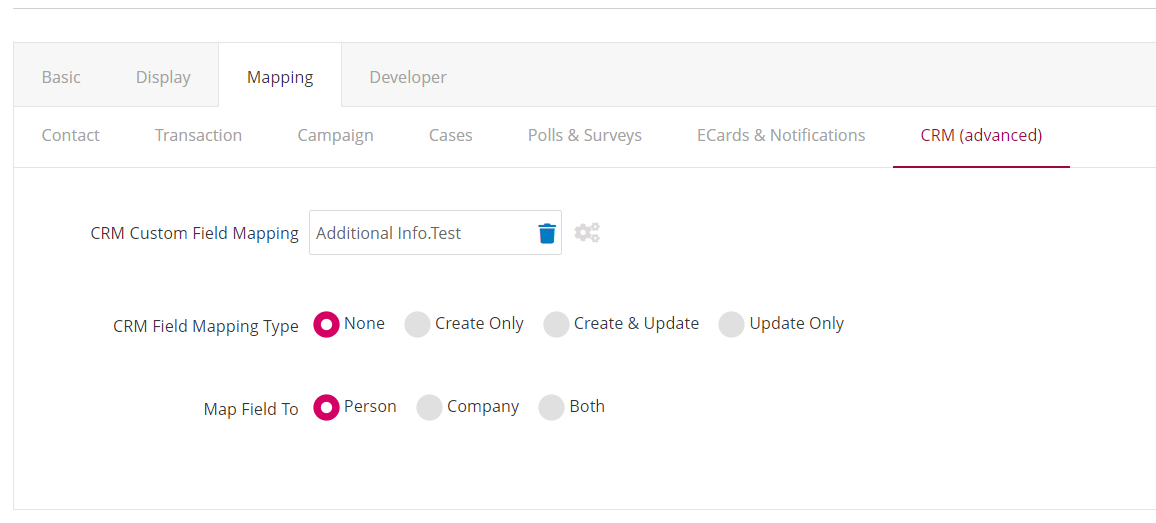
None: No action will be take and no data will be created or updated
Create Only: This option will only add the data if there is not already data in the field. If there is already data stored in he field, it will not overwrite the current data
Create & Update: This option will create data if there is nothing already stored, but it will also overwrite any data that is currently stored and update to the new data that was submitted.
Update Only: This will only overwrite data if there is already data stored in the field. If there is no data currently in the field, no action will take place.
Once you have set all of your settings on the custom field, click save and your field will now appear on the form. As long as you have mapped the field to the correct field, this data will appear in either a system field or a custom field on the contact record.
