When planning an event, such as a gala, creating and assigning tables and seating is a very important step. This will allow you to easily identify who is sitting where if you have assigned seats.
Table of Contents
Prerequisites
Before you can set up seating and table for your event, please make sure the event is already created. Additionally, you will have to create the parent location, such as the conference room or wherever the event as a whole is being held.
Creating the Tables and Seats
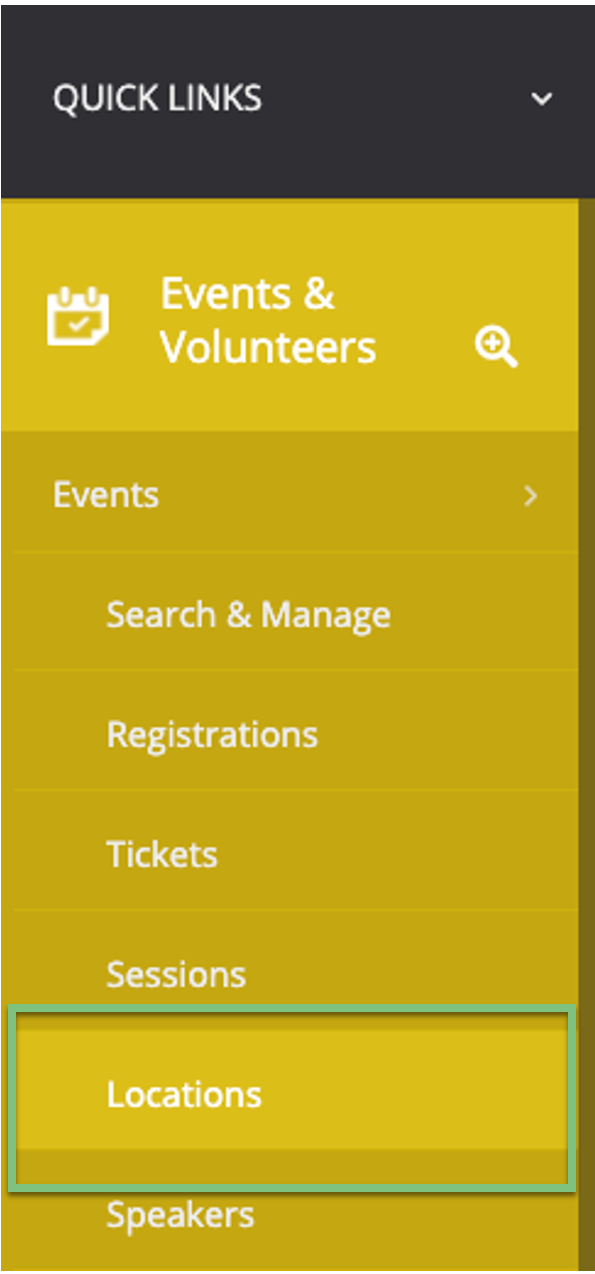
The first step in creating the table assignments is configuring the tables with regard to the event location. Navigate to the Events & Volunteers application and under Events click on Locations to create the location for the event.
Note: Locations uses a hierarchical Parent/Child relationship. For example, a Venue might be the parent to a Room and a Room would be the parent to a Table. So, the Table is a child of the Room.
Click Create New to create the location the event will take place in and that the table are located.
You will need to name the location, select the type, attribute a parent location (if applicable), and then the child type. In the below example, we are creating the CharityEngine Conference Room, which is the child to the CharityEngine Office. Additionally, we have set the child type of the room to table to identify that there are tables within the CharityEngine Conference Room.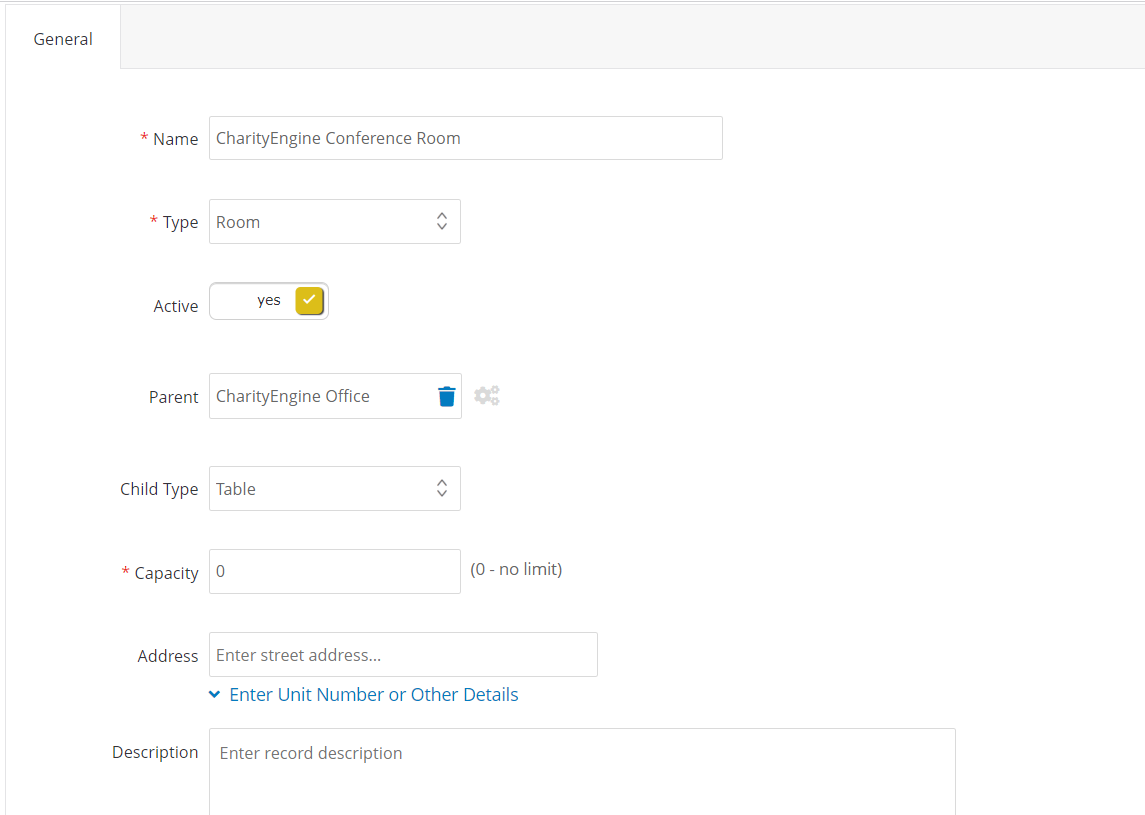
If we look back at the Locations listing screen we can see that the office contains one room and that the room contains tables, but currently does not have any tables assigned to it.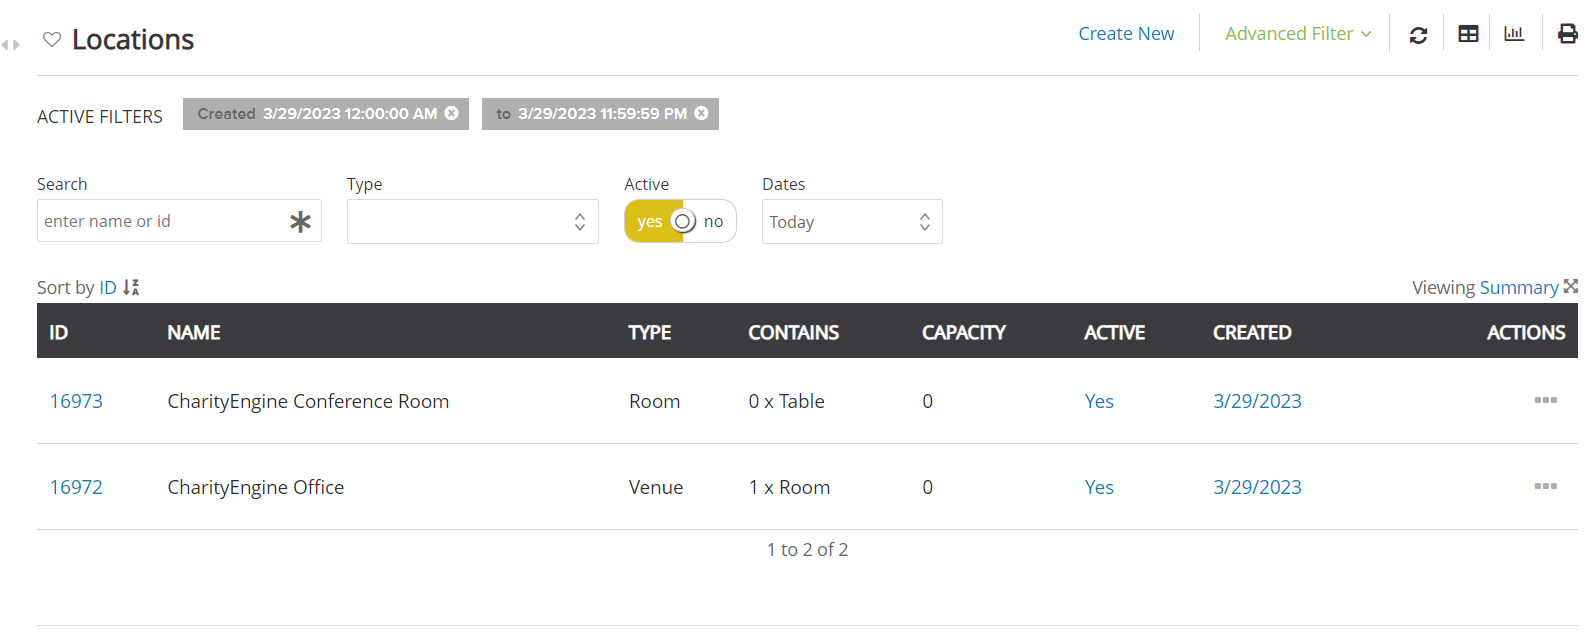
Now that the location of the tables has been created, you will be able to configure the number of tables at the parent location, (in this case the Room– CharityEngine Conference Room), navigate to the Locations tab, then the Bulk Add tab.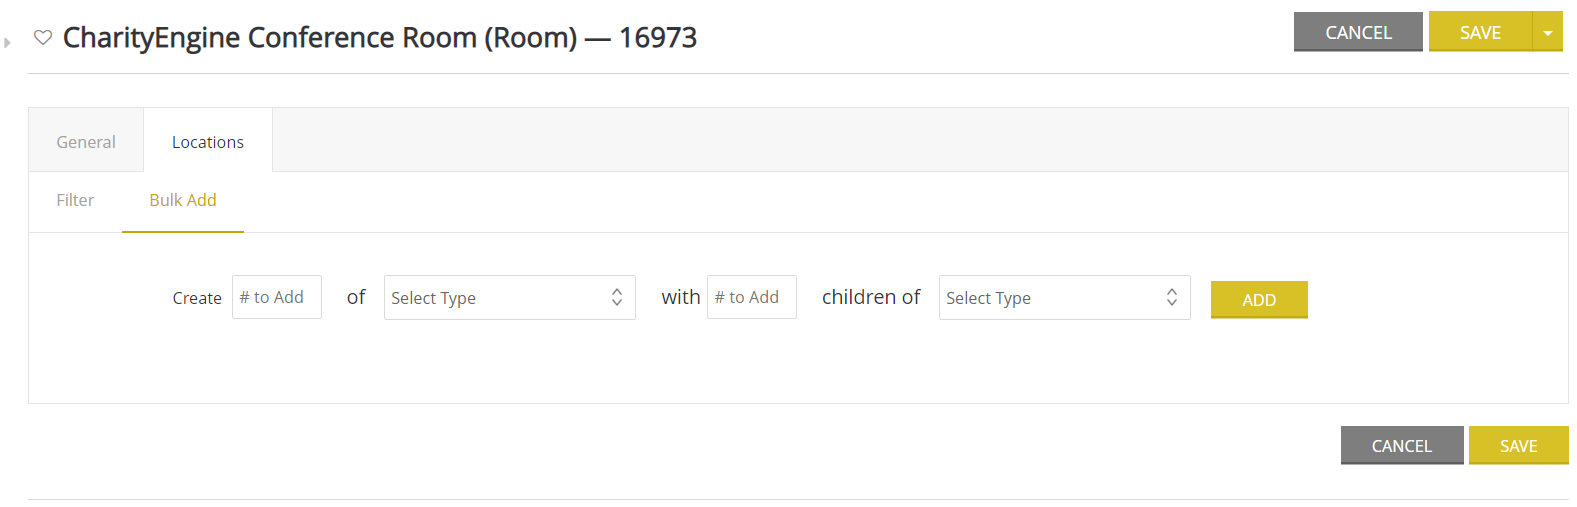
You will need to decide how many tables are you creating and how many seats will there be. You can create different sets of tables and seats by simply changing the configurations and clicking add. For example, If there are 5 tables with 10 seats and 5 tables with 8, do the first group, and then do the second group. To do this enter in the number of tables into the first box, 5, then select the type, table, then in the next text box enter the number of seats, 10, and then select the child type, seats. Below is how this would look when you are setting up the tables: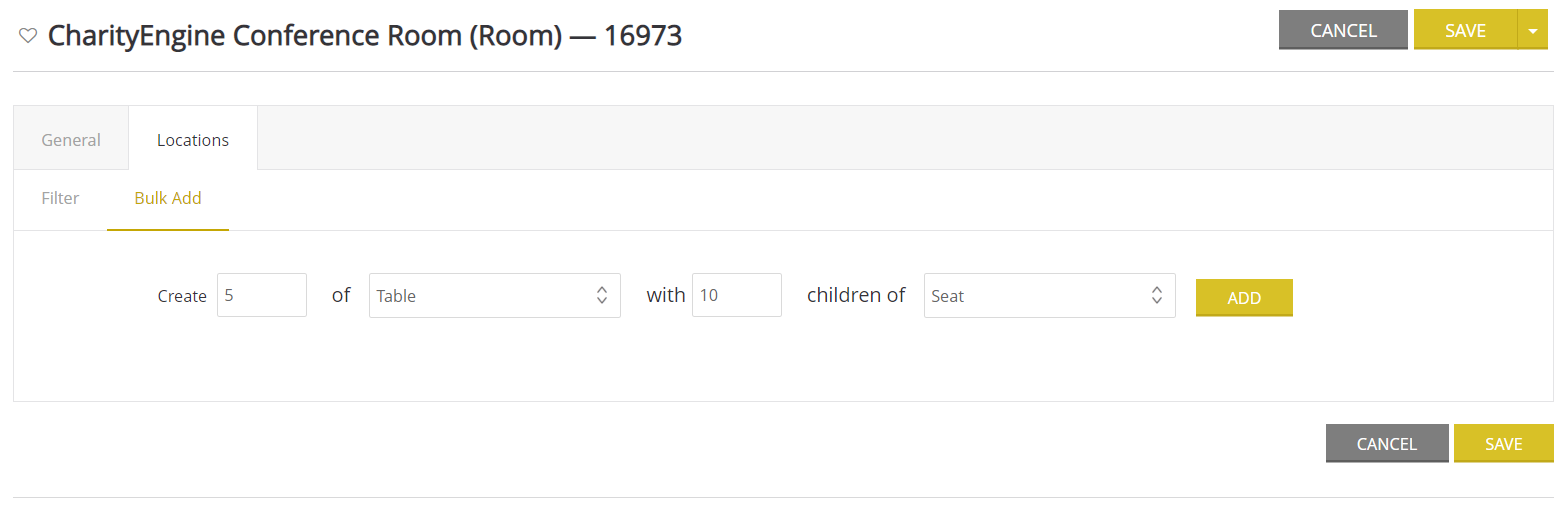
Note: The number of seats isn’t necessarily what you need for your party. This is what exists at that venue. You will see it described on other screens as “Capacity”. 5 tables with a “capacity” of 10 and 5 tables with a “capacity” of 8. If you don’t know the capacity of each, you can either leave it blank or just put what you think will be the largest amount for each table. (You can always add seats later to turn a 10 person table into a 12).
Once your tables have been created, navigate to the filter tab to see each table. Click Manage to edit each one.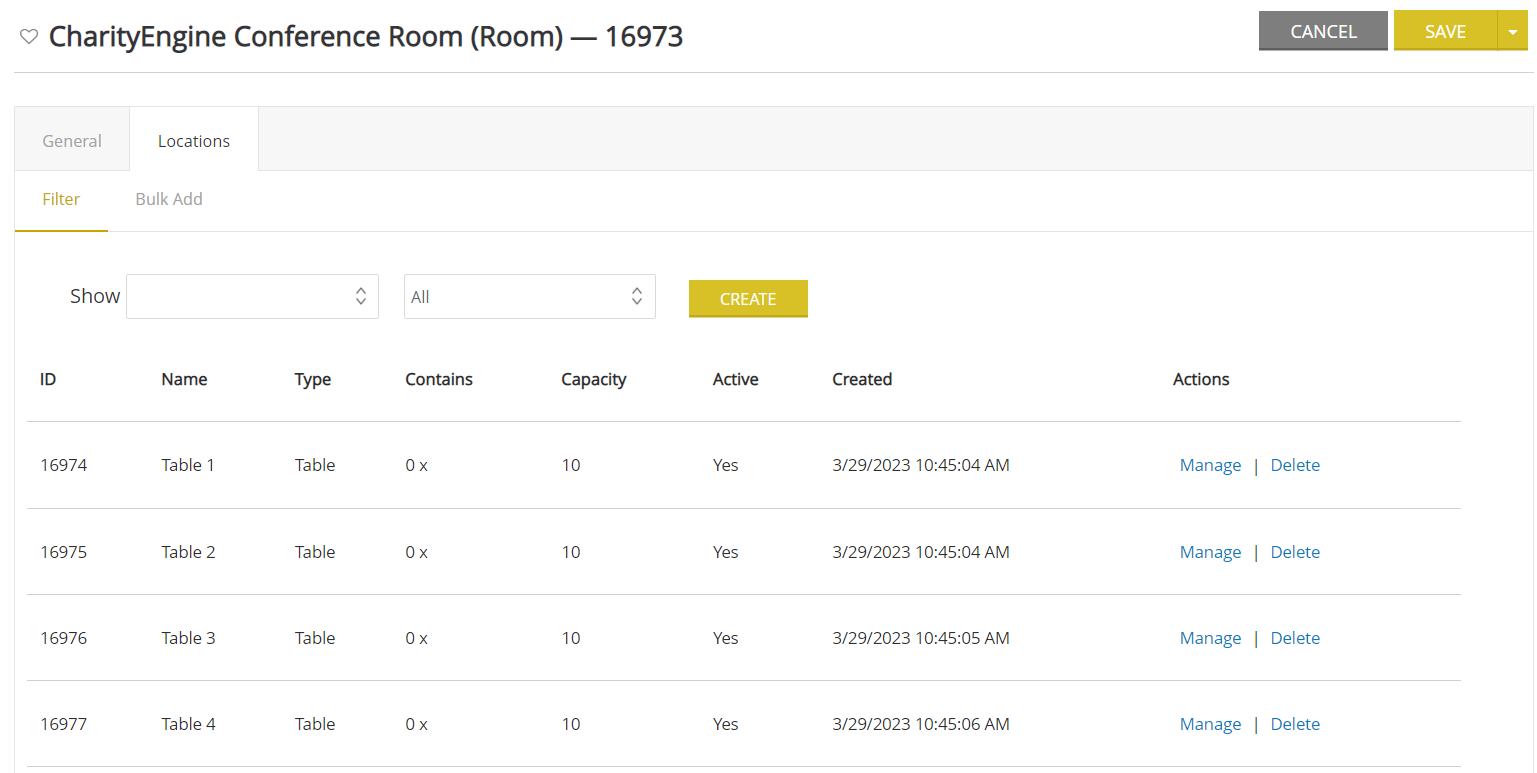
Note: As you can see in the above, our capacity as 10 but Contains is 0 x. by managing the table, we will add how many seats we are going to have at each party. This allows you to record the difference between the event venue capacity and your event needs.
By managing the table, you will be able to change and customize the name of the table and confirm the capacity of the table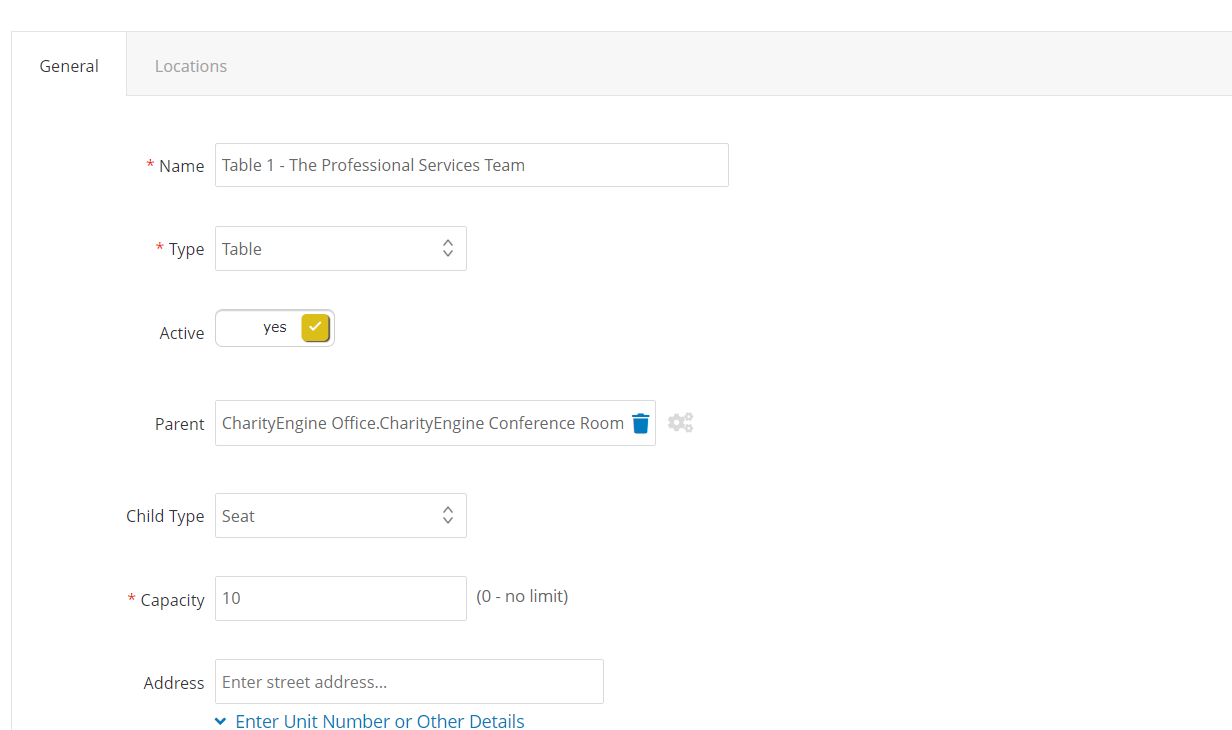
Note: You can change the name of your table from Table 1 to something else, however, CharityEngine does recommend you leave the number in the title of the table. If you change the table name to something specific like the sponsor's name (i.e. “The Purple Company”) remember that if you have the event again in the future, you will need to change the names to that events table names if they are different.
Navigate to the Bulk Add tab and configure the number of seats YOUR event will have for that table, just as you did previously with the amount of tables. Once you add the numbers of seats you will be using, click Add, then Save.
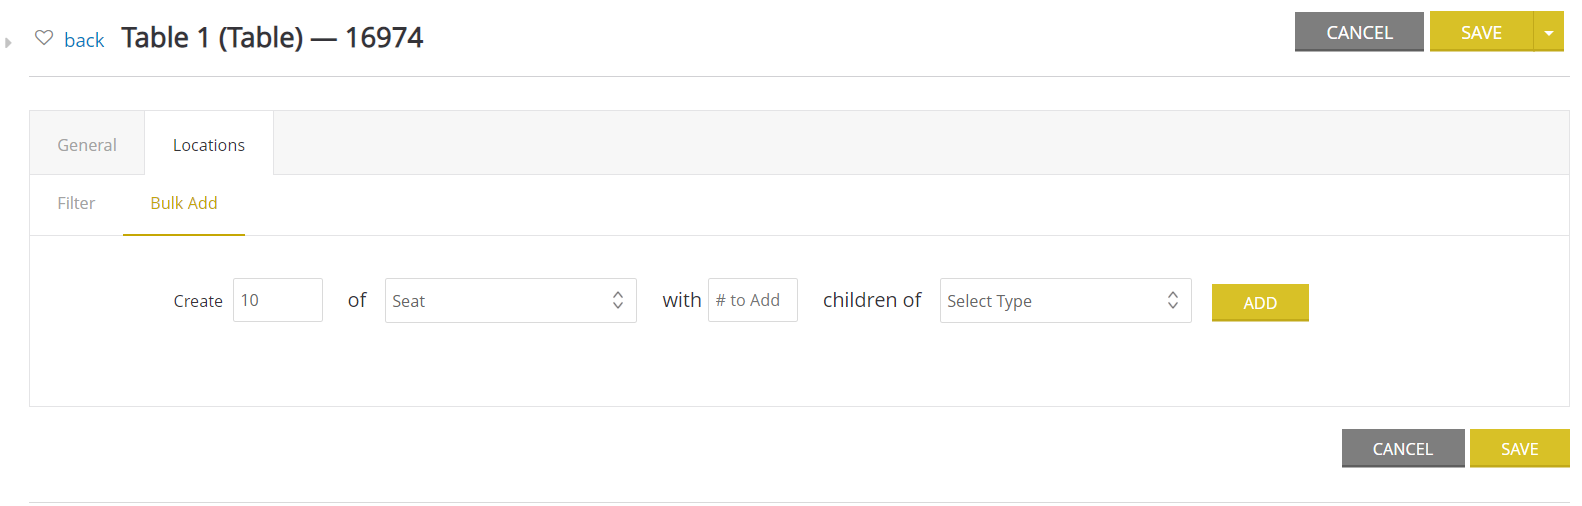
Note: Since there are no children of Seats, you can leave the “children of” part of the equation blank. You will need to do this for each of your tables.
Assigning Registrants to Seats
Now that you have created the tables and the seats, the next step is to assign the guests to their tables and seats.
To assign the guests to their seats, navigate to the Event and click on the number next to the Sessions under Details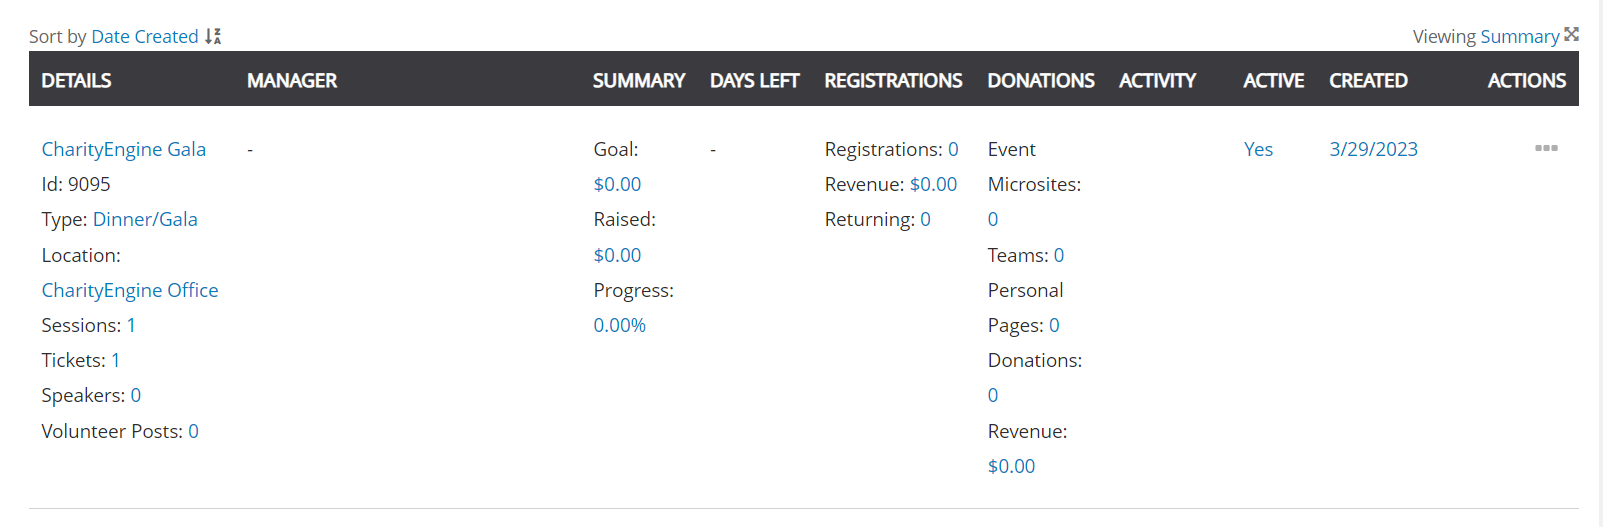
You will be navigated to the Sessions tab where you must create at least one Session to be held in the location that is the parent of the tables, prior to assigning your guests to the tables. The guest must have a ticket to that session to be seated.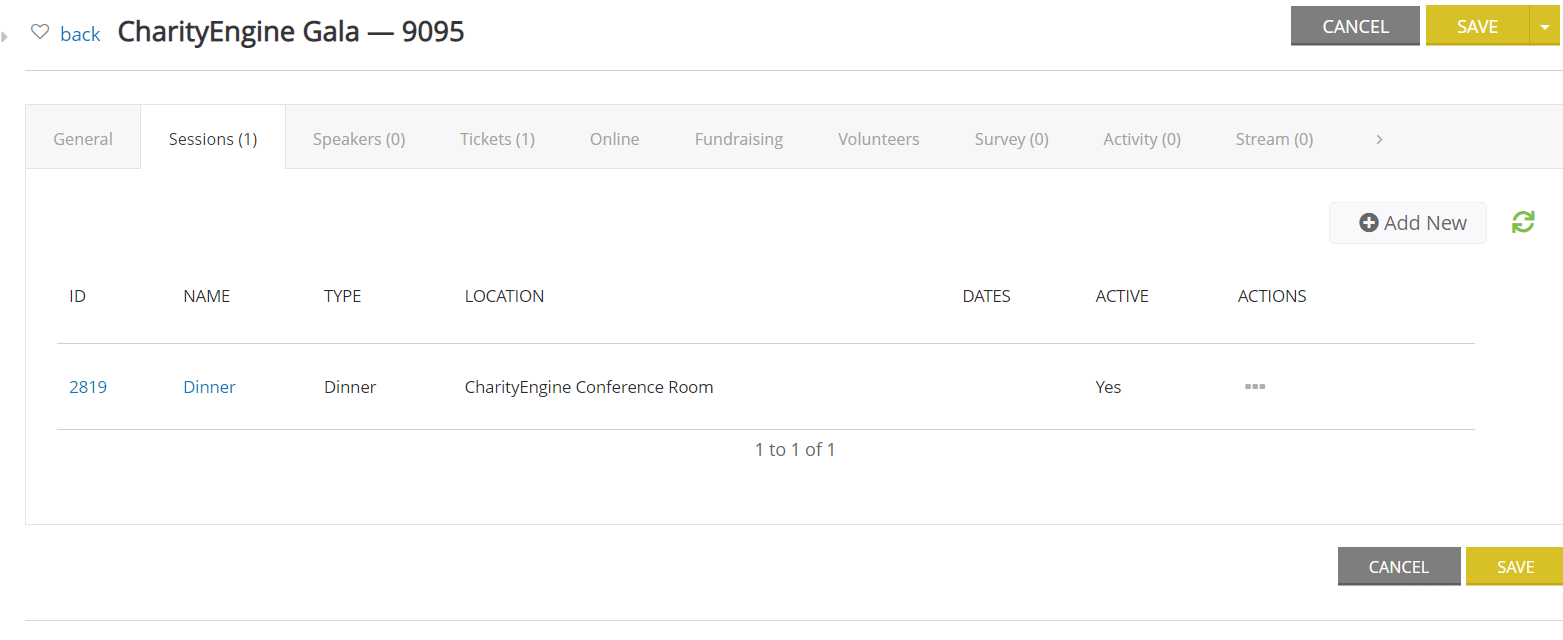
Click Manage on the Session where the seats are going to be assigned to. While managing the session, navigate to the Locations & Tables Tab, and select Which tables you are going to want to utilize from that location. You can select individually and click Add, or just click Add All.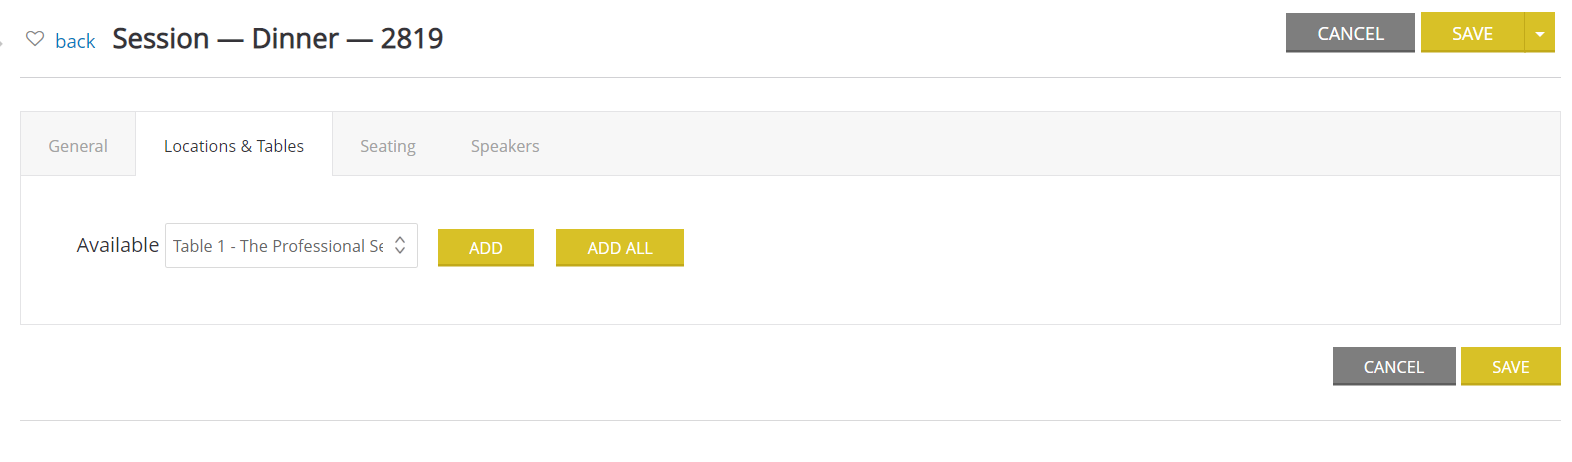
You can now see the available tables for this session as well as a tally of how many seats have been assigned.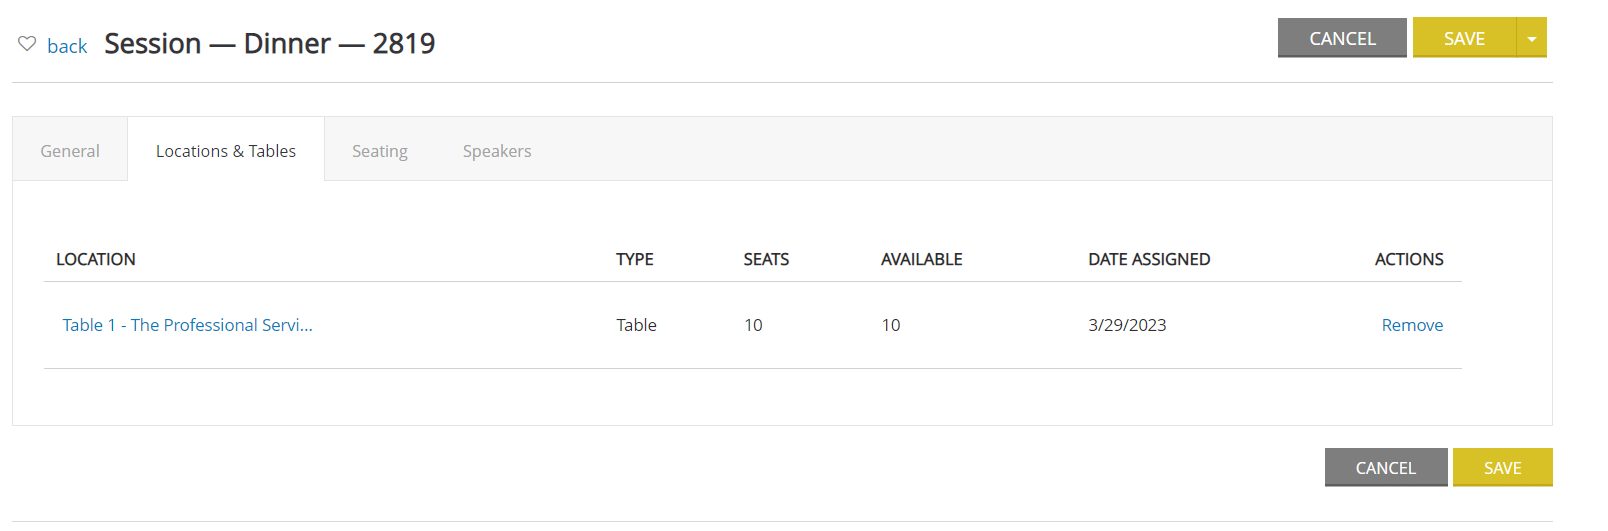
Navigate to the Seating Tab to select the guests that will be assigned to each table. First, select the table with the Show dropdown, then use the Select Available drop-down to find the individual who you are going to assign the seat to. If a seat has already been assigned, it will NOT appear in this dropdown. You will see the next available unassigned seat for that table.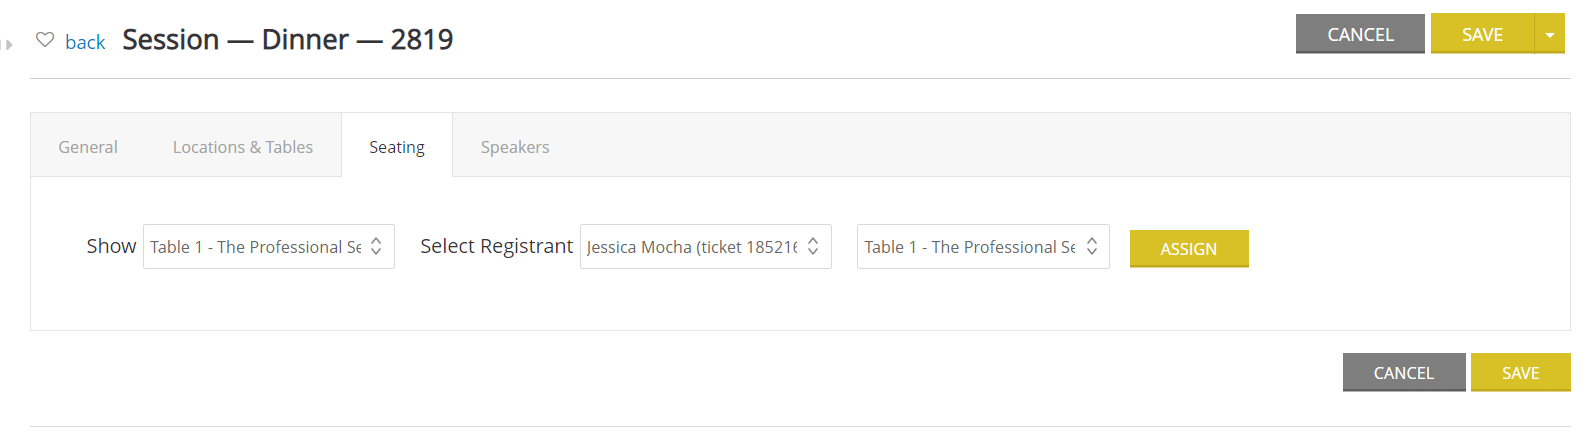
Once the person is assigned, you will see it listed on the Seating Tab. If you made a mistake, simply remove the person and then assign them to a different seat. The seat will now reappear in the dropdown since it is no longer occupied.
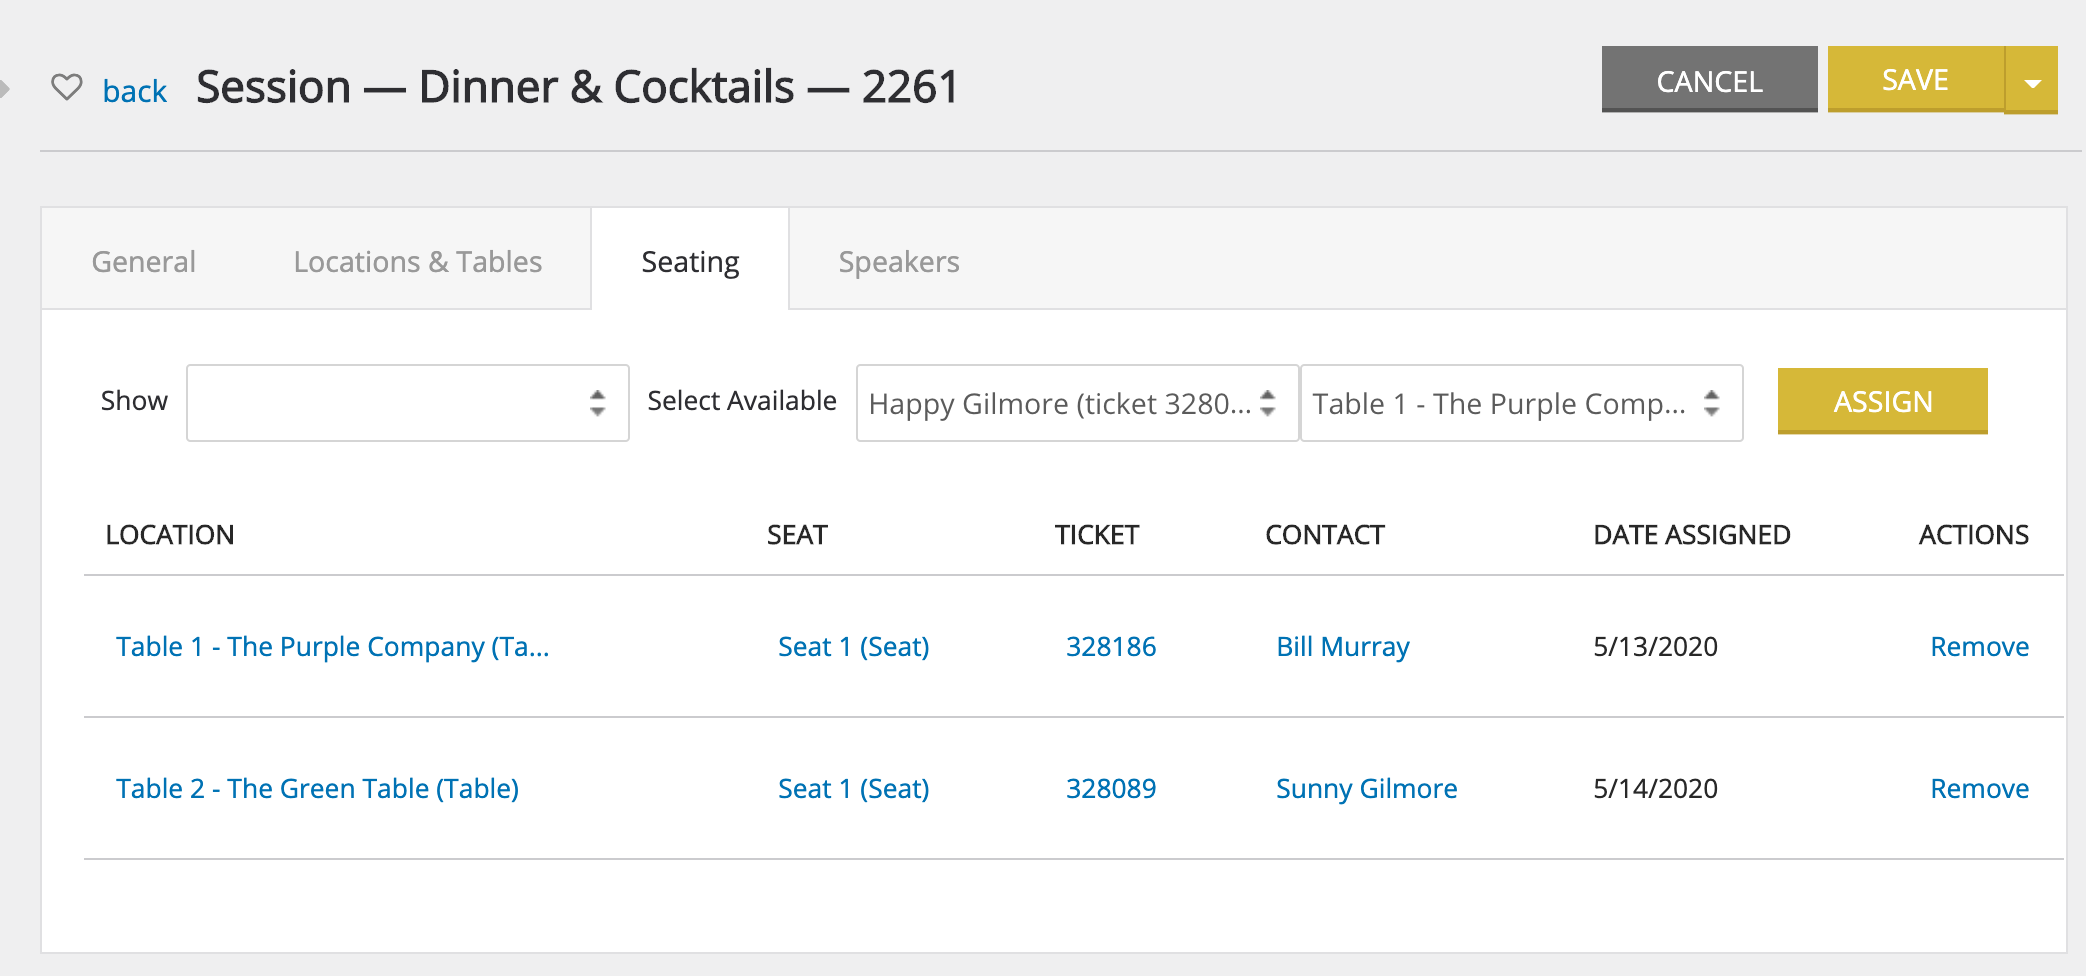
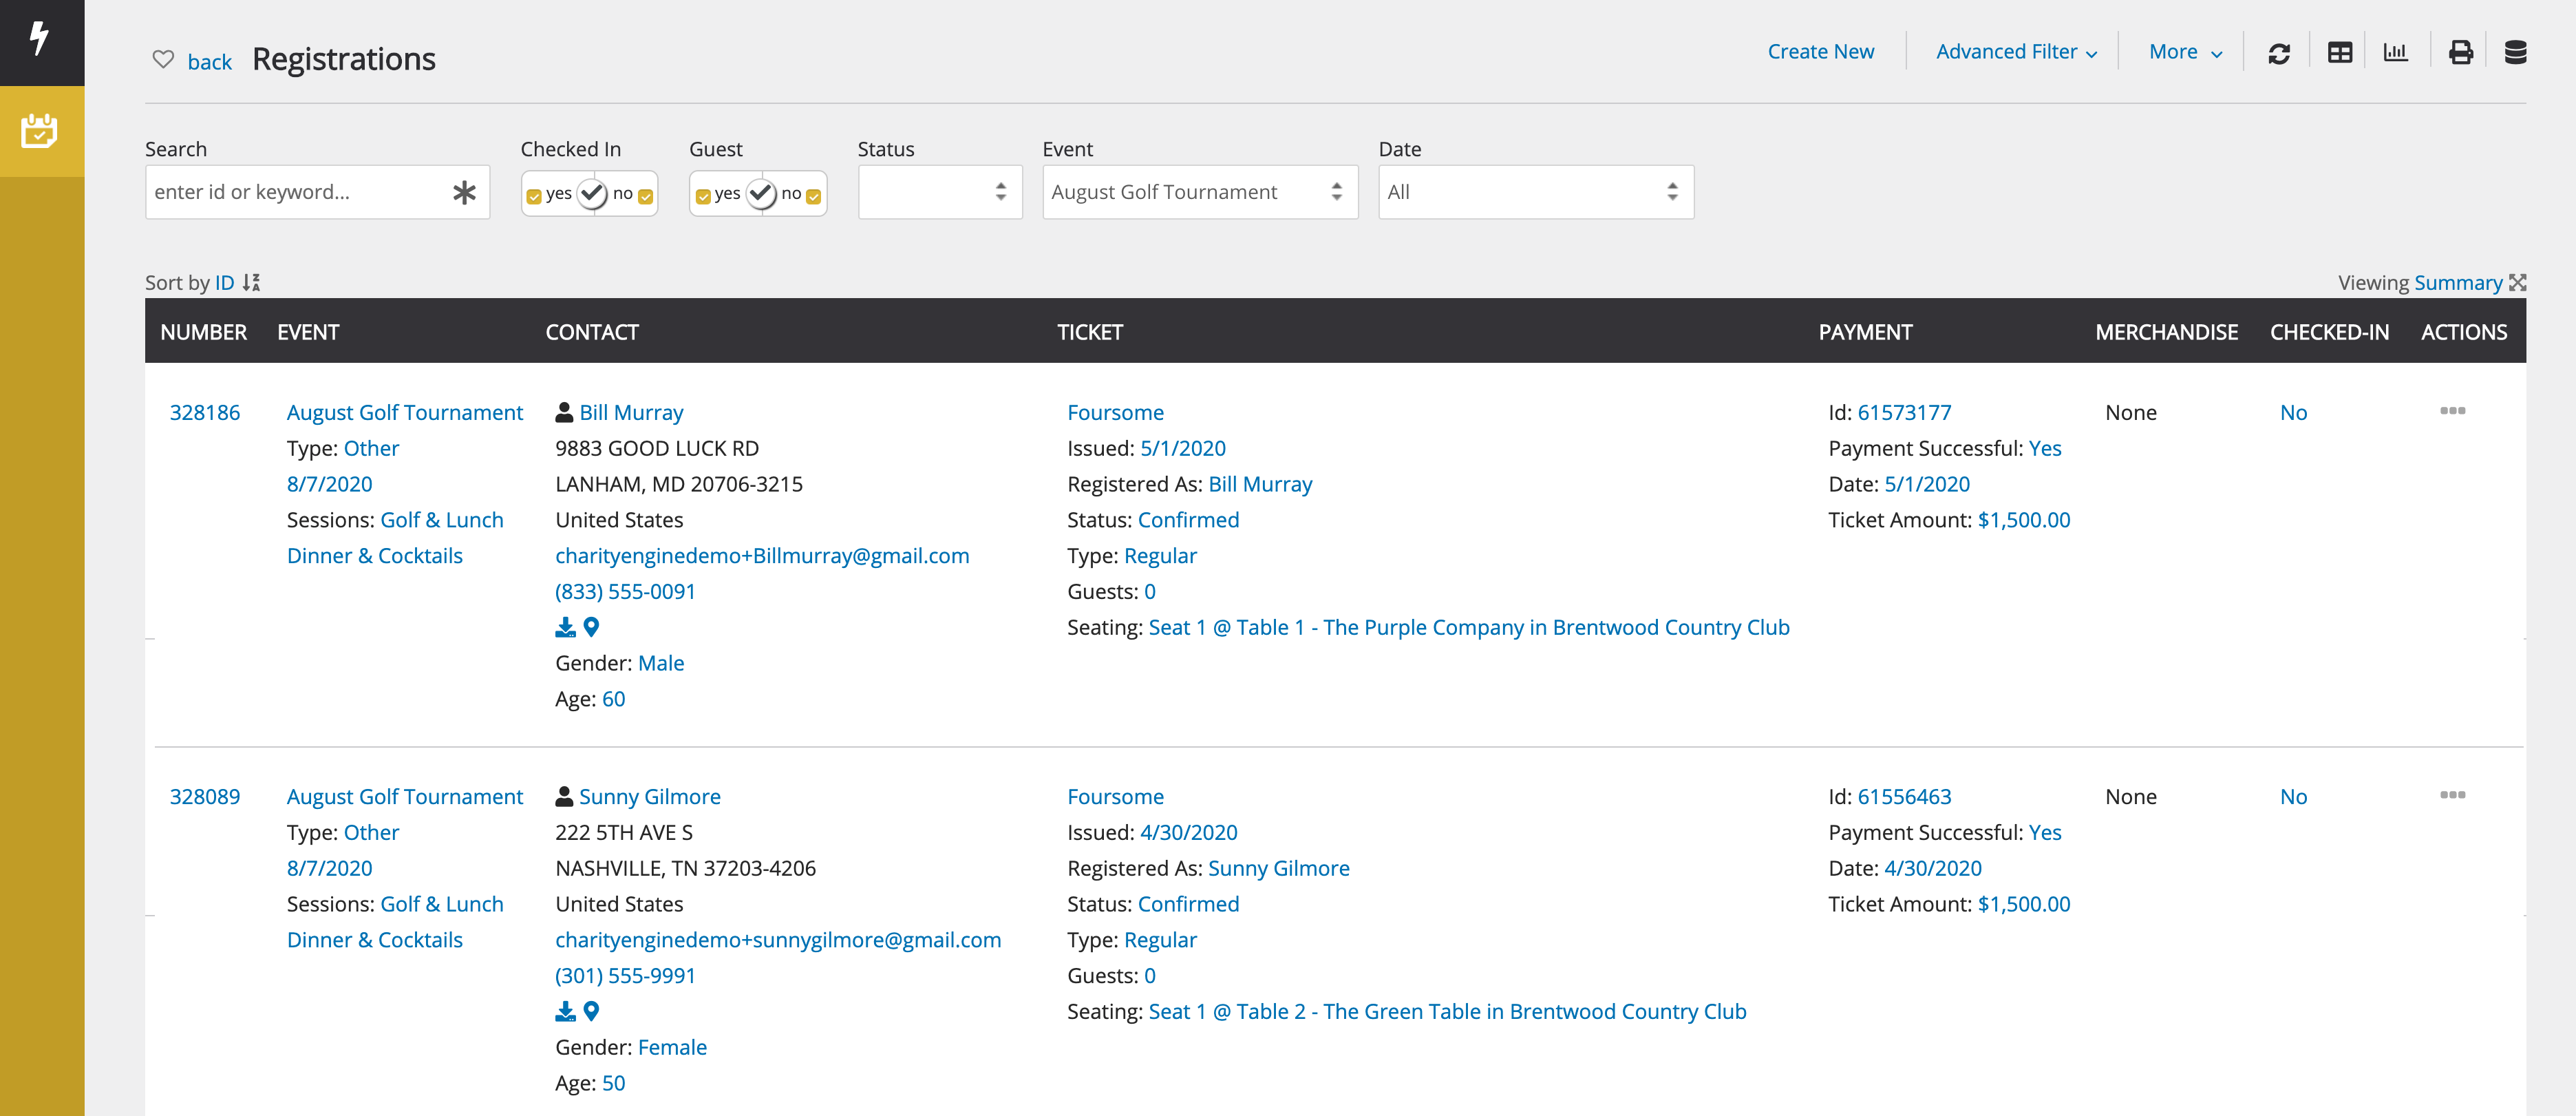
Once the seat is assigned, it is now visible on the individual registration listing. It is included in the Registration Export file as well.