Getting Started with General Configuration Settings in CharityEngine
Welcome to CharityEngine! As a new user, this guide will walk you through essential general configuration settings to help you get started and set up your organization for success.
Table of Contents
Prerequisites
There are no prerequisites for updating account settingsAccessing Your Configuration Settings
After logging into CharityEngine:
-
You’ll see your organization’s name in the upper right-hand corner, along with alert notifications.
-
Use the Help icon or Configuration Guide widget to get started quickly.
To begin, click on the Configuration section. While there are many settings available, we recommend starting with a few key configurations to establish your organization’s foundation.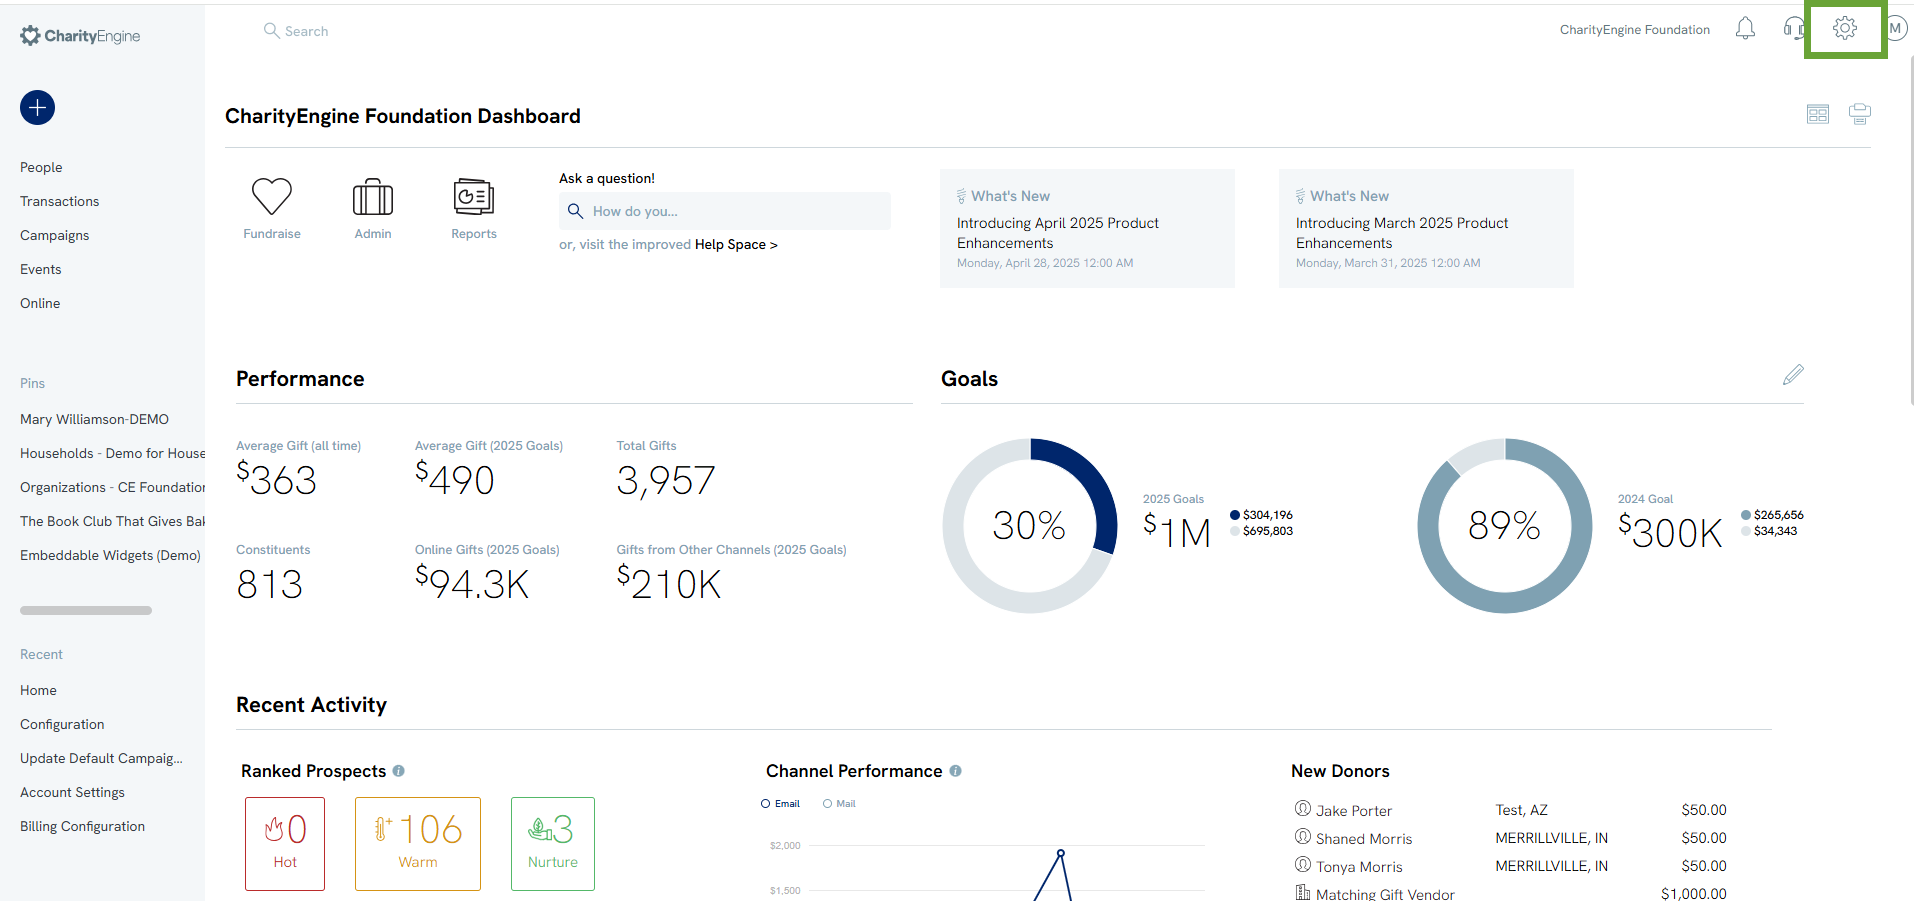
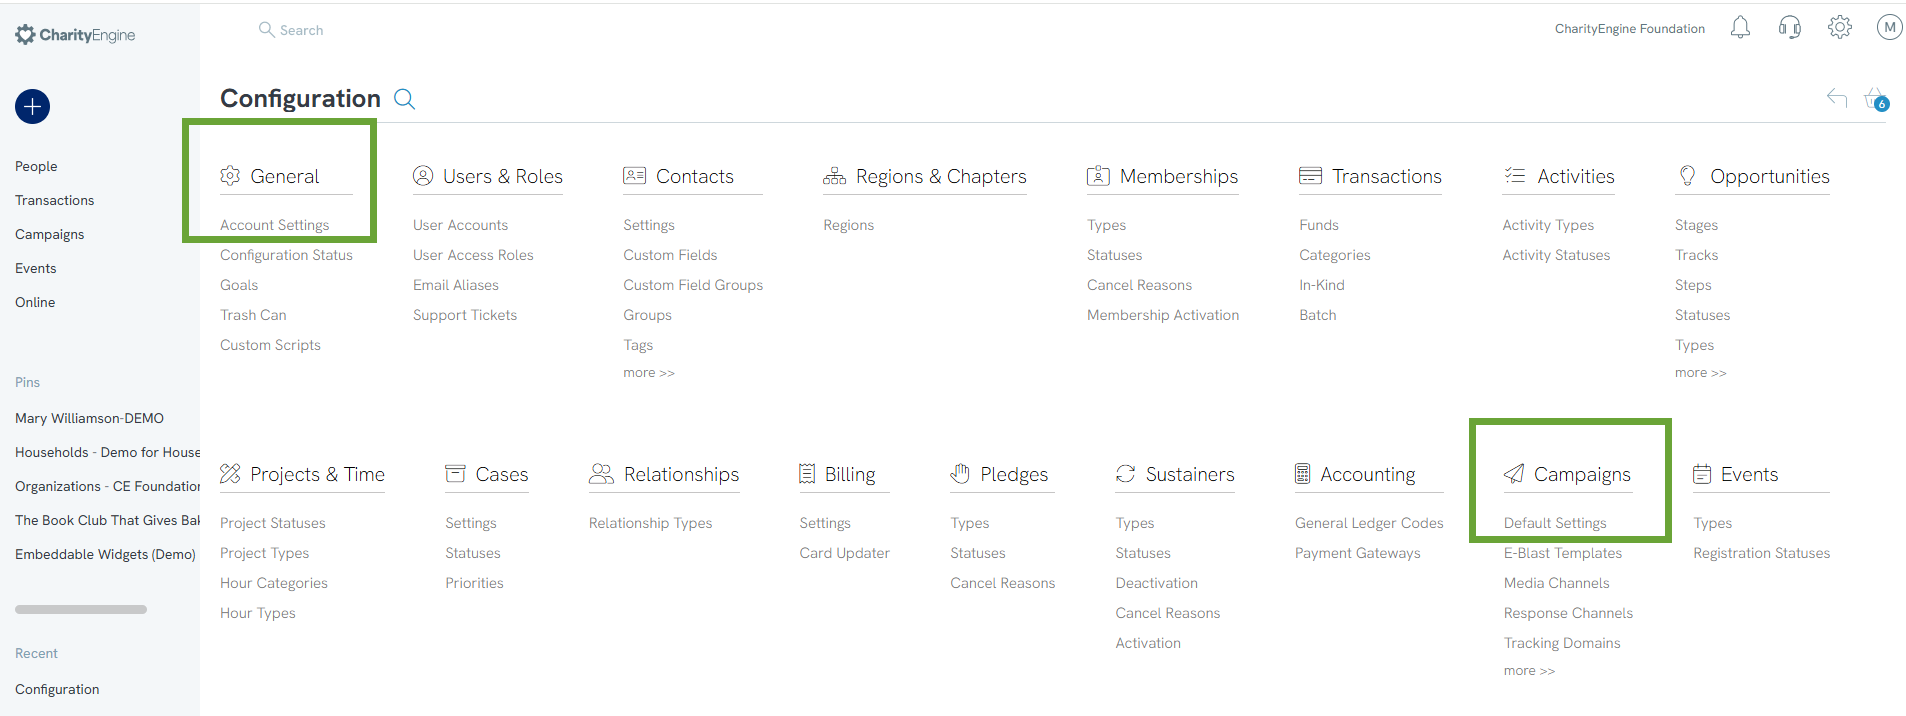
Step 1: Set Up Your Organization’s General Information
Navigate to:
Configuration > Account Settings > General Tab
We recommend updating the following fields:
-
Organization Name (External) – This is the name your donors will see.
-
Organizational Email Address
-
Organizational Phone Number
-
Organizational Mailing Address
-
EIN – This should already be populated; review for accuracy.
-
Fiscal Year Settings – If your organization uses a fiscal year, enter the fiscal month and day.
-
Organization Logo – Upload a logo (72x72 pixels) by clicking Select Image.
Optional (Recommended for Branding):
-
Organization Website
-
Social Media Links (e.g., Facebook, X/Twitter, YouTube)
-
Favicon – Upload a 32x32 pixel image.
-
Social Sharing Image – Upload a 1200x1200 pixel image for use on social platforms.
When finished, click Save to secure your changes.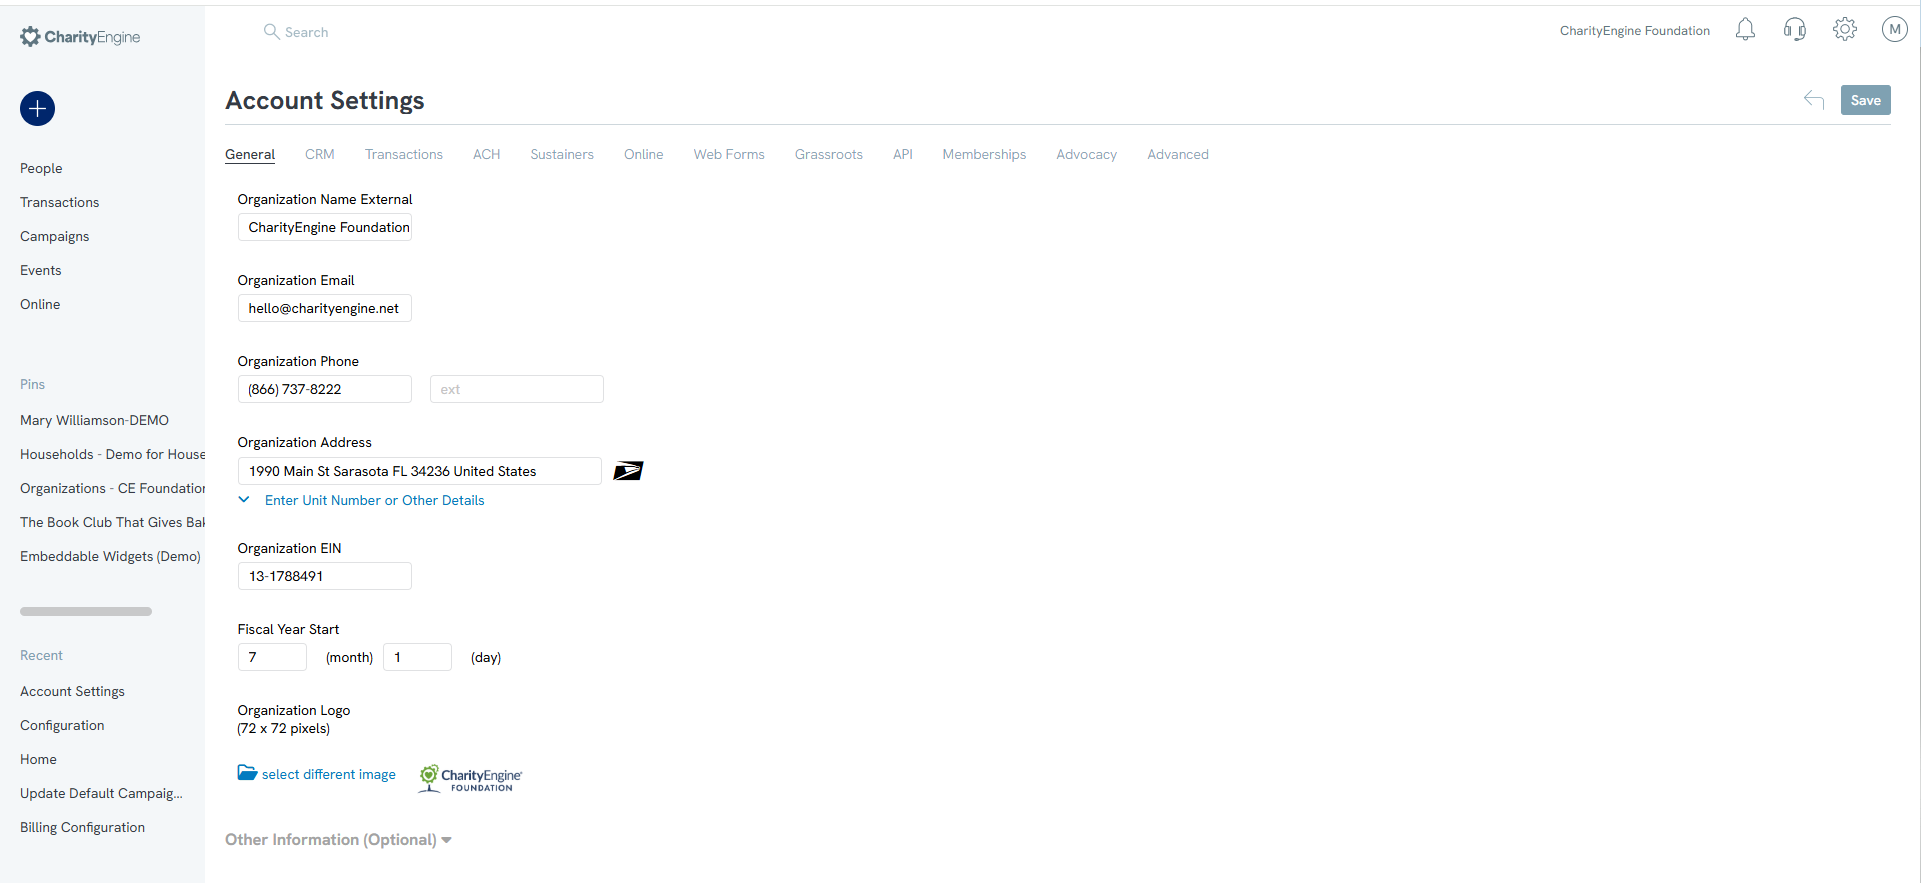
Step 2: Set Up Online Transaction Cost Coverage (Optional)
If you'd like to enable the option for donors to cover transaction costs, go to:
Configuration > Online Tab
This feature helps offset processing fees and can be a valuable fundraising tool. Learn more in our Help Center article on Transaction Cost Coverage.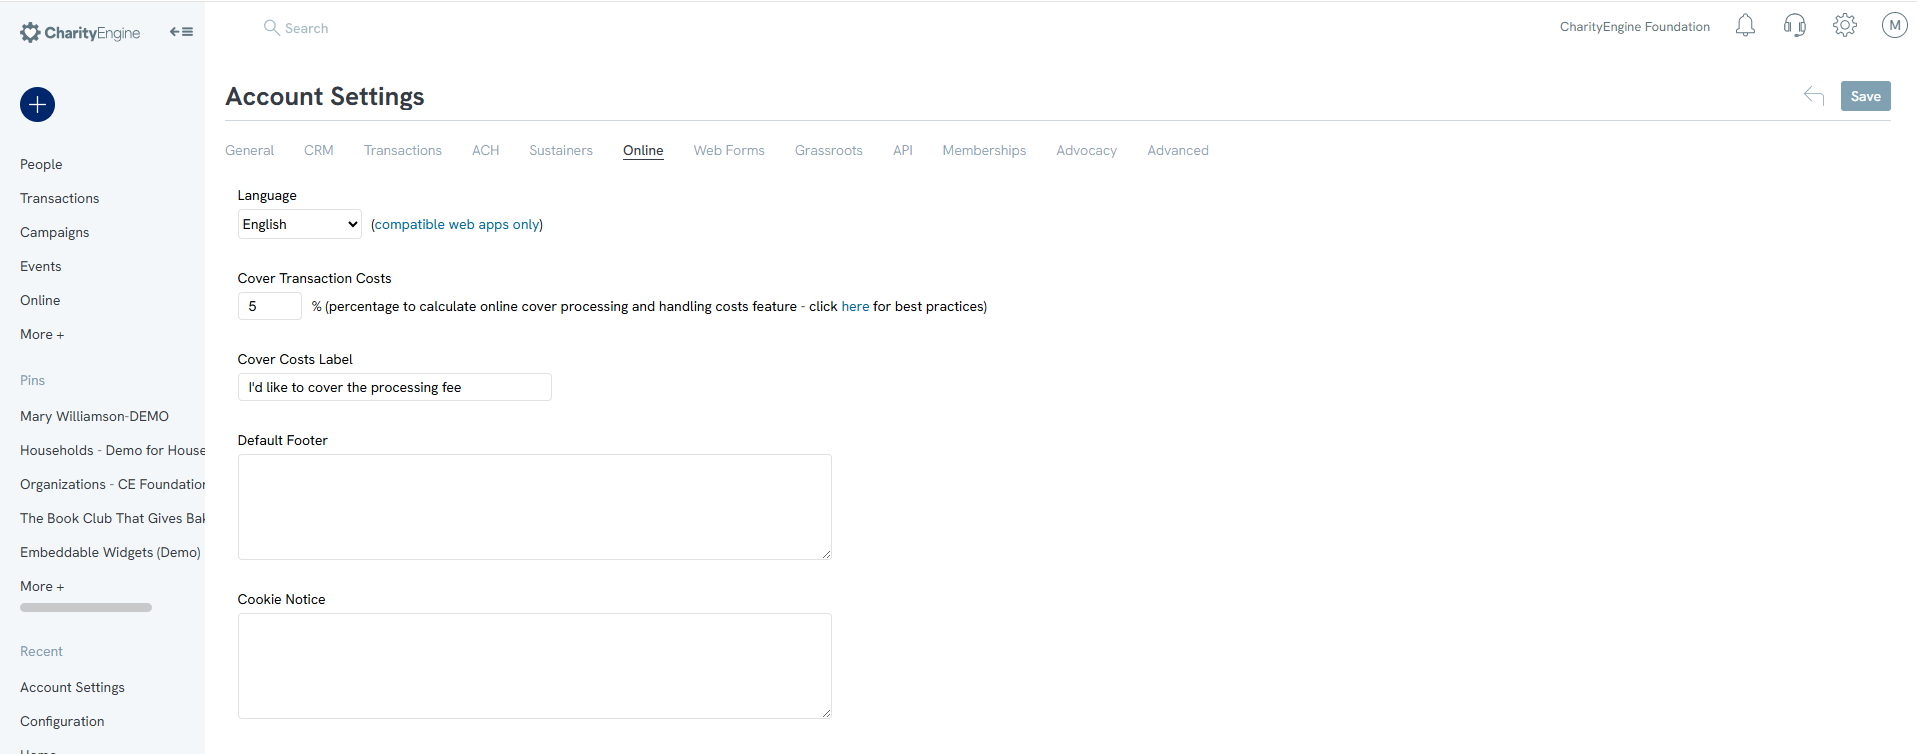
Step 3: Set Default Email Settings for Campaigns
Navigate to:
Configuration > Campaigns > Default Settings
If you plan to send emails through CharityEngine, setting default sender and reply-to details will save time and ensure consistency.
Under the General Tab, configure:
-
Default Sender Name
-
Default Reply-To Email Address
-
Default Recipient Name (optional)
Click Update to save your changes.
Final Notes
Once your general configurations are complete, these settings will be available for use across the platform—such as in email campaigns and online donation forms—through global tokens. This ensures consistent branding and accurate contact information across all communication channels.
You can return to the Configuration section at any time to explore more advanced options as your organization grows.
For further support, visit our Help Center, visit self-guided video training at CharityEngine Academy or reach out to our support team.
