Introduction
Users can give their supporters one consolidated, public-facing place to discover and interact with all of the organization's upcoming events through the Online Event Portal (also referred to as the Events Dashboard). From the portal, visitors can browse events, register to attend, sign up for an event's auction, and sign up for volunteer opportunities - all without needing a separate link for each one. The portal can be shared with anyone to build interest in upcoming events, drive early registrations, and give the organization's event registrants and community a single home for event engagement.Table of Contents
How the Online Event Portal Works
The Online Event Portal pulls together the organization's events, event auctions, and volunteer opportunities into one website. What appears in the portal is controlled at two levels:
1. Organization Level: In the Configuration App, users can turn the Online Event Portal on or off for the entire organization, set the homepage welcome message, and choose the design template used to style the portal.
2. Event and Volunteer Post Level: When the portal is turned on, each individual event and each volunteer post has its own toggle to either include it in the portal or leave it out. When an event is included, its auction and volunteer opportunities are pulled into the portal along with it.
Each event in the portal also has its own portal page with a unique URL. Instead of sending supporters directly to a registration web form, users can share the event's portal page, where supporters get a richer display of the event and may discover other events or volunteer opportunities they didn't know existed.
Instructions - Configuring the Online Event Portal
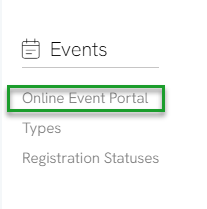
Step 1: Navigate to the Configuration App > Events > Online Event Portal. The Configuration App is opened from the Configuration button in the top right of the application.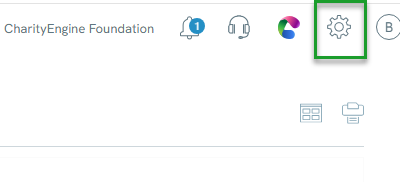
Step 2: On the Online Event Portal landing page, users will find the Event Page URL. This is the public link to the portal that can be used to advertise the organization's events.
Step 3: Use the toggle on this screen to turn the Online Event Portal on or off for the organization. If the portal is turned off, it will not be available, regardless of the settings on individual events.
Step 4: Enter the Homepage Welcome Message using the full WYSIWYG editor. HTML can also be added here.
Note: The welcome message styles the portal's homepage (landing page) only. It does not style the rest of the portal. Styling for the full portal is set by the design template in the next step.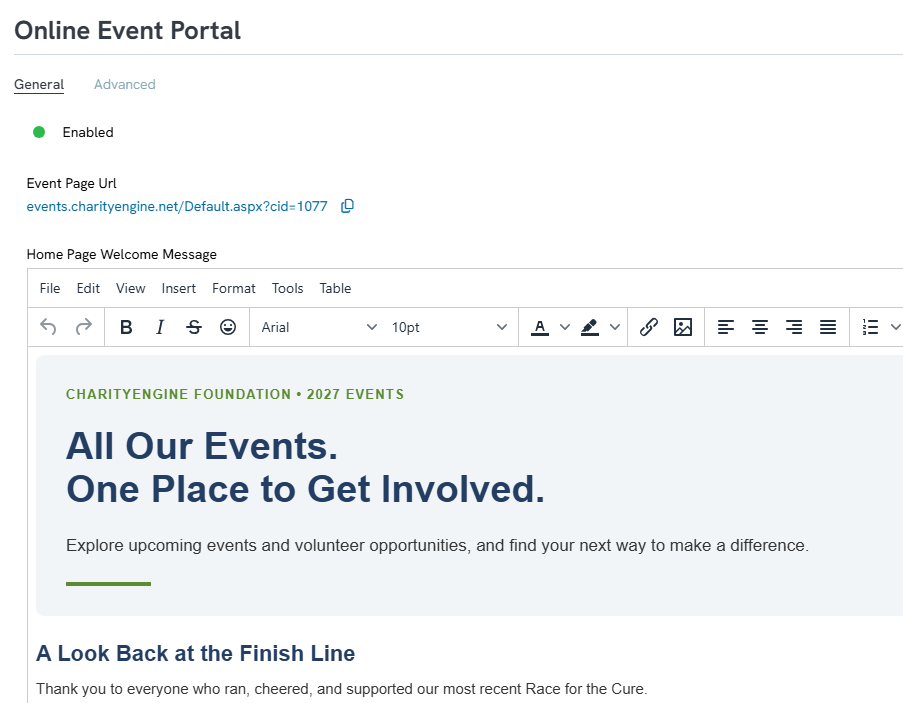
Step 5: Click the Advanced tab to set the following options:
1. Template: Select a website design template. The template styles both the portal homepage and every individual event page in the portal.
2. Show Navigation: Turn on to display the navigation menu (Home, Events, and Volunteer Opportunities) at the top of the portal.
3. CMS Website: Optionally connect the portal to a CMS website created within the CharityEngine application.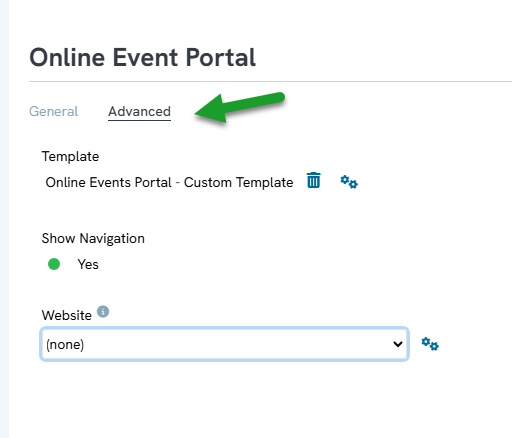
Instructions - Including an Event in the Portal
Step 1: Locate the event and click Manage to open it.
Step 2: Click the Online tab, then the Event Portal tab.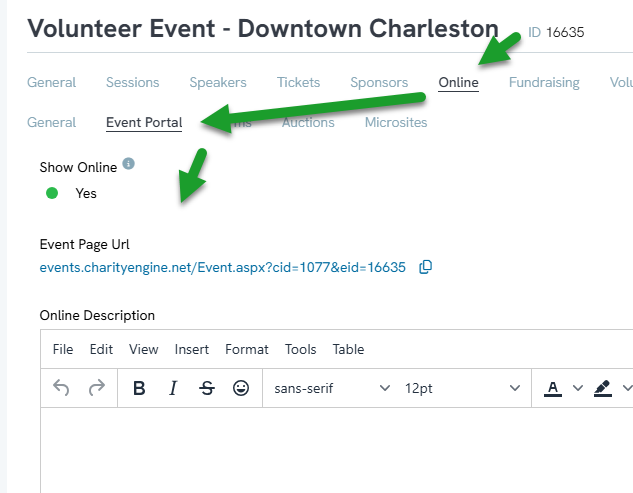
Step 3: Use the toggle to choose whether to show the event online in the portal.
Step 4: Enter the event's Online Description using the full WYSIWYG editor. This description is what supporters will see on the event's portal page.
Step 5: Copy the Event Page URL if needed. This direct link opens the event's page in the portal and can be shared on its own to advertise the event.
Note: If the event has an auction or volunteer opportunities, they will be pulled into the portal with the event. To allow supporters to register from the portal, the event must have a sign-up web form attached.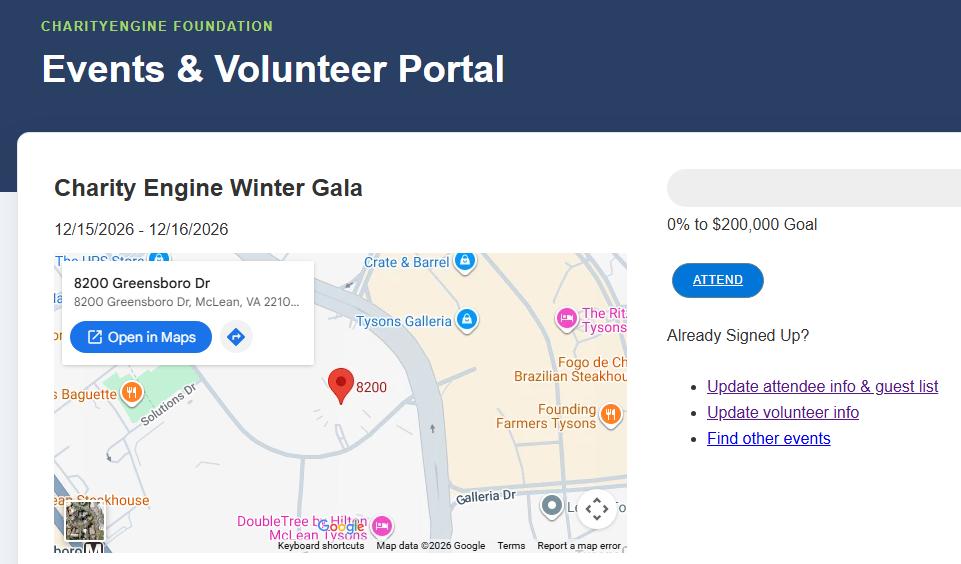
Instructions - Including a Volunteer Post in the Portal
Step 1: Navigate to the Events App > Volunteers > Volunteer Posts and click Manage on the volunteer post.
Step 2: Click the Online tab.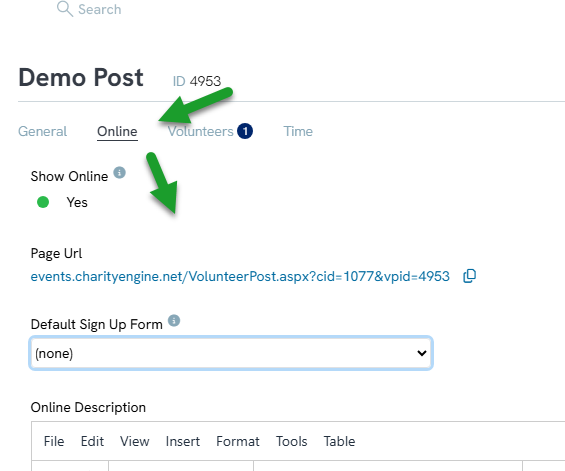
Step 3: Use the toggle to choose whether to include the volunteer post in the portal.
Step 4: Enter the post's Online Description using the full WYSIWYG editor.
Step 5: Connect the volunteer post to a web form so supporters can sign up for the post directly from the portal. Clicking the sign-up option in the portal will take them to that form.
Instructions - Navigating the Online Event Portal
Step 1: Open the portal using the Event Page URL found in Configuration App > Events > Online Event Portal.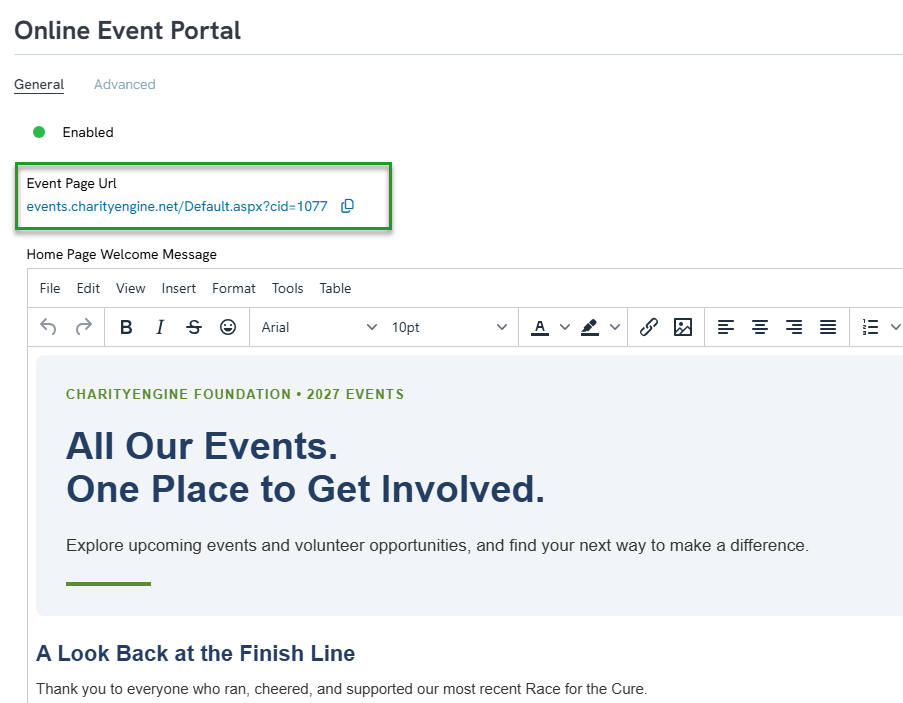
Step 2: The portal homepage displays the welcome message configured in the Configuration App. If Show Navigation is turned on, the navigation menu at the top displays Home, Events, and Volunteer Opportunities.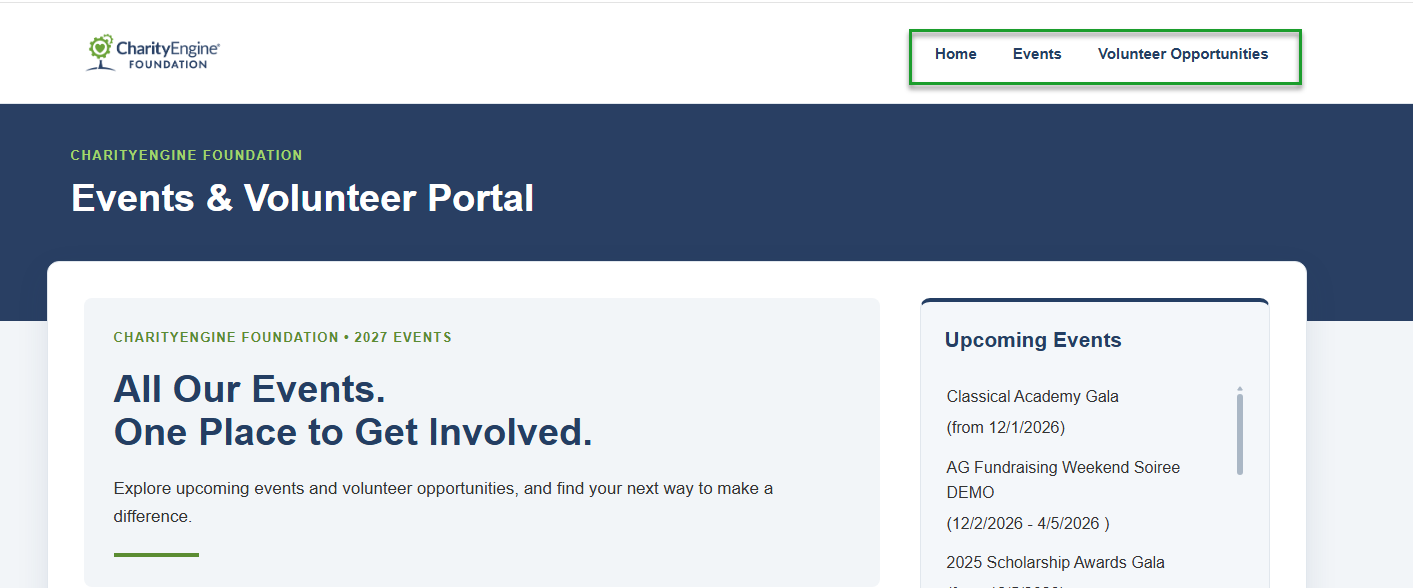
Step 3: Two side panels appear on the homepage: Events and Volunteer Opportunities. Each panel lists the items that have been toggled on for the portal, in chronological order by date.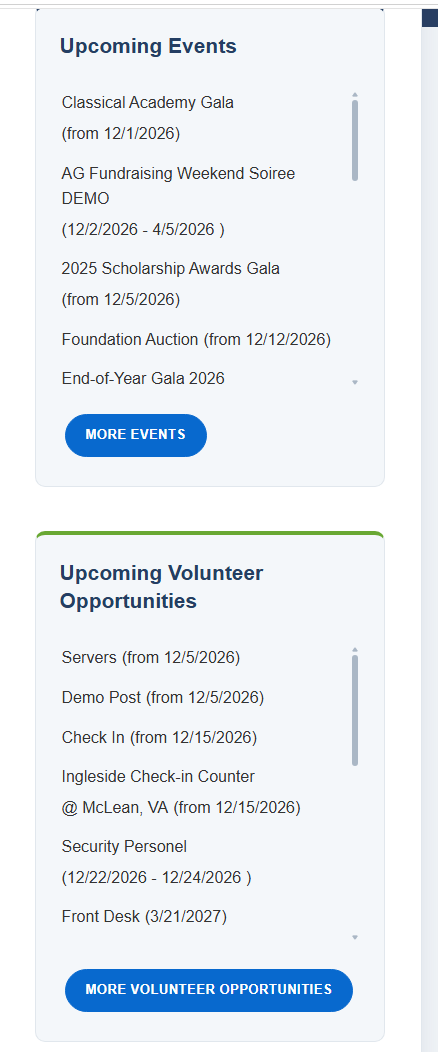
Step 4: Click More Events to open the event search page. This page displays a map of event locations, a list of all events included in the portal, and a search bar to find an event by name.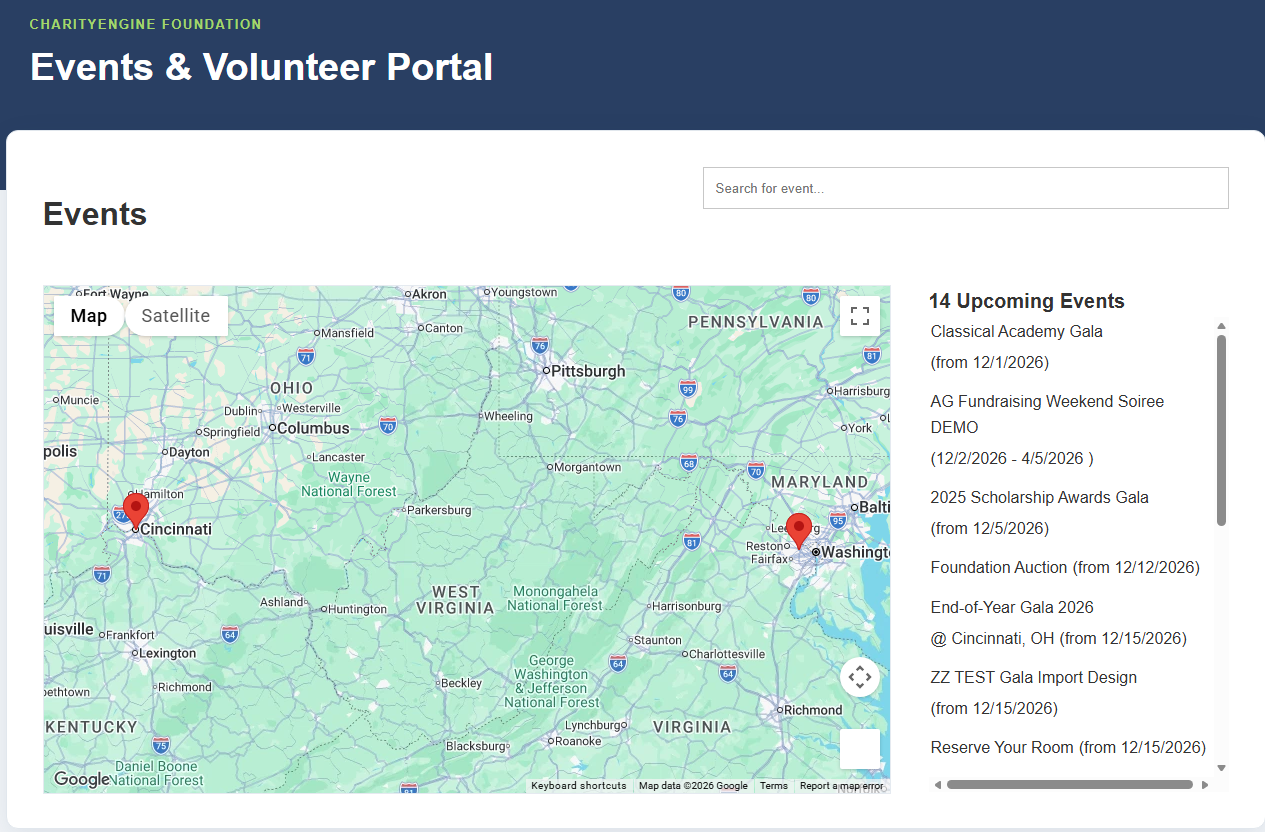
Step 5: Click any event to open its portal page. From the event page, supporters can: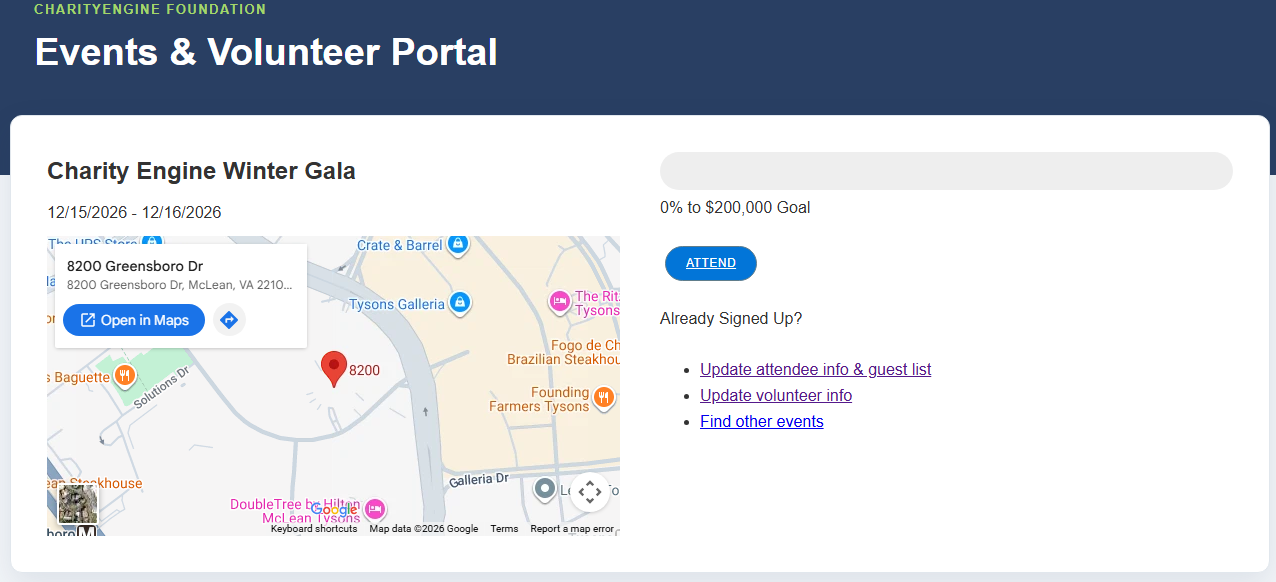
1. View the Location: See the event on a map, open it in their maps app, and get directions.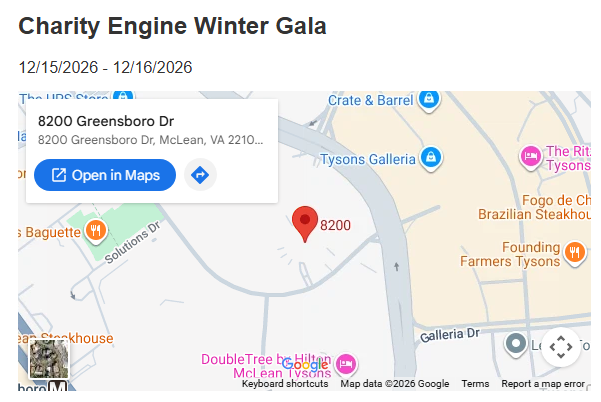
2. Track Progress: If the event is already running, view the event's goal bar.
3. Register: Click Attend to open the event's sign-up web form. This button appears only if a sign-up form is attached to the event.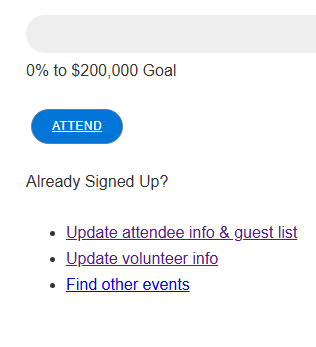
4. Volunteer or Join the Auction: Sign up for the event's volunteer opportunities (if the volunteer post has a web form) or for the event's auction (opens the auction sign-up form).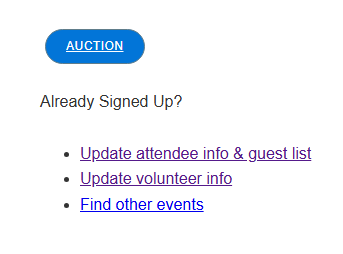
5. Contact the Event Manager: If an event manager is listed on the event, click the manager's name to send them a message about the event. The message is delivered to the event manager by email.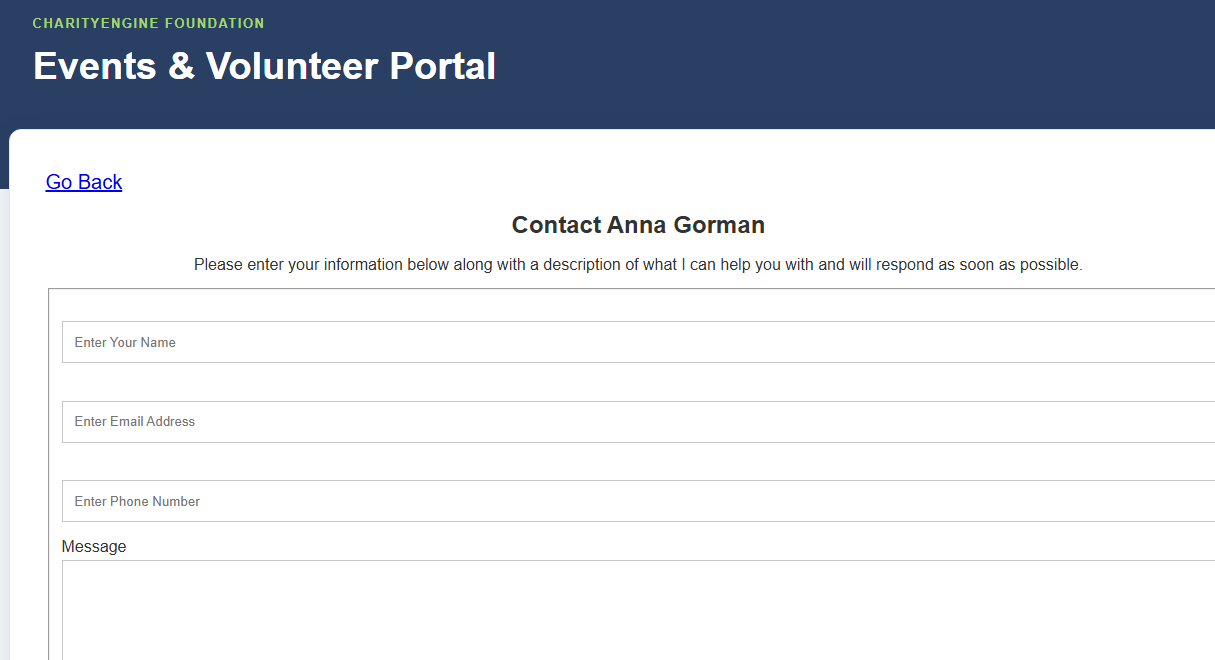
6. Manage an Existing Registration: If the supporter is already signed up, the page displays links to Update My Attendee and Guest List and Update My Volunteer Info. These open the Constituent Portal, where the supporter logs in to update their event tickets or volunteer details. A link to find other events returns them to the events page.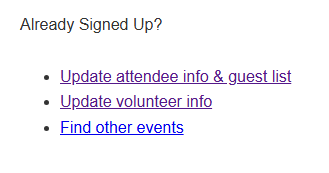
Step 6: Click More Volunteer Opportunities to open the volunteer search page. Like the events page, it includes a map, a search bar, and a chronological list of volunteer posts. Click any post to see how many volunteers are needed, which event the post is for, and whether the supporter is already signed up.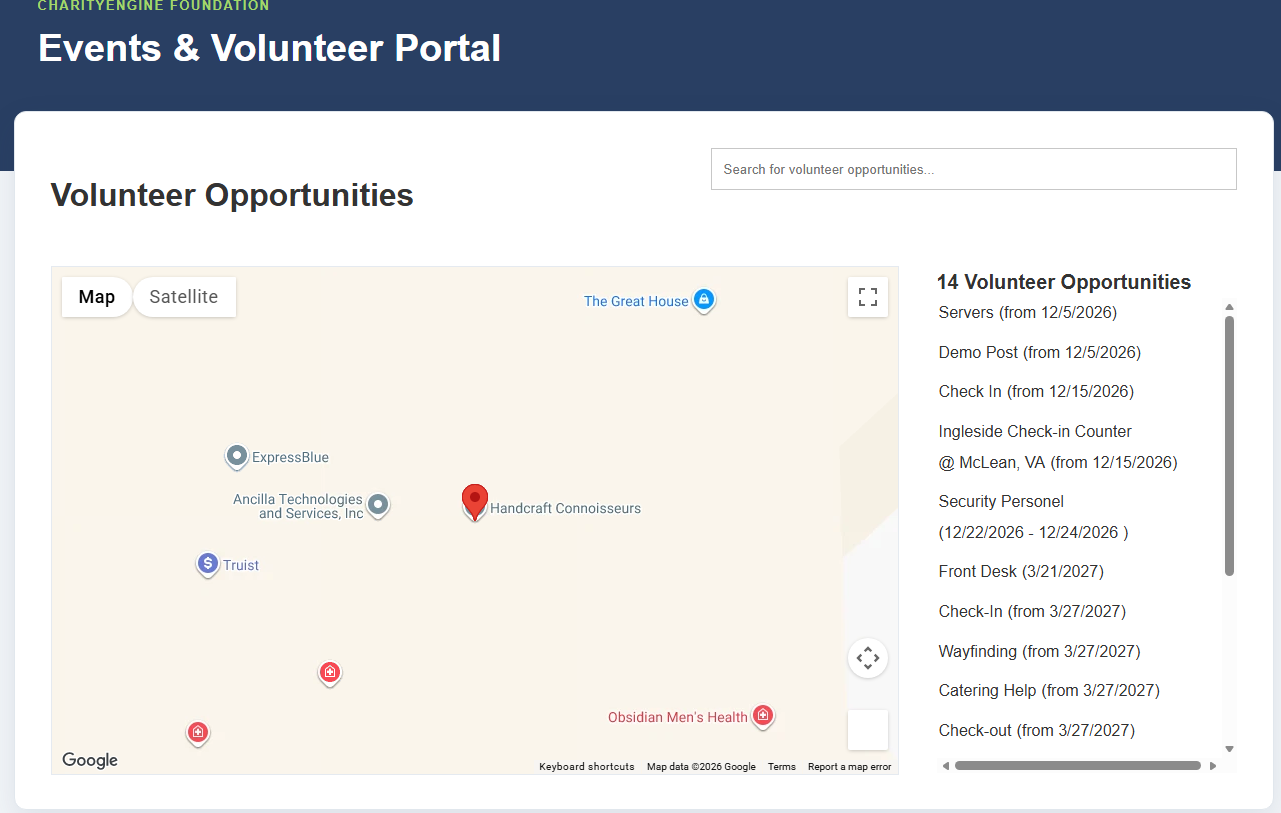
FAQs & Additional Reading
Q. Can I share a link to a single event instead of the whole portal?
A. Yes. Each event has its own Event Page URL, found when managing the event under Online > Event Portal. Sharing this link takes supporters straight to that event's page in the portal.
Q. Why doesn't an event show an Attend button?
A. The Attend button only appears when a sign-up web form is attached to the event. If the supporter is already registered, the page shows options to update their attendee and guest list instead.
Q. Does the homepage welcome message control the look of the whole portal?
A. No. The welcome message only styles the portal's homepage. The design template selected on the Advanced tab controls the styling of the homepage and every event page.
Q. What happens if the Online Event Portal is turned off in the Configuration App?
A. The portal will not be available, even if individual events or volunteer posts are toggled on.
