Introduction
There may be times where you have to manually enter a transaction into CharityEngine, such as when you receive a cash or a check donation, or if you take donations on a different platform other than CharityEngine and the transaction did not come through a web form. If CharityEngine is your system of record, in order to keep reporting accurate and up to date, you will want to add these transaction to CharityEngine. Manually creating a transaction is very easy and all you need is the contact record, or create one if the record does not already exist, and some basic transaction information. You will also be able to attribute the transaction with different initiatives, funds, or even attribute the transaction to an existing sustainer or membership account.Table of Contents
Prerequisites
There are no prerequisites for manually creating a transaction
Instructions - Where Users Can Enter Donations
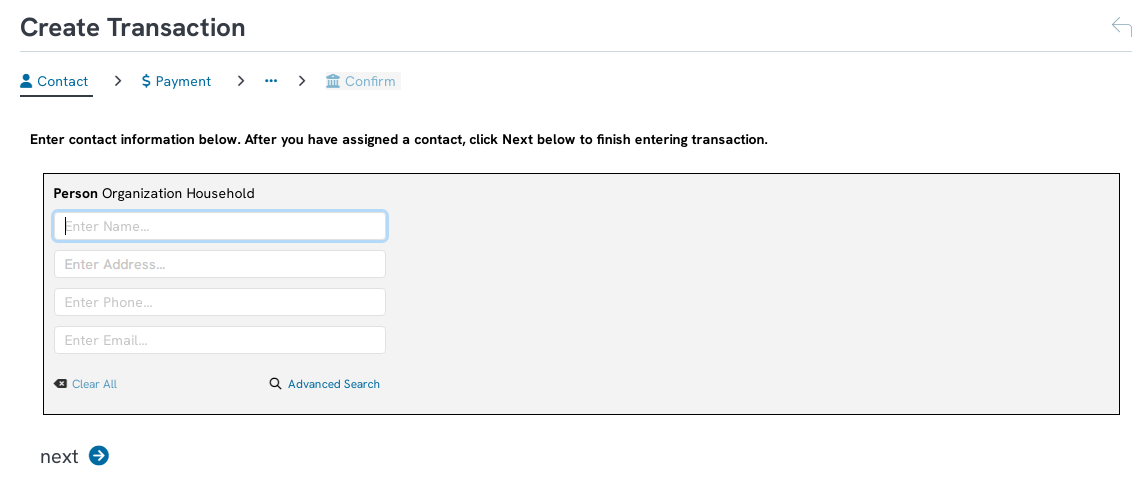
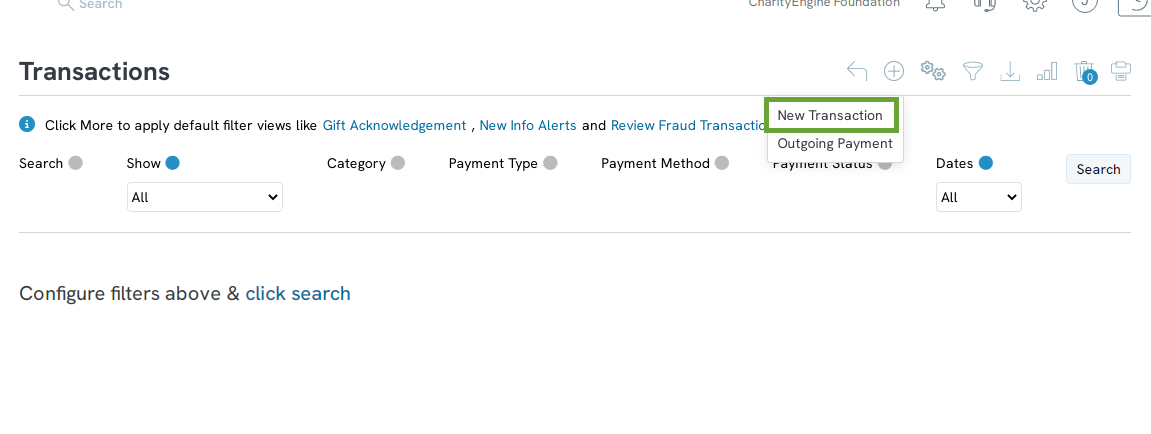
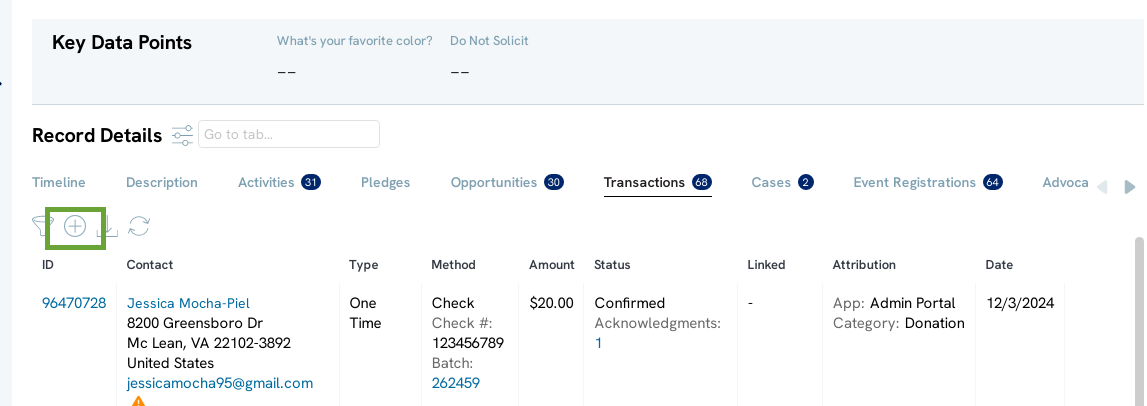
- Donations-Batch Entry: How to Set-up & Enter Donations Via Batch Processing
- Data Importing: How to Import Transactions
Workflow Reference - Contact Information
The first step in creating a transaction is to add or attribute a contact to the transaction. This contact can be an individual person, an organization, or a household. To indicate the contact record type, select from the three options by clicking on the contact record type.Note: Best practices for adding new contacts - CharityEngine encourages entering information into all fields. This step ensures that the matching logic is leveraged to locate any existing donors. If no donor is located, the workflow will create a new contact to assign the transaction.
Contact Name
You will need to enter the full name (first name, last name for people) of the contact (person, organization, or household) associated with the transaction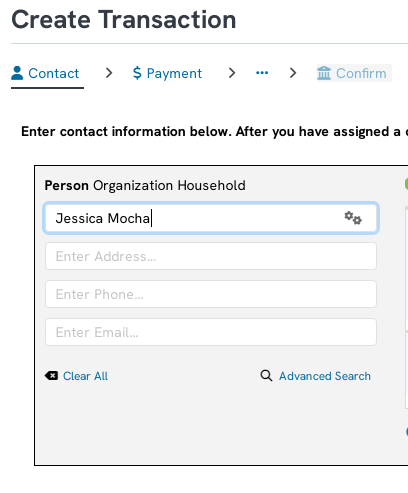
Click on the gear to input additional fields necessary to either match or create the contact 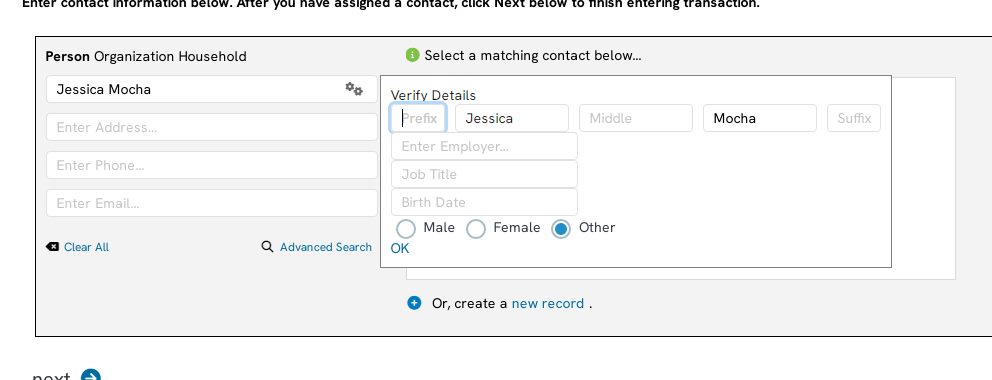
In addition to the fields you see by default
- Prefix, suffix, and middle name
- Donor employer (if necessary)
- Donor Title
- A birthdate
- Gender
Note: if you are collecting donor birth date information, consider setting up a drip campaign that sends out happy birthday emails to your donors
If the contact type is an organization, you will have the ability to add
- the organization type
- the industry of the organization
- the point of contact
If the Contact type is Household, you will have the ability to add:
- Head of Household
- Spouse
Contact Matching: Promoting Record Data Hygiene
At any point upon information associated with your transaction, a match associated with the data can be found. The more information that is entered into the fields, the better the database will be able to provide a match.
If a match is found, the possible matches will appear on the side of the screen, with the matches listed in the closest match order.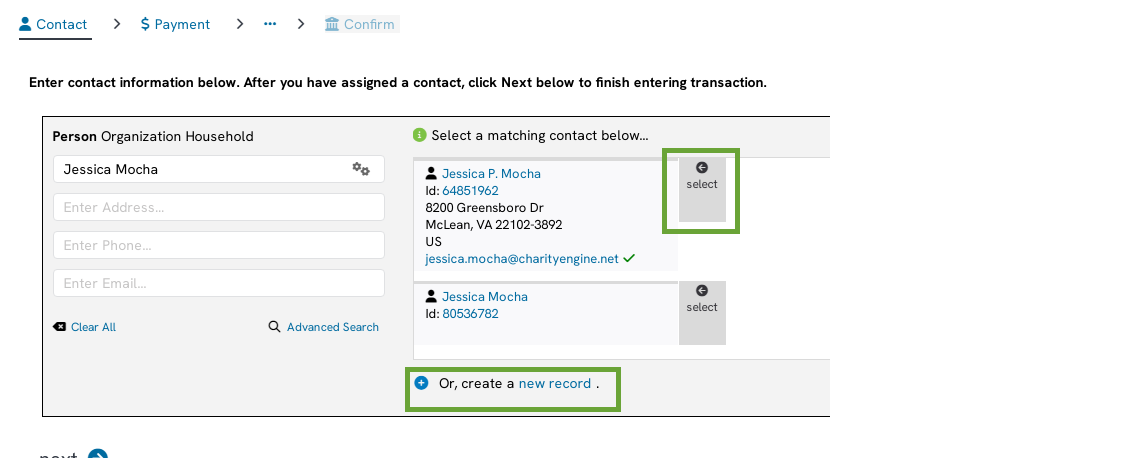
If no matches are populating, but you are positive the contact record exists, you can always try a broader search to provide an extra check against all records in your CRM
After searching the entire database, if no contacts match, click create a new record to create a new contact with the information provided in the fields.
Contact Address
By using our Google Maps API feature, when you begin typing the donor address, results will auto-populate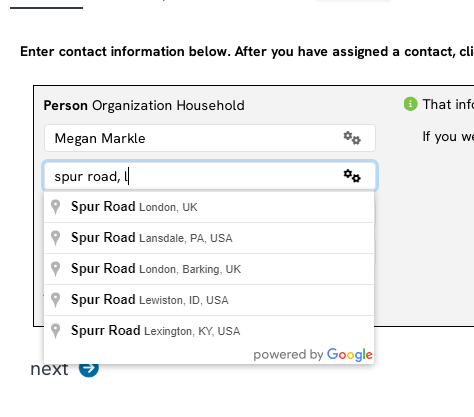
You will be able to add additional address details, the same way contact details were added, by clicking the gear button
Note: additional addresses can be added later when you manage the contact record.
Contact Phone Number
By clicking the gears for the phone number, you will be able to identify the phone number category – home, office, other, add an extension, and attribute number type – landline, mobile, fax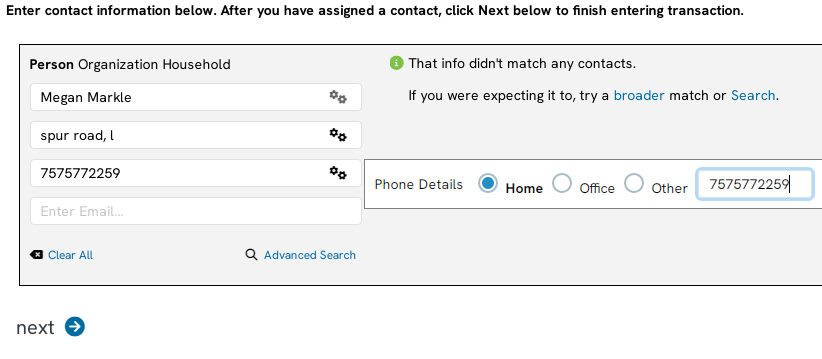
Contact Email Address
By clicking the gears for details, you can identify if the email is a home, office or 
Note: Delineating email address type helps your marking teams be more strategic in targeted campaigns and initiatives
If the donor wants to remain anonymous, you can toggle to yes after placing their contact information in.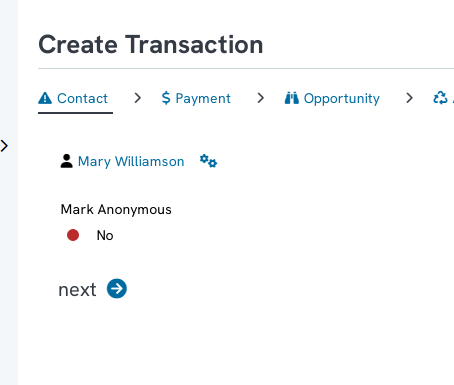
Workflow Reference - Transaction Information
After you have attributed the transaction to a specific contact, you will be able to enter the payment information
The two key fields to note are the Amount and Method fields.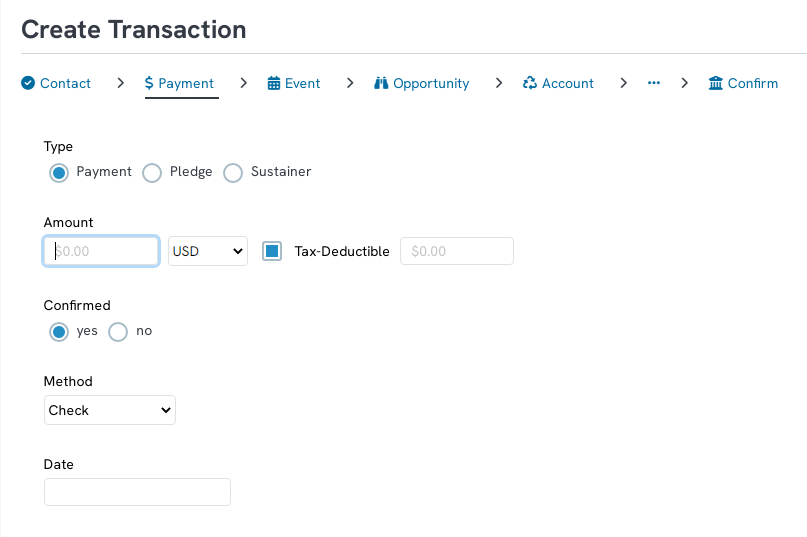
When selecting the method type, the drop-down will include Cash, Check, Credit Card, Bank Account, Electronic Check, In-Kind, Other, and None
Payment Method: Credit
When the Credit method is selected, the processor and the mode will be set the default settings that can be changed if needed.
1. Processor: The default payment processor will always be selected, however you are able to manually select a different payment processor if needed by selecting Change
2. Mode: Systems settling will default to Charge, however users will have the ability to authorize card information as well. Authorizing card information does help retain donor dollars.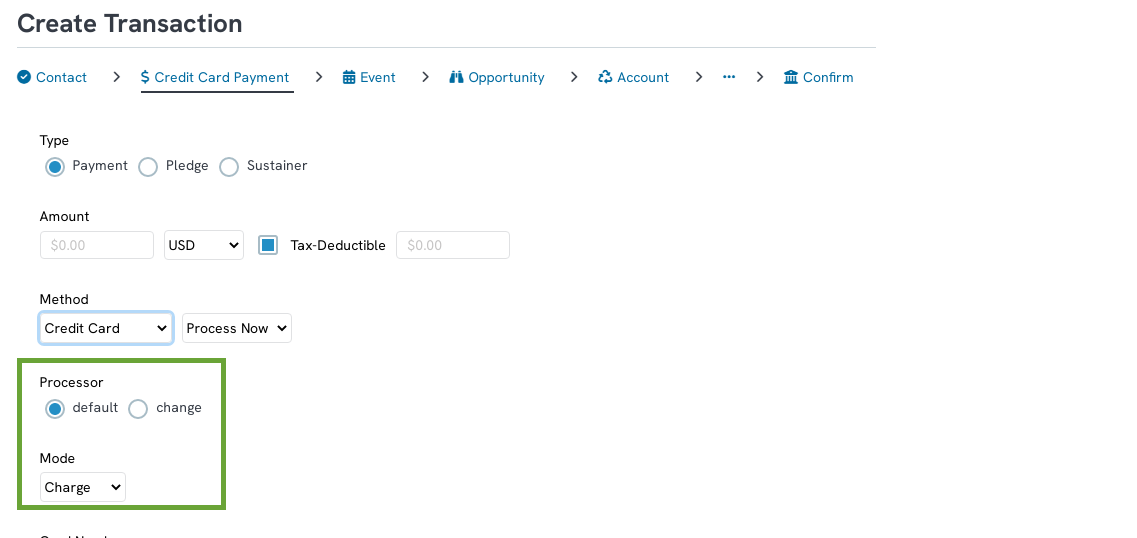
Payment Method: Electronic Check and Bank Account
By selecting either Electronic Check or Bank Account, almost all the same fields will appear. The only fields that differ are the Check Number field for electronic check and the ACH Type field for Bank Account. Entering the correct information is crucial and will help with locating the transaction more easily.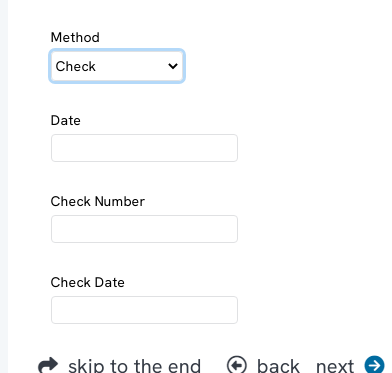
Note: The only required fields for ACH and Electronic Checks are the Account Number and the Routing number. All other fields will assist in locating the transaction and ensure funds are withdrawn from the correct account.
Payment Method: In-Kind
An In-Kind donation is a non-monetary donation, such as a car, clothing, or food products.
1. Type: Select the type of donation received
2.Sale Price: Important data point related to In-Kind donations are price, currency, and date (i.e. date of donations/sale)
3.Broker Fee: Any fees associated with use of a broker. This is important as it does impact the overall donation amount value.
Payment Method: Offline
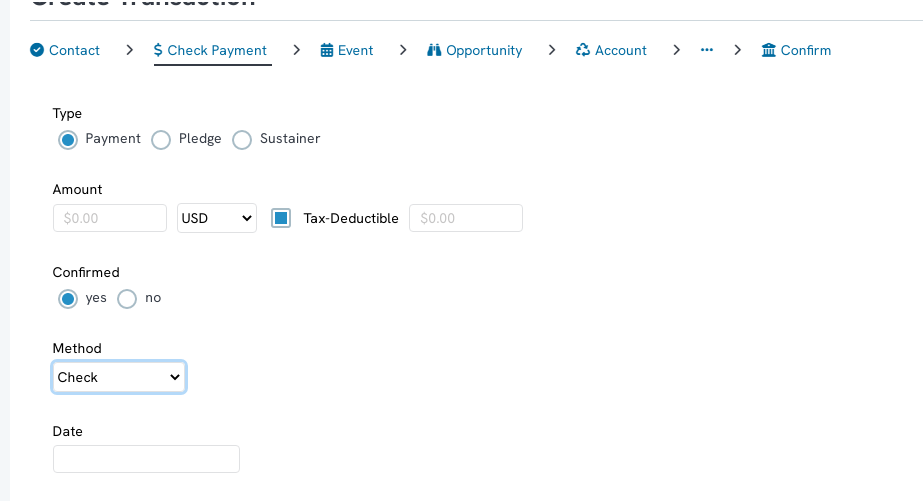
Cash or check payments that were made in person are considered offline payments.
With Cash payments, the only information that needs to be entered is the amount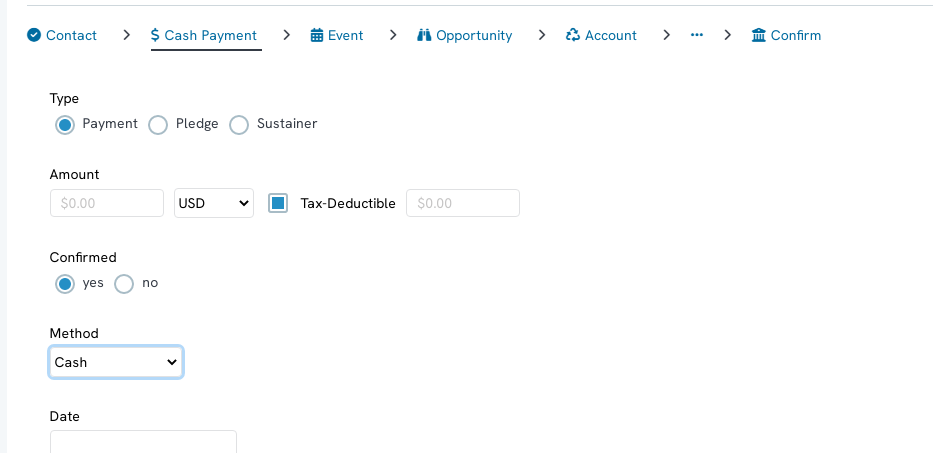
With Check
Workflow Reference - Other Attributions
Once the user has entered the contact and transaction information, the user can assign other attributions to the transaction through the workflow. These entries will include:
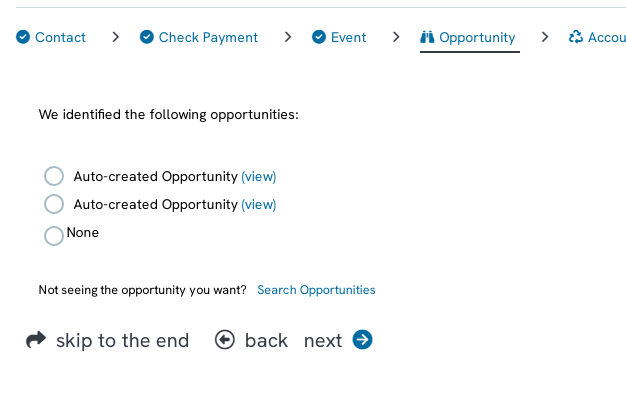
Opportunities
Any accounts or opportunities that the contact record has been associated with in the past will display as options to attribute to the transaction record. This makes it easier to assign the transaction to the correct account while creating it.
Account
In this step, the user will be presented with any previously identified accounts which may include pledge, sustainer, membership account types. 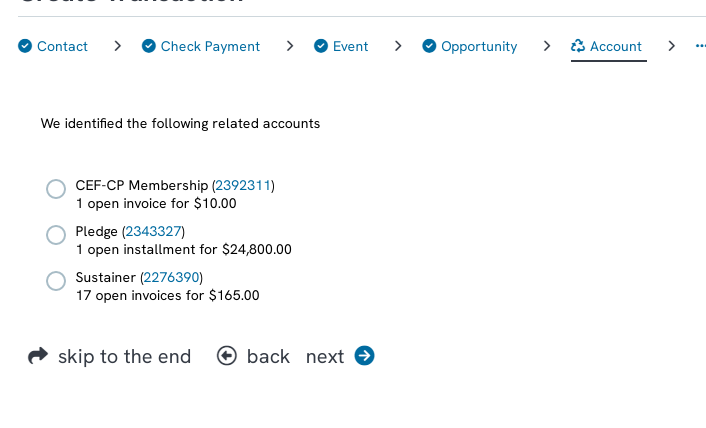
Campaign Initiative
On the Campaign Initiative tab, the user will have the ability to search for an initiative to attribute to the transaction. Select Click to Select Initiative. This will initiate a pop up appear where the user can search by name or Id of the initiative.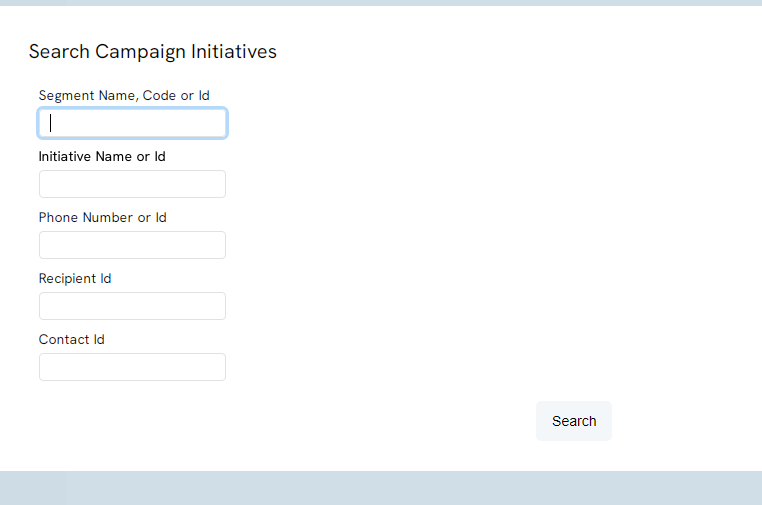
Advanced
The Advanced tab will allow the user to attribute a specific fund, GL code, and/or response channel to the transaction. This step will also allow manual entry of any transactional custom fields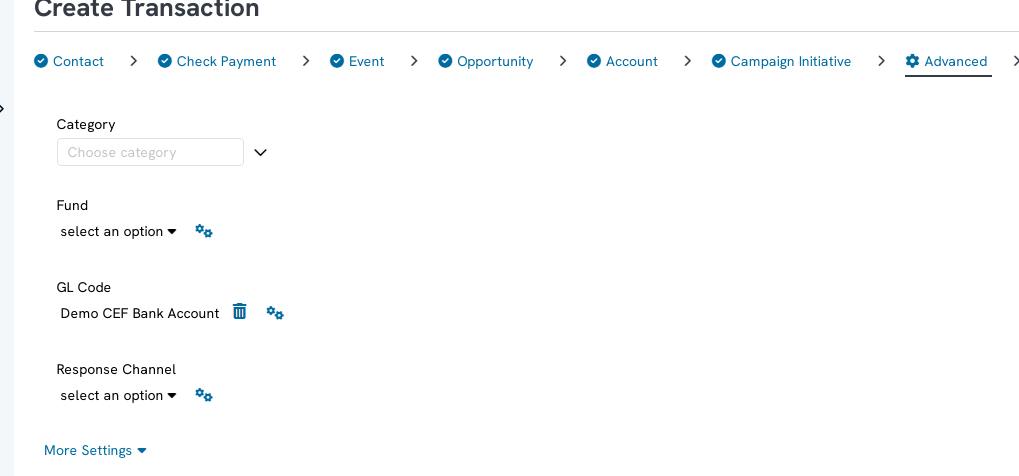
Confirm
Finally, on the Confirm step, the user will confirm all attributions and entry before transaction creation. 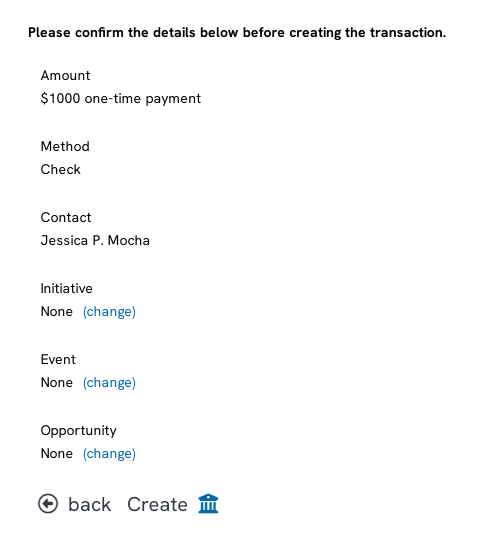
By following the above steps you will be able to create transactions manually and attribute them just as they would through a web from.
Once the transaction has been created, you will be able to preform a variety of different tasks, such as viewing the record, sending a receipt, or navigating back to the previous page to streamline navigation.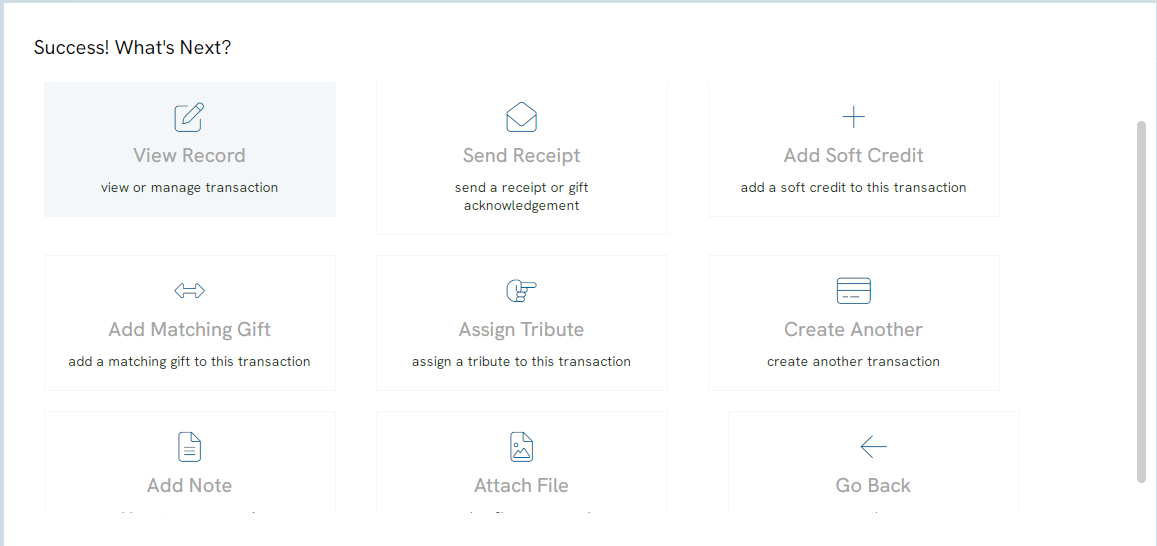
FAQs & Additional Resources
Q. How do I process a refund, credit, partial credit, or charge back?
A. Learn more in our article Donations: Processing Outgoing Payments/Credits
Q. Where can I complete batch processing of donations?
A. Learn more in our article Donations-Batch Entry: How to Set-up & Enter Donations Via Batch Processing
Q. I have historical transactions/external transactions that I need to import into CharityEngine. How can I achieve this action?
A. Learn more in our article Data Importing: How to Import Transactions
