Embeddable Widgets: Donation, Sign-Up, and Legislator Lookup
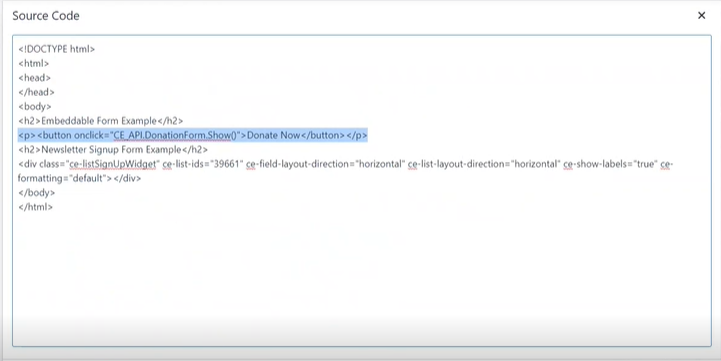
Embeddable Widgets allow you to place CharityEngine functionality directly on your organization's website without redirecting visitors to a separate page.
You can use Embeddable Widgets to:
- Accept donations.
- Collect communication opt-ins.
- Help visitors identify their elected officials.
Who should use this article?
This article is intended for website administrators and developers responsible for adding CharityEngine widgets to an external website.
Table of Contents
Prerequisites
Before adding an Embeddable Widget to your website:
- Install the CharityEngine Public Web API.
- Confirm that you can edit your website's header and page content.
- Have a developer available if you need custom styling or technical troubleshooting.
- Confirm that the website domain is configured correctly in CharityEngine.
Add the following script to the header of your website:
<script src="https://webapi.charityengine.net/api.js"></script>
Note: You do not need to add the Public Web API when using CharityEngine-hosted applications such as CMS pages, Peer-to-Peer fundraising pages, Advocacy Action pages, or other CharityEngine fundraising and engagement applications.
CharityEngine provides the widget code and configuration tools. Your organization is responsible for placing the code on its website and completing any custom styling or third-party website troubleshooting.
For a basic demonstration, visit the CharityEngine Foundation demo site.
Install the CharityEngine Public Web API
Install the CharityEngine Public Web API before embedding a widget on an external website.
For complete instructions, see Developer: API - Installing the CharityEngine Public Web API.
Create a Donation Widget
Create and Configure the Widget
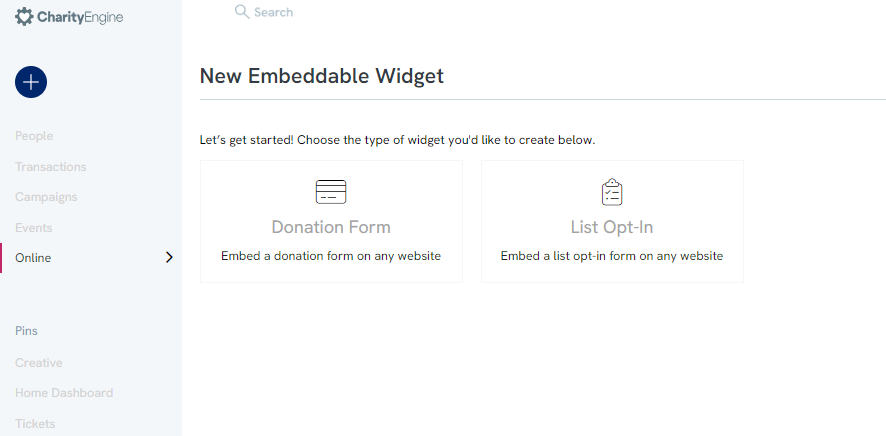
- Go to Online > Embeddable Widgets > Search & Manage > Create New > Donation Form.
- On the General tab, enter or update the widget Name.
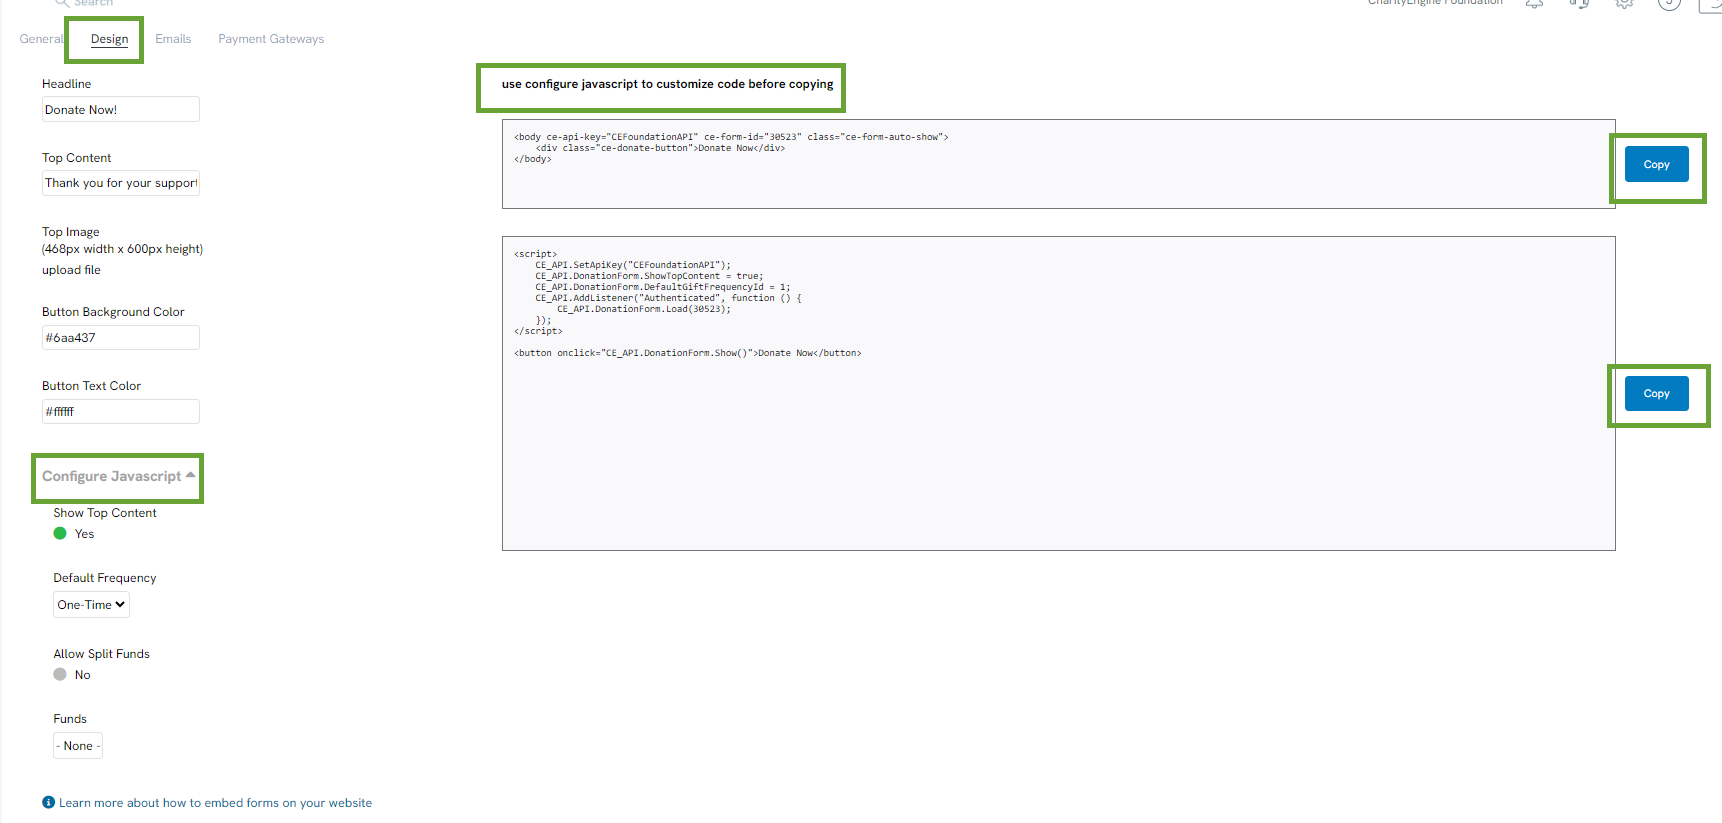
- On the Design tab, configure the available design options, including:
- Headline
- Top Content
- Top Image
- Button Background Color
- Button Text Color
- When using JavaScript, expand Configure JavaScript to access additional options, including:
- Show Top Content
- Default donation frequency
- Allow Split Funds
- One or more available funds
As you change these settings, the code displayed under Embed Using HTML and Embed Using JavaScript updates automatically.
- On the Emails tab, select the appropriate acknowledgment and receipt templates. Configure any internal carbon-copy recipients, when needed.
- On the Payment Gateway tab, select the gateway that will process transactions.
- Click SAVE.
Embed the Widget
- Return to the Design tab.
- Click Copy under either Embed Using HTML or Embed Using JavaScript.
- Paste the copied code into the appropriate area of your organization's website.
Choose an Embed Method
| HTML | JavaScript |
|---|---|
| Best for a straightforward implementation. | Best for developers who need more control over display and configuration. |
| Uses the generated HTML markup. | Uses the CharityEngine JavaScript API to load the widget. |
| Requires the CharityEngine API key in the embed configuration. | Allows additional configuration through JavaScript. |
Developer Notes
- HTML embeds require your CharityEngine API key.
- Use the following format when setting the API key:
CE_API.SetApiKey("organizationskey"); - Add the Public Web API script to the website header.
- Add the widget-rendering script or markup to the page body.
- When using a platform such as WordPress, place reusable scripts in the template or theme area when possible, and place widget-specific rendering code on the applicable page.
Read more about HTML configuration
Read more about JavaScript configuration
Create a Sign-Up Widget
The Sign-Up Widget allows visitors to subscribe to one or more CharityEngine communication opt-in lists.
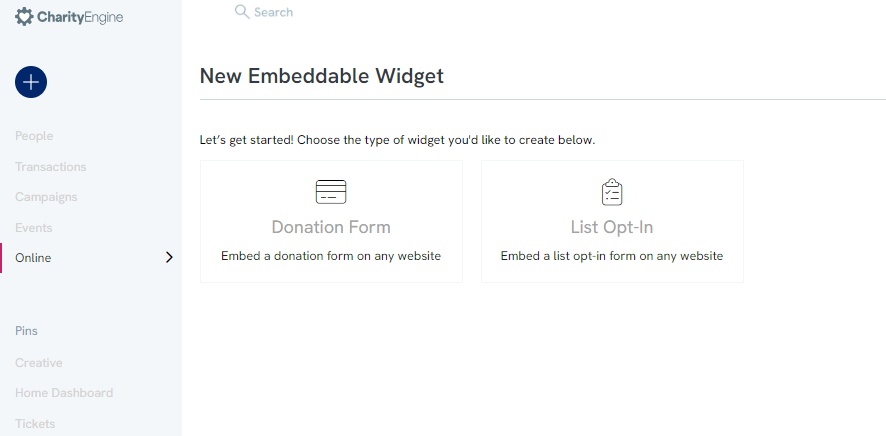
- Go to Online > Embeddable Widgets > Create New > List Opt-In.
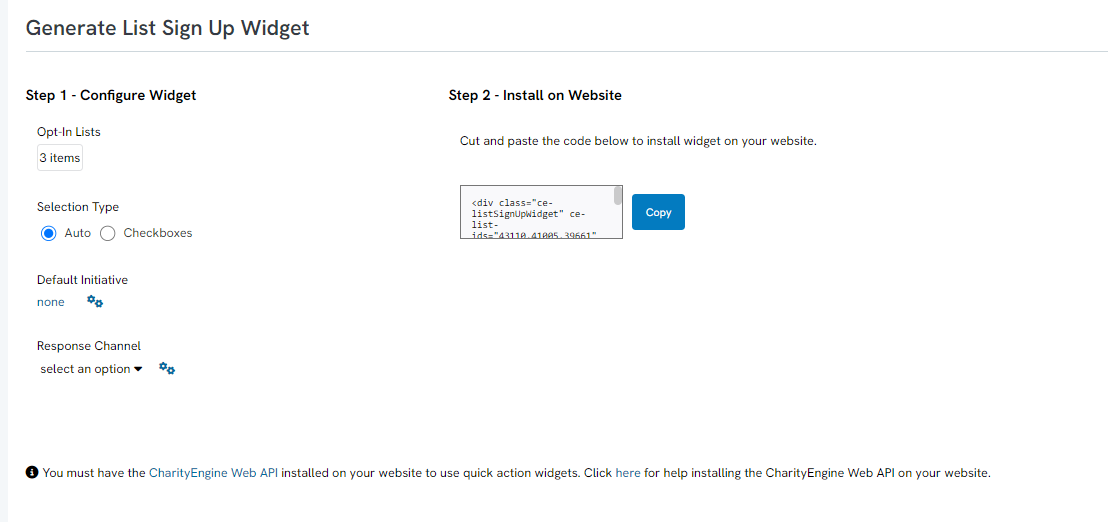
- Configure the following settings:
- Opt-In Lists: Select one or more lists visitors may join.
- Selection Type:
- Auto: Visitors are automatically subscribed to the selected list or lists.
- Checkboxes: Visitors choose which available lists they want to join.
- Default Initiative: Select the initiative associated with the sign-up.
- Response Channel: Select the appropriate response channel.
- Click Copy to copy the code displayed in the widget configuration.
- Paste the code into your organization's website.
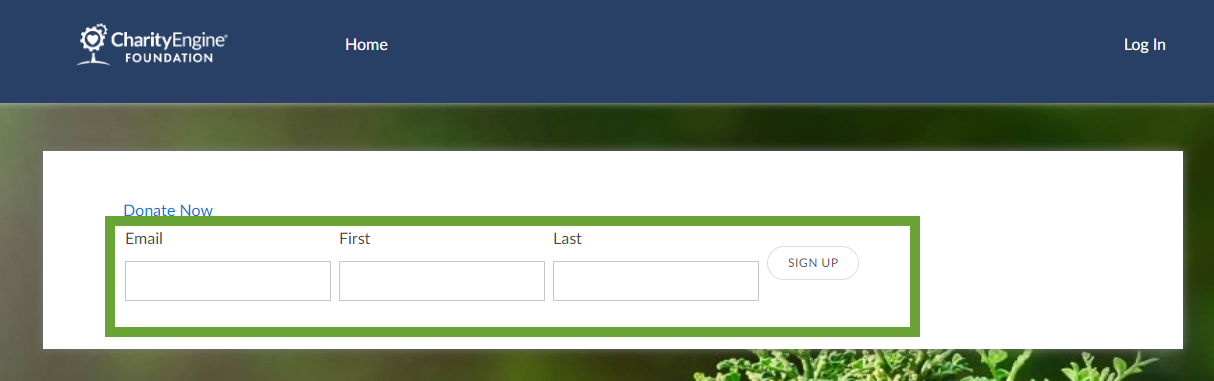
Visitors can now enter their information and subscribe to the configured communication list or lists.
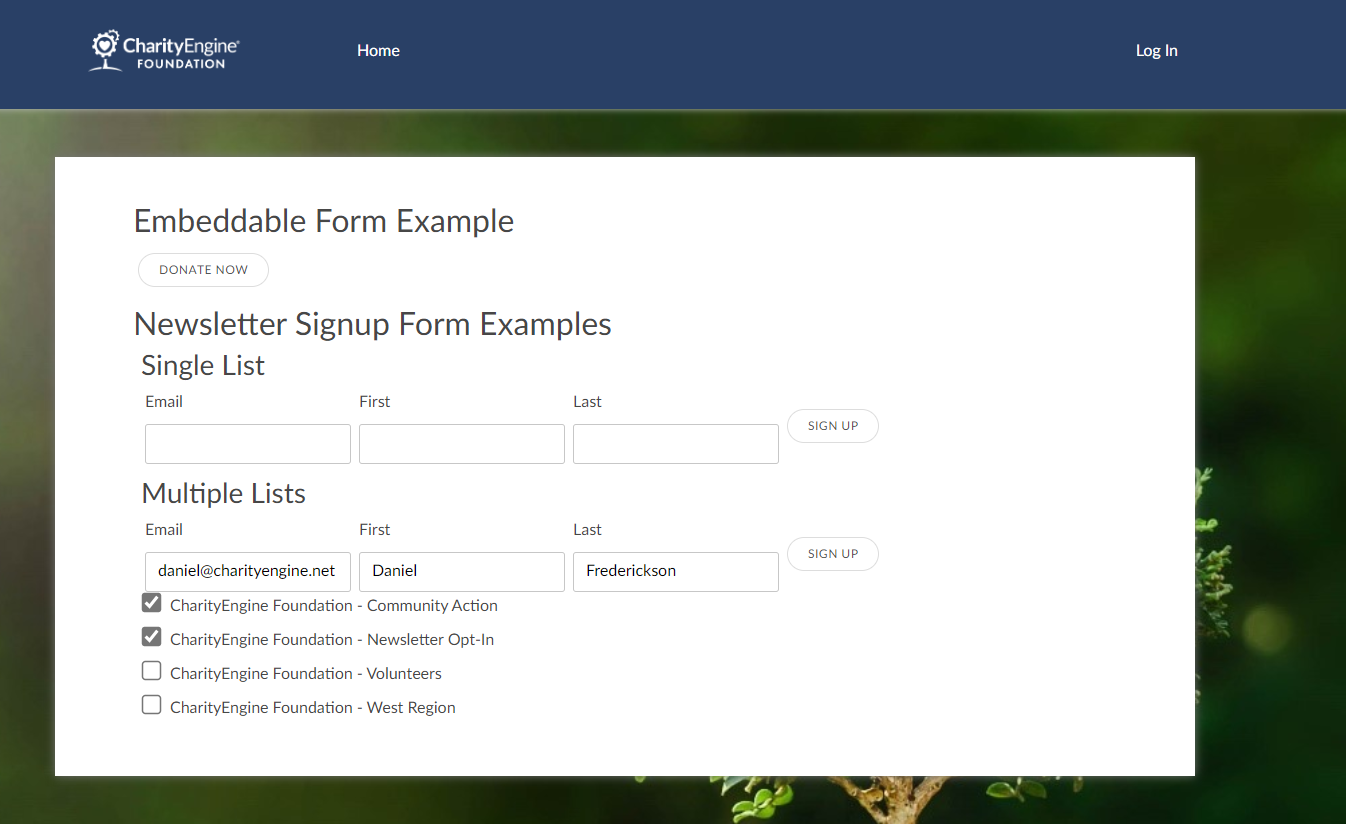
The following example includes a general sign-up option and multiple list choices:
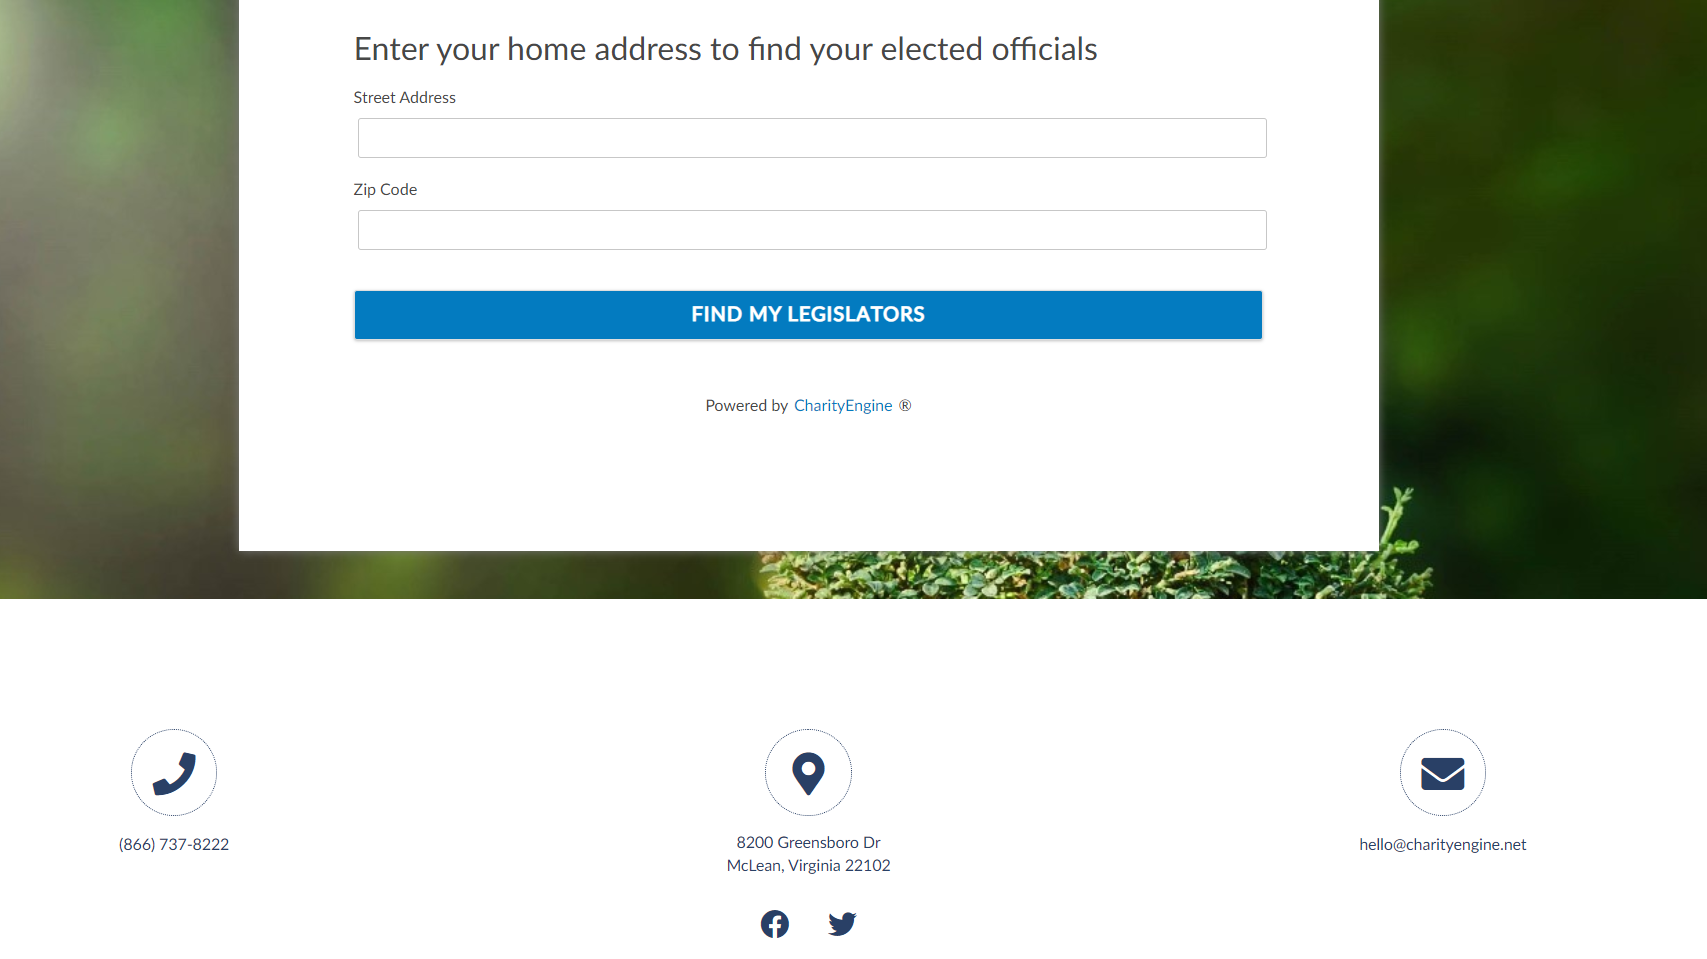
Add the Legislator Lookup Widget
The Legislator Lookup Widget allows visitors to identify their elected officials using address information.
After installing the CharityEngine Public Web API, add the following markup to the page where the widget should appear:
<div class="ce-legislatorLookUpWidget"></div>
Example:
Troubleshooting and FAQs
The Widget Is Not Loading
If the widget does not load or behaves unexpectedly:
- Verify that the CharityEngine Public Web API script is installed.
- Confirm that the API URL is correct.
- Verify that the configured website domain matches the domain entered in CharityEngine.
- Confirm that the correct Widget or Form ID is used in the API call.
- Use your browser's developer tools to confirm that the page loads successfully before the widget initializes.
- Review any security restrictions applied by your website platform or third-party host.
For additional guidance, see the Public API Troubleshooting Guide.
Can the Widget Open in a Pop-Up?
Yes. A developer can use the HTML embed method to display the widget in a pop-up. Make sure the API key is included in the configuration, using the following format:
ce-api-key="OrganizationNameAPI"
Can a Widget Be Opened from a Button?
Yes. A developer can connect the widget to a button so the form opens when a visitor clicks it.