Introduction
Welcome to our guide on advanced web form development. In this resource, we will explore advanced techniques and best practices for creating powerful and dynamic web forms that enhance user experience, streamline data collection, and drive conversions.
Table of Contents
Prerequisites
When customizing web forms, it's important to proceed with caution to avoid unintended consequences and maintain the functionality and integrity of the forms. We recommend documenting all modifications made to the form settings for future reference and troubleshooting.Please be mindful of any dependencies or integrations the form may have, as customizations could impact their functionality.
Remember to thoroughly test any customizations before deploying them to production. CharityEngine provides release notification for users. Please be sure to complete end user testing during web form release cycles to ensure customizations were not impacted.
Adding Additional Payment Types
Step 1: Navigate to the Web Forms App > locate form > Actions > Manage
Step 2: Navigate to Layout > Payment Block > Show Fields > Payment Method
Step 3: Click on Display > Advanced > Add New
Step 4: Click on Add: Label – donor facing language, Value – 3 for Check, Default = yes or no > SAVE
Step 5: Click on Developer Tab > General > Element Id: PaymentMethod > Custom CSS Class: PaymentMethod
Step 2:
Configuration App > Design & Messages > Locate Template associated with the web form (if system, create a new custom template and connect to the web form) > Actions > Manage > Screen HTML Page Content > add the following code prior to close the body
<script>
window.addEventListener('load', function(){
var mailInCheckToggle = '<span class="paymentTypeContainer"><input id="mailInCheckToggle" class="paymentTypes" type="radio" data-paymentId="3"><label id="mailInCheckToggleLabel" for="mailInCheckToggle"><i class="fas fa-money-check"></i><span>Check</span></label></span></div>';
document.getElementById('paymentToggleRow').insertAdjacentHTML('beforeend', mailInCheckToggle);
document.getElementById('mailInCheckToggle').addEventListener('click', function () {
handlePaymentMethodSelected(document.getElementById('mailInCheckToggle'));
if (WebFormContext.Form.StepName == 'Process Step' && WebFormContext.Form.RenderedViewName != 'Success View') {
document.getElementsByClassName('Payment').style.display='block';
}
});
$('.paymentTypeContainer').on('click', function(){
if (document.getElementById('mailInCheckToggleLabel').hasClassName('active')) {
document.querySelector('.mailInCheckInfo').removeClassName('hidden');
document.getElementById('billingDiffToggleContainer').style.display = 'none';
document.getElementById('BillingSection').style.display = 'none';
document.getElementById('billingDiffToggle').checked = false;
document.getElementsByClassName('BillingInfoCheckbox')[0].style.display = 'none';
}
else {
document.querySelector('.mailInCheckInfo').addClassName('hidden');
}
});
});
</script>
Click SAVE
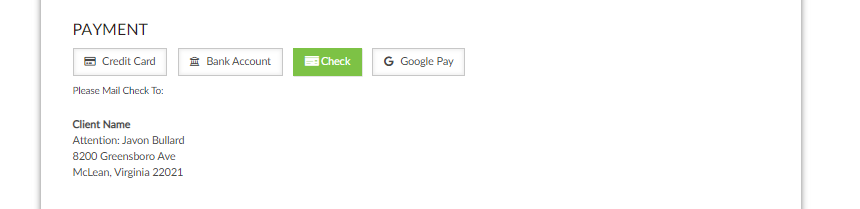
If presenting the language "Mail Check To:"
Step 1: Navigate to the Web Forms App > locate form > Actions > Manage
Step 2: Navigate to Layout > Payment Block > Use + to create new field > Name: Internal Naming Convention (i.e. Mail In Check Detail)
Step 3: Navigate to Type: Text > OK > Locate new field within Payment Box > use the Pencil icon to manage the field > Update: Label (donor facing view) > Type: Content Block, Data Type: Text > Display
Step 4: Navigate to General > Default Value: Add Mailing details > Developer Tab > General > Element Id: MailInCheckDetail > Parent Element CSS Classes: mailInCheckInfo hidden > SAVE
Managing Web Form Fields- Adding Validations
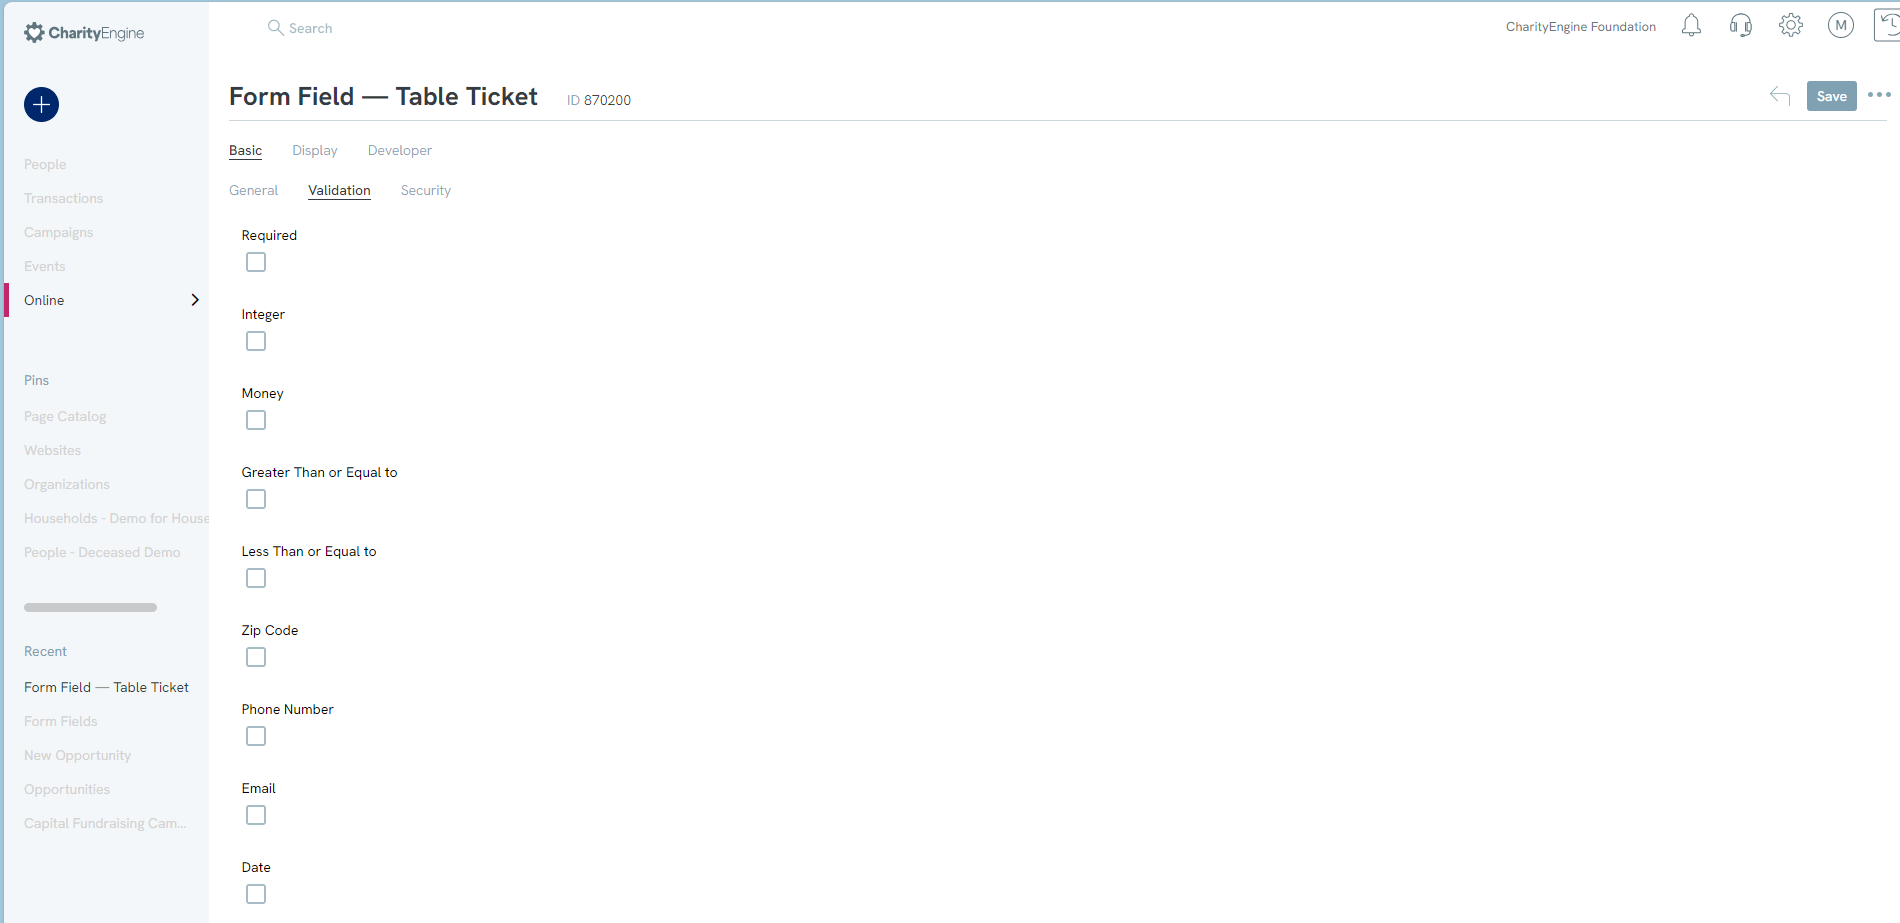
For example, the Greater than or equal to and Less Than or Equal to are great validations for fields regarding tickets. You would be able to control how many tickets can be purchased in a single transaction. If there are limited tickets, you could use the Less than or Equal to validation and limit it to 1 ticket per transaction.
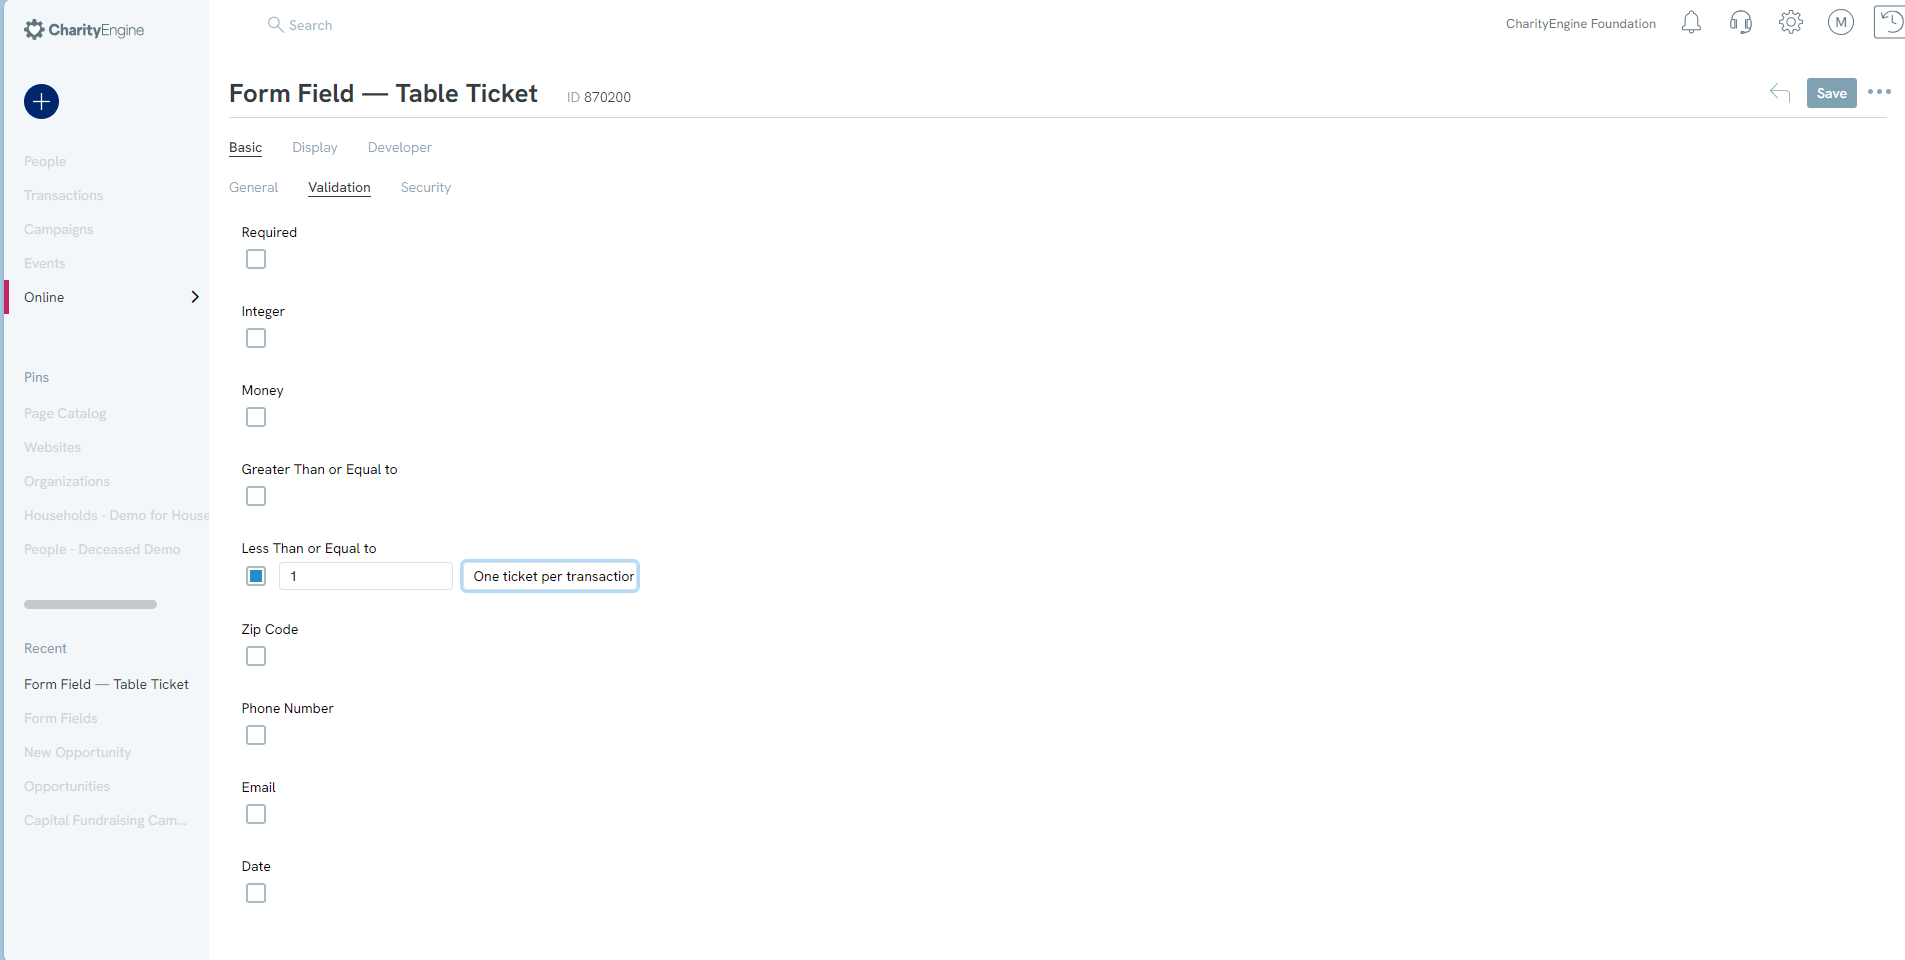
Messages can also be added to provide assistance if the answers are invalid or incorrectly answered. Using the above example, you can add a message informing the donor of how many tickets can be claimed in one transaction.
You can add multiple validations to further assist donors in inputting data into the form in the correct formats.
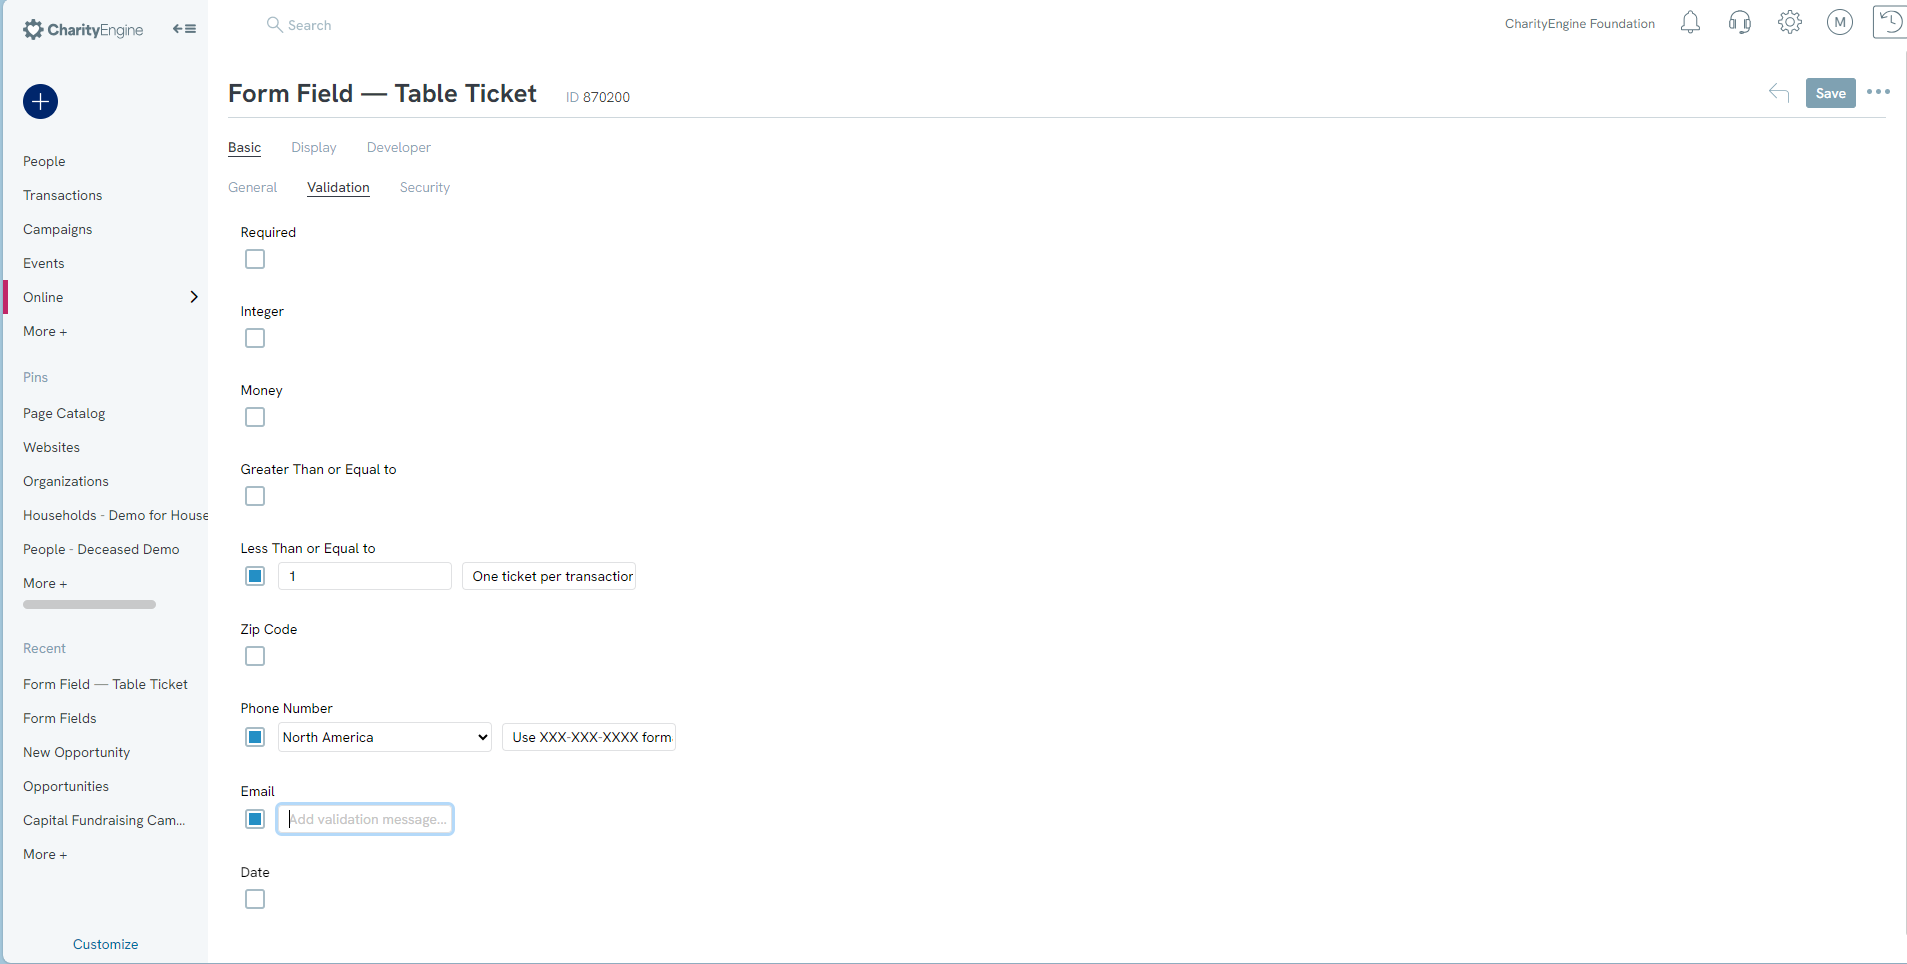
Note: Zip Code validation is only applicable to the United States zip codes and will not validate zip codes out of the country
How to Incorporate a Secondary Logo into Your Web Forms
This section provides general guidance on incorporating a secondary logo into your web forms to support your organization’s branding needs. Note that CharityEngine cannot provide direct support or troubleshooting for custom coding efforts related to website templates and designs. For customized coding needs, CharityEngine can recommend third-party vendors experienced in web development and design.
Working with Web Form Themes and Templates
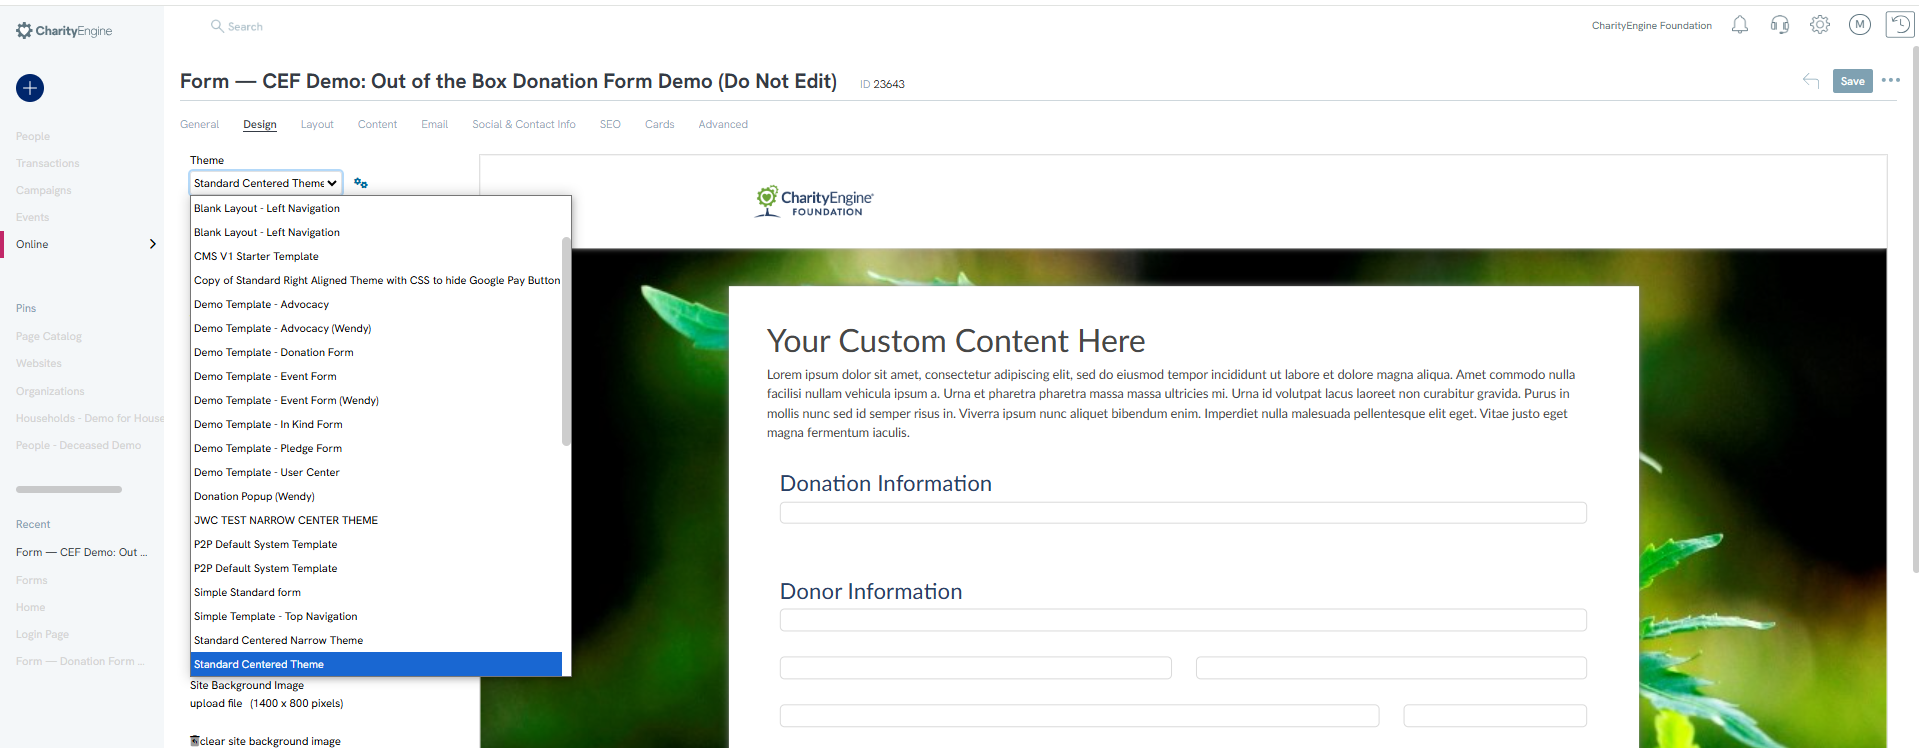
Web forms typically use an existing web template or theme. To locate your current theme:
- Navigate to the Design tab in your web form editor.
- Access the theme through the Theme drop-down menu.
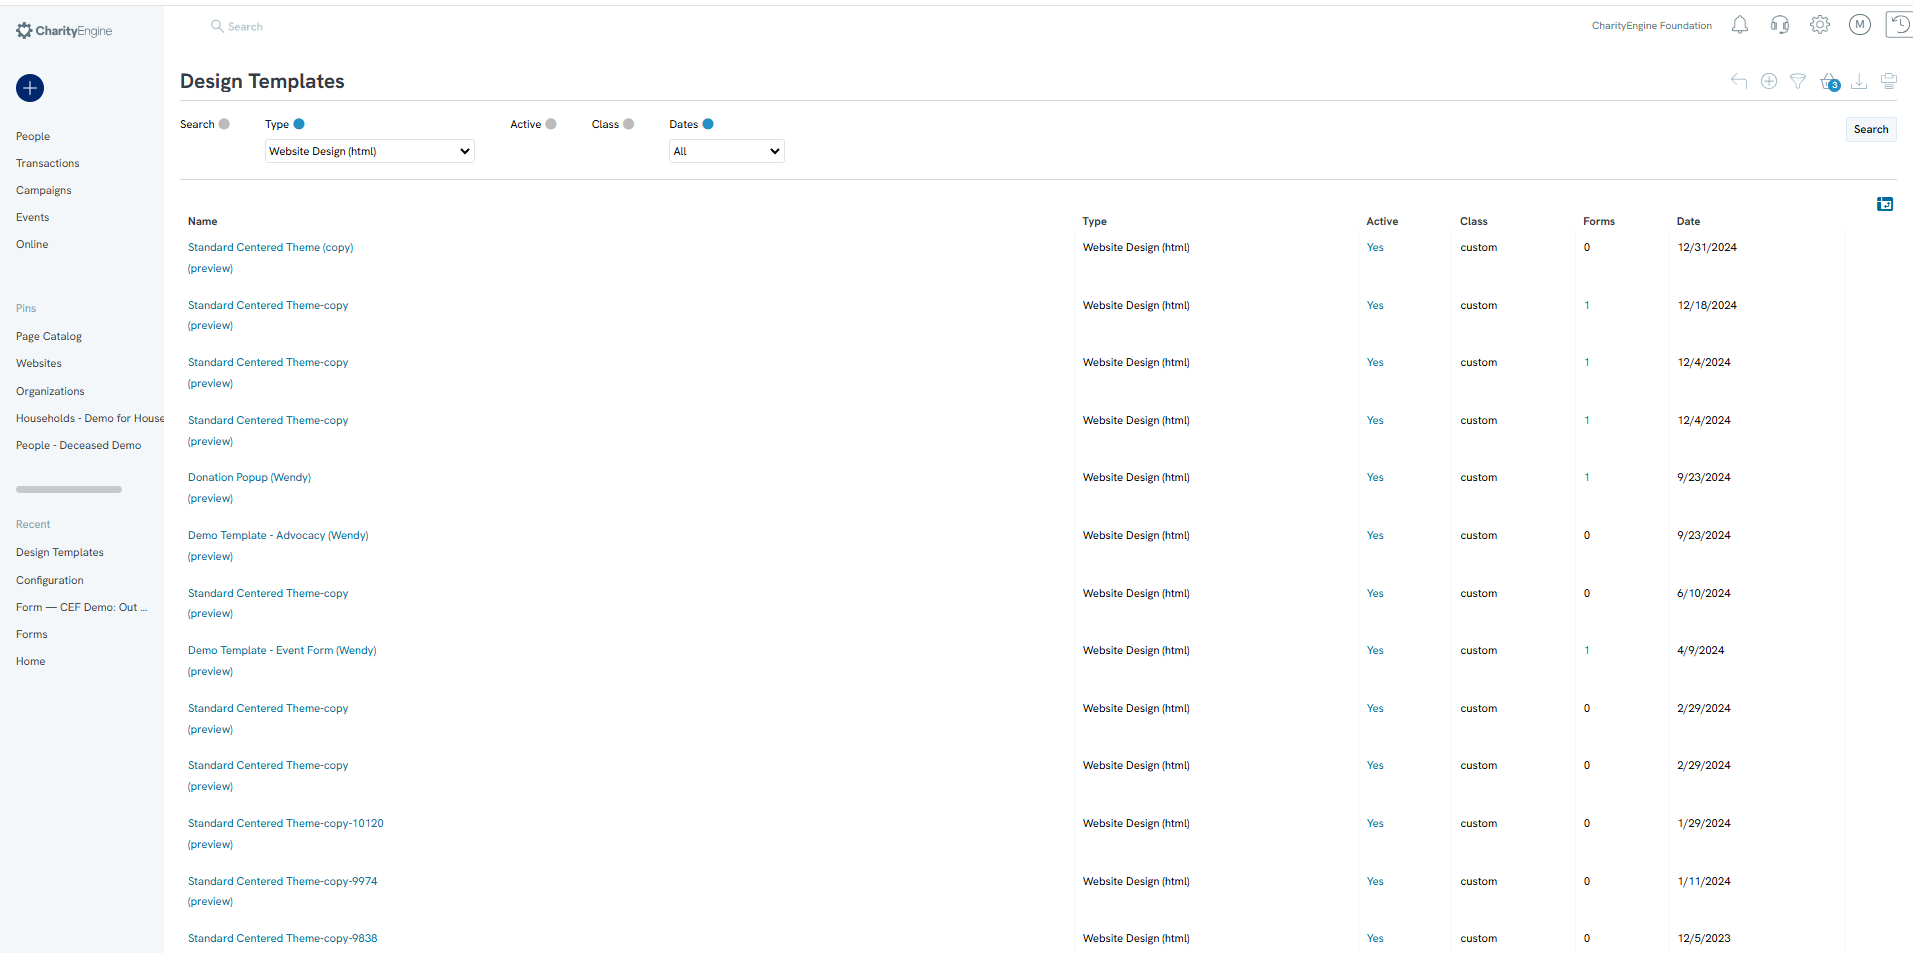
These themes are stored in the Configuration App under:
- Design & Messages > Templates
- Ensure the type is set to "Website Design (HTML)"
Standard templates allow clients to manage themes and review pre-set coding. These templates usually pull the organizational logo stored in the Configuration App under:
- General > Account Settings > General tab.
Customizing Templates with Secondary Logos
To include additional logos:
- Duplicate a Standard Template:
- Locate the desired website theme in the Configuration App.
- Select Duplicate to create a copy of the template.
- Use this copy to apply your customizations.

- Key Logo Areas for Customization:Below are the main areas to update the logo, noting that these changes are not exhaustive for all templates:
- Favicon (Browser Tab Icon)
- Locate the following code line:<link rel="icon" href="https://media2.charityengine.net/logos/1/organizationLogoFileThumbnail.png" type="image/x-icon" />
- Replace https://media2.charityengine.net/logos/1/organizationLogoFileThumbnail.png with the URL of the desired favicon/logo.
- Favicon (Browser Tab Icon)
- Header Logo
- In the <div id="customNavMobile"> section: <img id="customNavMobileOrgLogo" src="" alt="Org Logo" />
- Replace with your logo URL.
- Similarly, update the <a id="orgLogoContainer"> section: <img id="orgLogo" src="" alt="Site Logo" />
- Footer Logo
- In the <footer> section: <img id="footerLogo" src="" alt="Org Logo" />
- Replace with your logo URL. If using https://media2.charityengine.net/logos/1/organizationLogoFileFullSize.png, ensure the logo matches your needs.
Adding a New Custom Logo
For logos not controlled by template variables:
- HTML Implementation: Add your logo directly in the HTML using the src attribute: <img id="customLogo" src="https://example.com/your-logo.png" alt="Custom Logo" />
- CSS Implementation: Use CSS to position and style your logo:
#customLogo {
width: 150px;
height: auto;
}
Ensure the logo is placed within the correct container in your layout.
Example Implementations
Header Example:
<a id="orgLogoContainer" href="https://yourwebsite.com">
<img id="orgLogo" src="https://yourwebsite.com/path-to-logo.png" alt="Your Logo" />
</a>
Favicon Example:
<link rel="icon" href="https://yourwebsite.com/path-to-favicon.ico" type="image/x-icon" />
For further assistance with implementing customized logos or themes, consider consulting a qualified web developer or designer. If needed, contact CharityEngine for vendor recommendations.
FAQs
Q. Is CharityEngine able to troubleshoot and support customization of web forms and website templates?
A. We are unable to troubleshoot or write custom web forms or website templates on your behalf. Organizations are responsible for any custom coding or development completed by a third-party developer. If you need assistance, we’re happy to provide recommendations for experienced vendors who specialize in web development and design.
