
Introduction
When creating a Web Form you will be able to customize and re-order the sections and fields that appear on your form. This will allow you to have only the sections and fields you want on your form.
Instructions
On the Layout Tab, there will be default sections already in the form, as well as the ability to create new sections.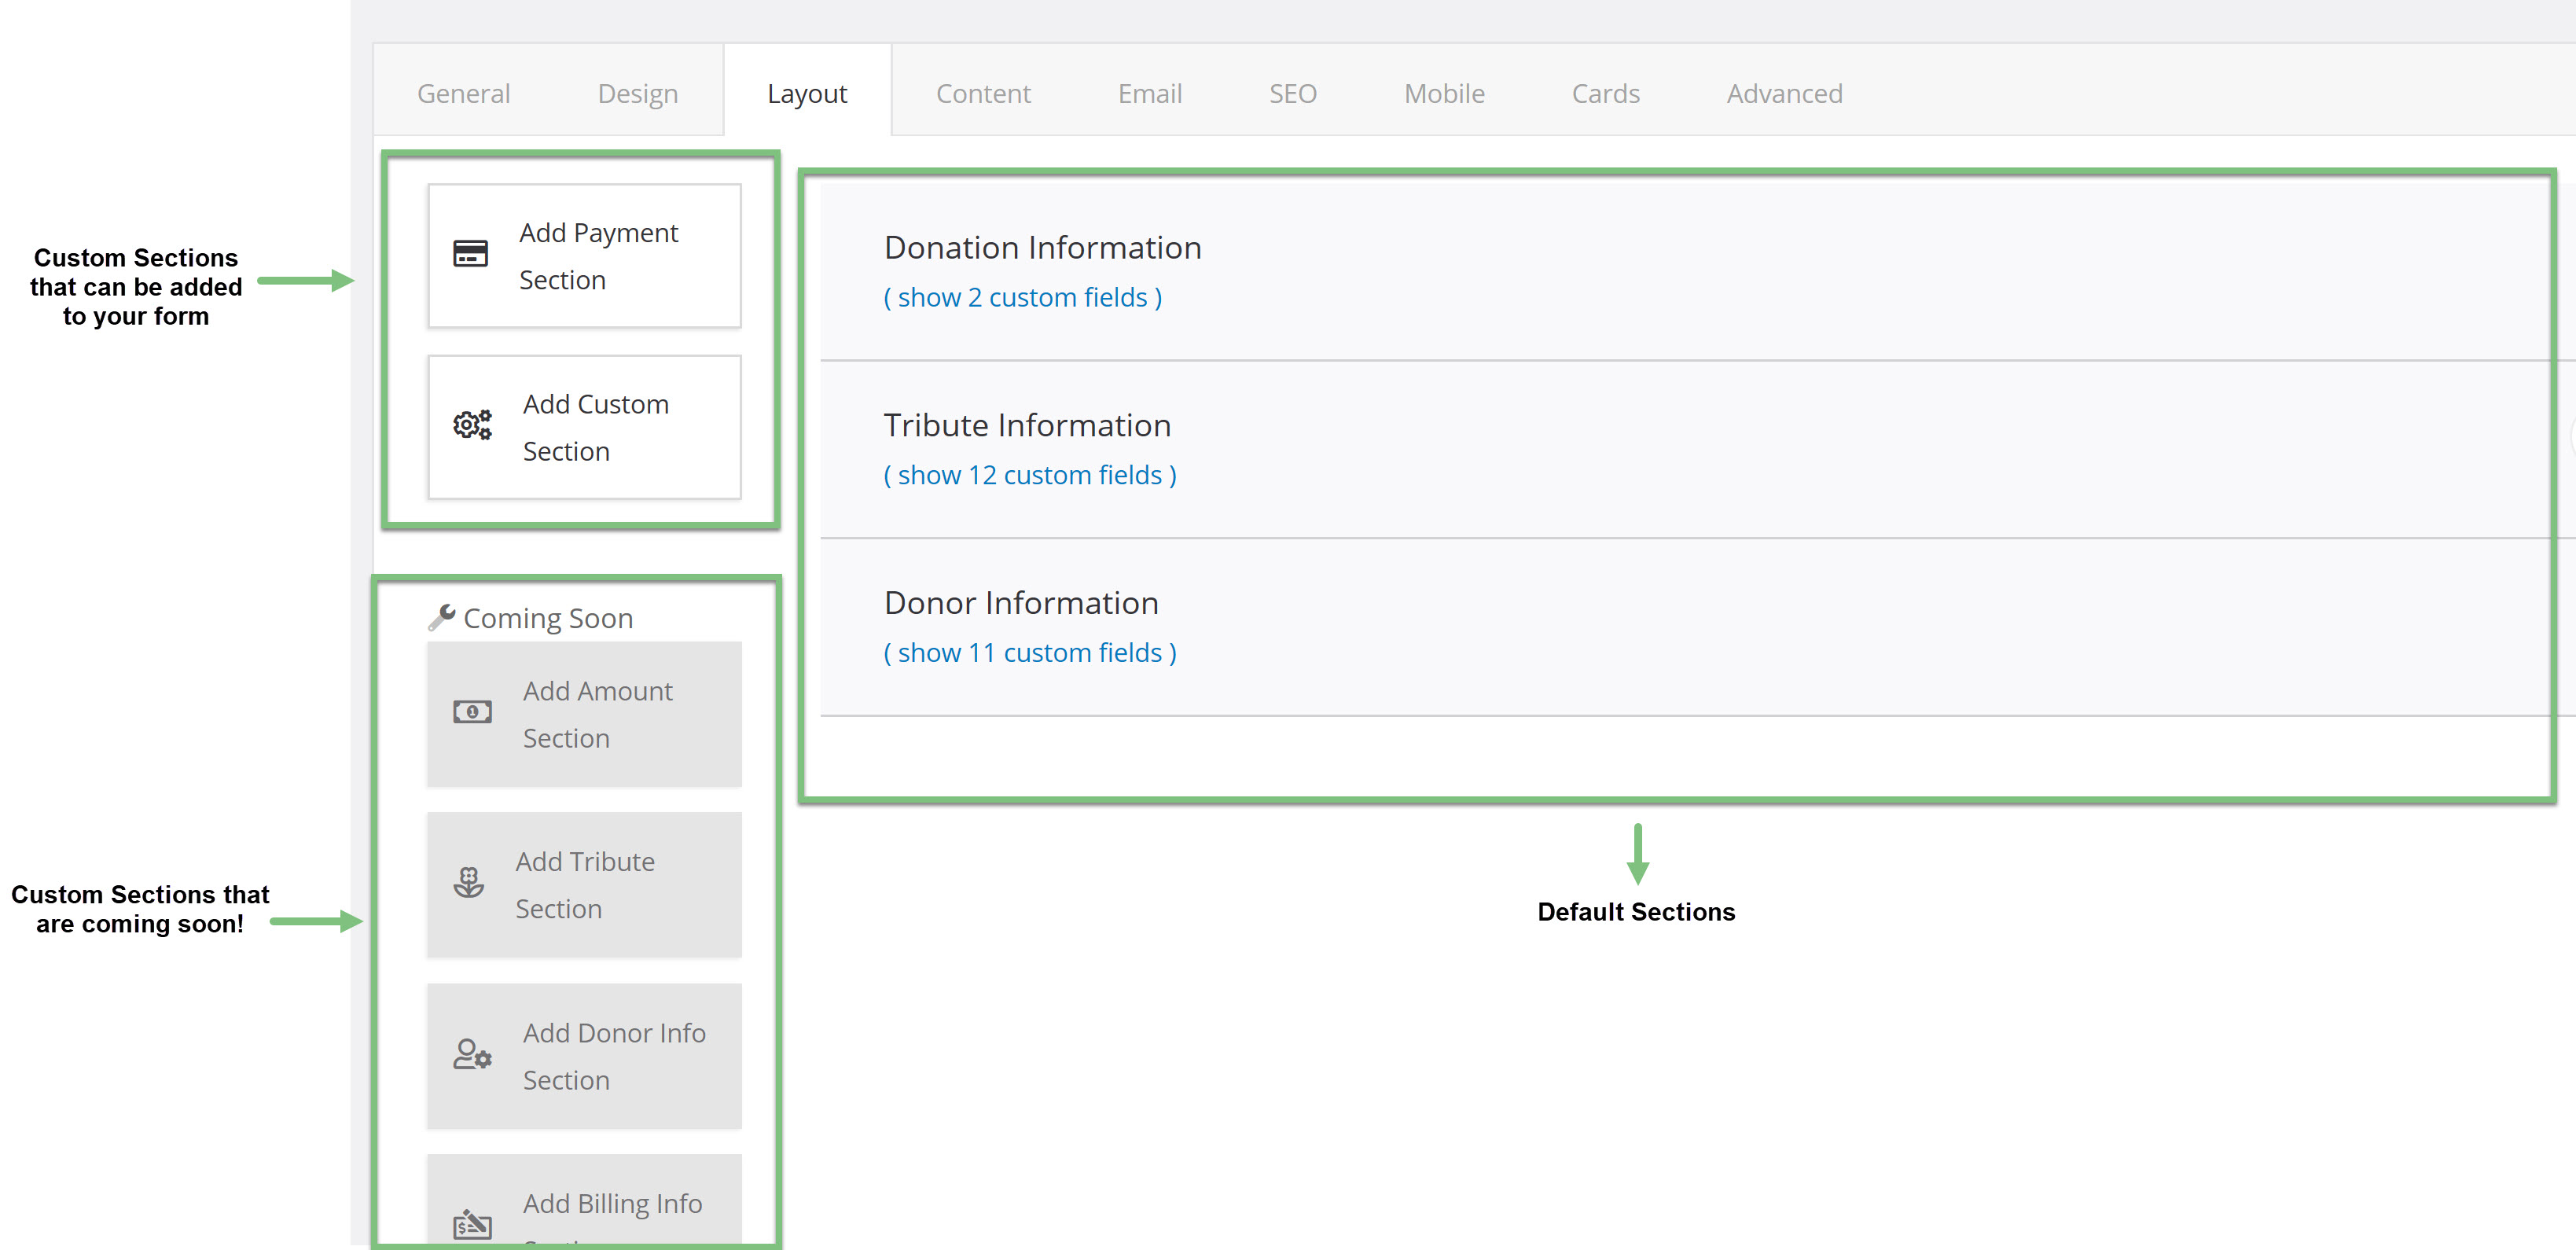
Use the links below the section name to expand the section to see the fields.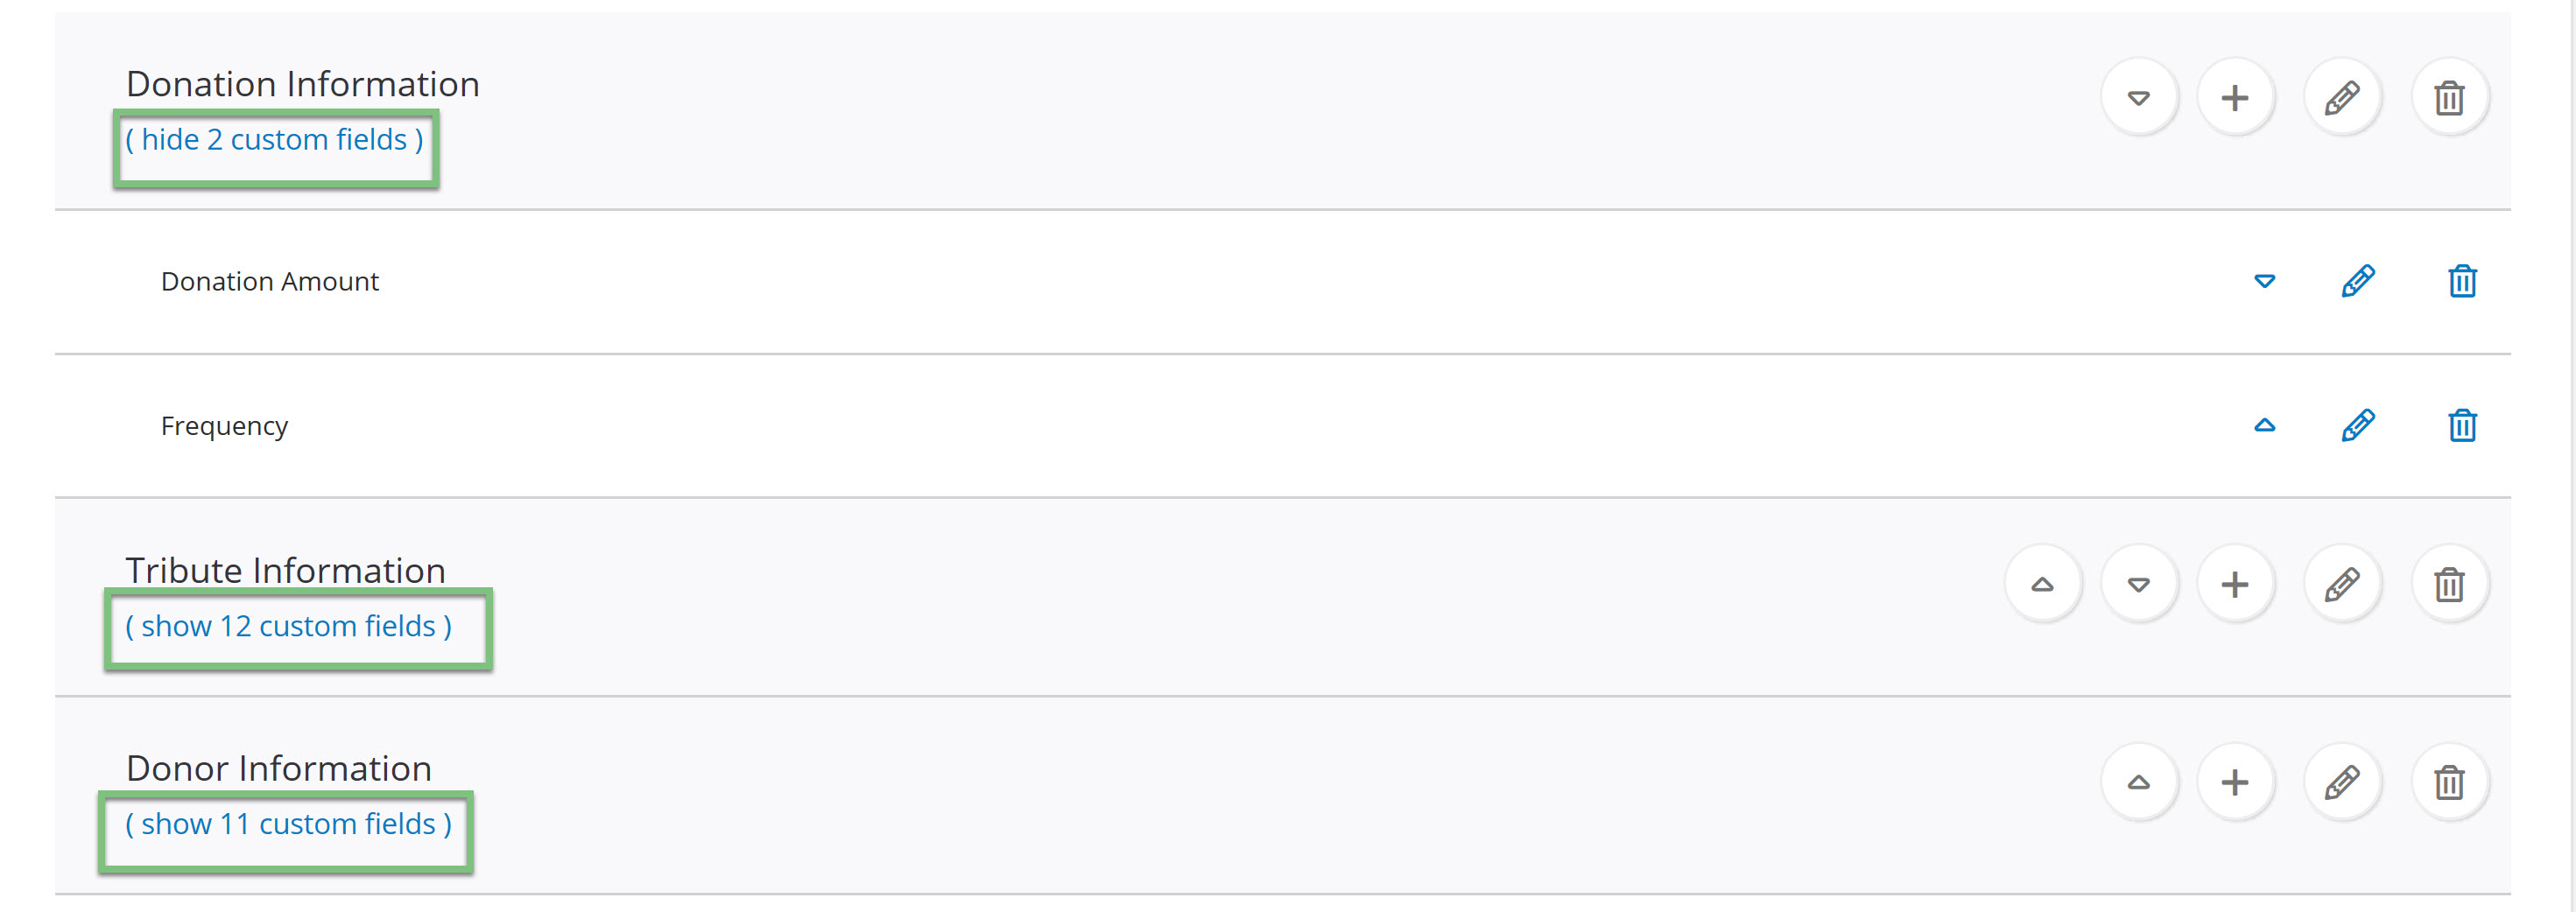
The icons listed on the right side will allow you to re-order the sections and fields, edit the name, add a field to the section, and remove the section or field from your form.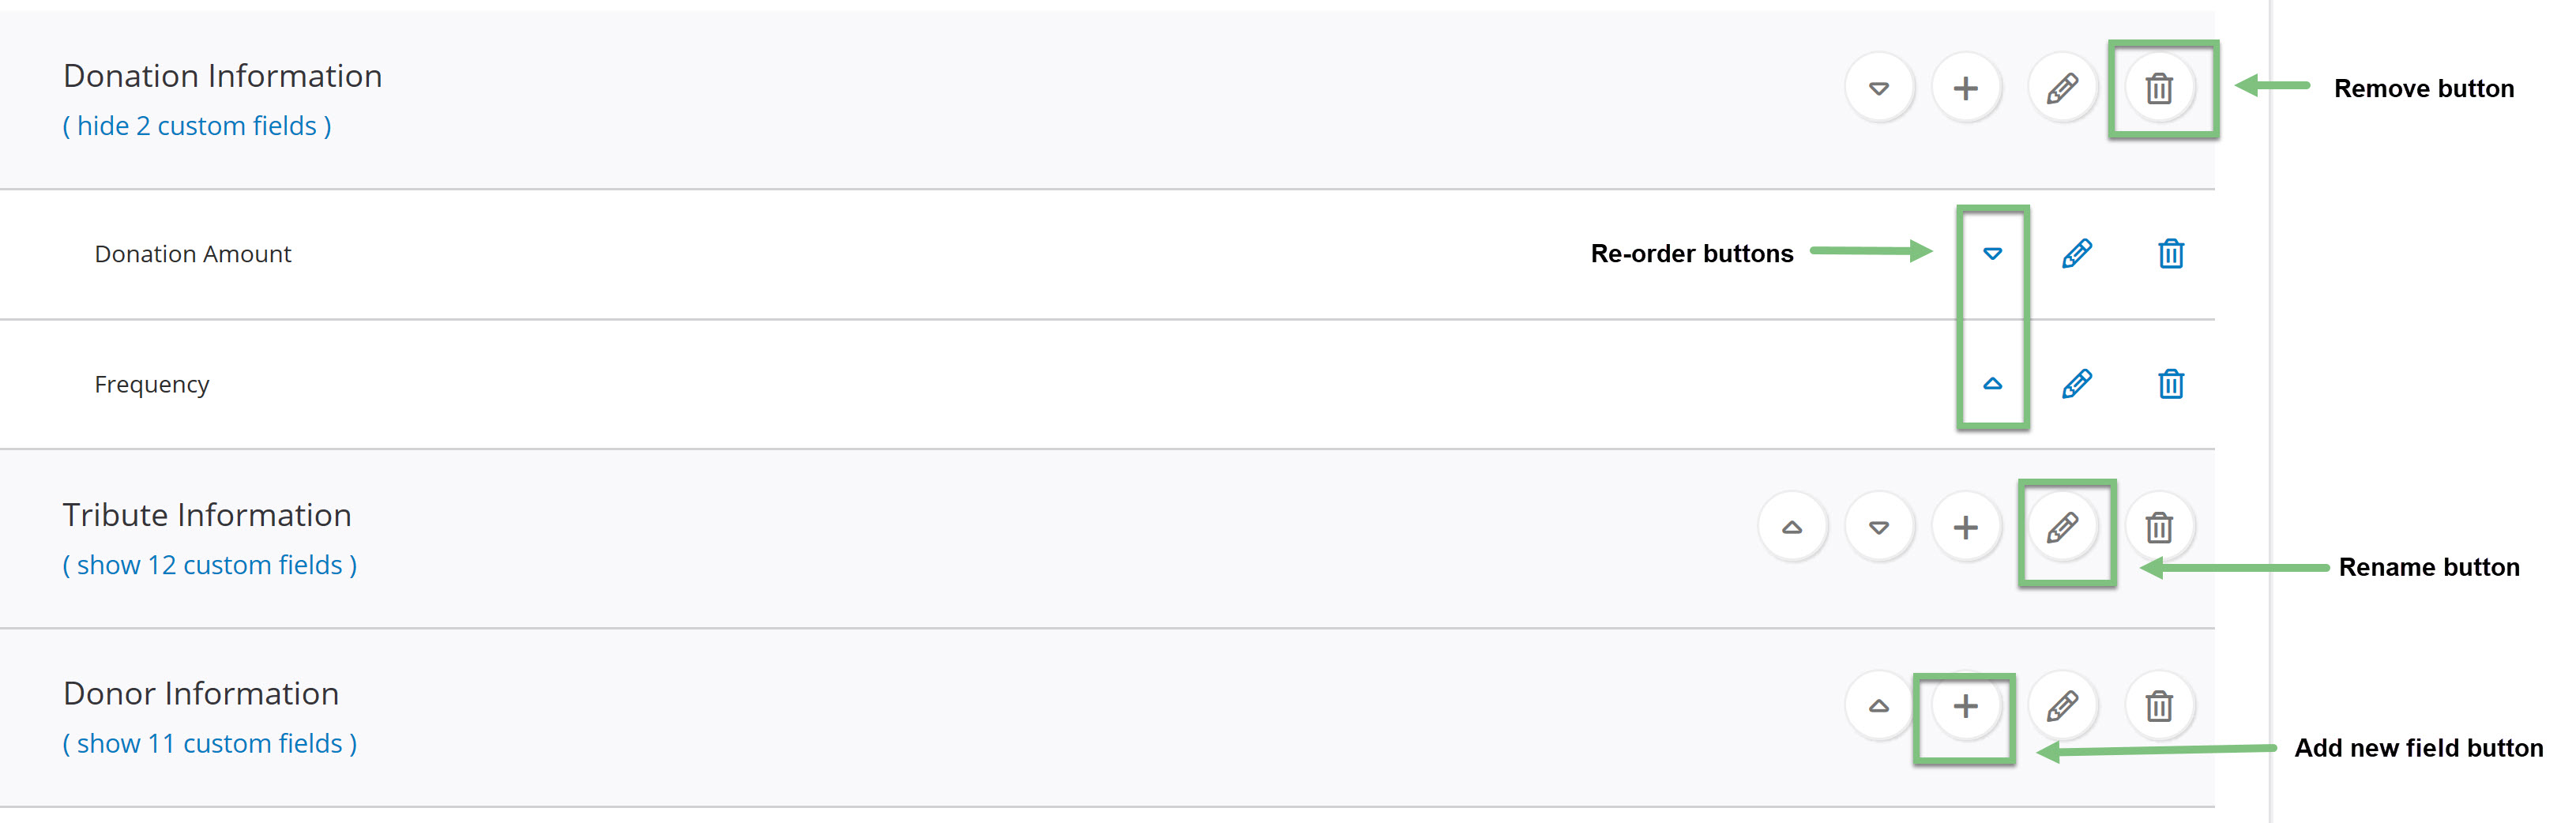
Use the Trash can icon to remove a section or field. If you click the remove button on a section, all of the fields under it will also be removed.
Use the up and down arrows to re-order the sections or fields. By clicking the arrow, it will move it in a direction by one place. For example, if you click the down arrow on the Donation Information section, it will move down by one place under the Tribute Information section. The same applies to the fields listed under the section.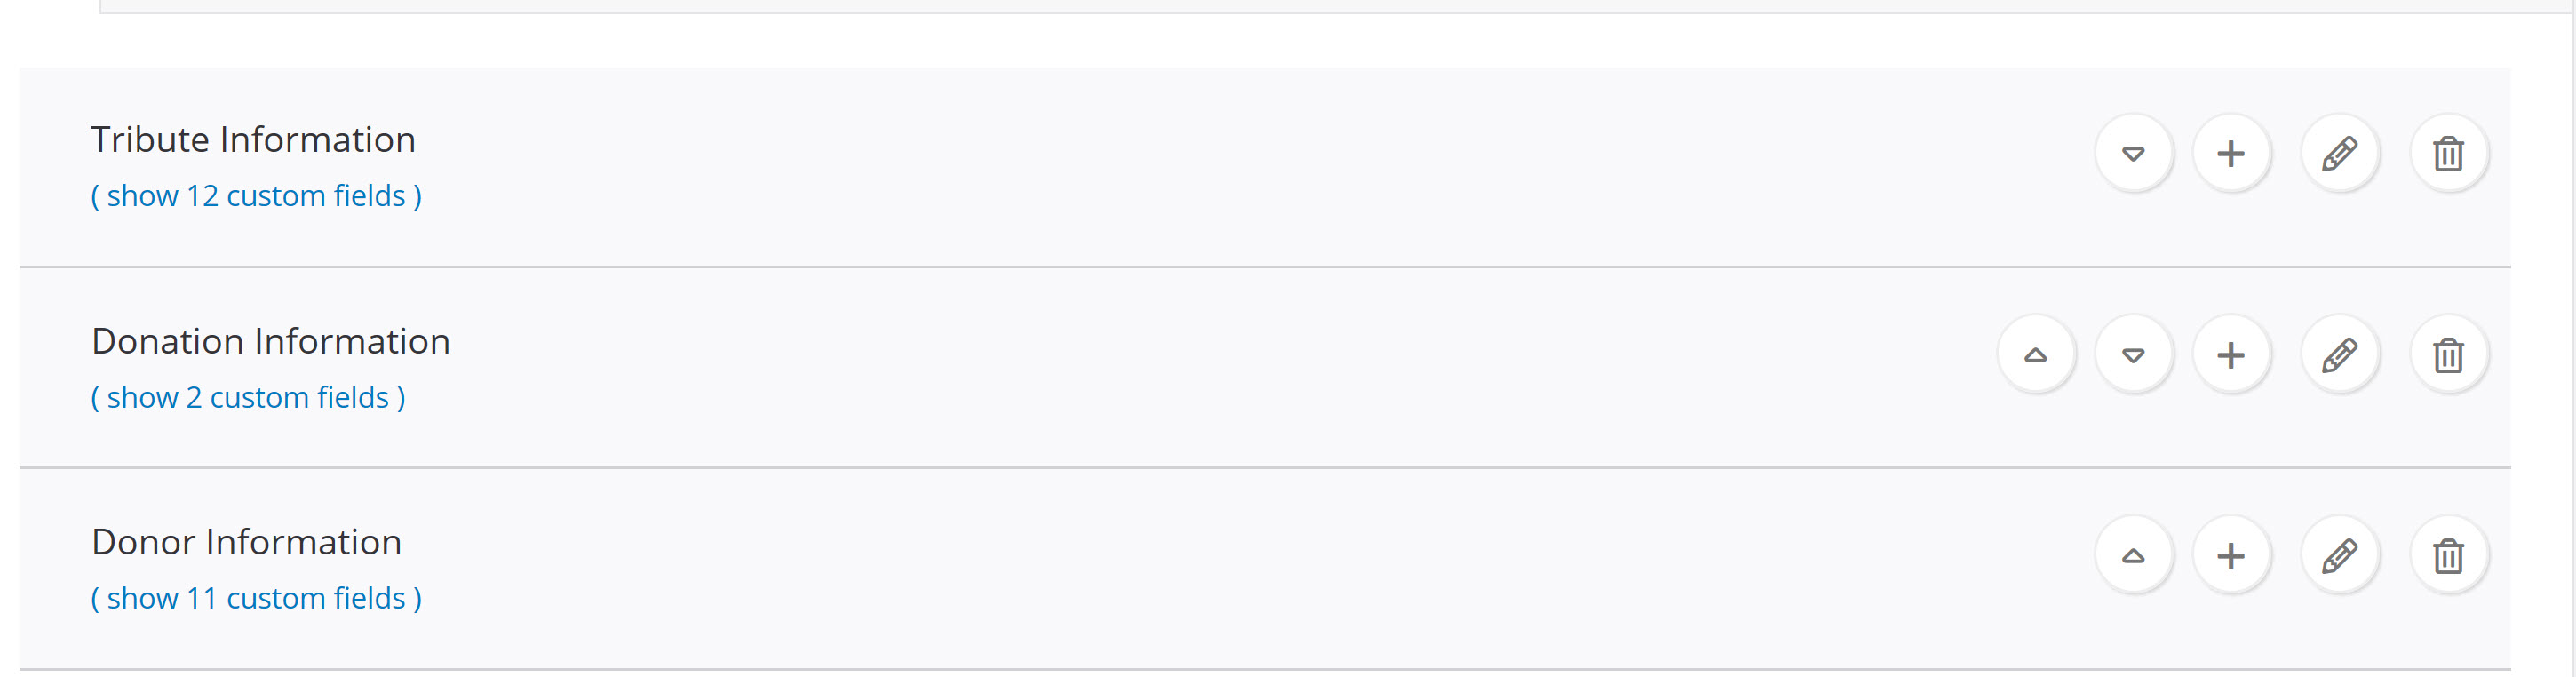
The pencil icon will allow you to rename the section or field.
The + icon will allow you 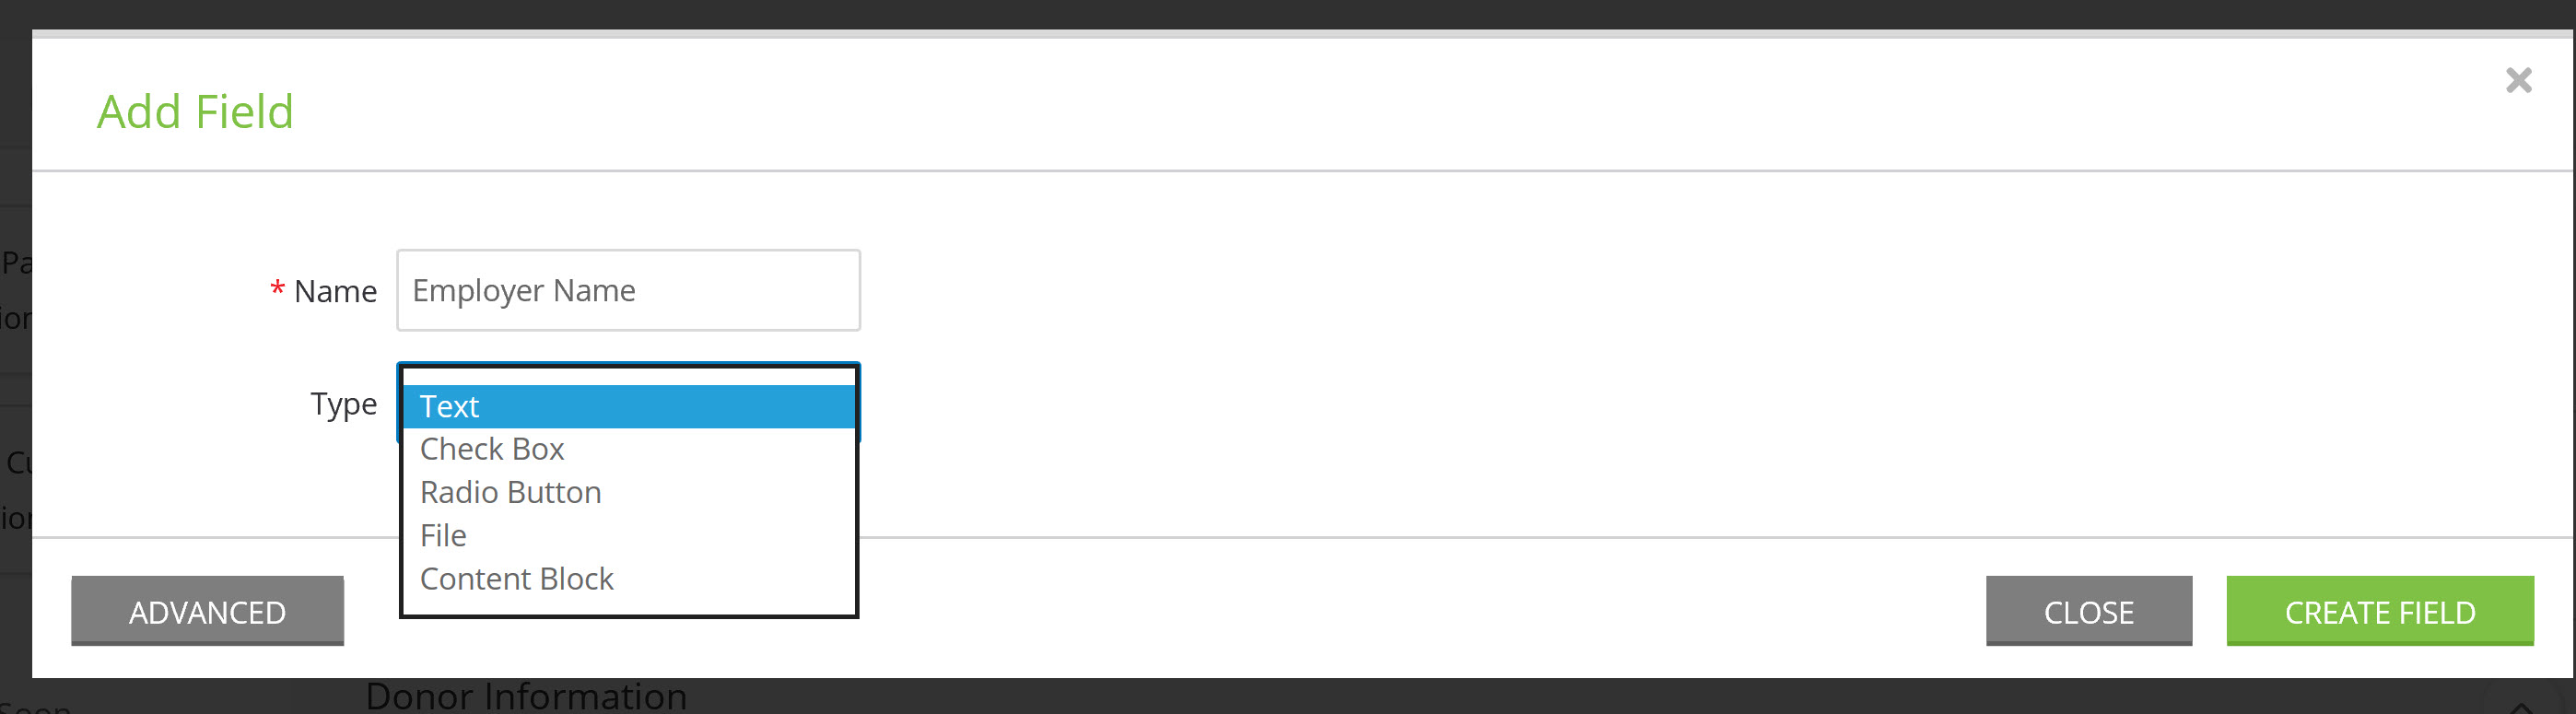
Use the blocks on the side to add new sections. You can add a payment section and create a custom section. We are working to bring you more options to further customize your form, see our planned future blocks greyed out on the left.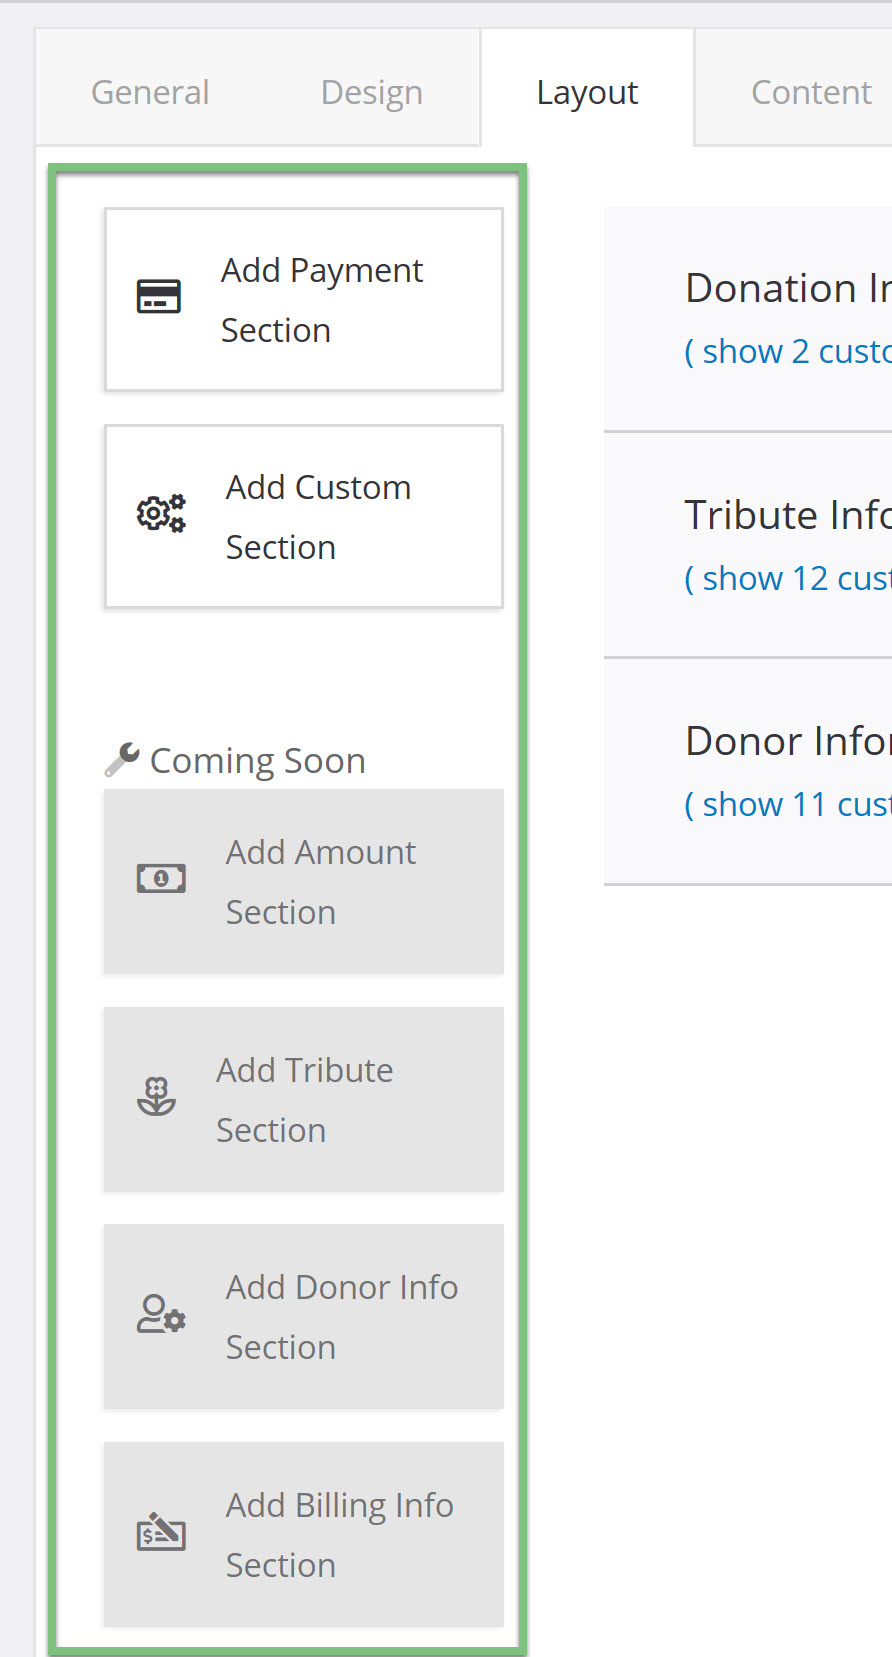
By clicking on the block, it will allow you to configure the section.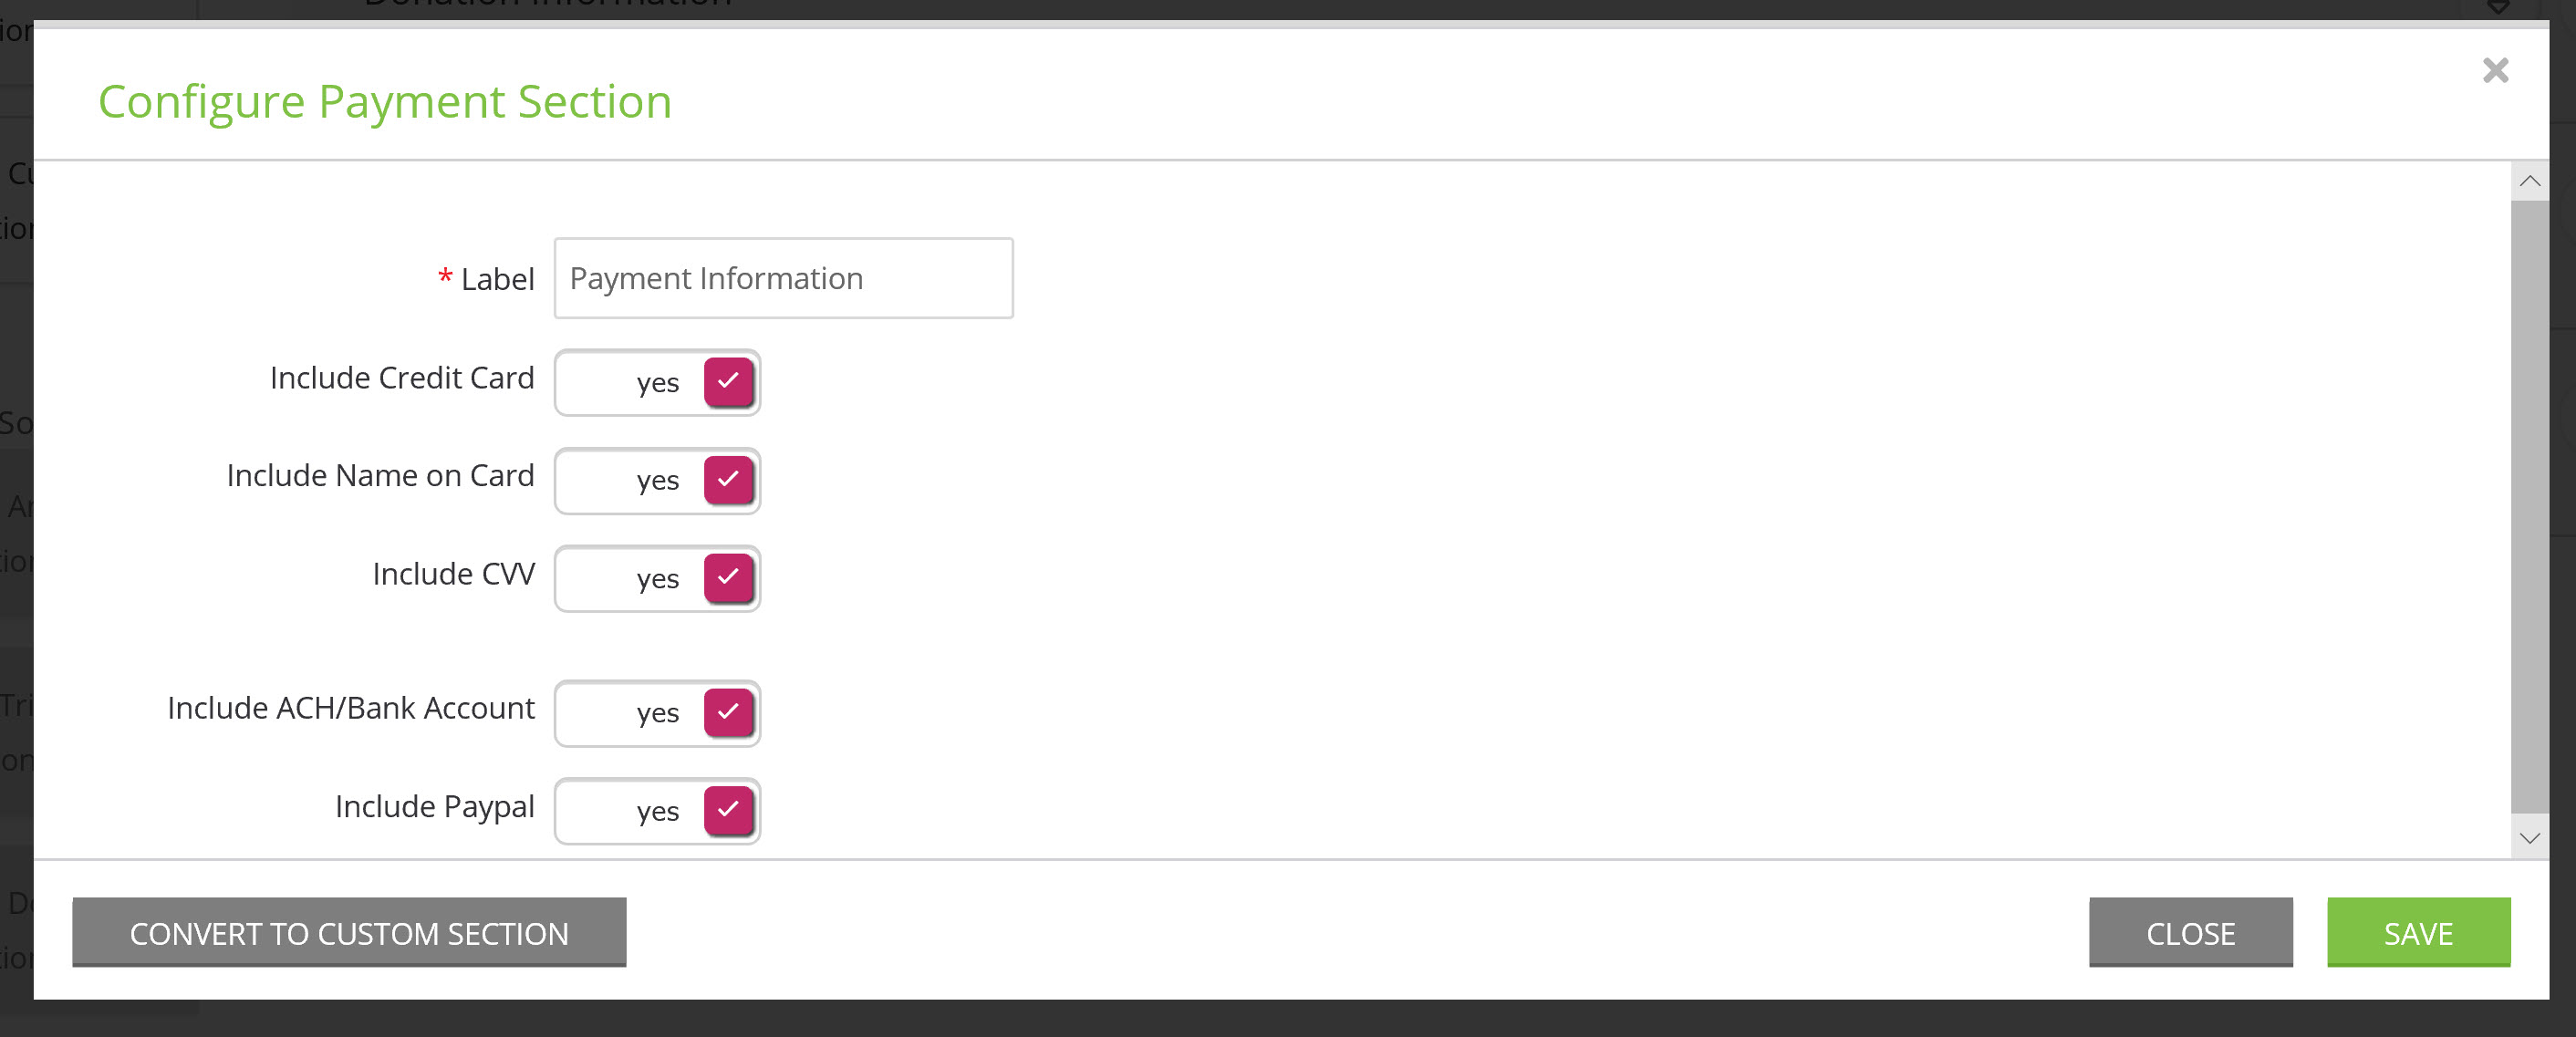
Click save and your new section will appear at the bottom of your sections 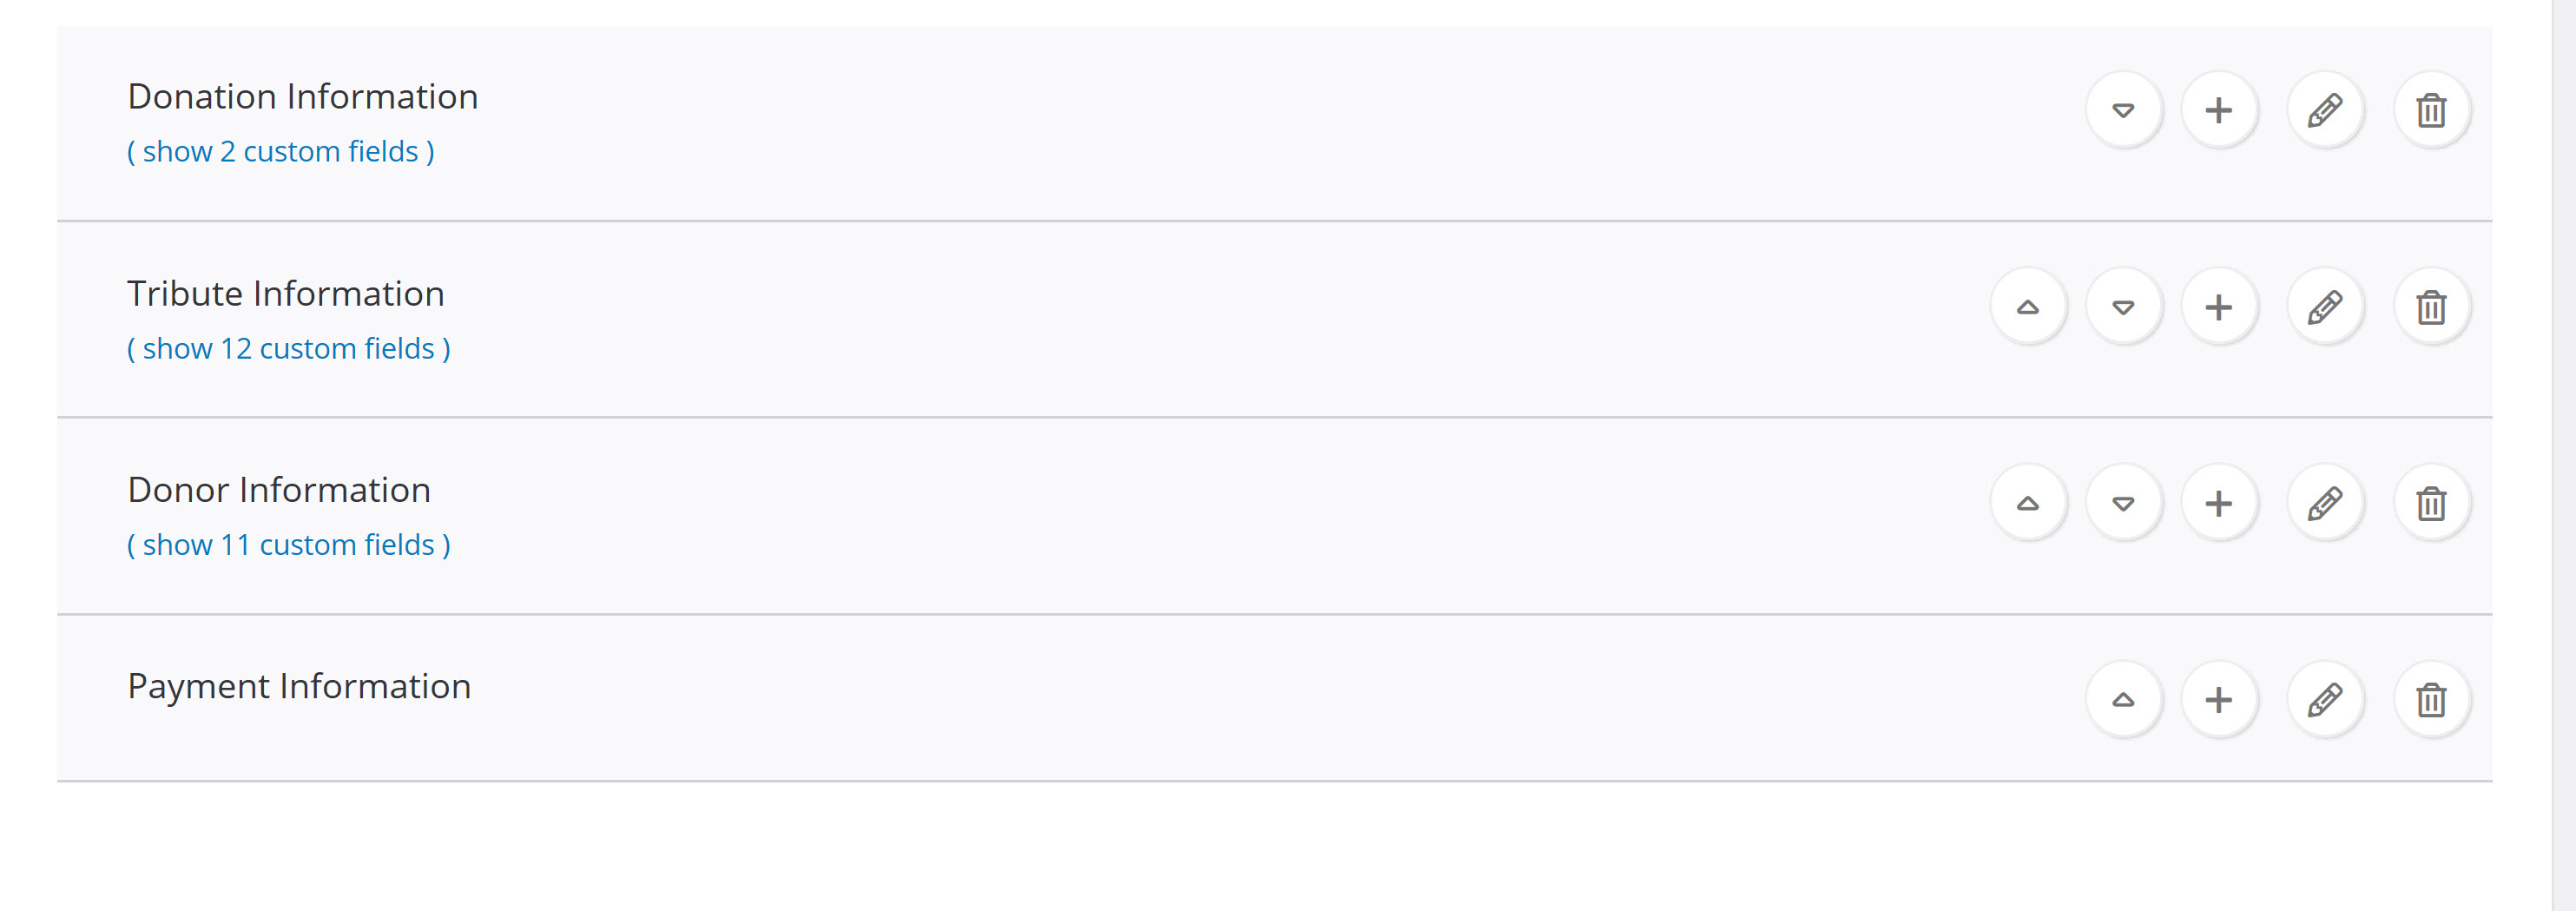
Field Management
You can also leverage the Manage Form Field to modify field details including name, validation and mapping.
To get started, locate the field you wish you modify and select the Pencil to manage the field. 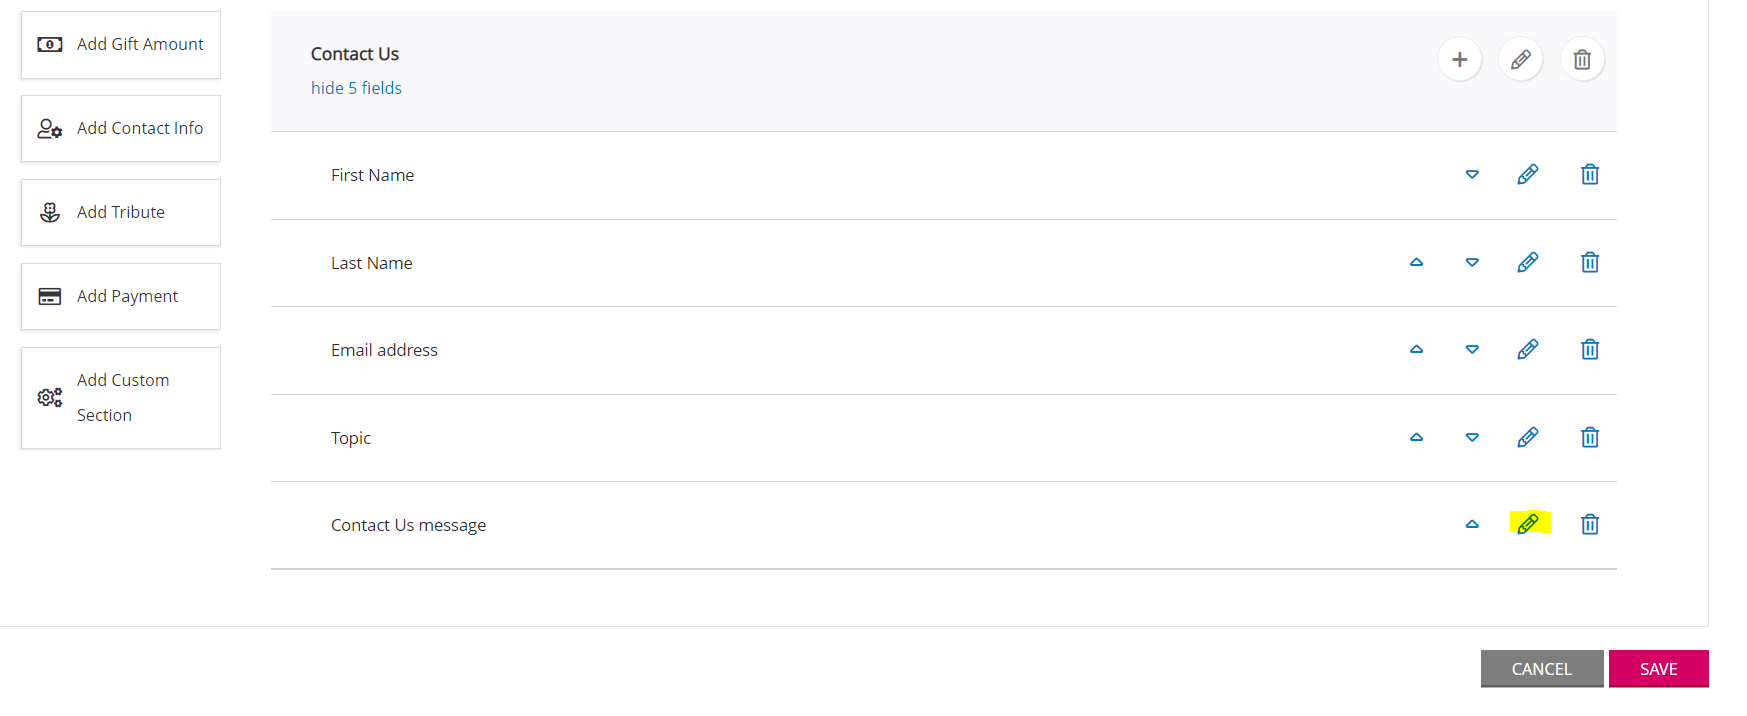
Next, navigate to the Basic > General tab where you can modify the field Name (internal naming), the Label (presented to your constituents), adjust the Section of the form in which the field is presented to your constituents, the Type for data entry, and Data Type for data entry. 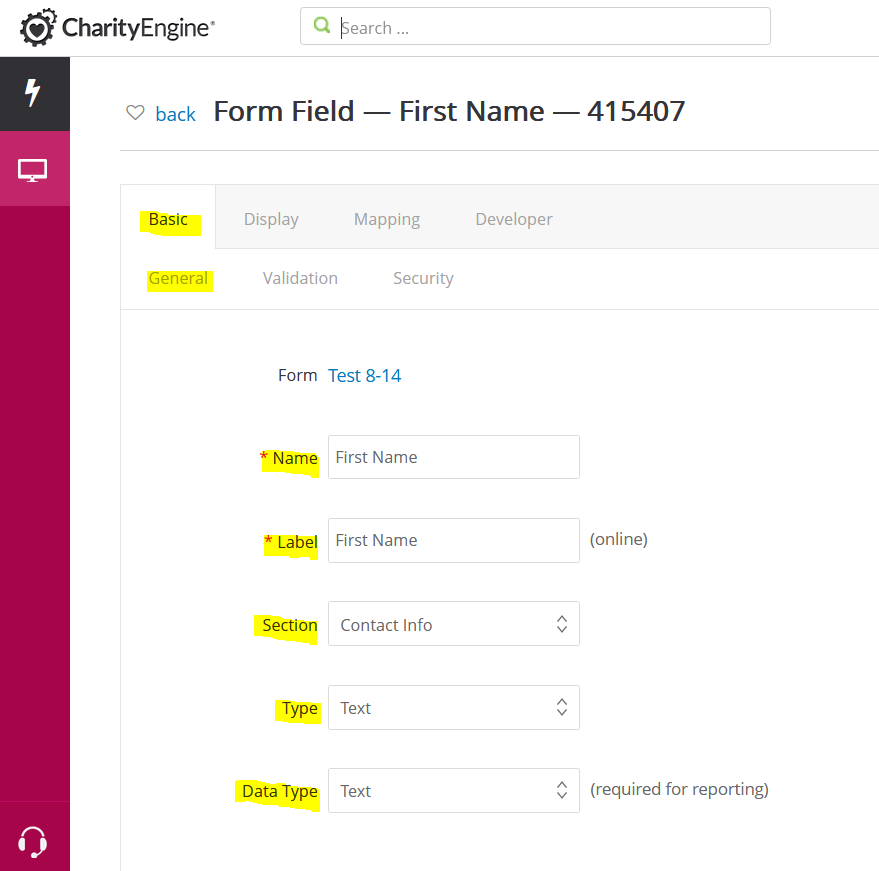
You can navigate to Basic > Validation also ensure field validation including options such as Required, Greater Than or Equal to, Zip Code, etc. 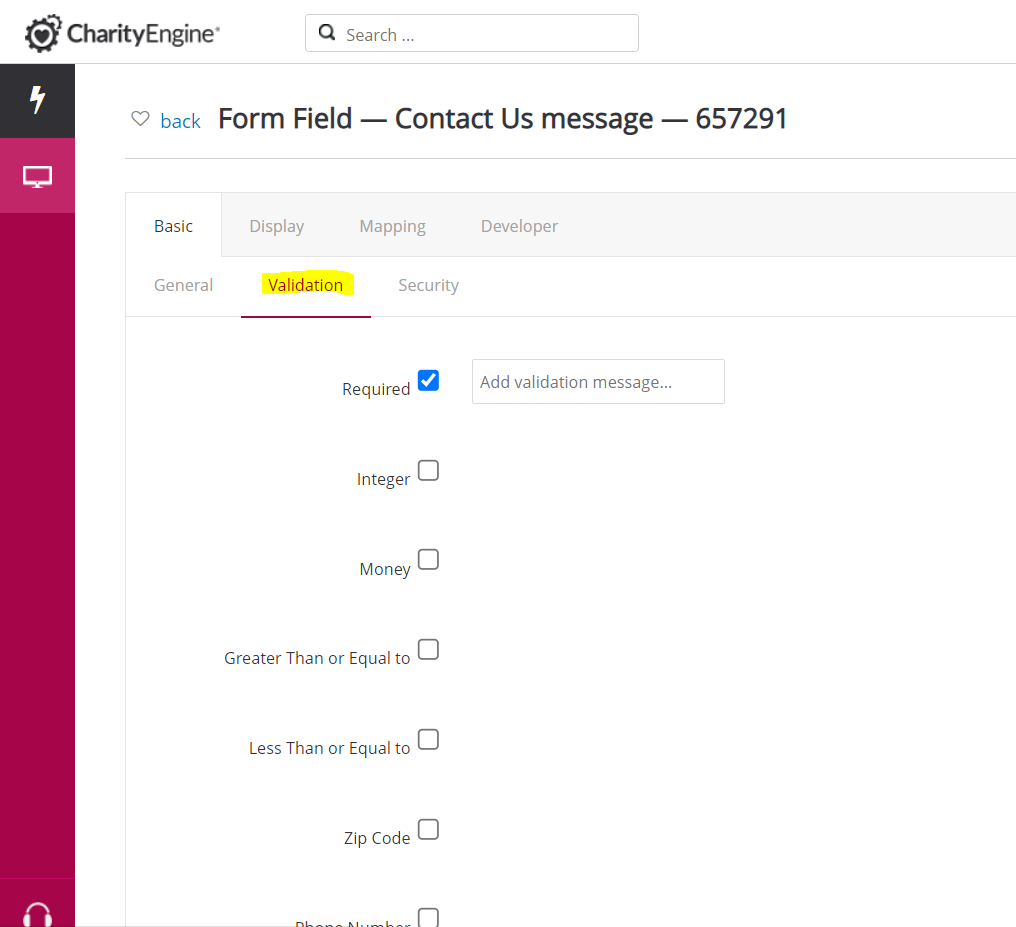
Navigating to the Display > General, you can make selections such as enabling the field, showing the field label, etc. 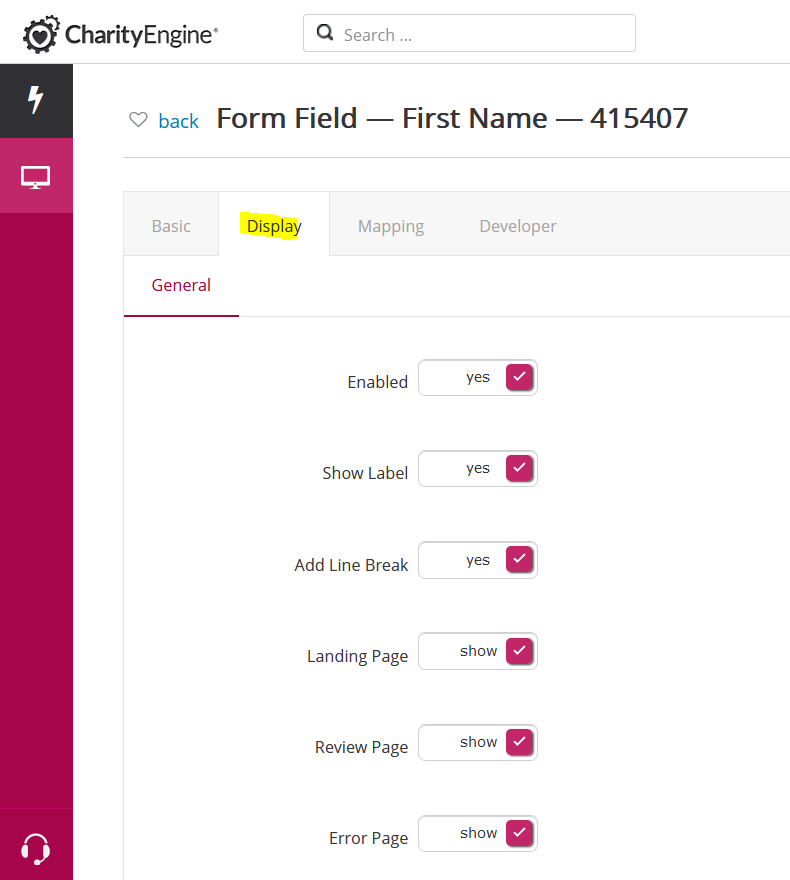
And finally, if you have created a custom field name you will want that information stored on the transaction record, or if the information is related to a contact record, you will want that information stored accordingly. Navigate to the Mapping > Contact or Transaction or Campaign tabs and select the location in which the data should be stored and displayed. 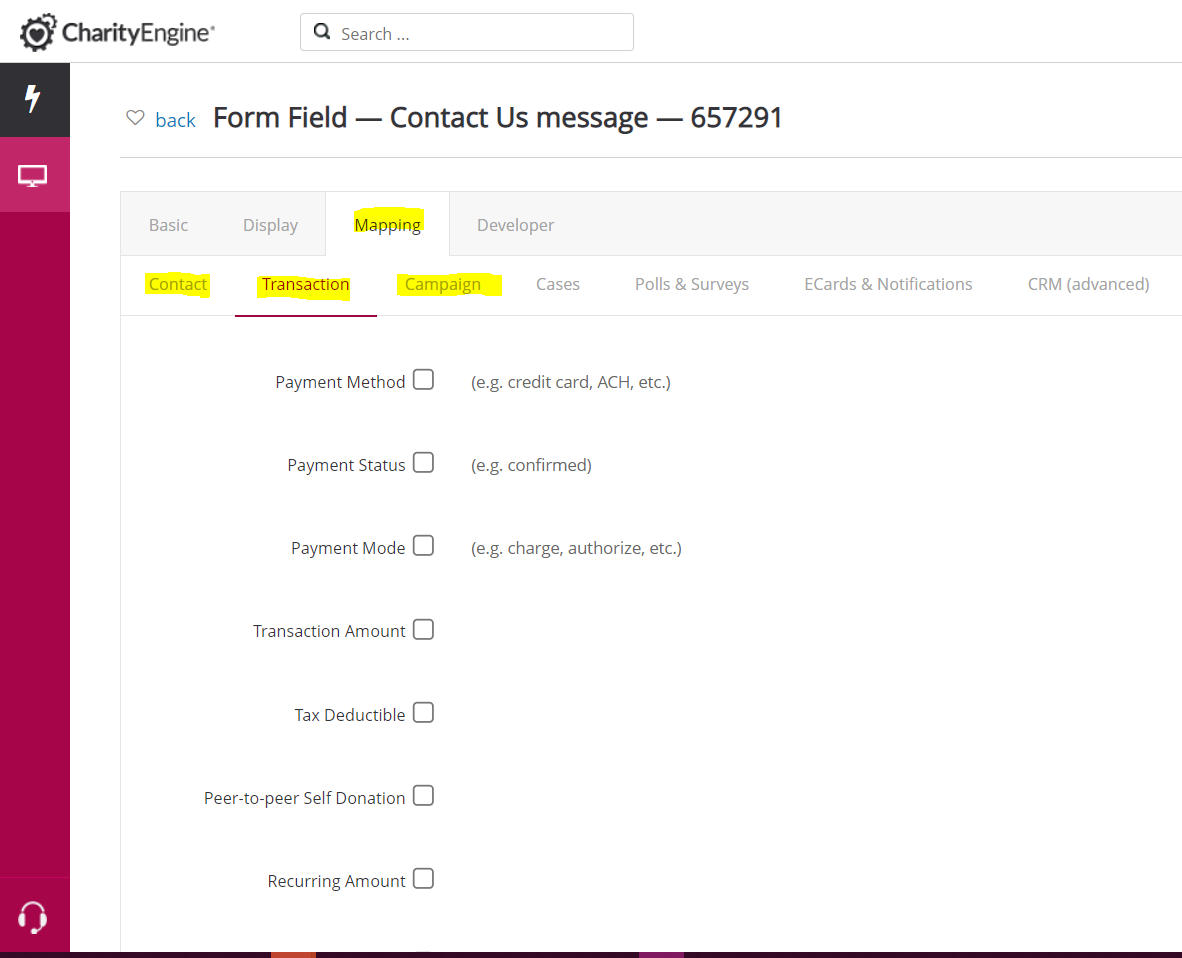
If you are mapping your data to a custom field that is created on your Contact application, navigate to Mapping > CRM (advanced) to select the CRM Custom Field Mapping drop down and select your custom field and select the Map Field To for the appropriate field identified by your custom field setting. 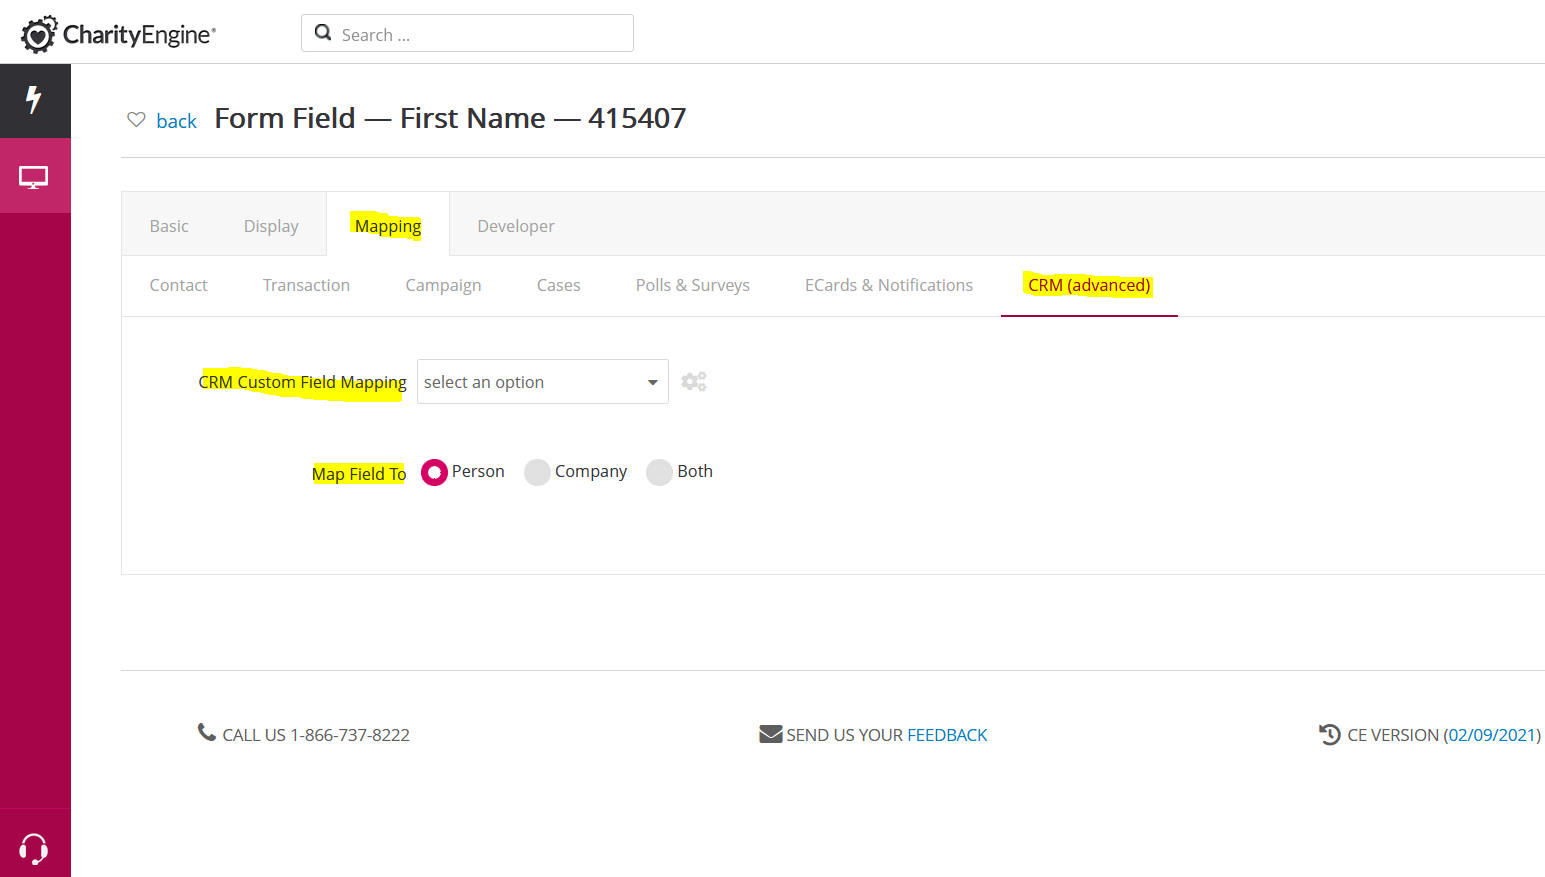
Please note, when mapping a custom field, be sure that your Custom Field (set within Configuration > Contacts > Custom Field) has been set with the appropriate Type/Data Type to accept your form. (I.e. if a free form text box, the custom field should be set to Type: Rich Text vs. Type: Rich in which the Data Type is limited to Datetime.
