Introduction
Memberships are a great fundraising tool and can further support the organization's mission by raising funds while providing donors with membership benefits or incentives. While Membership work in a similar way as Sustainers, memberships can be used as a tool to collection donations on a scheduled billing date and typically have annual dues and can be paid in full or over a period of time. If your organization is leveraging memberships as a fundraising tool, learn more below on how to create membership within CharityEngine.
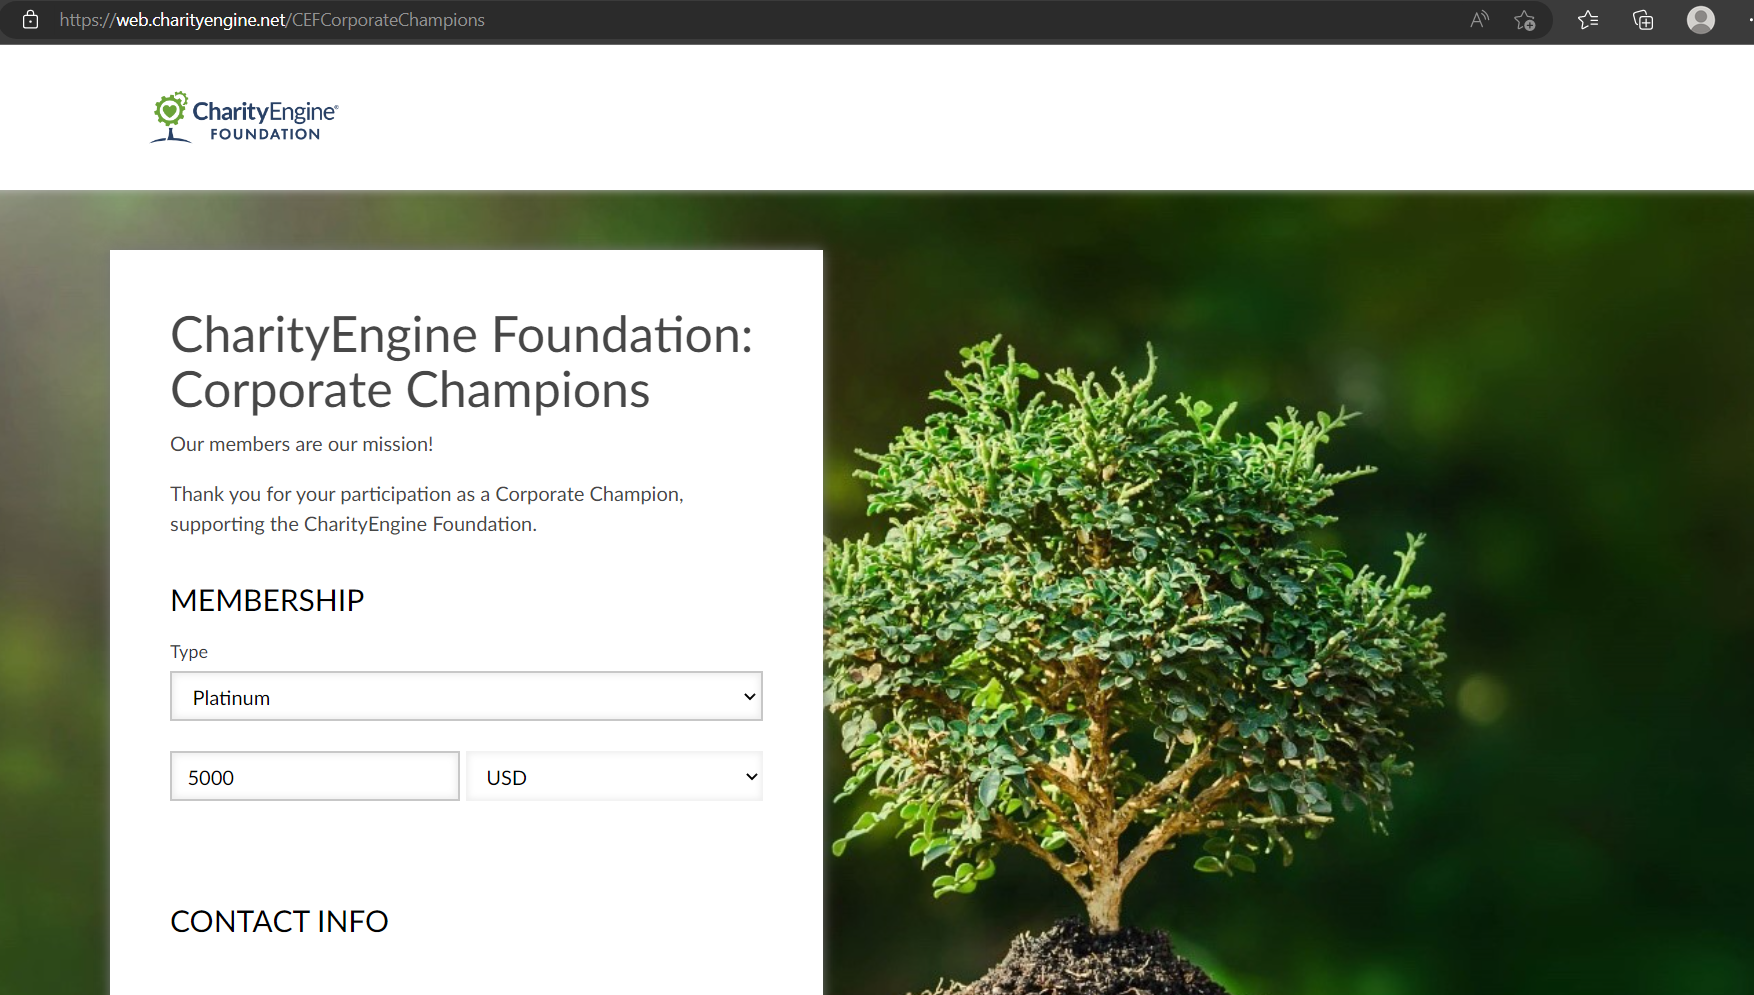
Table of Contents
Prerequisites
- Before creating membership records, you must create the membership types as a first step.
- Membership in a non-profit typically involves individuals or entities formally joining the organization by paying a membership fee or fulfilling specific criteria set by the organization, typically with a finite timeframe. Members may receive certain benefits such as access to exclusive events, newsletters, voting rights in organizational matters (such as electing board members), or discounts on services provided by the non-profit. Membership fees can contribute to the organization's operational expenses and may also be a way for individuals to show ongoing support. If membership timelines for the organization are recurring, without an end date, consider the usage of the CharityEngine sustainer feature.
Instructions - Creating a Membership Type
-
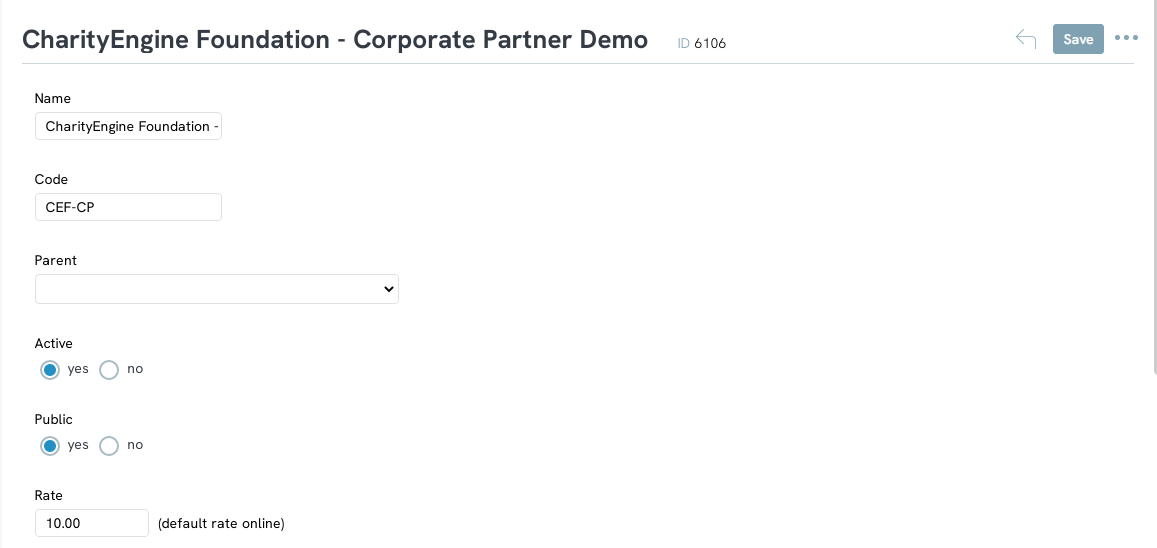
- Name - required and internal name
- Code - required and this is the external name presented to your donors
- Parent - optional, for use if your membership structure is nested
- Active - default to Yes, if set to No, note that this may hamper any web form testing/exposure
- Public - default to Yes, can be set to No if you wish to limit external exposure
- Rate - optional, set for the price point associated with this membership type
- Duration - optional, set for a numeric value and frequency (i.e. Months, Years)
- Note: If you configure a duration date for the membership type, when a new membership is created for that type, the system will automatically set the start and end date. For example, if the duration is configured for one year, when a new membership is created, the system will automatically enter the start date as the creation date and the end date a year from the start date. Leaving this value as null will create membership records with no end date.
- Description - optional, internal reference
Instructions - Creating a New Member
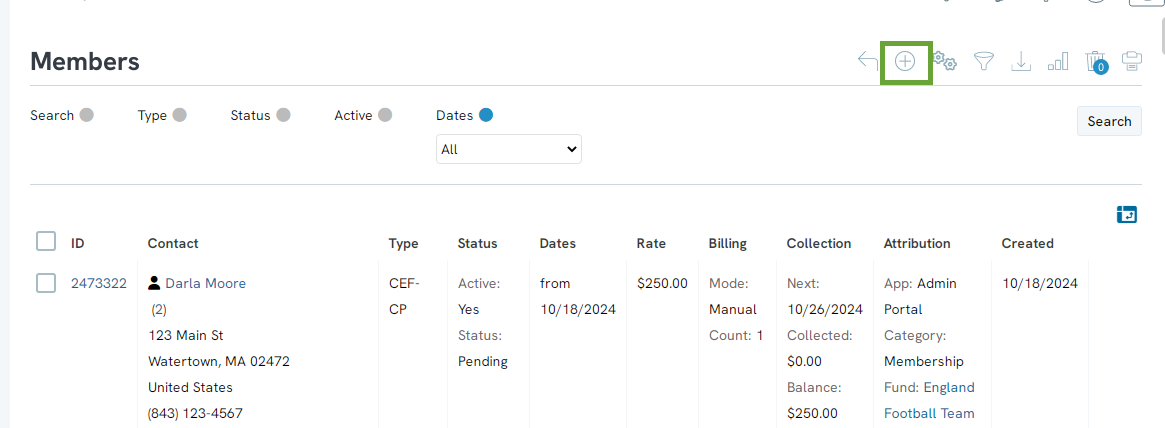
-
-
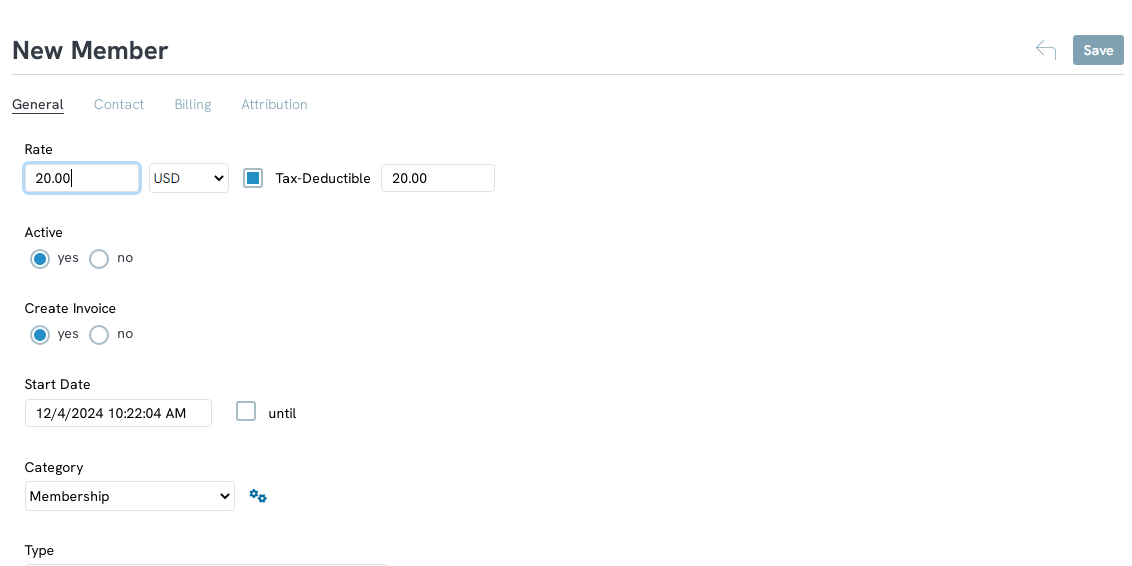
- Rate: the rate at which the member will be billed (total final value)
- Active: defaults to yes
- Create Invoice: defaults to yes. upon completion of the membership record and click SAVE an invoice will be generated
- Note: If utilizing automatic billing to customize recurring billing select No
- State Date: this is the starting date of the membership. Click on until to add an ending date
- Category: as this is a membership record, this will default to Membership
- Type: select the membership type to be applied
- Status: optional for organization preference
- Fund: optional, selection of Fund account
- GL Code: optional, selection of General Ledger Code to be applied
-
-
-
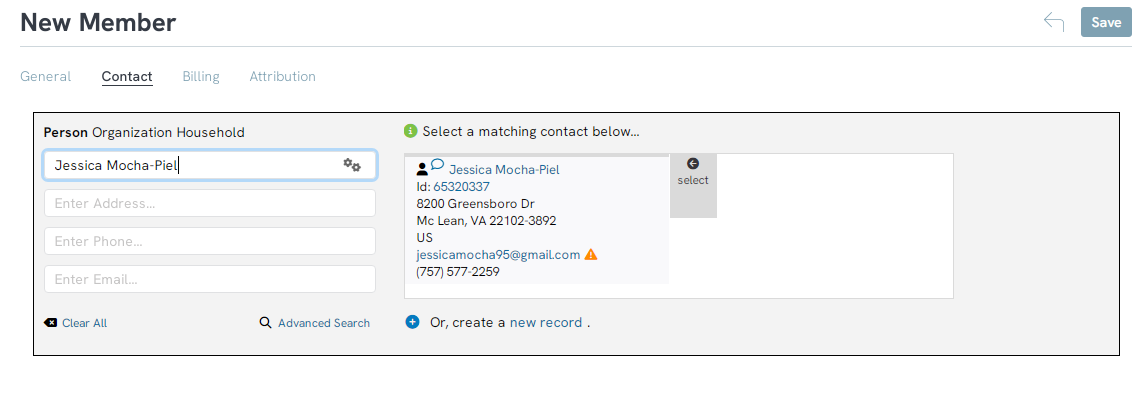
- the Person, Organization, or Household to associate the membership.
- If no contacts are found, or if the contacts do not match, you can create a new contact record with the data entered.
-
-
-
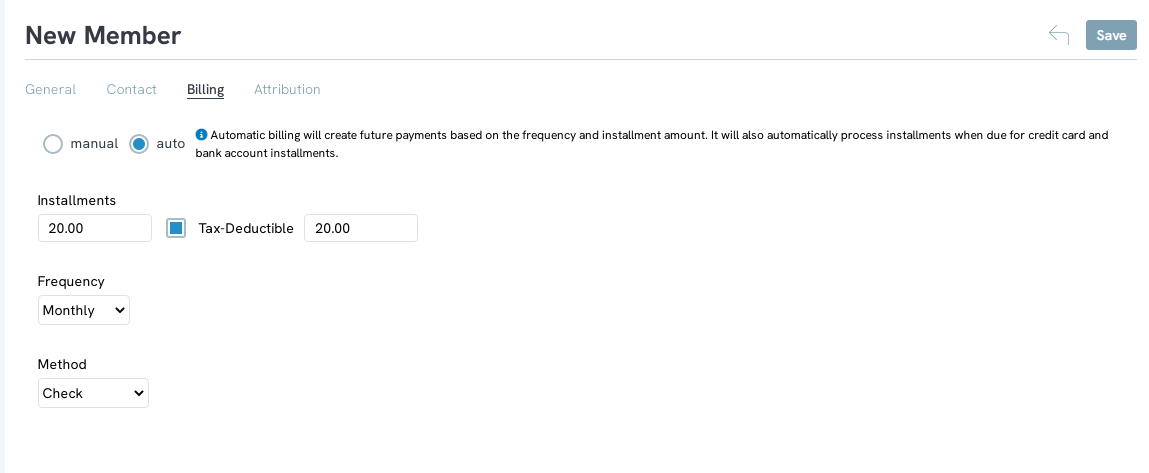
- Manual billing – please note all transactions and invoicing must be manually created and processed by a user within your organization.
- This also allows you to create a custom billing schedule after the membership record has been created. (Via the Invoice tab which will be created upon saving the record)
- This is a great feature for examples in which a customized invoicing and billing is needed for the individual donor
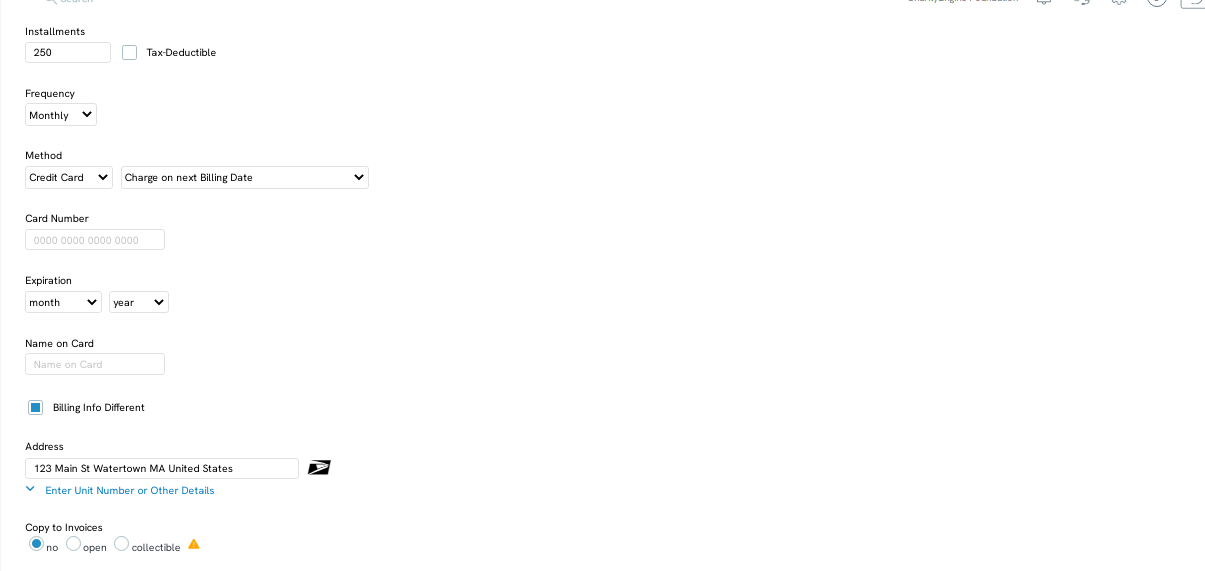
- Auto(matic) billing – selecting Auto will expose billing options including installment amounts, frequency and payment method.
- This is a great feature for examples such as an "Annual" membership which will be automatically invoiced and billed monthly
- Note, please be sure to apply to all future invoices.
- Note: All payment method types can be used for automatic billing and a transaction will be created, however cash and checks will not process until they have been entered into the database.
- Manual billing – please note all transactions and invoicing must be manually created and processed by a user within your organization.
-

Instructions - Managing and Maintaining Existing Membership Records
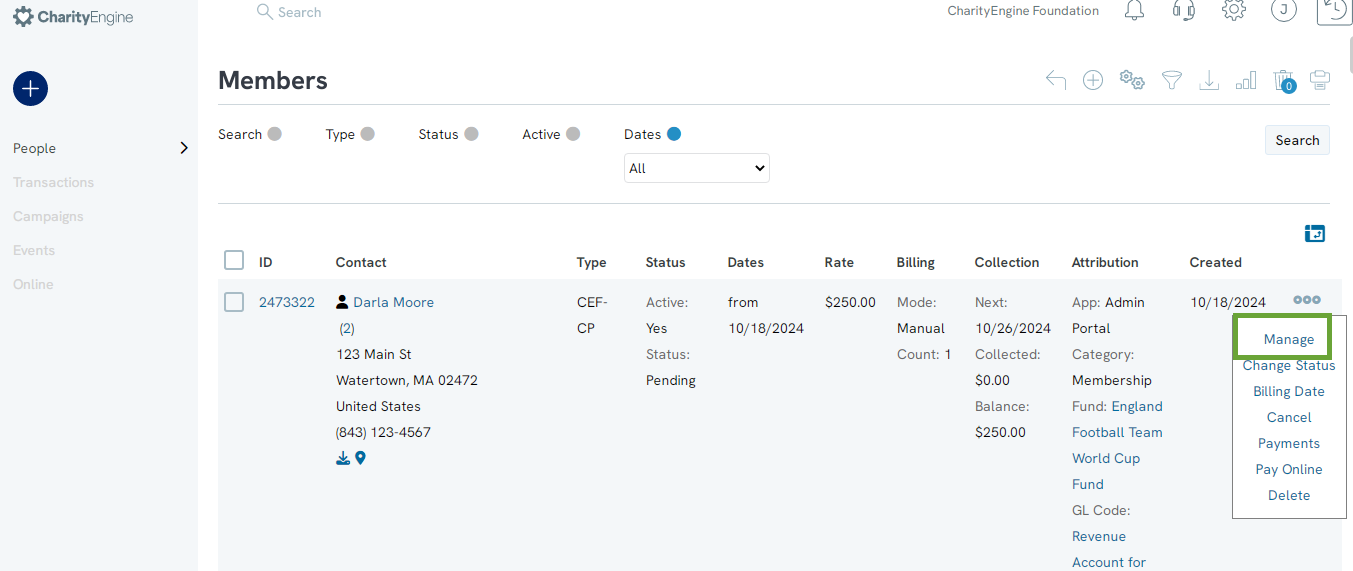
Step 2: Manage to view the membership configurations including the following tabs:
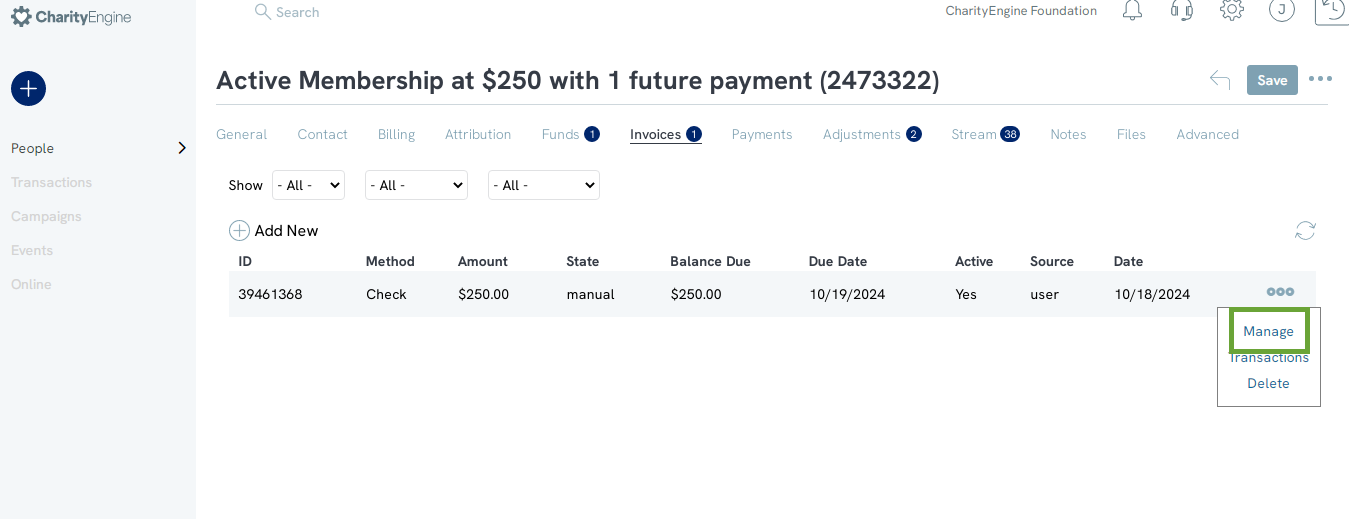
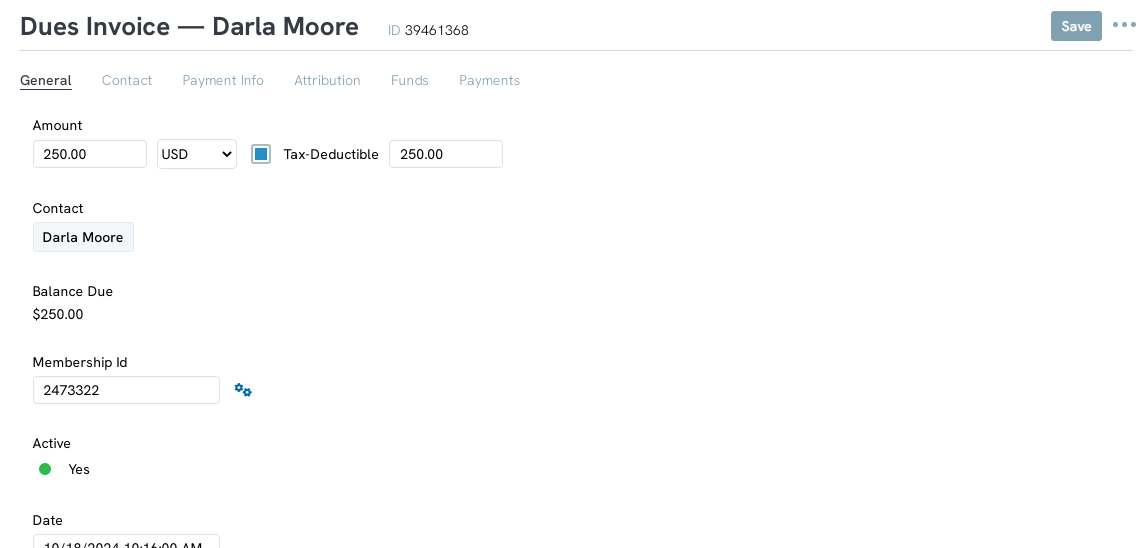
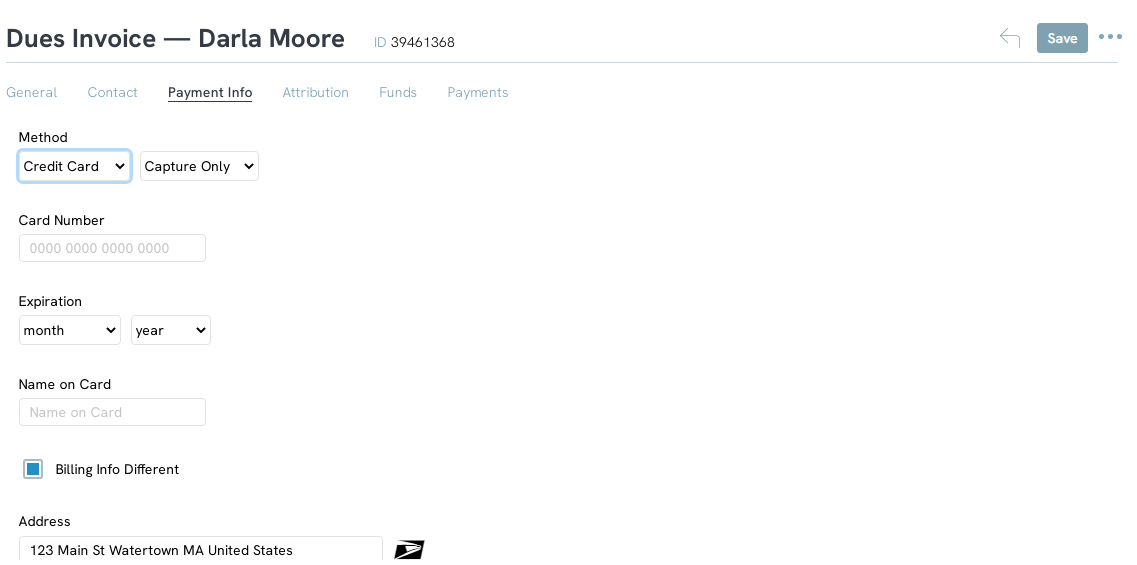
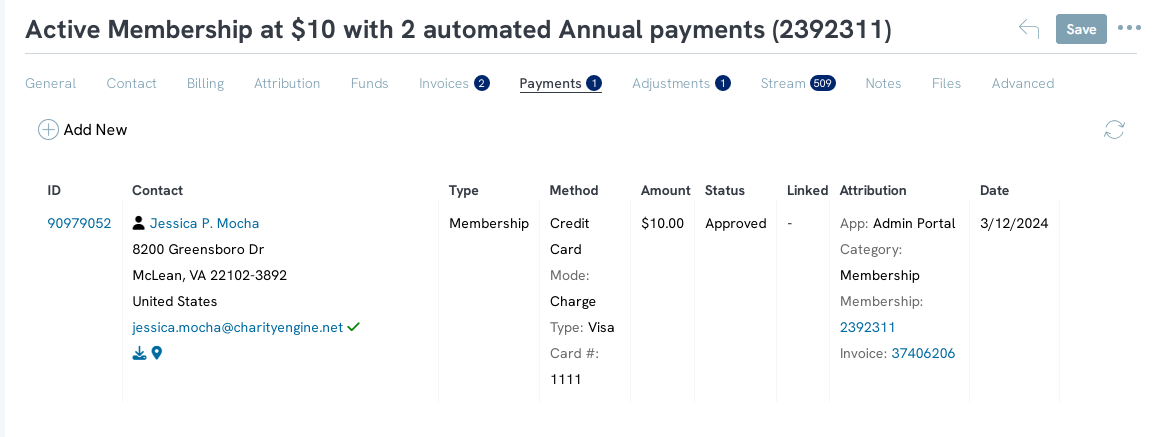
To manage existing invoices, click under ACTIONS > Manage.

Instructions - Creating Membership Web Forms

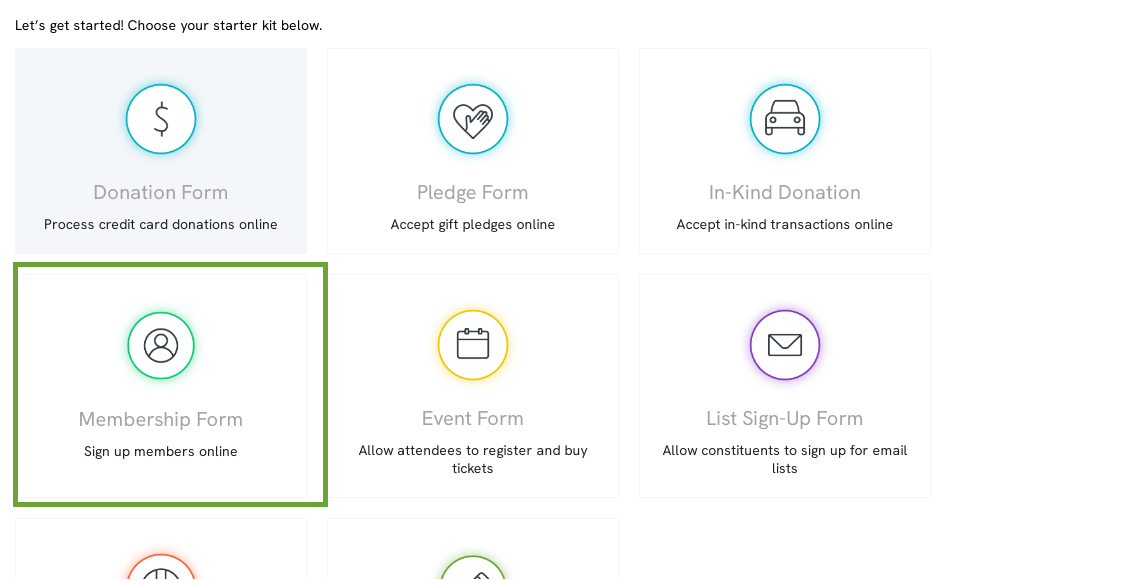
Step 1: Navigate to the Online App > Web Forms > Search & Manage > Create New > select Membership Form
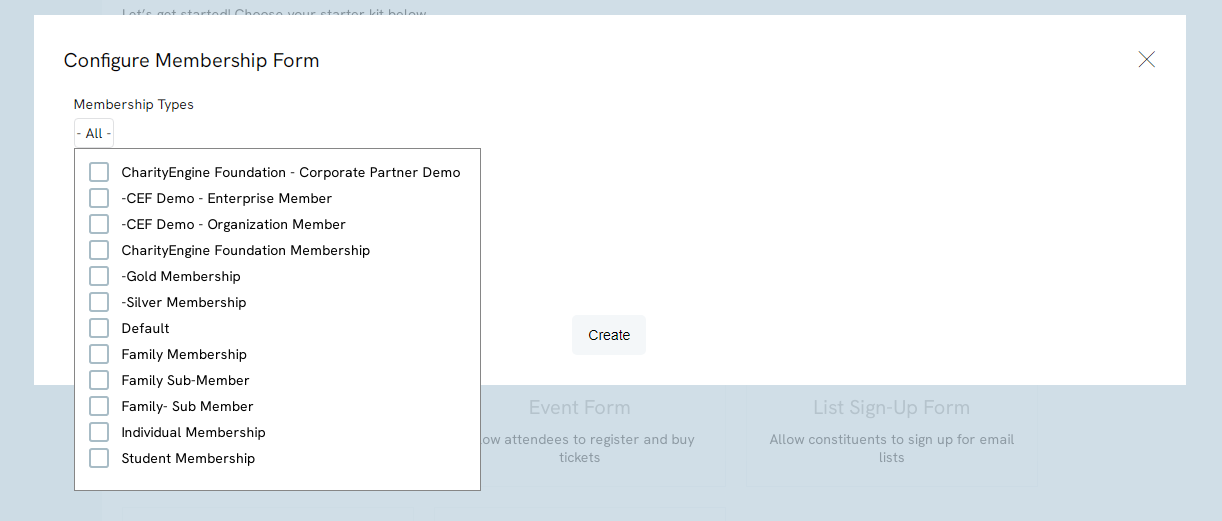
Step 2: Select Membership Types to expose through your web form > click CREATE to continue to build the Membership Form.
Step 3: Continue with configuration needs within the web form.
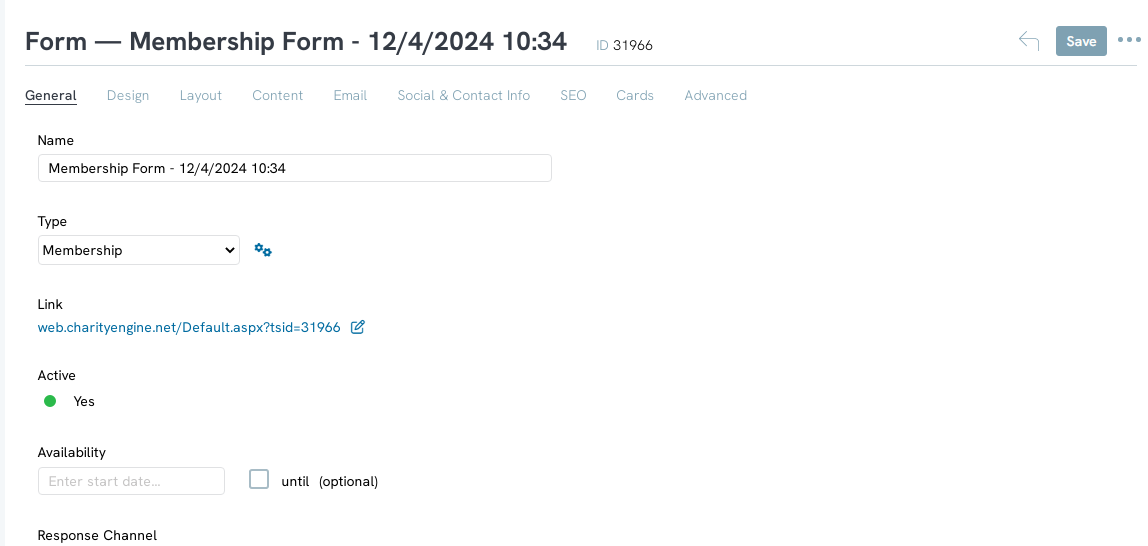
Note, similar to other web form features, users have the ability to leverage available tokens for receipt acknowledgement. Leverage the Email tab > Donor or Constituent Auto-Responder (and/or Internal (carbon copy)) to create or modify an existing Email Message.
Use Case - Communication for Membership Renewal
Leveraging CharityEngine's automation and workflows can assist organizations with automated membership renewal and support upgrade opportunities.
Integrated Send Message Feature (Individual Management)
Step 1: Navigate to Contacts App > Members > locate the desired record from the listing screen
Step 2: Select one or more records using the checkbox on the left side of the record
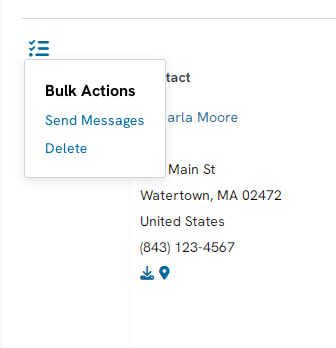
Step 3: Navigate to More > Send Message
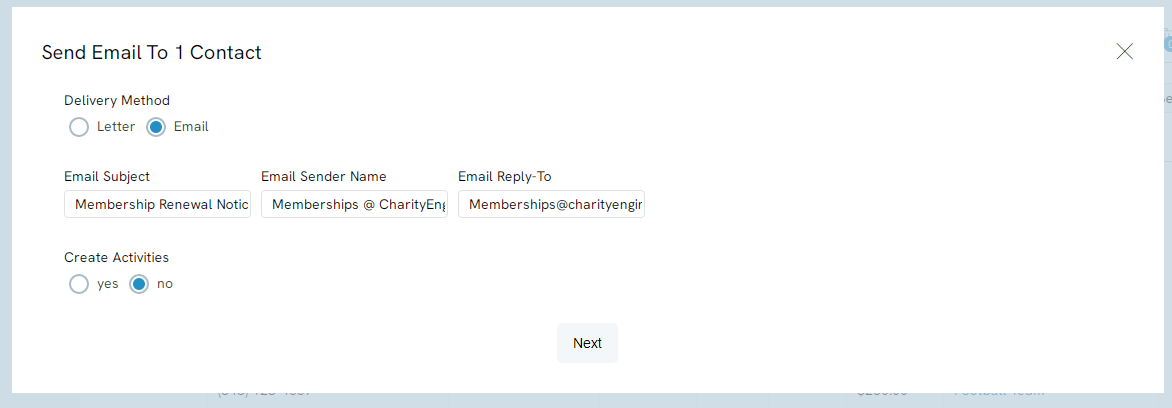
Step 4: Determine sending preference (Letter/Email), enter sender details and elect to create an activity for tracking and management
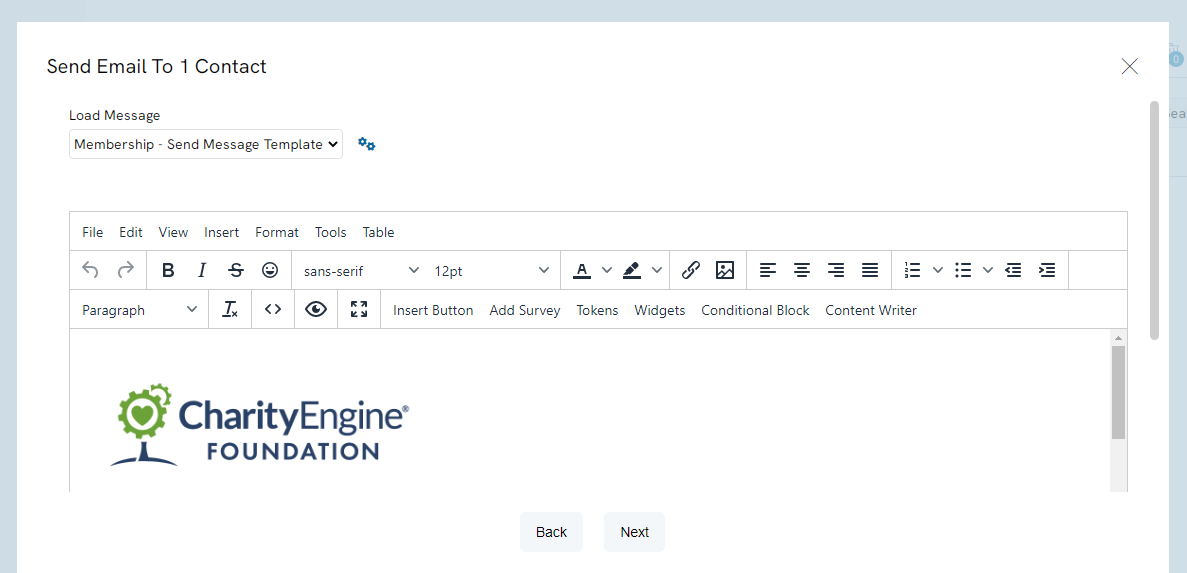
Step 5:Create a new message or select a pre-designed template from Load Message and click NEXT
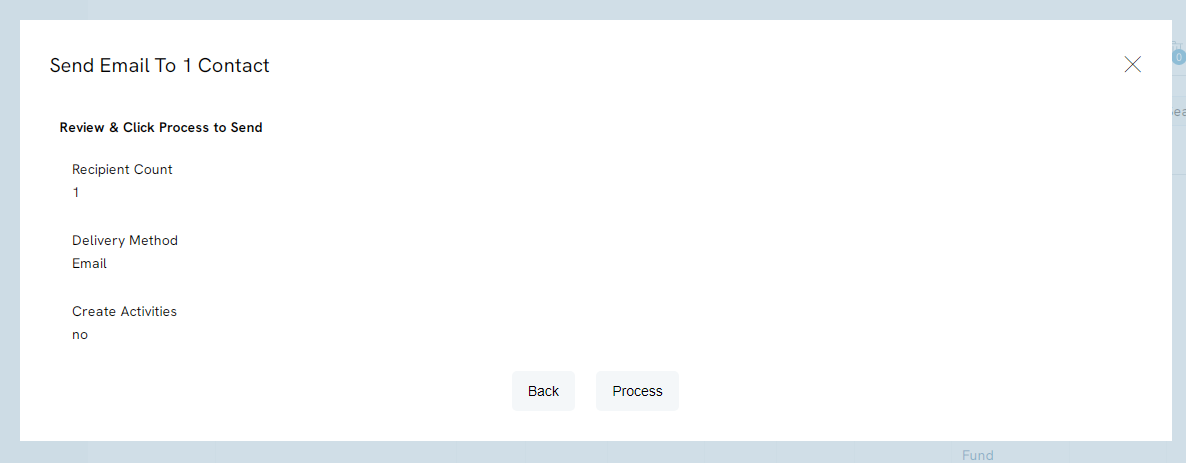
Step 6: Click PROCESS to initiate the send
Step 7: Receive success message and continue to click CLOSE
Automated Send Message Feature (Bulk/Automated Sending Management)
This use case could be applied for notification to members who are about to end their membership cycle and are ready for renewal. In this use case, the construct is to identify members who are expiring in 90 days in order to deliver an automated email with a link to select/pay for their next annual membership. In this use case, targeting expiring membership in January 2024.
Create the audience using queries
Step 1: Navigate to Automation & Workflow App > General > Queries > Create New > Filter: Donations > Select: Memberships > CONTINUE
Step 2: Add needed fields for the audience query (including any custom tokens to be used within the email content)
- Critical - ensure the Contact Id from the Membership Table is included in order to initiate an email blast
Step 3: Use the filter to identify the future end date range
- In this example, the organization is looking for "Payment End Date" is In Future AND "Payment End Date" is Before next 90 Days
- Hint: To expose filter option, hover over the right side of the filter field and click on the Beaker icon - this will exclude the options such as "In Future" and "Before next 90 Days"
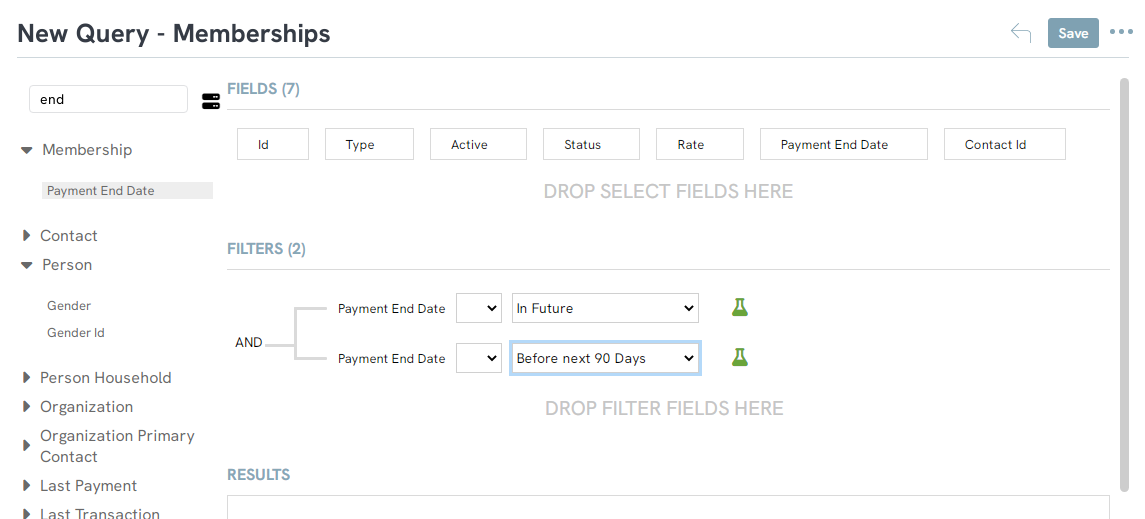
Step 4: Save the query.
Step 5: Access the Campaigns App > Quick Actions > Email Blast
Step 6: Select the query for audience and click next
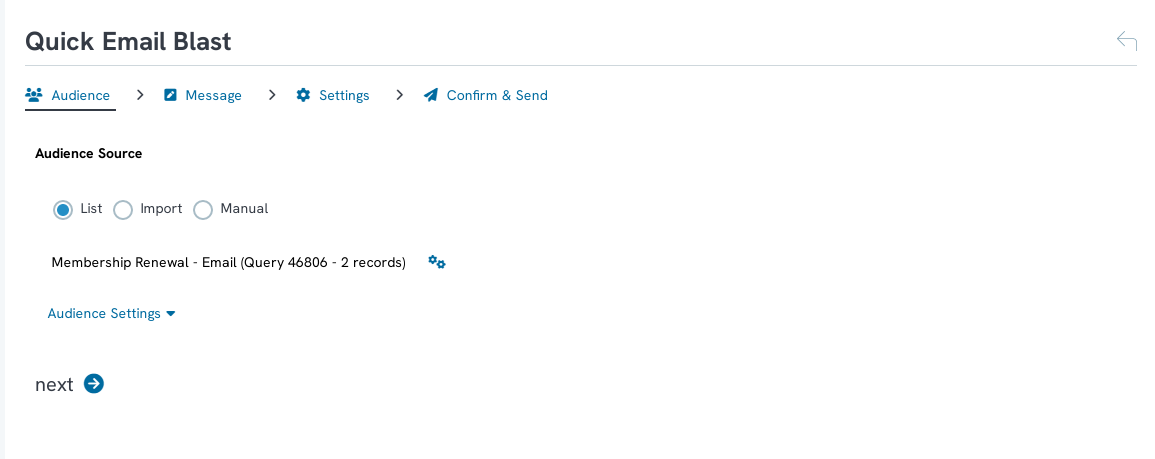
Step 7: Next, select create new or select existing for the creative and click next
Note: In this example, a button listed as "Renew Today" will route the donor/member to a membership type web forms
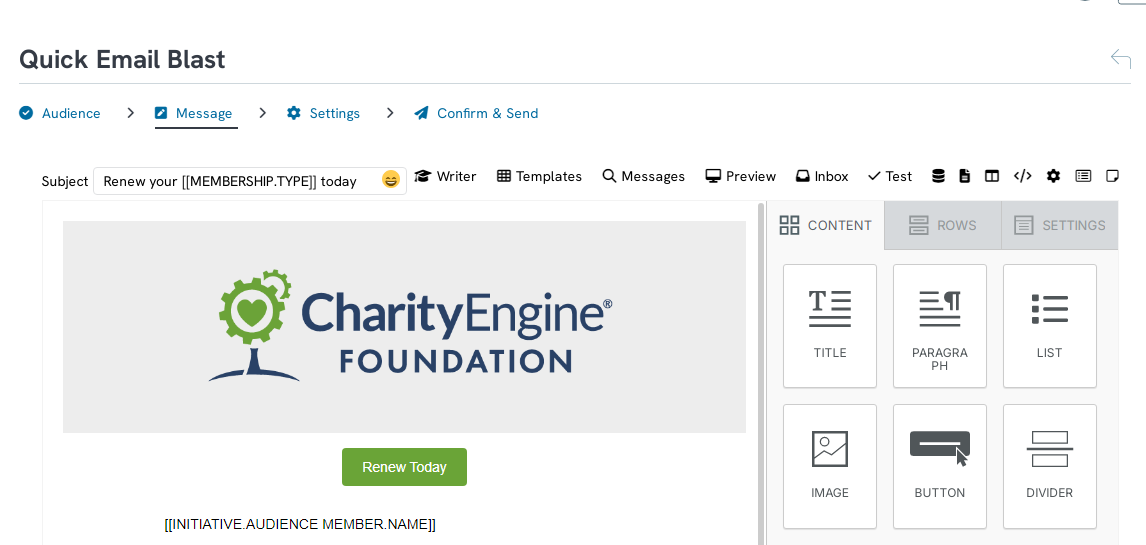
Step 8: Create the desired send schedule and additional settings as needed and click next
Step 9: Review the delivery and click PROCESS > OK
To set a recurring schedule continue with the following steps:
Step 10: Access the Campaigns App > Creative & Publish > locate the creative > ACTION > Schedule
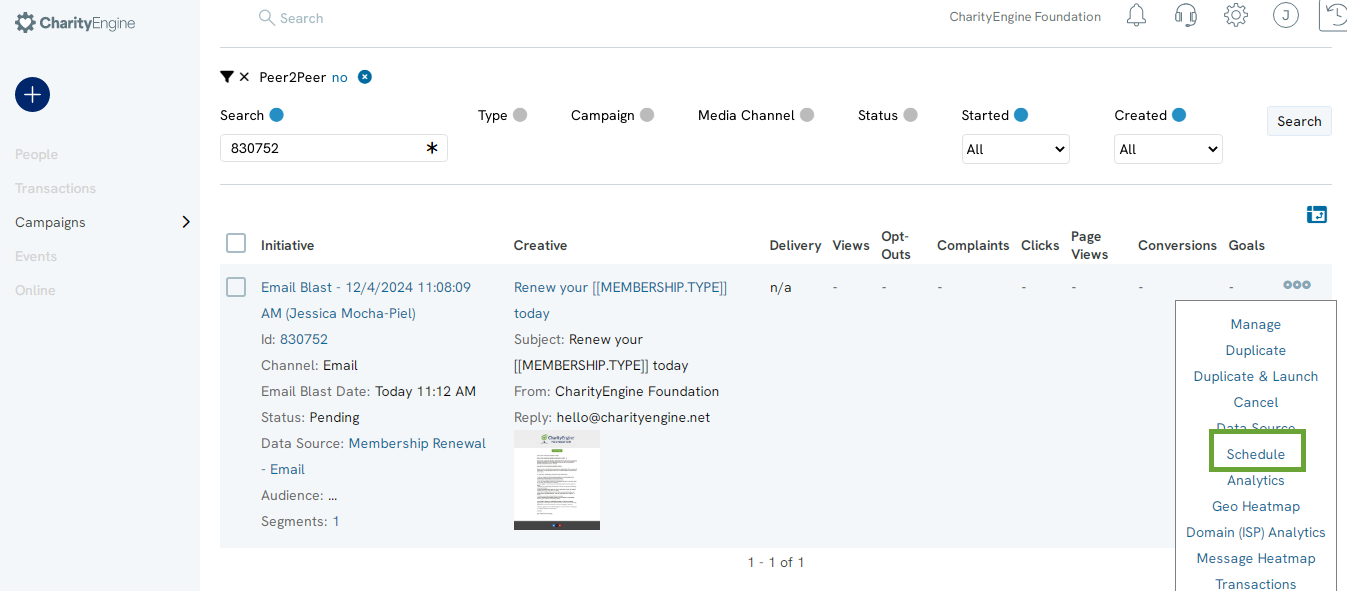
Steps 11: The user will be routed the Automation & Workflow App > Enter the schedule Name (required), Start (End) Dates, select Audience Type: Smart List and then select the query created above and complete other attribution selections > Click Save
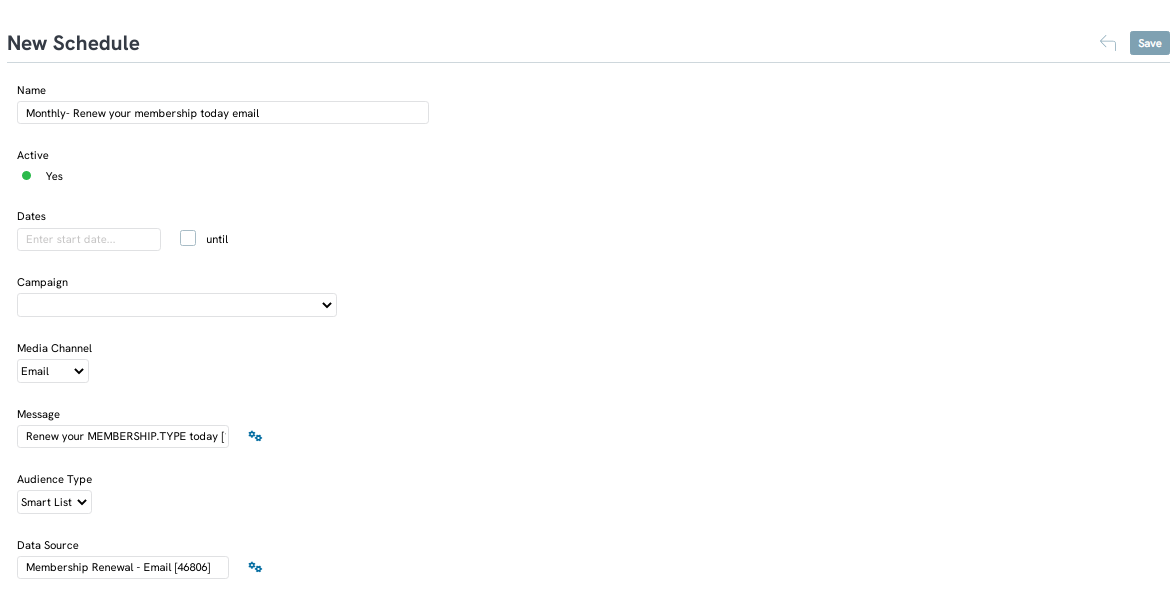
Step 12: From the Triggers tab, select the appropriate frequency and click SAVE. In this example the email will be delivered on the 5th of each month at 10:00am EST to members who are expiring up to 90 days in the future

FAQs & Additional Reading
A. Using the appropriate special link requires alignment with your audience source (query or report). Please follow these guidelines when using payment special links:
| Special Link | When to Use | Audience Source |
| "Sustainer Payment Link" | Donor updating sustainer account payment details when sustainer account is inactive | Automation & Workflow > General > Queries > Create New > Filter: Donation > Select: Sustainers Ensure "Sustainer ID" is within query for reference in communication series |
| "Membership Payment Link" | Donor updating membership account payment details | Automation & Workflow > General > Queries > Create New > Filter: Donation > Select: Memberships Ensure "Membership ID" is within query for reference in communication series |
| "Pledge Payment Link" | Donor updating pledge account payment details | Automation & Workflow > General > Queries > Create New > Filter: Donation > Select: Pledges Ensure "Pledge ID" is within query for reference in communication series |
| "Invoice Payment Link" | Donor updating an invoice/installment for sustainer, pledge. Donor has option to update payment for one invoice with an option to apply payment details to all future invoices. |
Automation & Workflow > General > Queries > Create New > Filter: Donation > Select: Invoices Ensure "Invoice ID" is within query for reference in communication series |
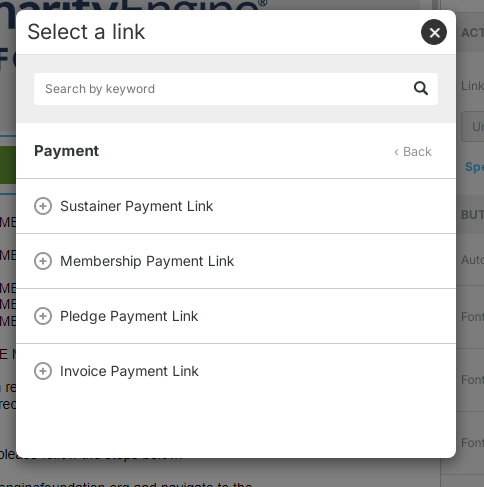
Q. Where can I access the membership change log?
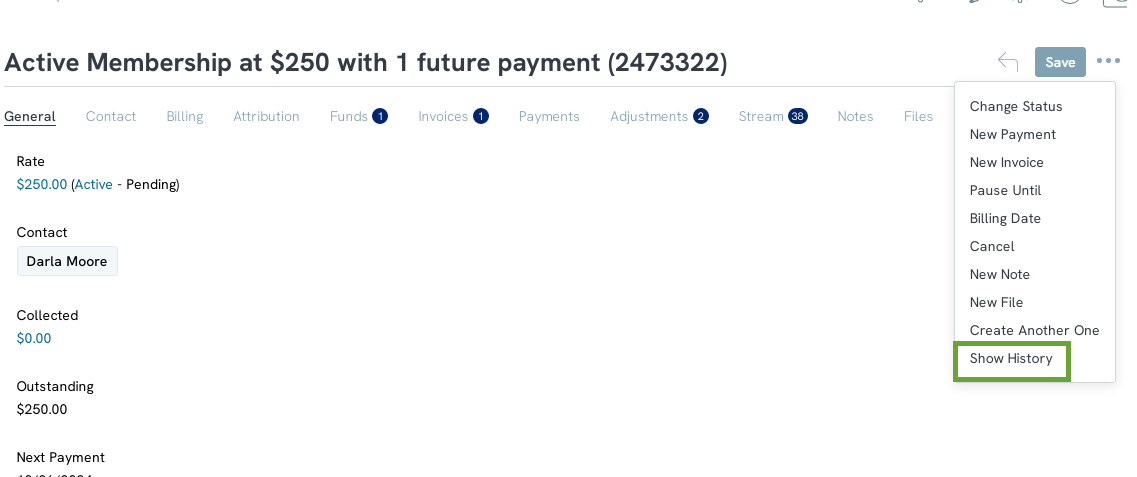
A. Access the membership record and click on the ellipses next to save, then click on Show history. From here the user will have access to details surrounding changes related to the membership record.
Q. Can a user overcharge a donor when adding a new invoice?
A. No. There are fail-safes in place to ensure that a donor is not charged for more than that total value of their pledge commitment.

