Introduction
CharityEngine provides a centralized place to view and manage donor and constituent addresses. This allows you to focus specifically on address records without searching through each contact record for the information you need. This article details how this view can be leveraged for convenient searching, bulk updating, mail merges, seasonal address updates, and more.
Table of Contents
- Introduction
- Prerequisite
- Instructions: Search/Query Mailing Addresses
- Instructions: Adding a New Address
- Instructions: Adding Seasonal Addresses
- Instructions: Accessing and Leveraging the County of an Address
- Instructions: Creating a Mail Merge
- Instructions: Bulk Importing Addresses
- FAQs & Further Reading
Prerequisite
No prerequisites are required.
Instructions: Search/Query Mailing Addresses
- Navigate to People > Organizations & People > Addresses.
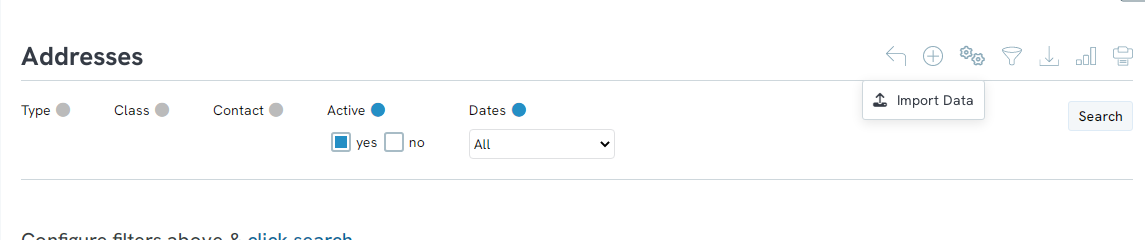
- Use the basic filters on the Addresses screen to locate the address you need.

- Open Advanced Filters to create a more detailed search of existing address records.
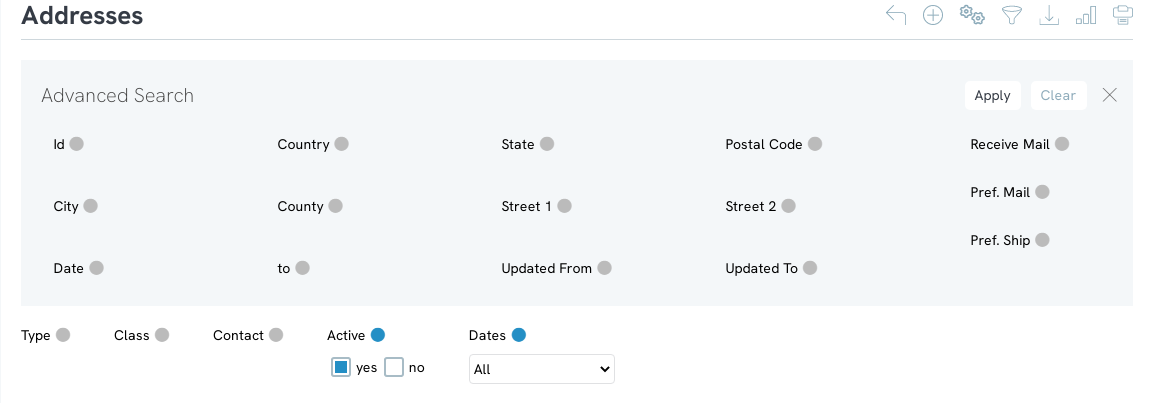
Additional actions are available in the upper-right corner of the screen.

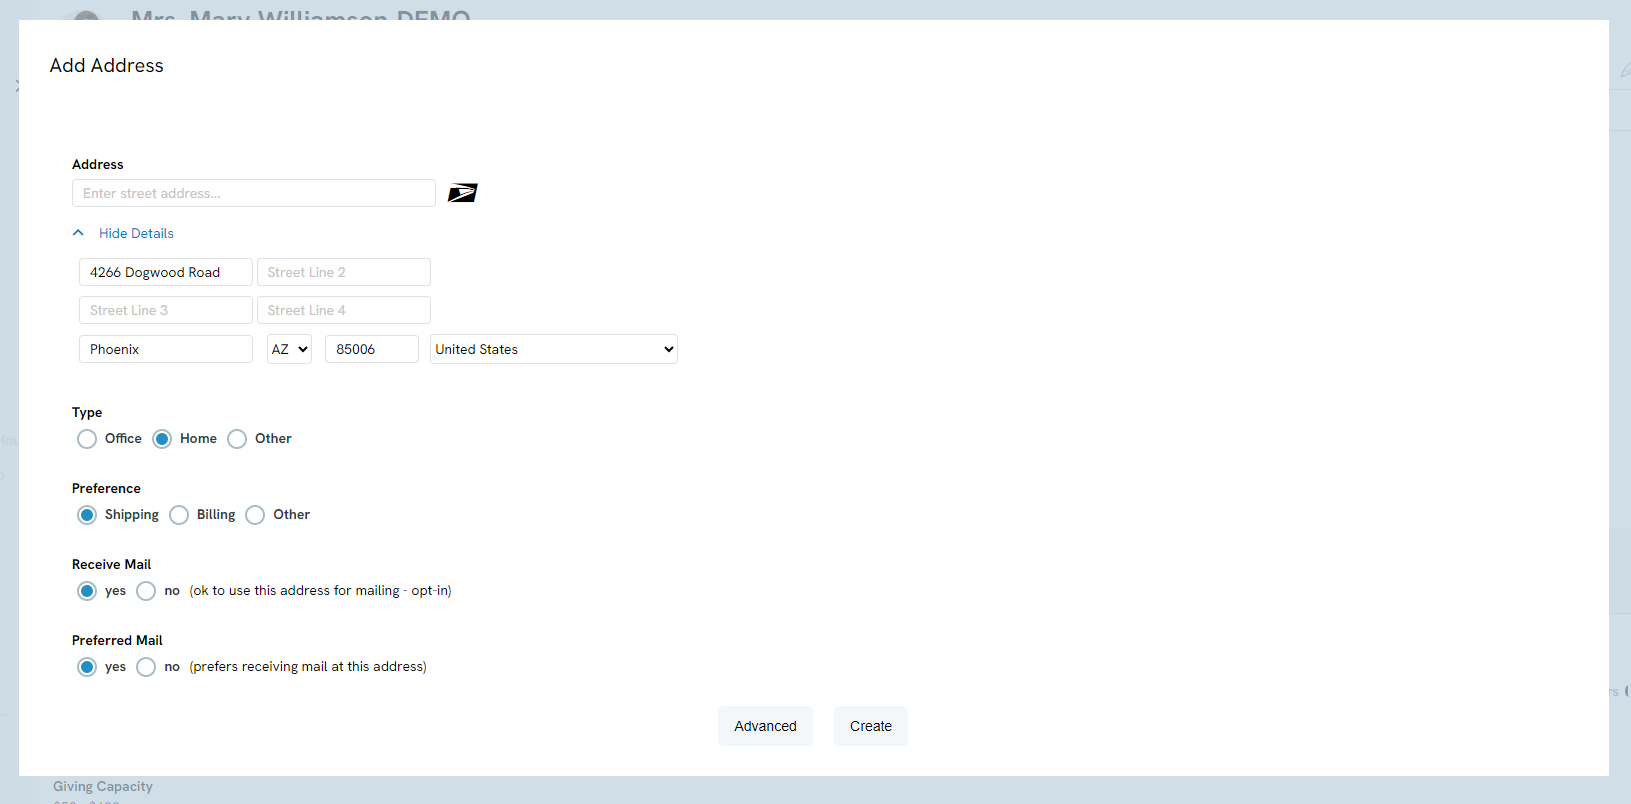
Instructions: Adding a New Address
You can add an address directly from an individual contact record or through the Addresses screen. The Addresses screen may be especially helpful when entering multiple address records.
- Navigate to People > Organizations & People > Addresses > Create New.
- Select the contact and enter the available address information.
- Click CREATE to save the new address.
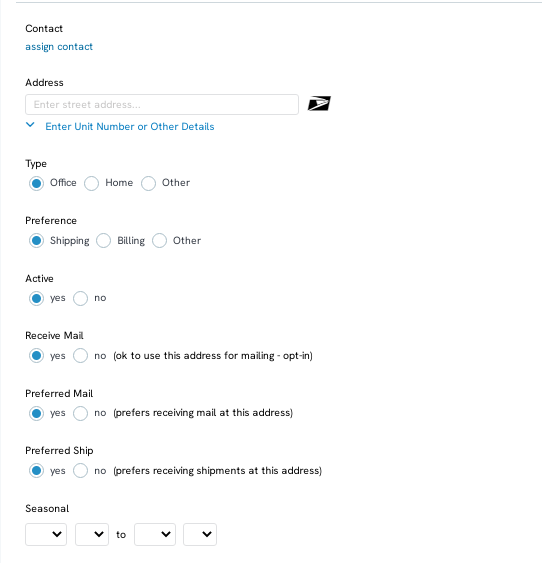
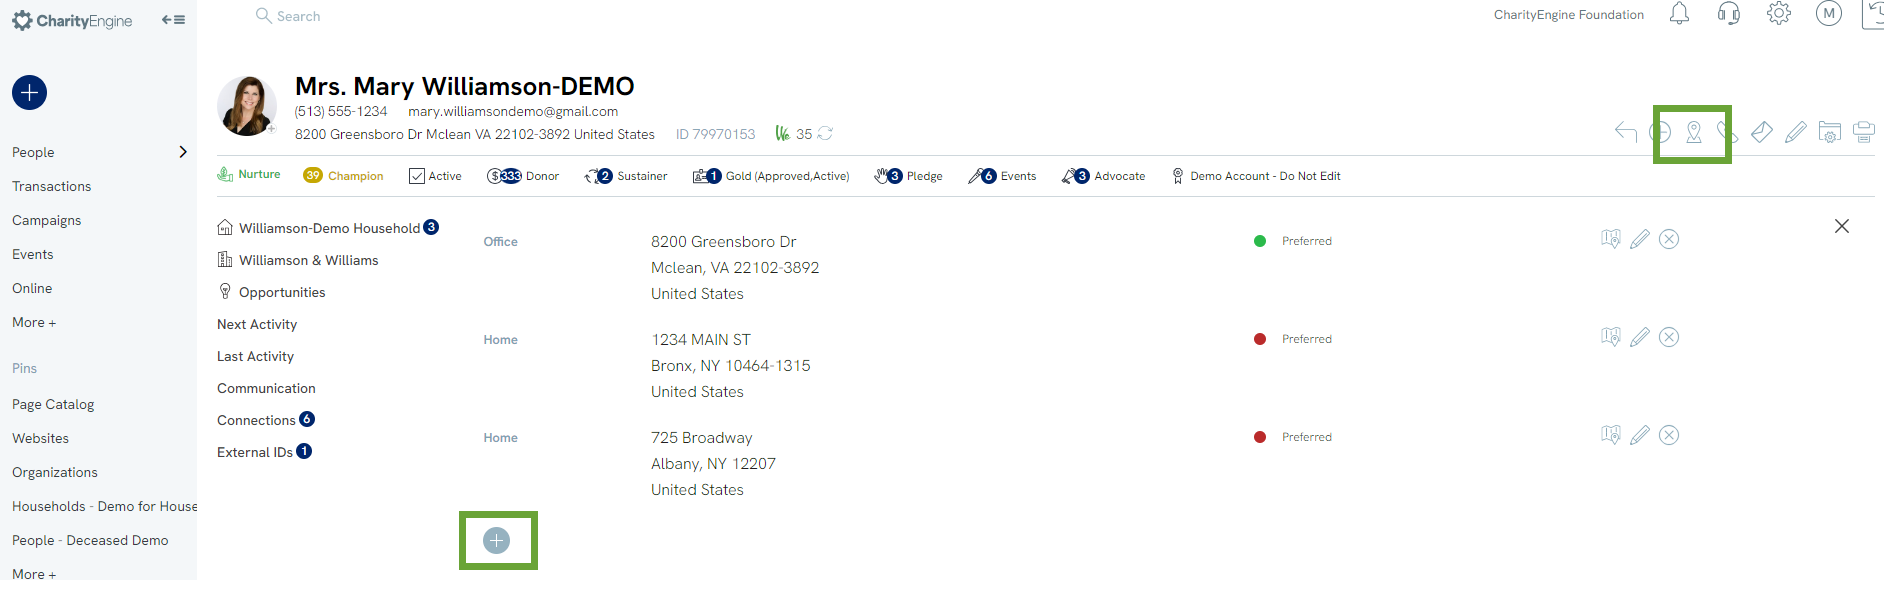
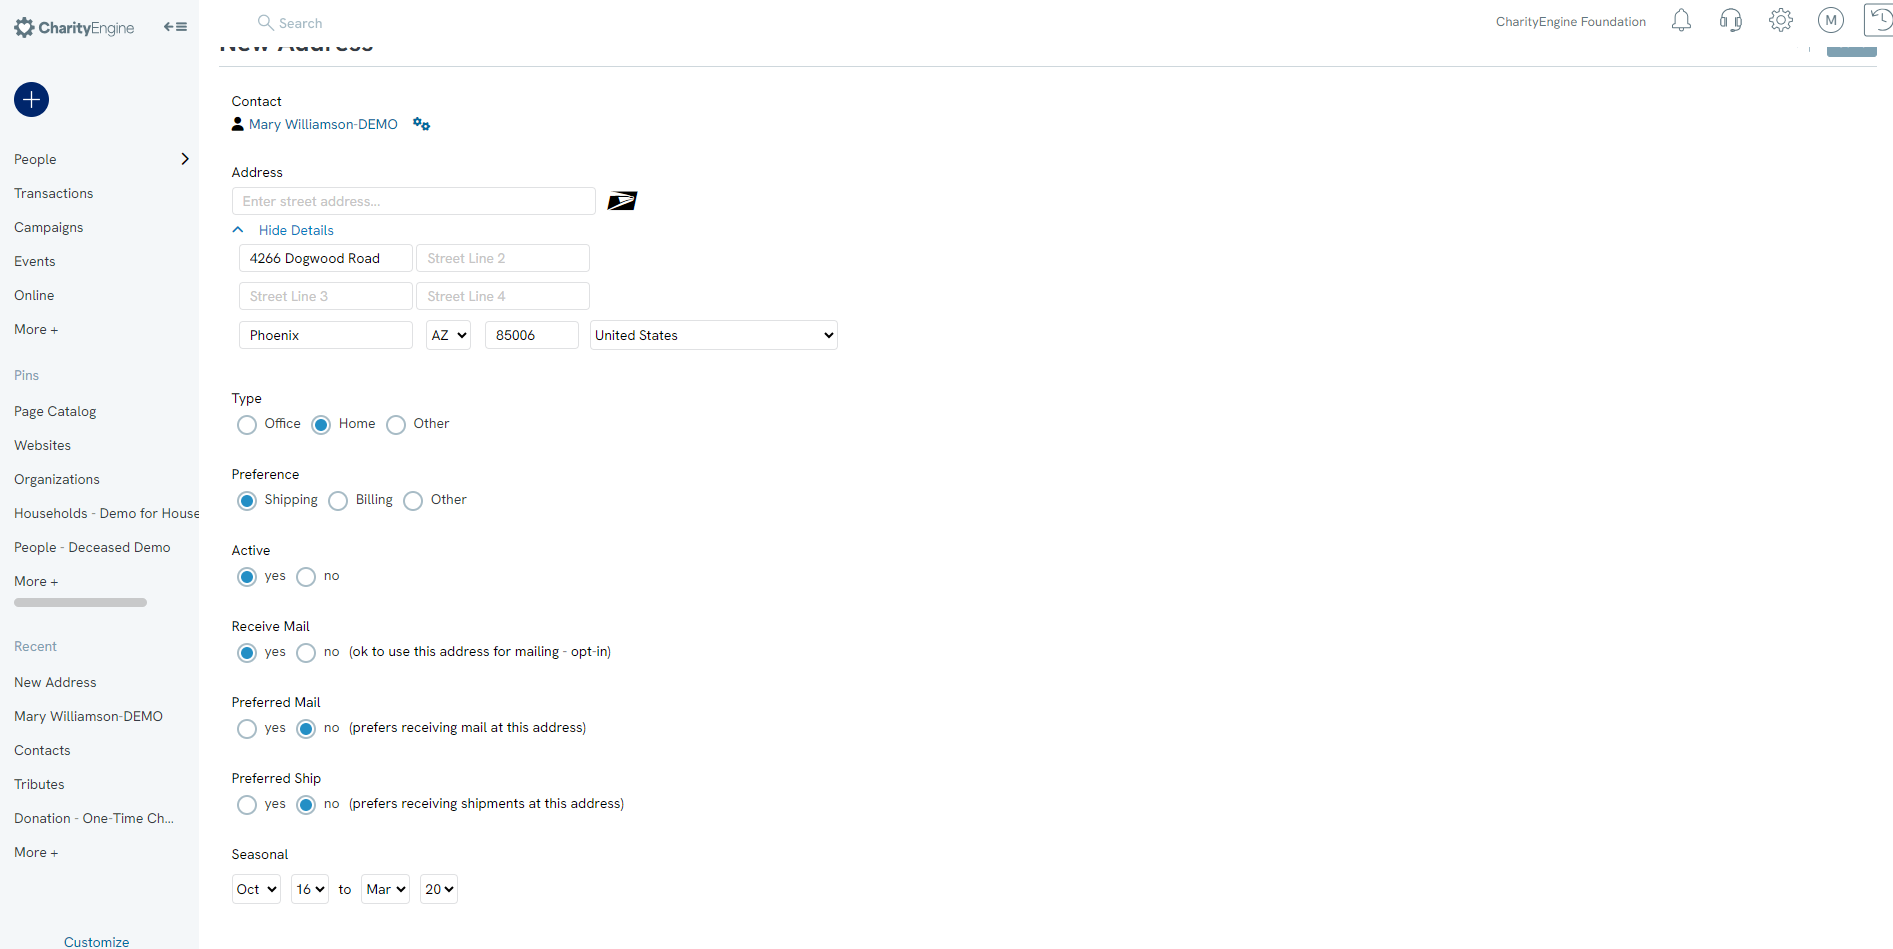
Instructions: Adding Seasonal Addresses
- Navigate to People > Organizations & People > Contacts.
- Search for the contact and open the contact record.
- Click the Address icon, and then click the plus icon to add an address.
- Click Advanced to open the additional address settings.
- Enter the address information, select the address type, and configure any applicable mailing preferences.
- Use the Seasonal date drop-down menus to define the seasonal date range.
- Click Save.
Instructions: Accessing and Leveraging the County of an Address
CharityEngine automatically populates a contact's county based on the postal code. The County field is not editable, but it can be used for searching and reporting.
View the County on an Address Record
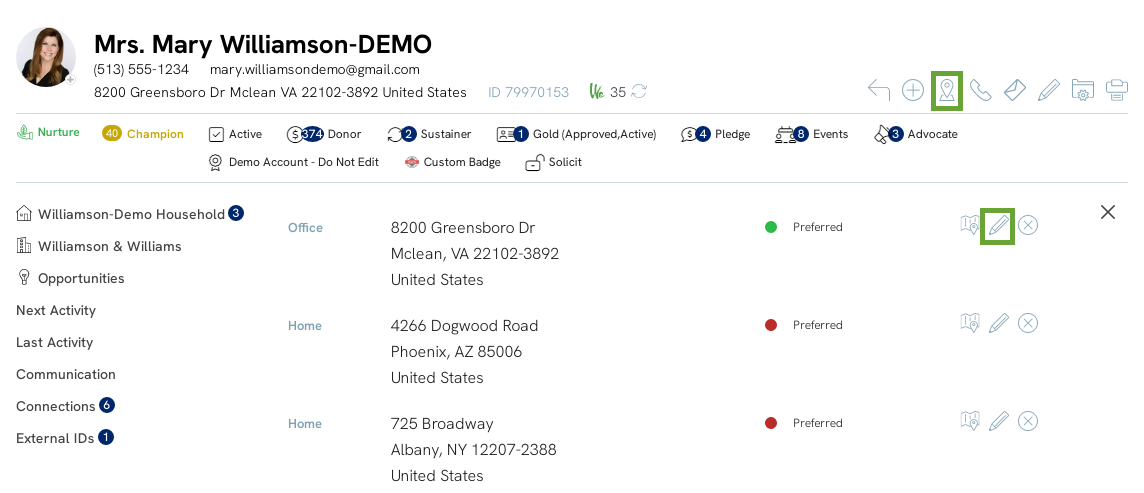
- Navigate to People > Organizations & People > Addresses.
- Use the available filters to locate the appropriate contact or address.
- Click Edit in the upper-right corner, or use the edit option beside the address.
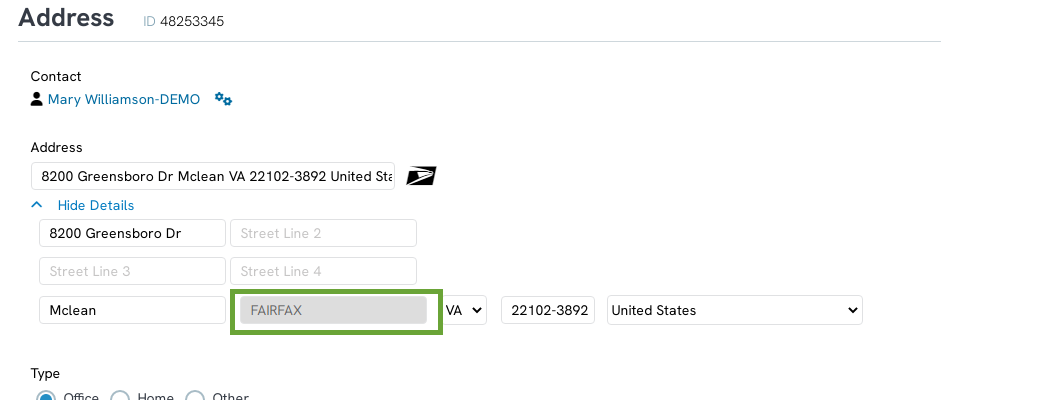
- Click Edit Unit Number or Other Details to display the County field beside the City field.
The County field will be grayed out because it is populated automatically from the postal code.
Search for One County
- Navigate to Contacts > Organizations & People > Addresses > Advanced Filter.
- In the County field, enter the county name.
- Click APPLY.
This search returns all individual address records associated with the selected county. Because a contact can have multiple addresses, duplicate Contact IDs or names may appear in the results.
Note: County is also available from Contacts > Organizations & People > Contacts > Advanced Filter > Address. Enter the county name and click APPLY. This option returns individual contacts with one or more addresses associated with the selected county.

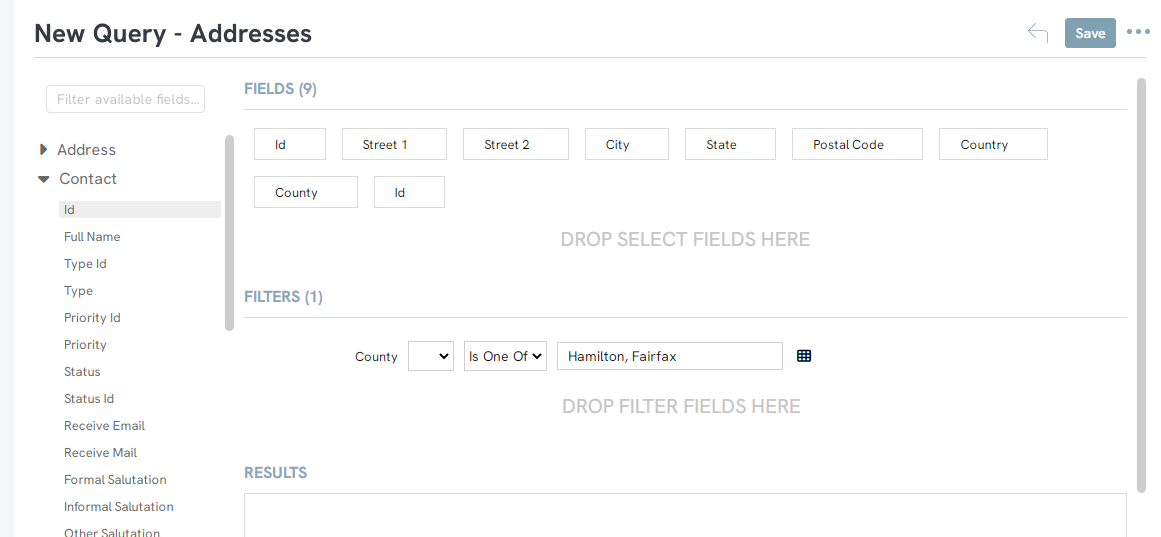
Query Multiple Counties
- Navigate to Automation & Workflow > General > Queries > Create New.
- Choose the query type:
- Filter: Contacts
- Select: Contacts or Addresses
- Add the fields you want to display to the SELECT section.
- Add the fields you want to use as criteria to the FILTER section.
- To search for multiple counties, select the Is One Of operator and enter the applicable county names, such as Hamilton and Fairfax.
- Click RUN to retrieve the data.
- Click SAVE to save the query, or use the four-box icon beside Run to export the results.
Instructions: Creating a Mail Merge
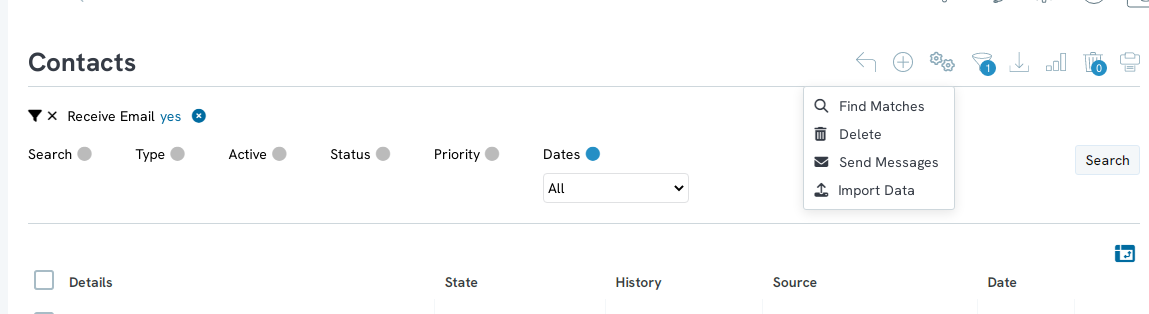
- Navigate to People > Organizations & People > Addresses.
- Use the available filters to identify the target audience.
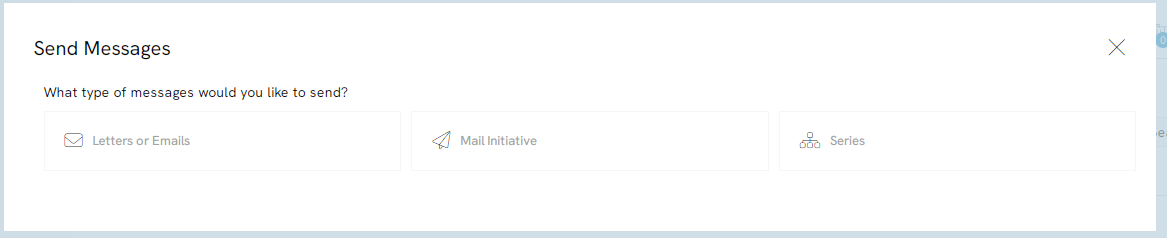
- Select More > Send Messages.
- For Delivery Method, select Letter, and then click NEXT.
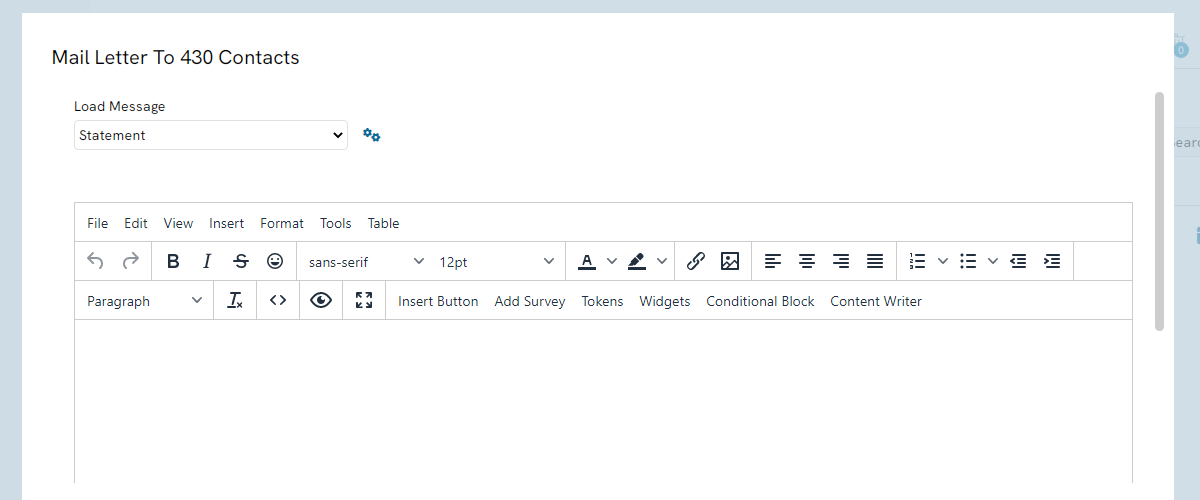
- Load an existing message, or click the plus icon beside Load Message to create a new message.
- Click NEXT.
- Click PROCESS to generate the bulk letter file.
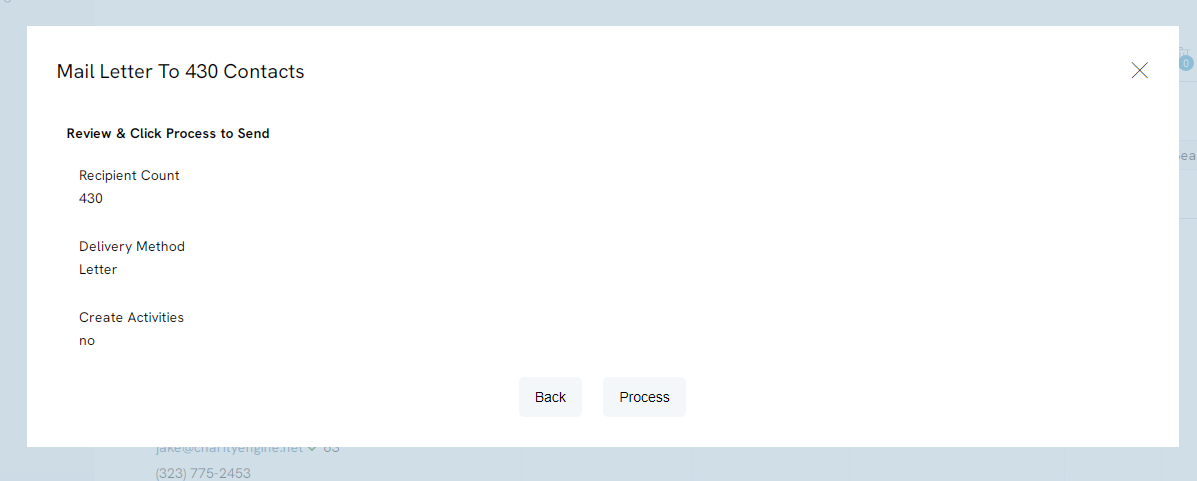
- After processing is complete, click here to download the letter file.

- Save the file and prepare it for printing.
Instructions: Bulk Importing Addresses
Selecting Import Data opens the Data Jobs wizard in the Automation & Workflow area of CharityEngine. The Import To field will automatically be set to the Addresses table.
For complete import instructions, refer to the Help Center article for the Data Jobs wizard.
- Navigate to Contacts > Organizations & People > Addresses > More > Import Data.
- Confirm that the import is directed to the Addresses table, and then click NEXT.
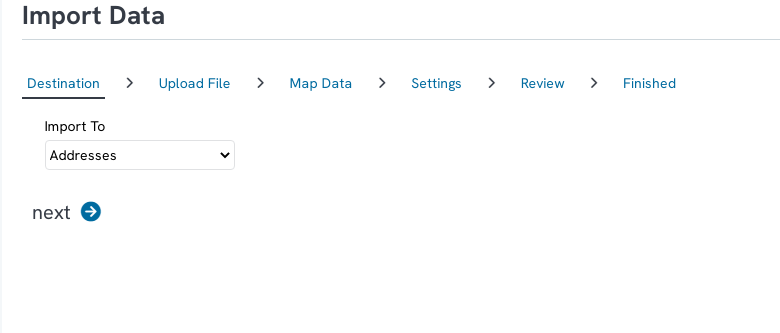
- Continue through the importer and upload the address file.
Include the existing contact's Contact ID whenever possible to prevent duplicate records. When importing an address for a new contact, include the contact information required to create the new record.
FAQs & Further Reading
Q: The County Field Is Not Populating. How Do I Correct It?
A: The address must include a postal code before CharityEngine can populate the county.
To update an individual record:
- Open the address from the Addresses panel or select Edit from the address displayed beneath the contact's name.
- Select Enter Unit Number or Other Details.
- Use the USPS Update option to update the address.
Note: Fees apply when using the USPS Update feature.
For bulk updates, use the Data Enrichment feature under Automation & Workflow and select Zip+4 Update (USPS). Data usage rates apply.
