Overview: Files
The ability to store and view files allows CharityEngine users to quickly access and view files ranging from PDFs, Microsoft documents, images, audio, or video files.
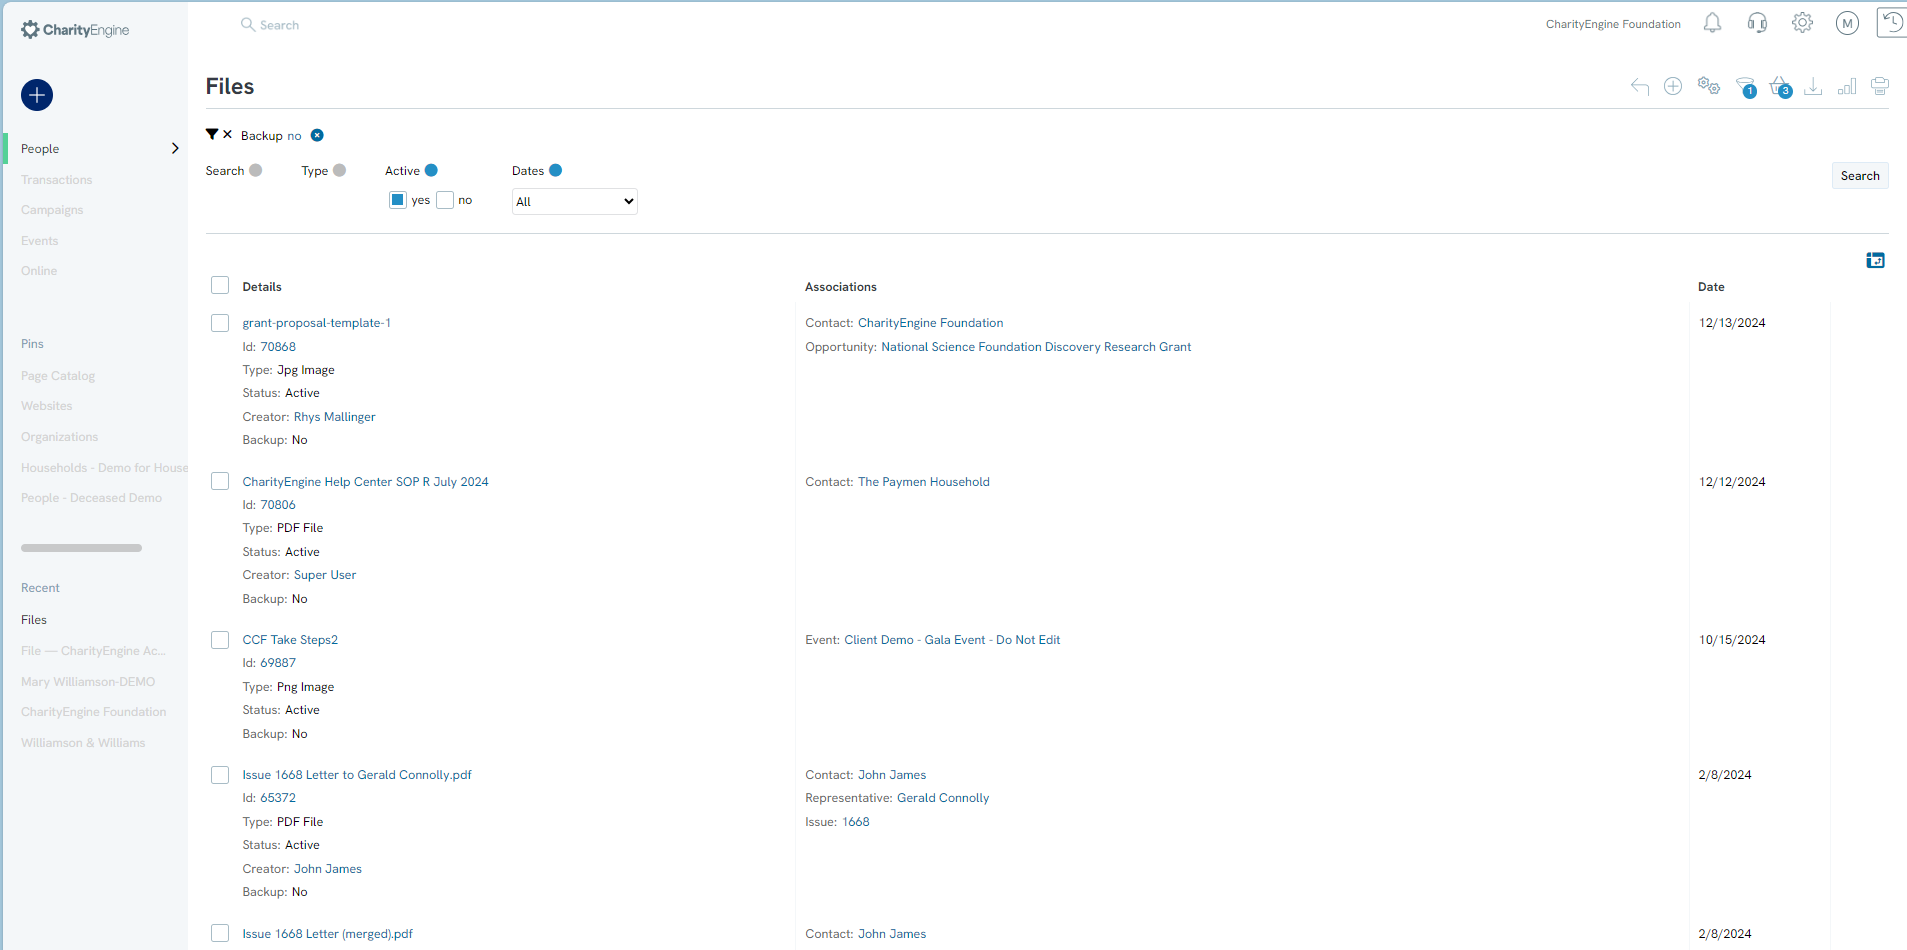
Table of Contents
Prerequisites:
Please note that data storage fees may apply. For details regarding account storage, please contact your account manager and refer to your contract for specific storage rates.
Please also access our article Data Governance: How to Manage Data Storage Limits for details on monitoring and managing storage limits.
Introduction:
The Files section of CharityEngine® can appear in multiple places across the system. One of the easiest places to purposely access Files is by navigating to People Application> Files.
The Files screen will look like the sample screen below. Use the quick filters to find a file you are looking for.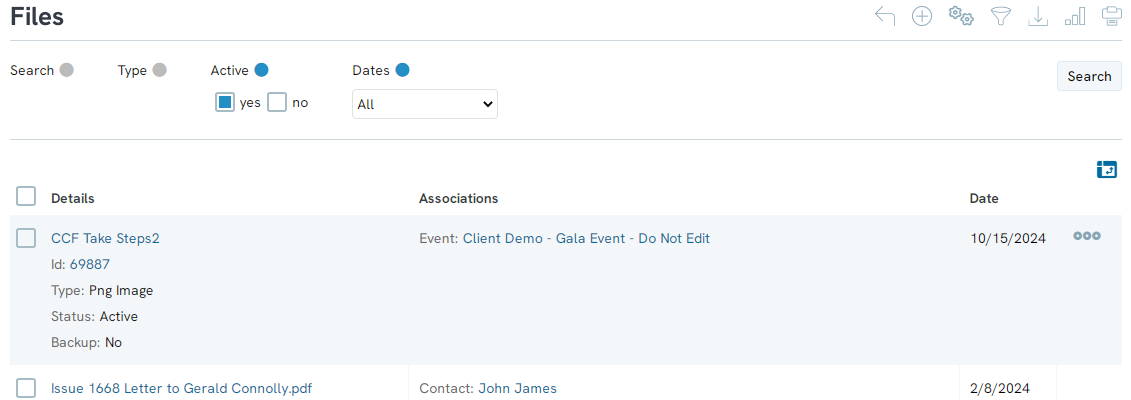
Use the Advanced Filter to search more specifically.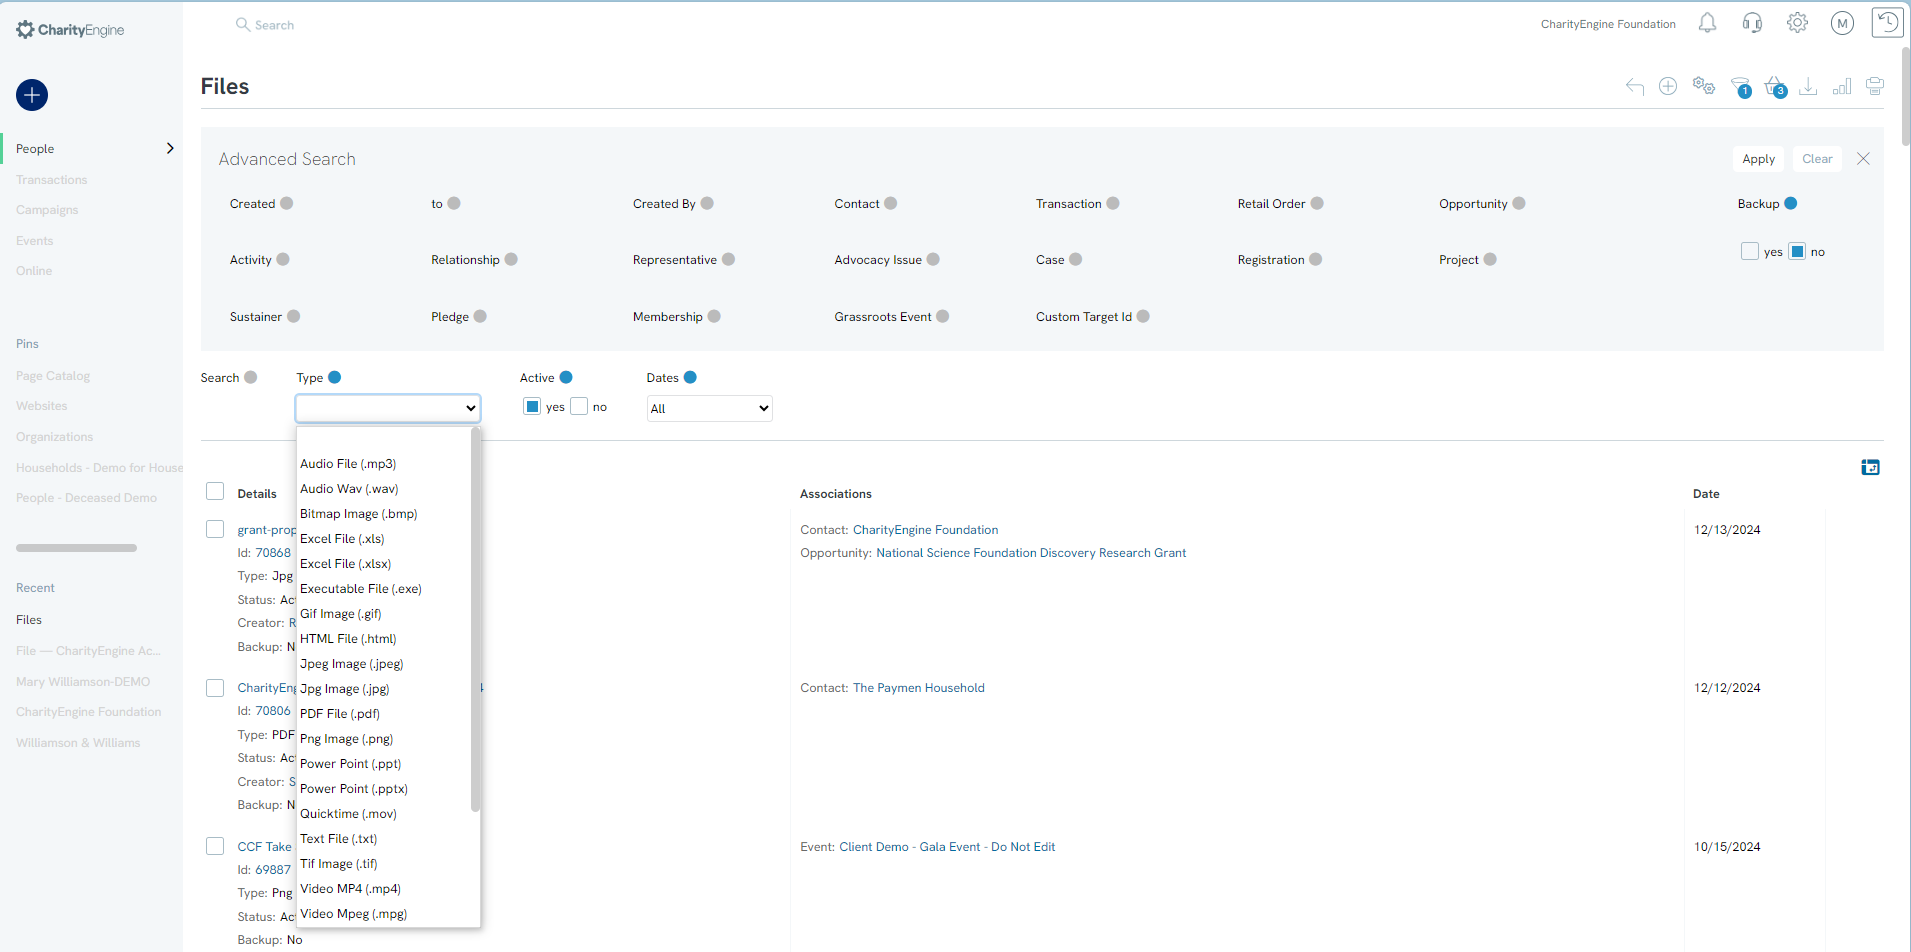
Click Create New to create a new file from this screen.
Create New
General Tab
Upload the new file under the General tab. Turn the Active switch to Yes or No depending on whether you would like the file to be active.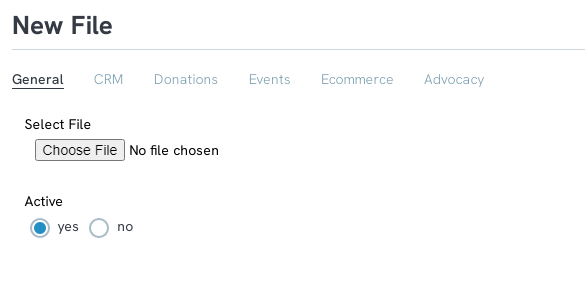
CRM Tab
Under the CRM tab is the space to insert all the relations management fields. Fill in as many or as few of these fields as you wish.
*Note: CharityEngine® will detect a link between a contact and a transaction, activity, membership, etc. and create an association for the file on its own. This way, a user can access the same file from multiple records but only need to upload it a single time.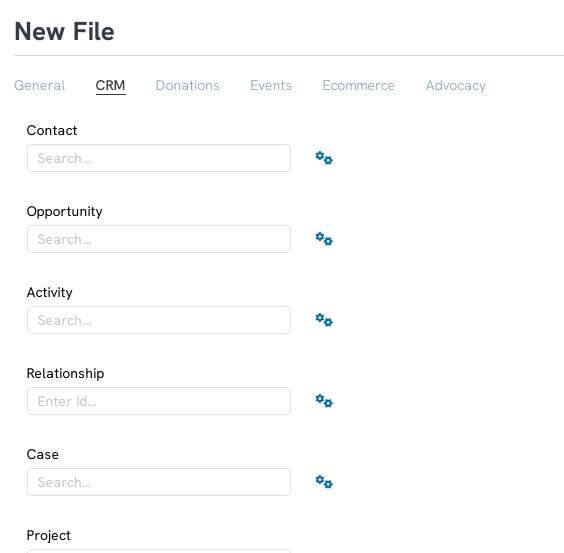
Donations Tab
Insert any transaction IDs here that the file could be associated with.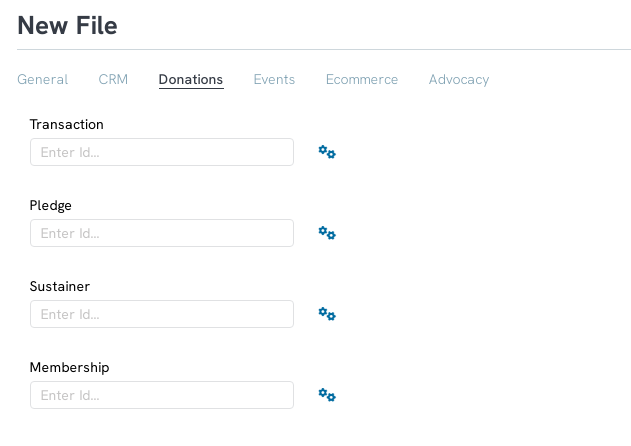
Events Tab
If you would like the file to attach to an event (primary or grassroots), indicate the event under this tab.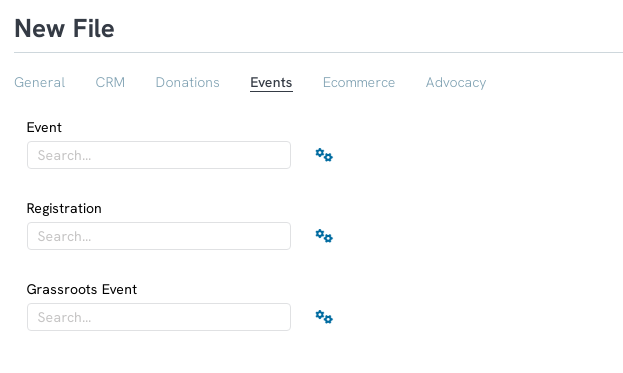
Ecommerce Tab
To associate the file with a product order, click the Ecommerce tab and fill out the order field.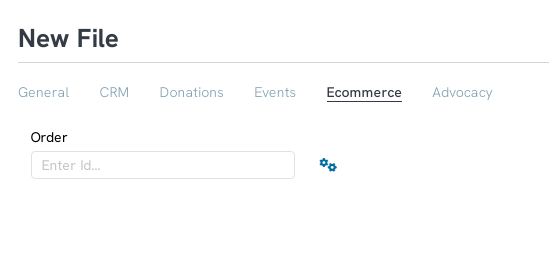
Advocacy Tab
Associate the file with an advocacy relation under this tab.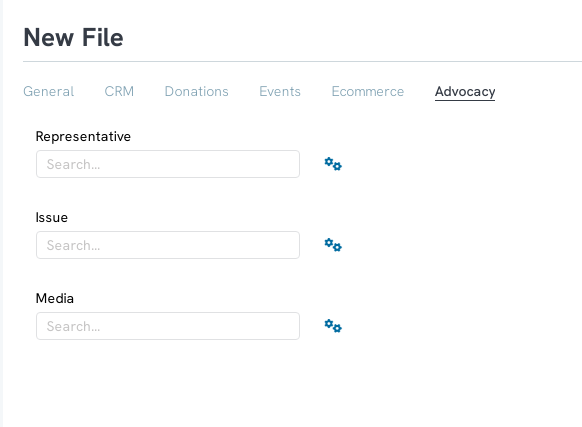
Allowable File Types & Extensions
Listed below are the file types and extensions that can be downloaded to CharityEngine.
|
File Type |
File Extension |
|
Gif Image Jpeg Image PDF Bitmap Image Png Image Flash Video Flash Audio File mp4 mp3 Ogg WebM Icon TTF Font SVG Font EOT Font Excel Excel 2007+ Word 2003 Word 2007+ MS Word MS Word FLV TTF iCalendar Mov OpenType Font Text Embedded OpenType Font Scalable Vector Graphic Web OpenFont Font Web Page MS Excel MS Excel CSV File OpenType Font Cursor Word Word Template Word 2003 Template |
.gif .jpg .bmp .png .flv .swf .mp3 .mp4 .mp3 .ogg .webm .ico .woff .ttf .svg .eot .xls .xlsx .doc .docx .ppt .pptx .doc .docx .flv .ttf .ics .mov .otf .txt .eot .svg .woff .html .xls .xlsx .csv .woff2 .cur .docx .dotm .dot |
Available Workflow for File Append
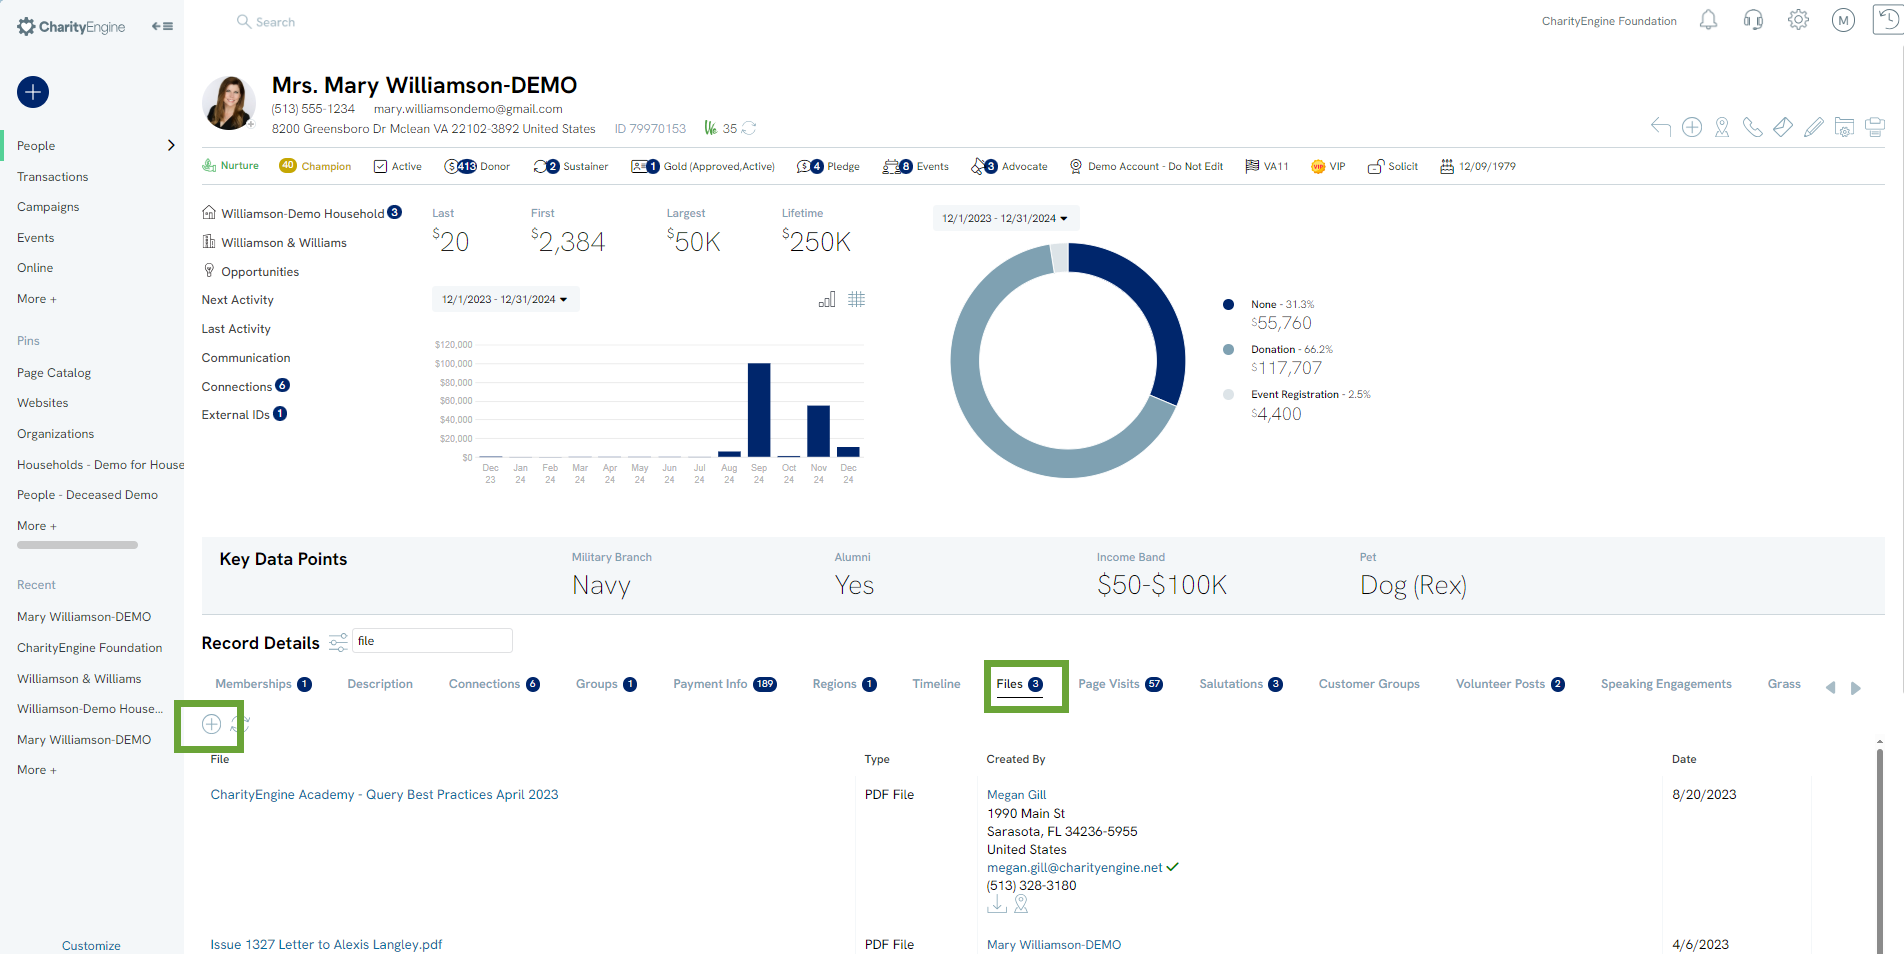
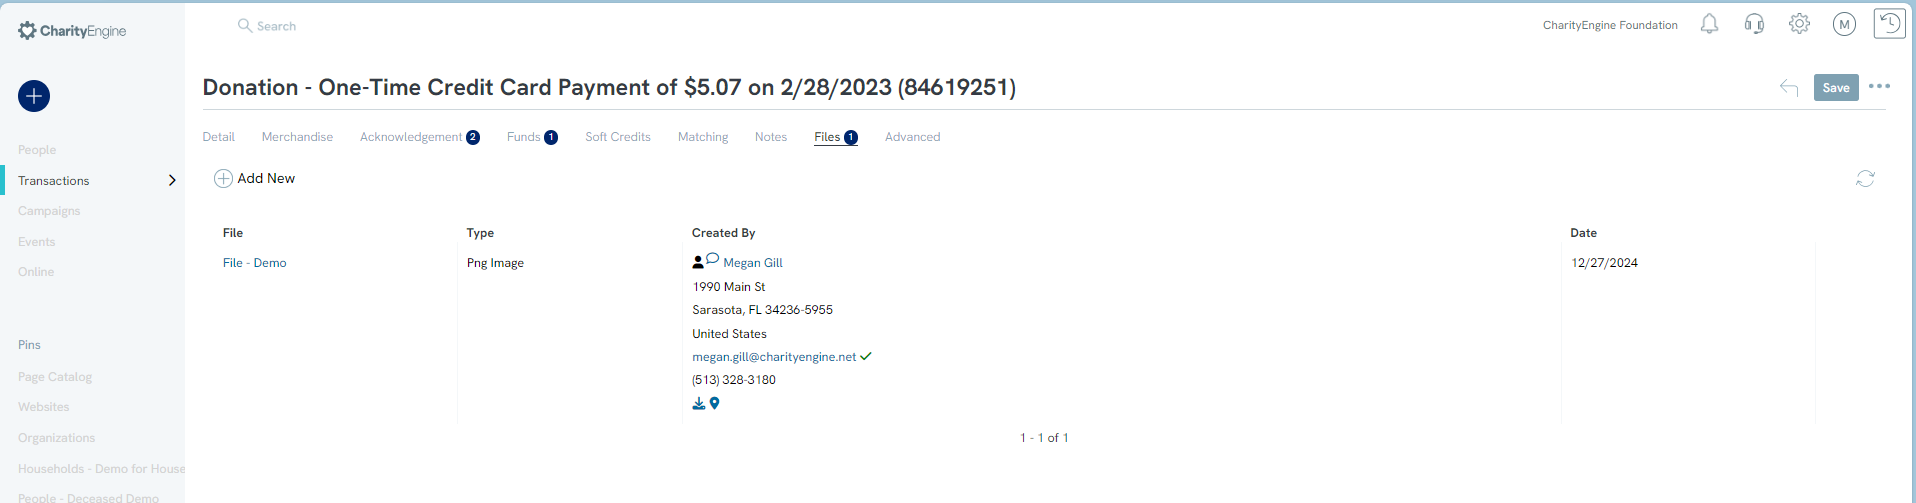
Files can be appended across various areas within CharityEngine. While collectively available through the People App > Files, users may find convenience within their workflow to append directly by accessing the Files tab on a contact record or on the Files subtab on the transaction record.