Automation & Workflow: Using the Import Functionality to Append Data
Introduction
Leveraging CharityEngine's data import tool, users can append or update data points in bulk to existing contacts, transactions or other database data elements.Instructions
To get started navigate to:Automation > General > Import & Export > Create New: Import
Select your Import To: to identify which database table your data will be appended to.
Next you will upload your file. Your file should contain all the required fields for importing. After the file is uploaded you will need to map the fields to CharityEngine fields. Use the dropdowns to select the appropriate fields.
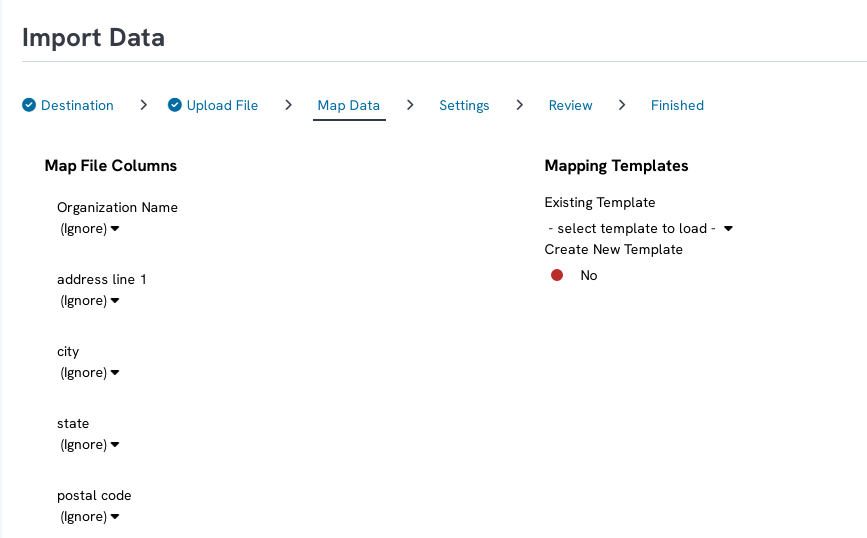
If this is an import you plan on doing frequently, save your template by toggling Create New Template to Yes
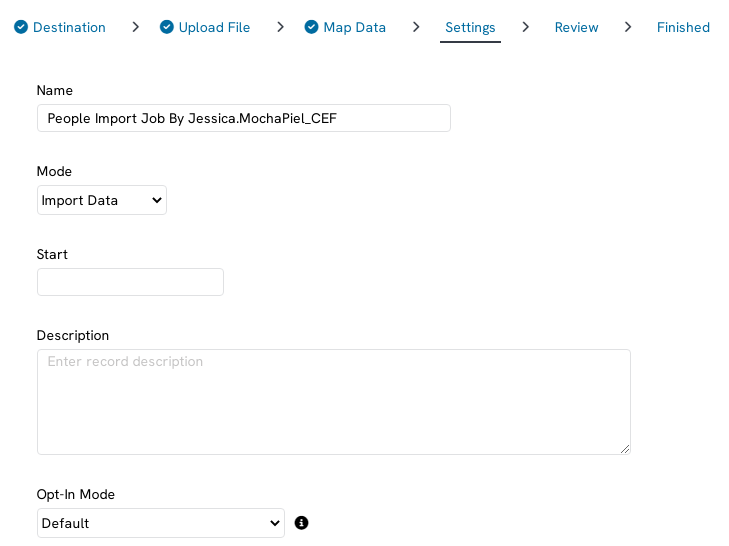
You will then be directed for details of your data job including updates to the name, start date/time, notifications or other setting. These are optional settings - once complete advance to the next step by clicking on NEXT.
You will then receive a confirmation page and you can click FINISH in order to initiate the append file.
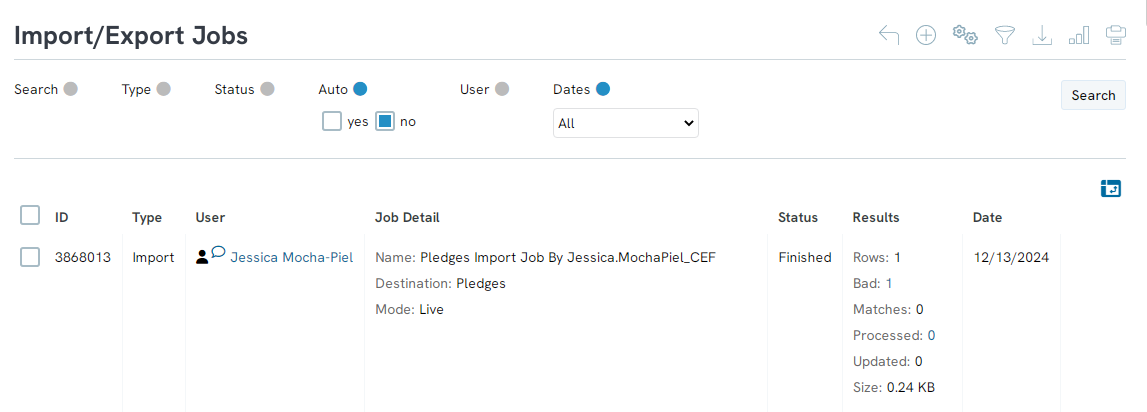
Click on View Job Status to monitor the job results.
Once complete, the status will read Finished and within the RESULTS column you can verify any bad records and confirmation of updated records.