
Introduction
When creating an event, such as a webinar, you may not want to charge for tickets for the event, but you still want contacts to have a ticket due to limited amount of space or to keep track of how many contacts register for the event. You can easily do this by making the tickets free and configuring the display of the event form to not display any pricing information.
Table of Contents
Prerequisites
The first step is to create the event and your ticket, this can be done through the Events Application or through the Form Wizard. If you need assistance using the form wizard, read this article and for more information on creating a ticket, read this article.
Instructions - Creating Free/$0.00 Tickets
Step 1: If the event is already created, navigate to the Online App > Web Forms > Search & Manage > Create New > Event Form
Step 2: Select the Event from the dropdown and select next.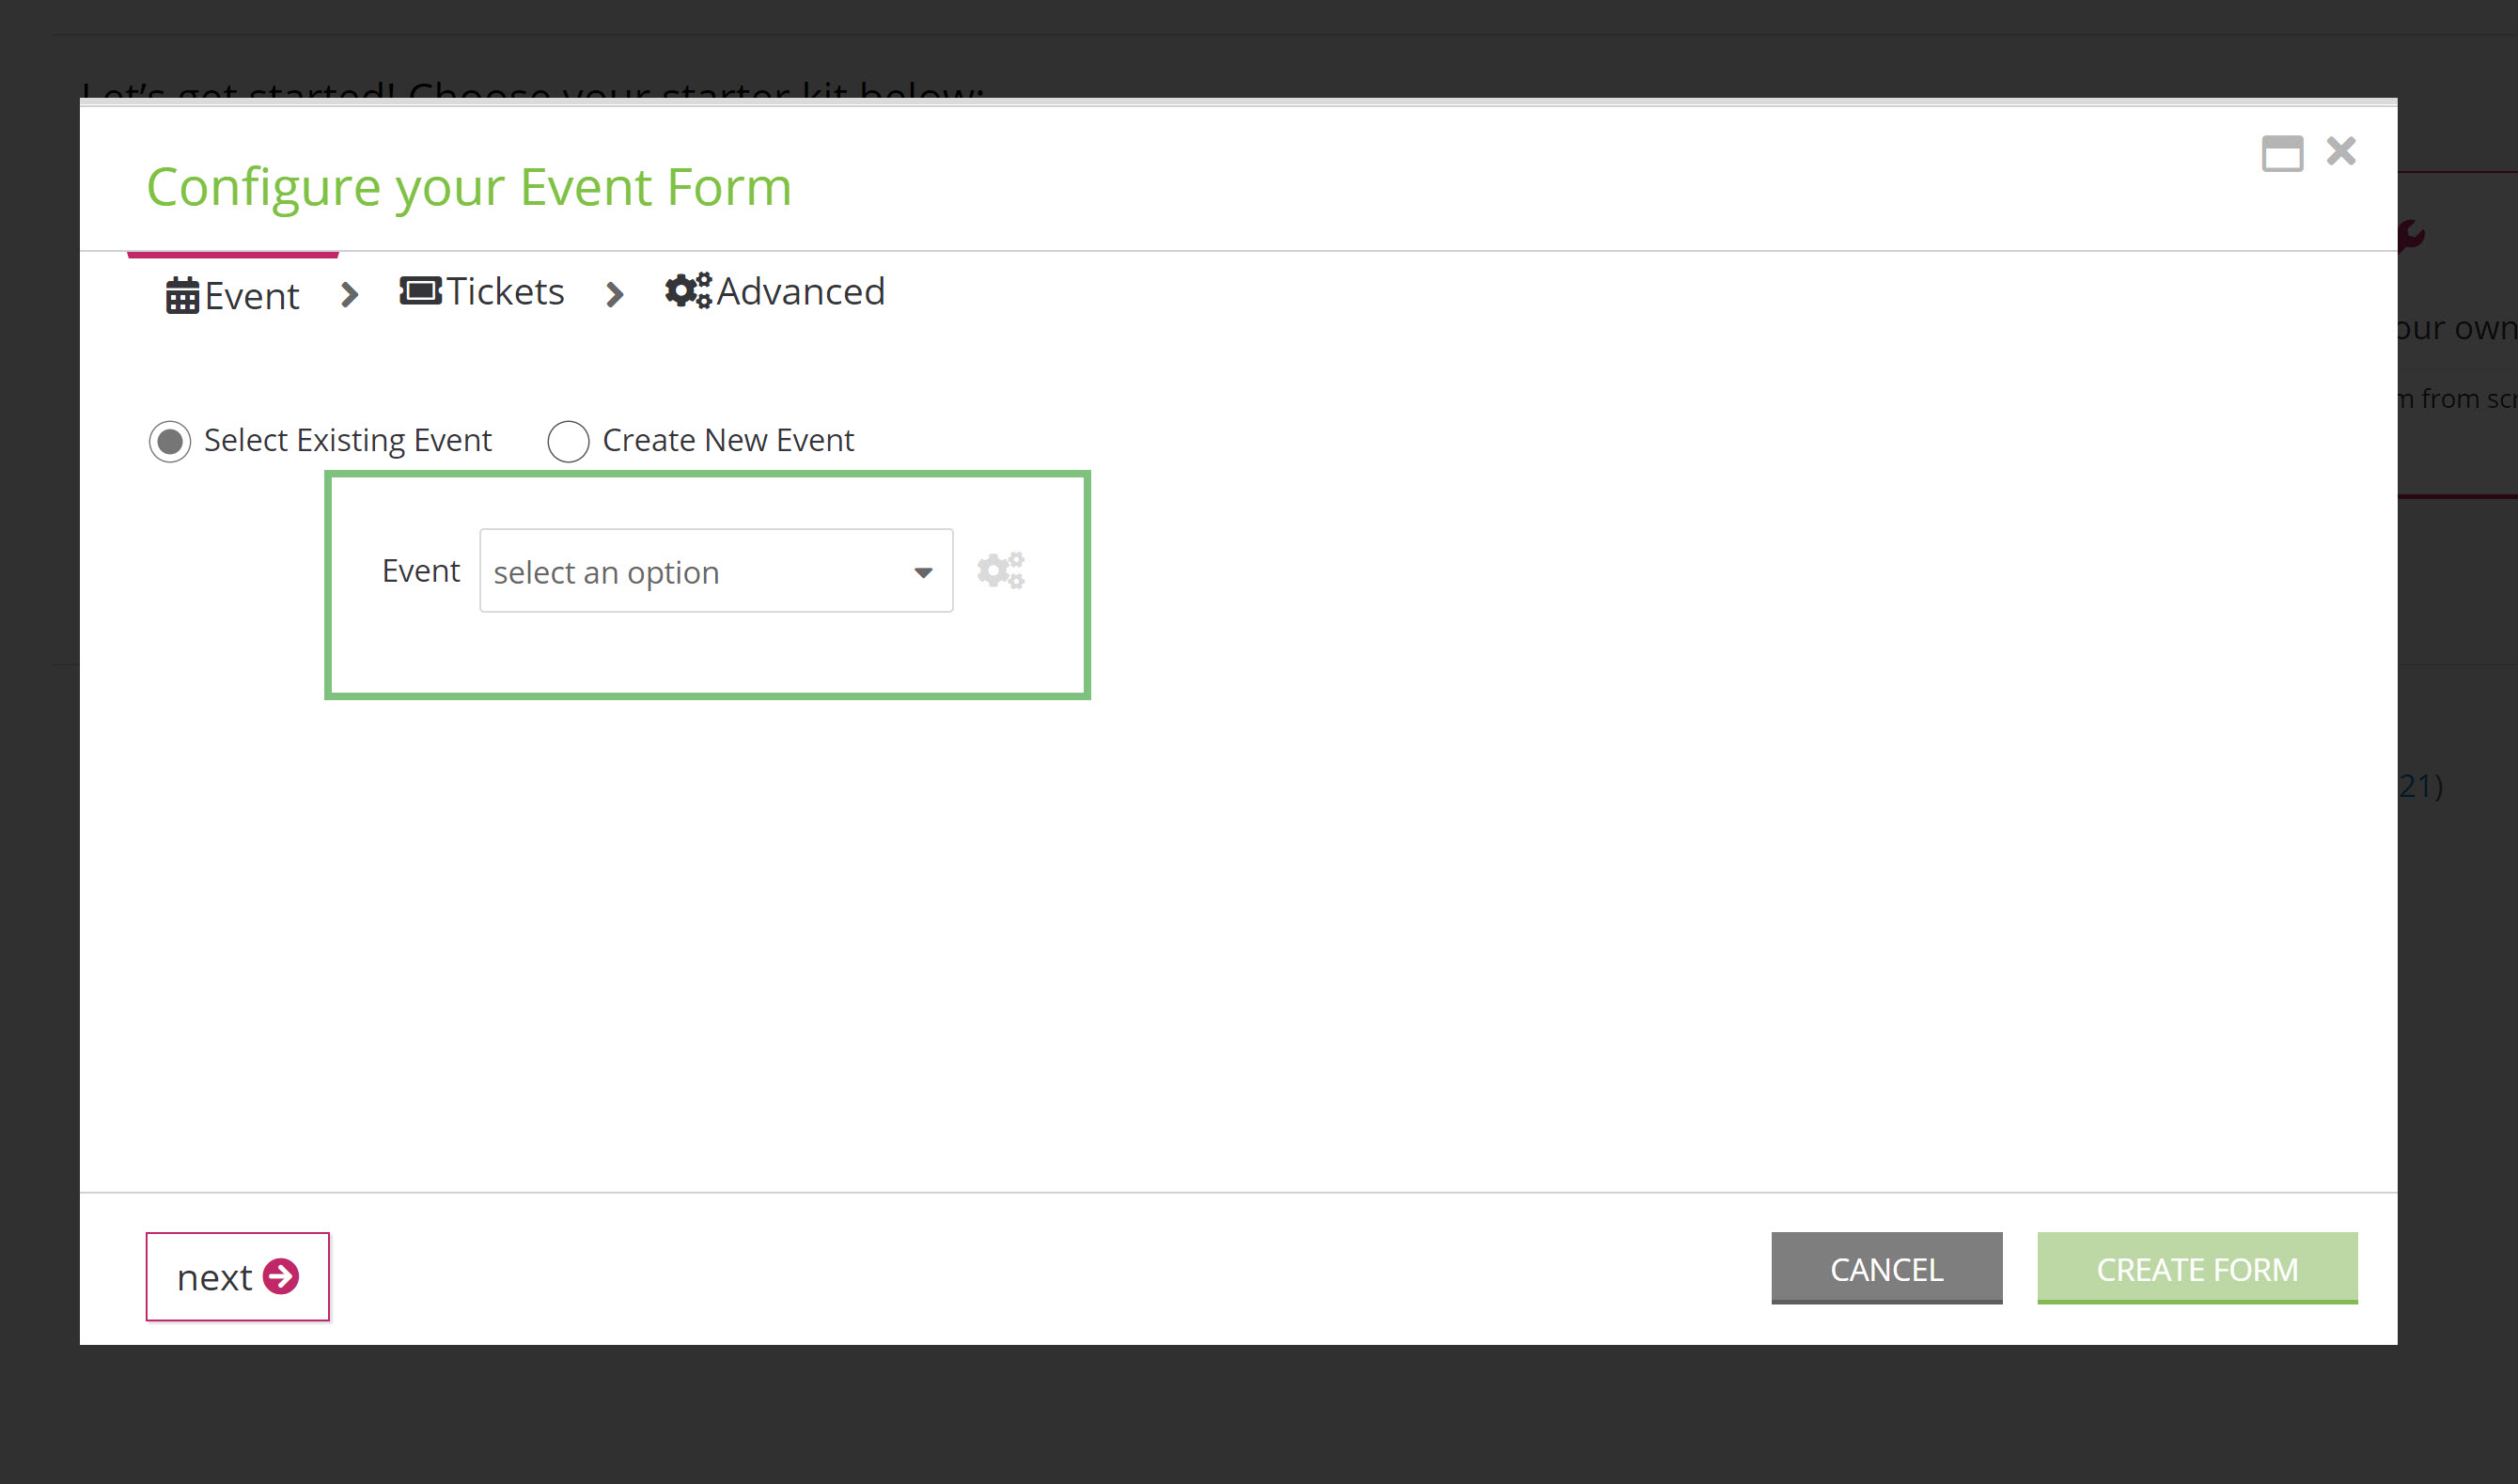
Alternatively: If you are creating your event through the web form, click Create New Event
Step 3: On the Tickets tab enter the:
- Ticket Name - public facing
- Price - leave as $0.00
- Number Available
- Sold Out Message - optional
- Click next to proceed
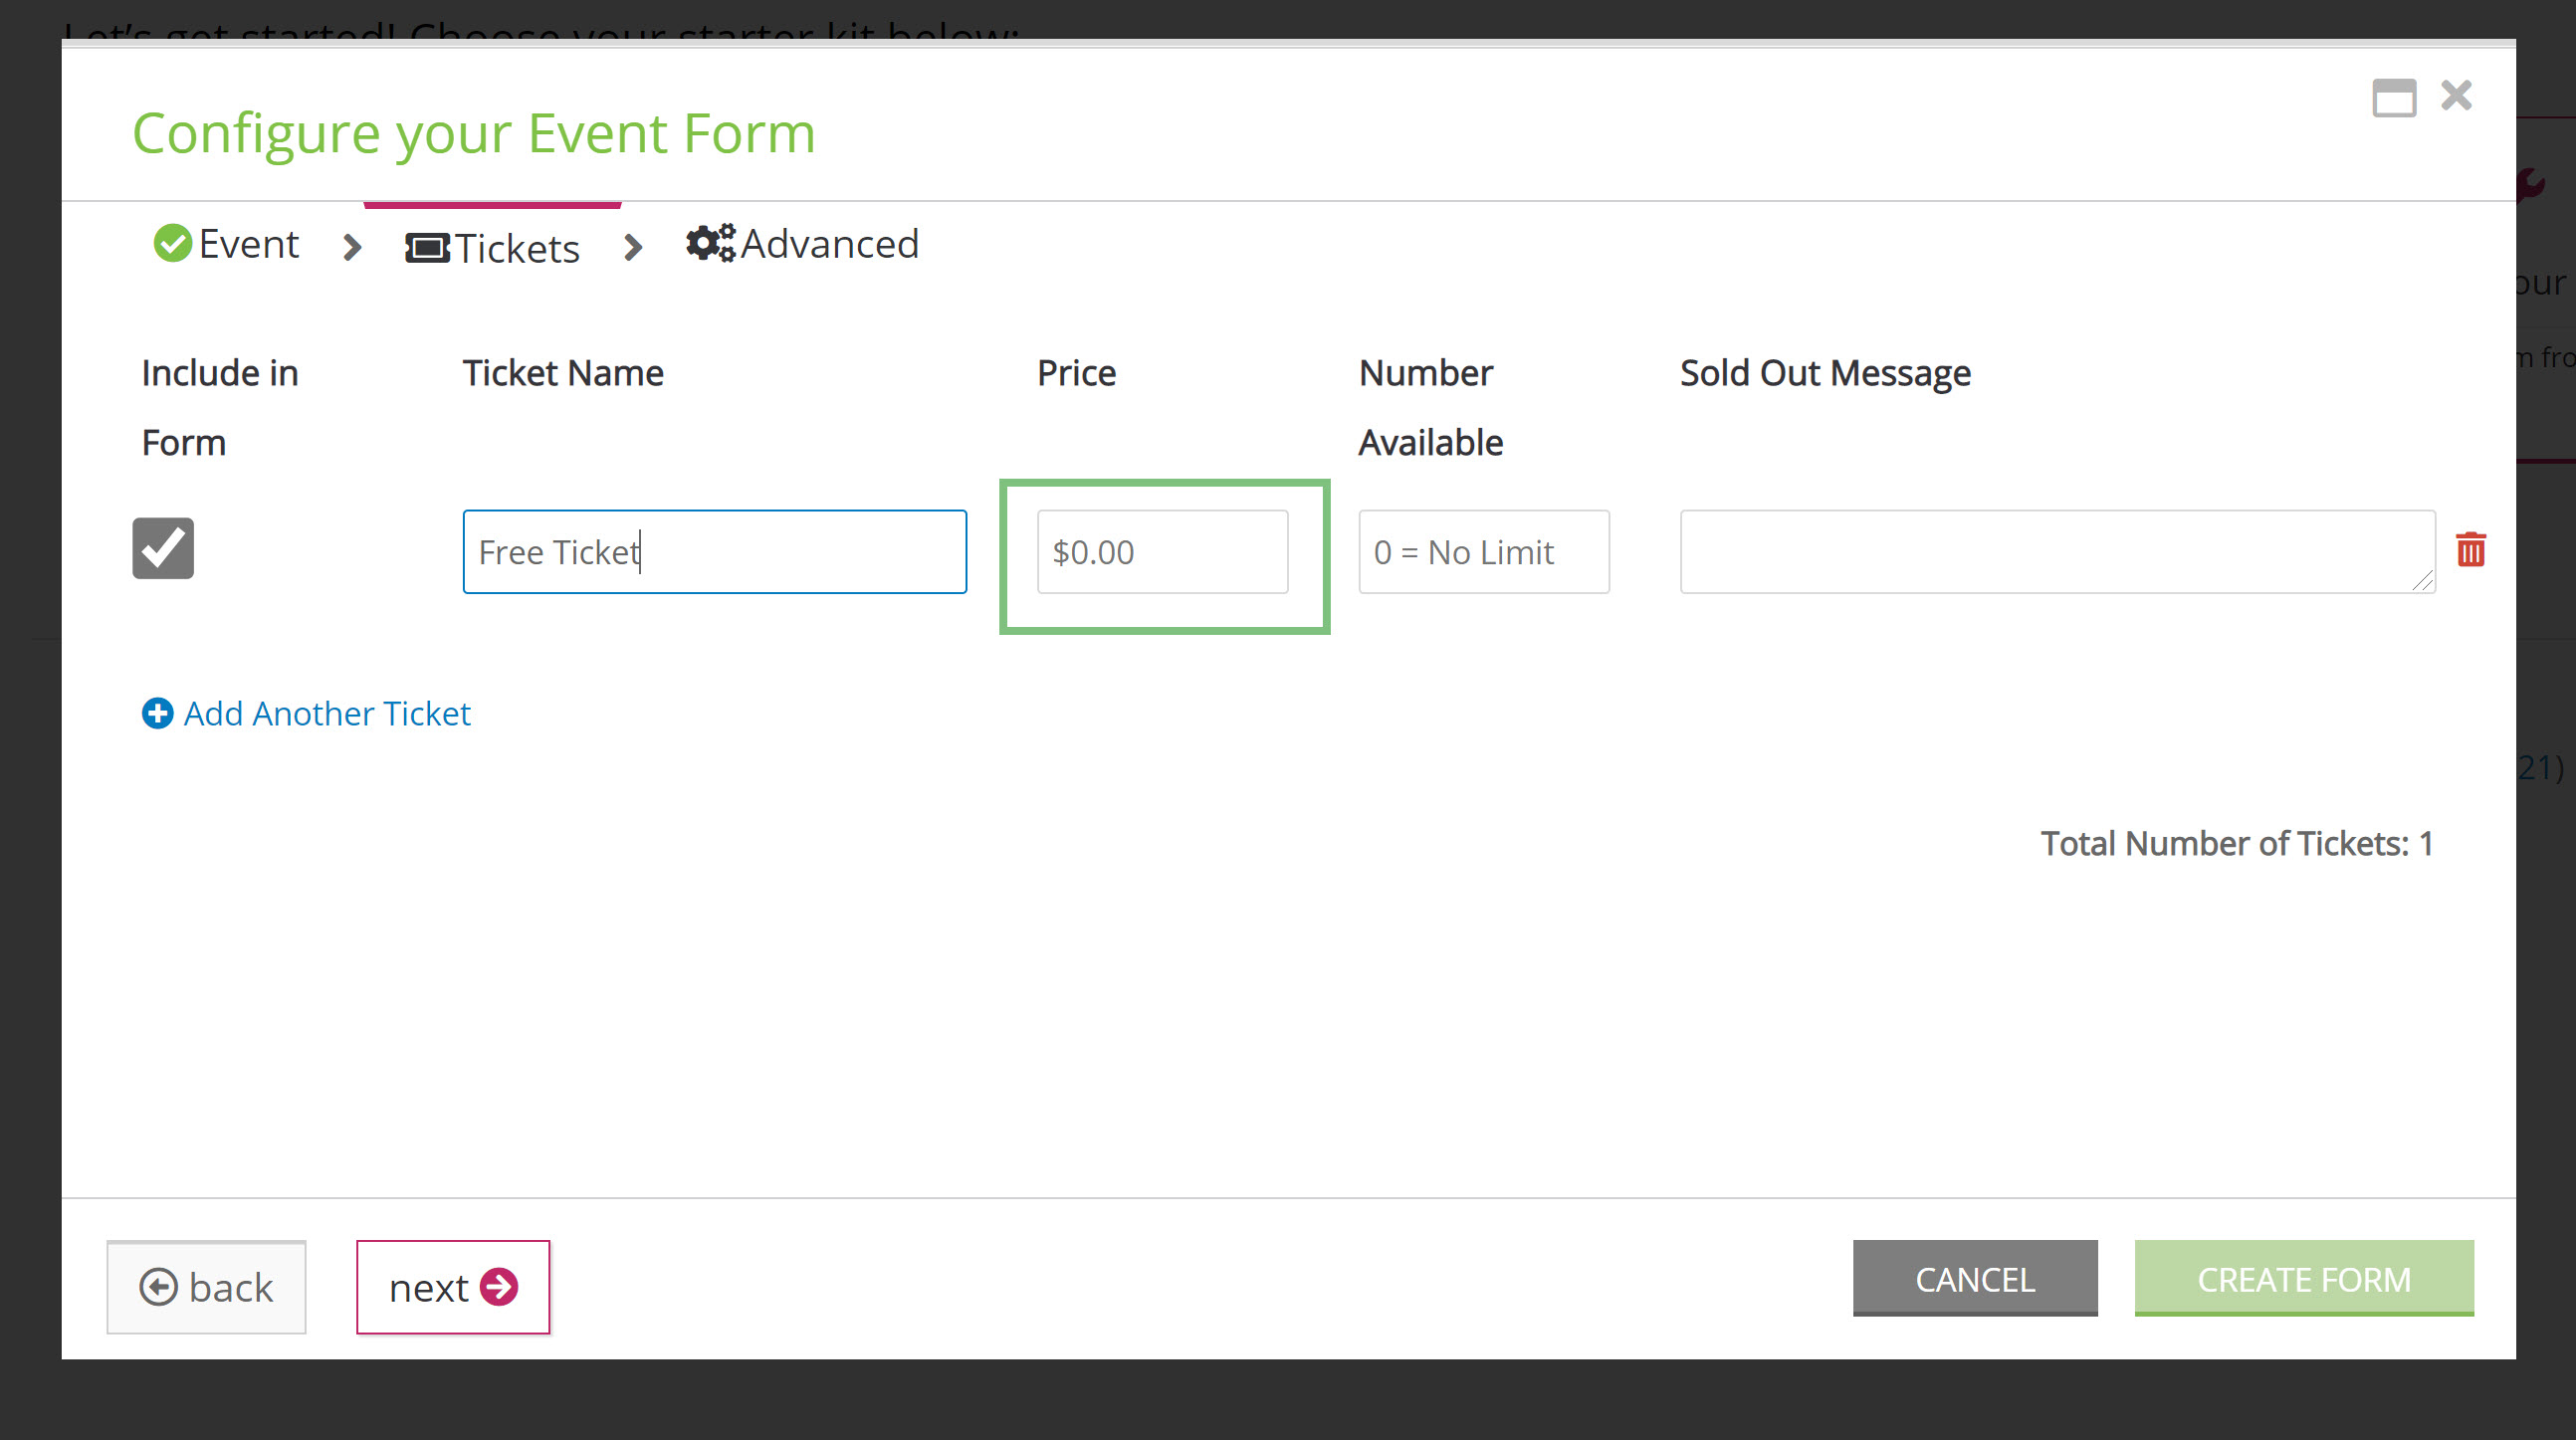
Note: Even though the ticket is free, at least one ticket must be created and included for the event form to be created.
Step 4: Continue through Advanced tab to complete web form development
Instructions - Configuration to Suppress Pricing Information
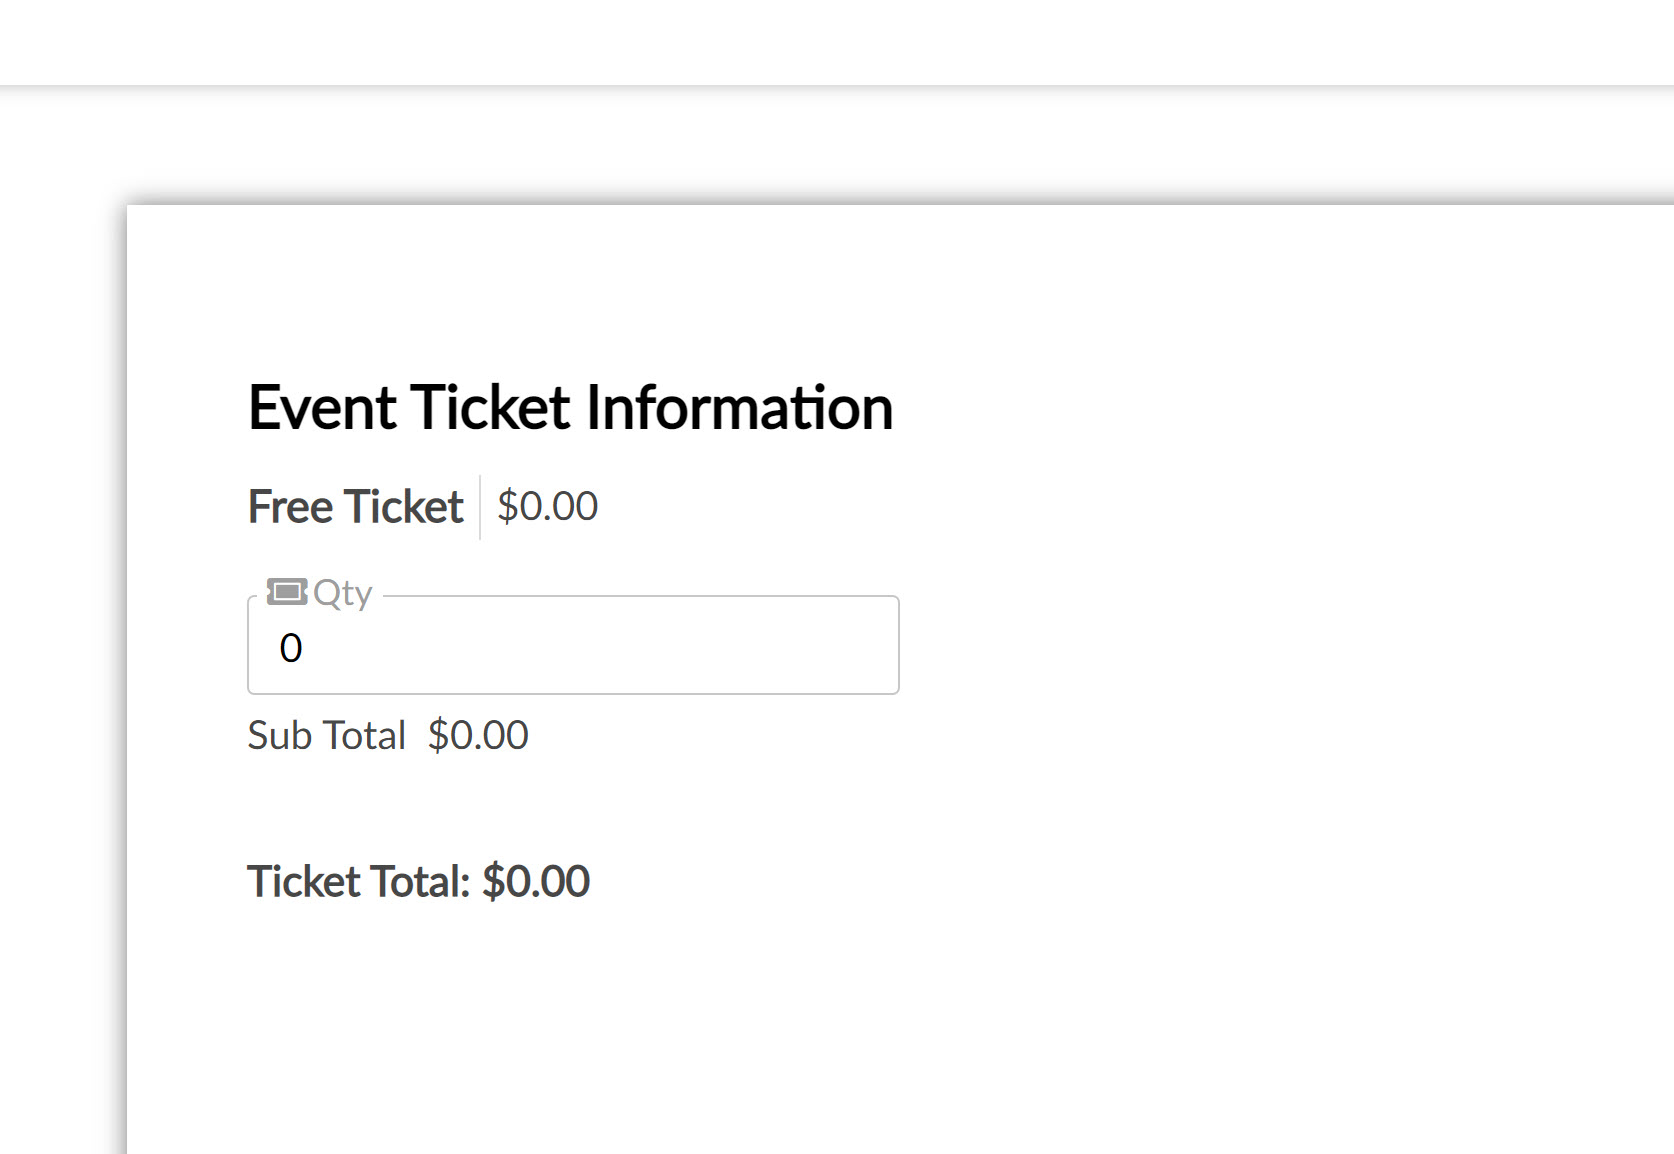
Now that the event and form have been created, you can configure the display to not show any pricing information. Without editing the display, your event form will look like the below and display cost information. While it is not required to remove a 'free ticket', you can also suppress for end user experiences.
Step 1: Locate your registration/event web form by navigating to Online > Web Forms > Search & Manage > locate the web form > ACTIONS: Manage
Step 2: Navigate to the Layout tab
Step 3: Expand the Event Ticket Information section to expose all fields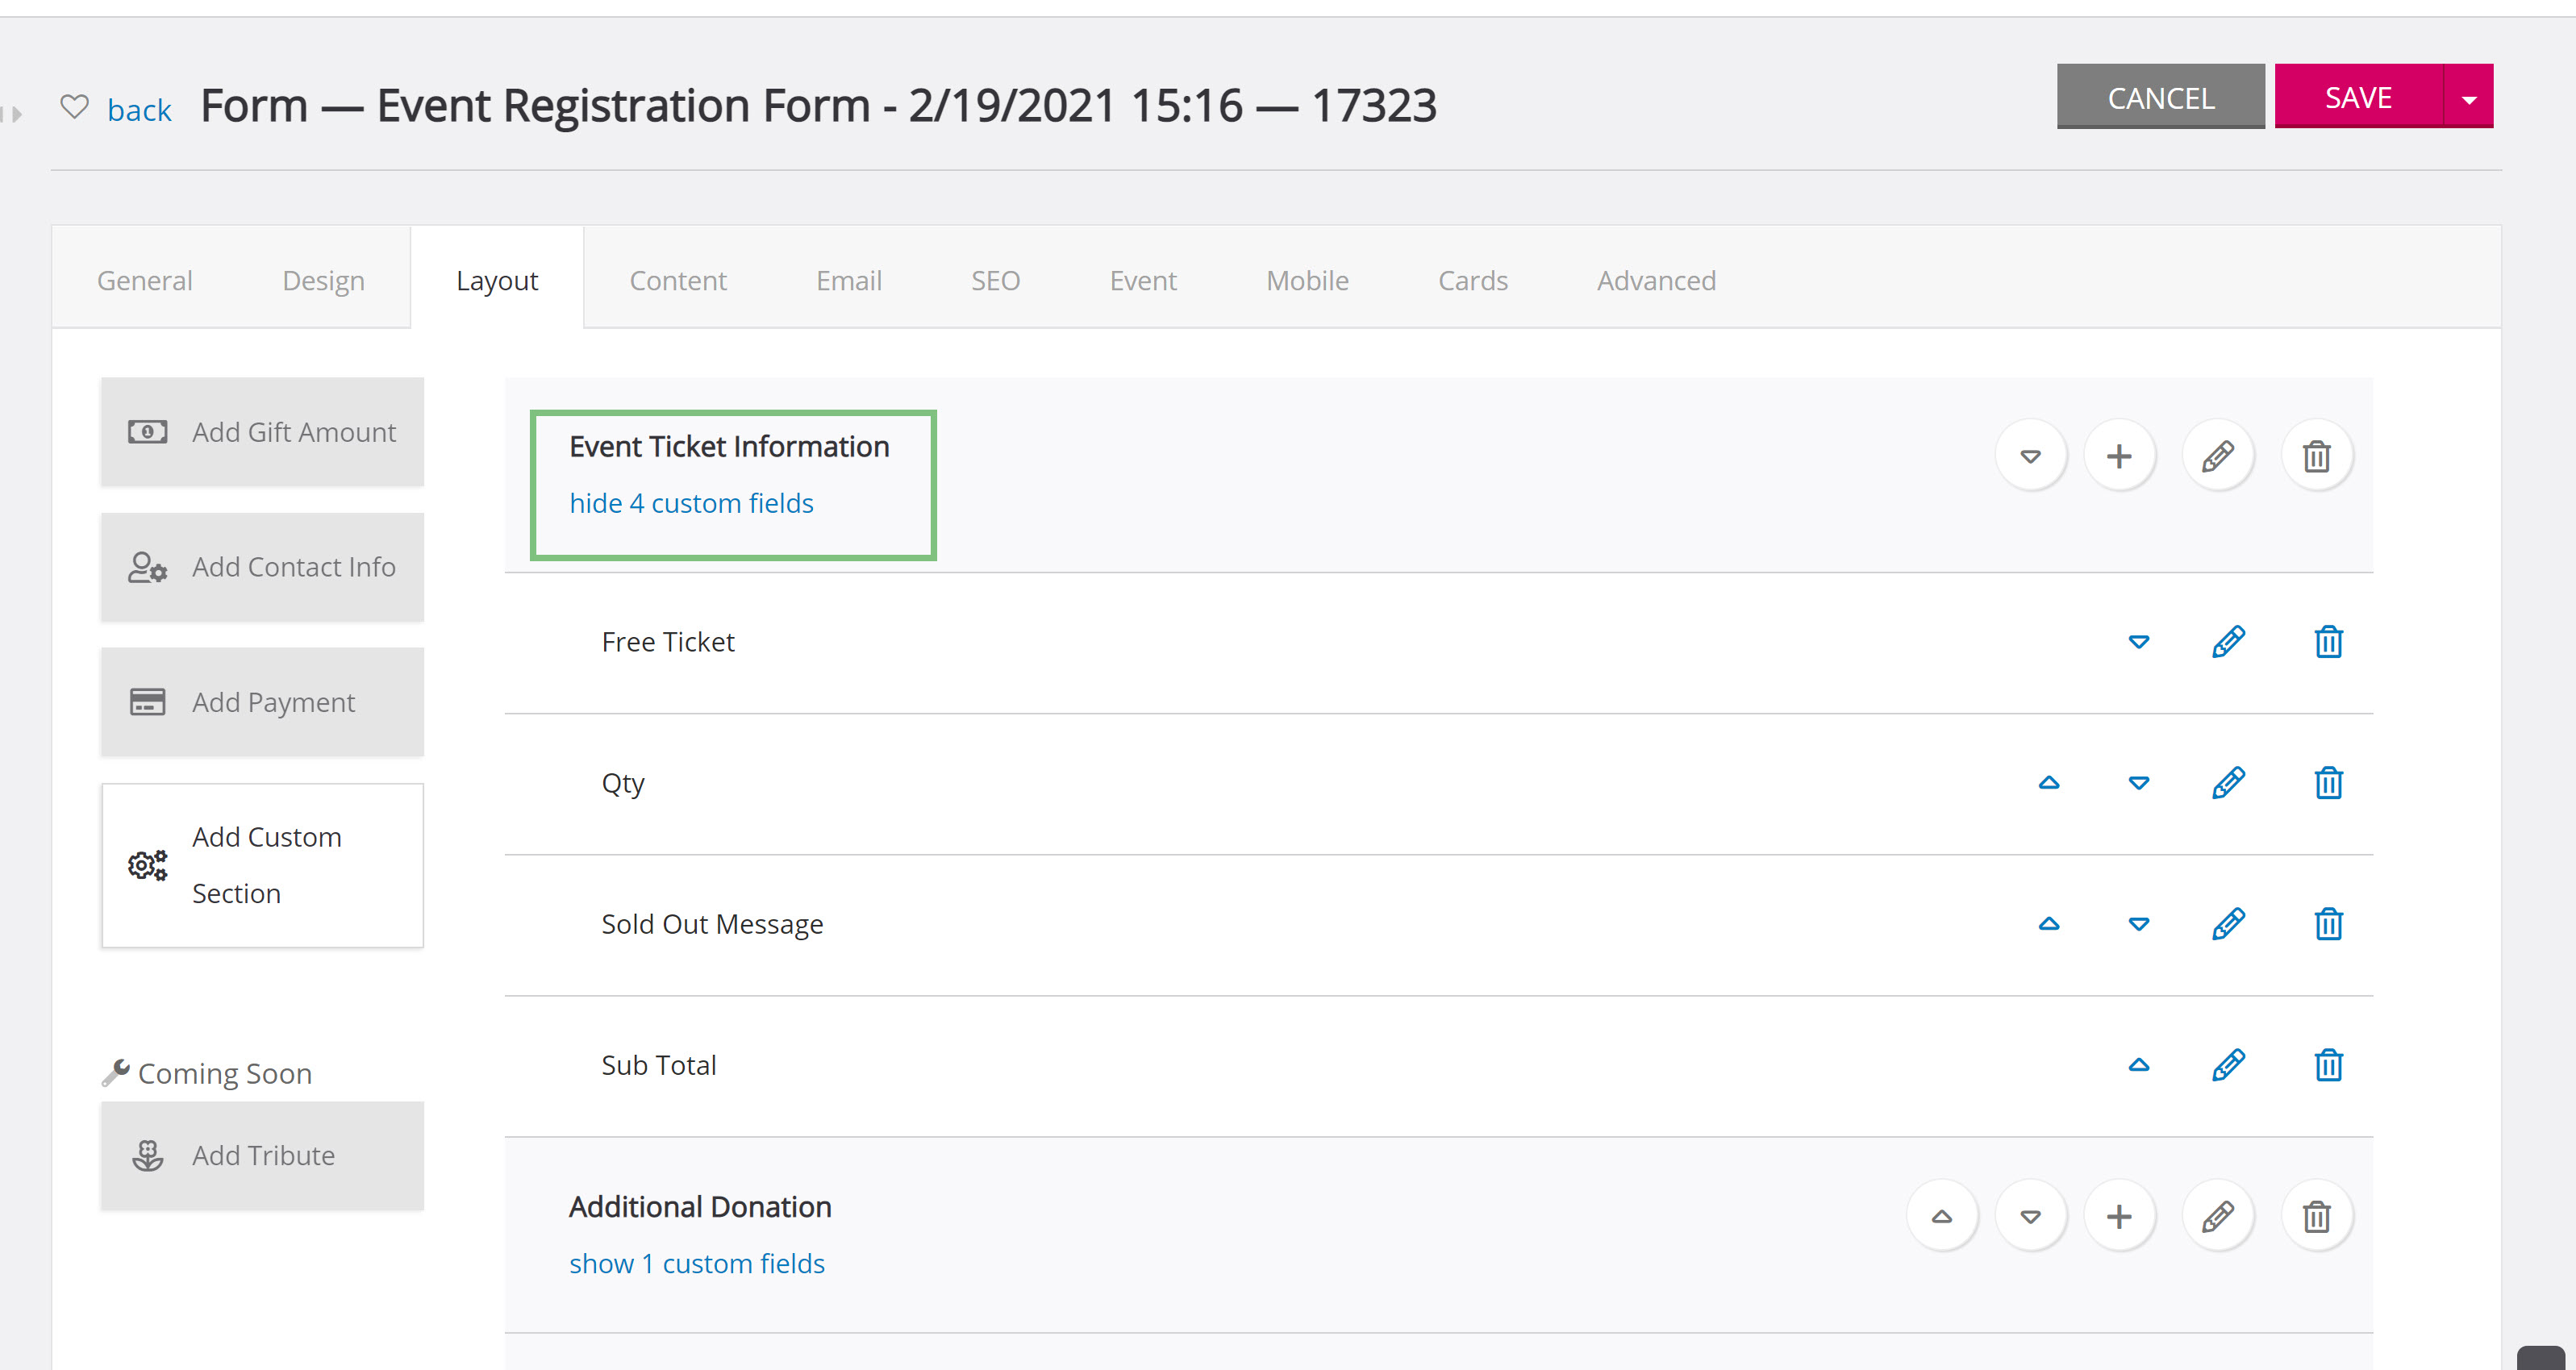
Step 4: In order to remove the cost of the ticket displayed on the web form, click on the pencil icon next to the ticket name, in this example it is Free Ticket.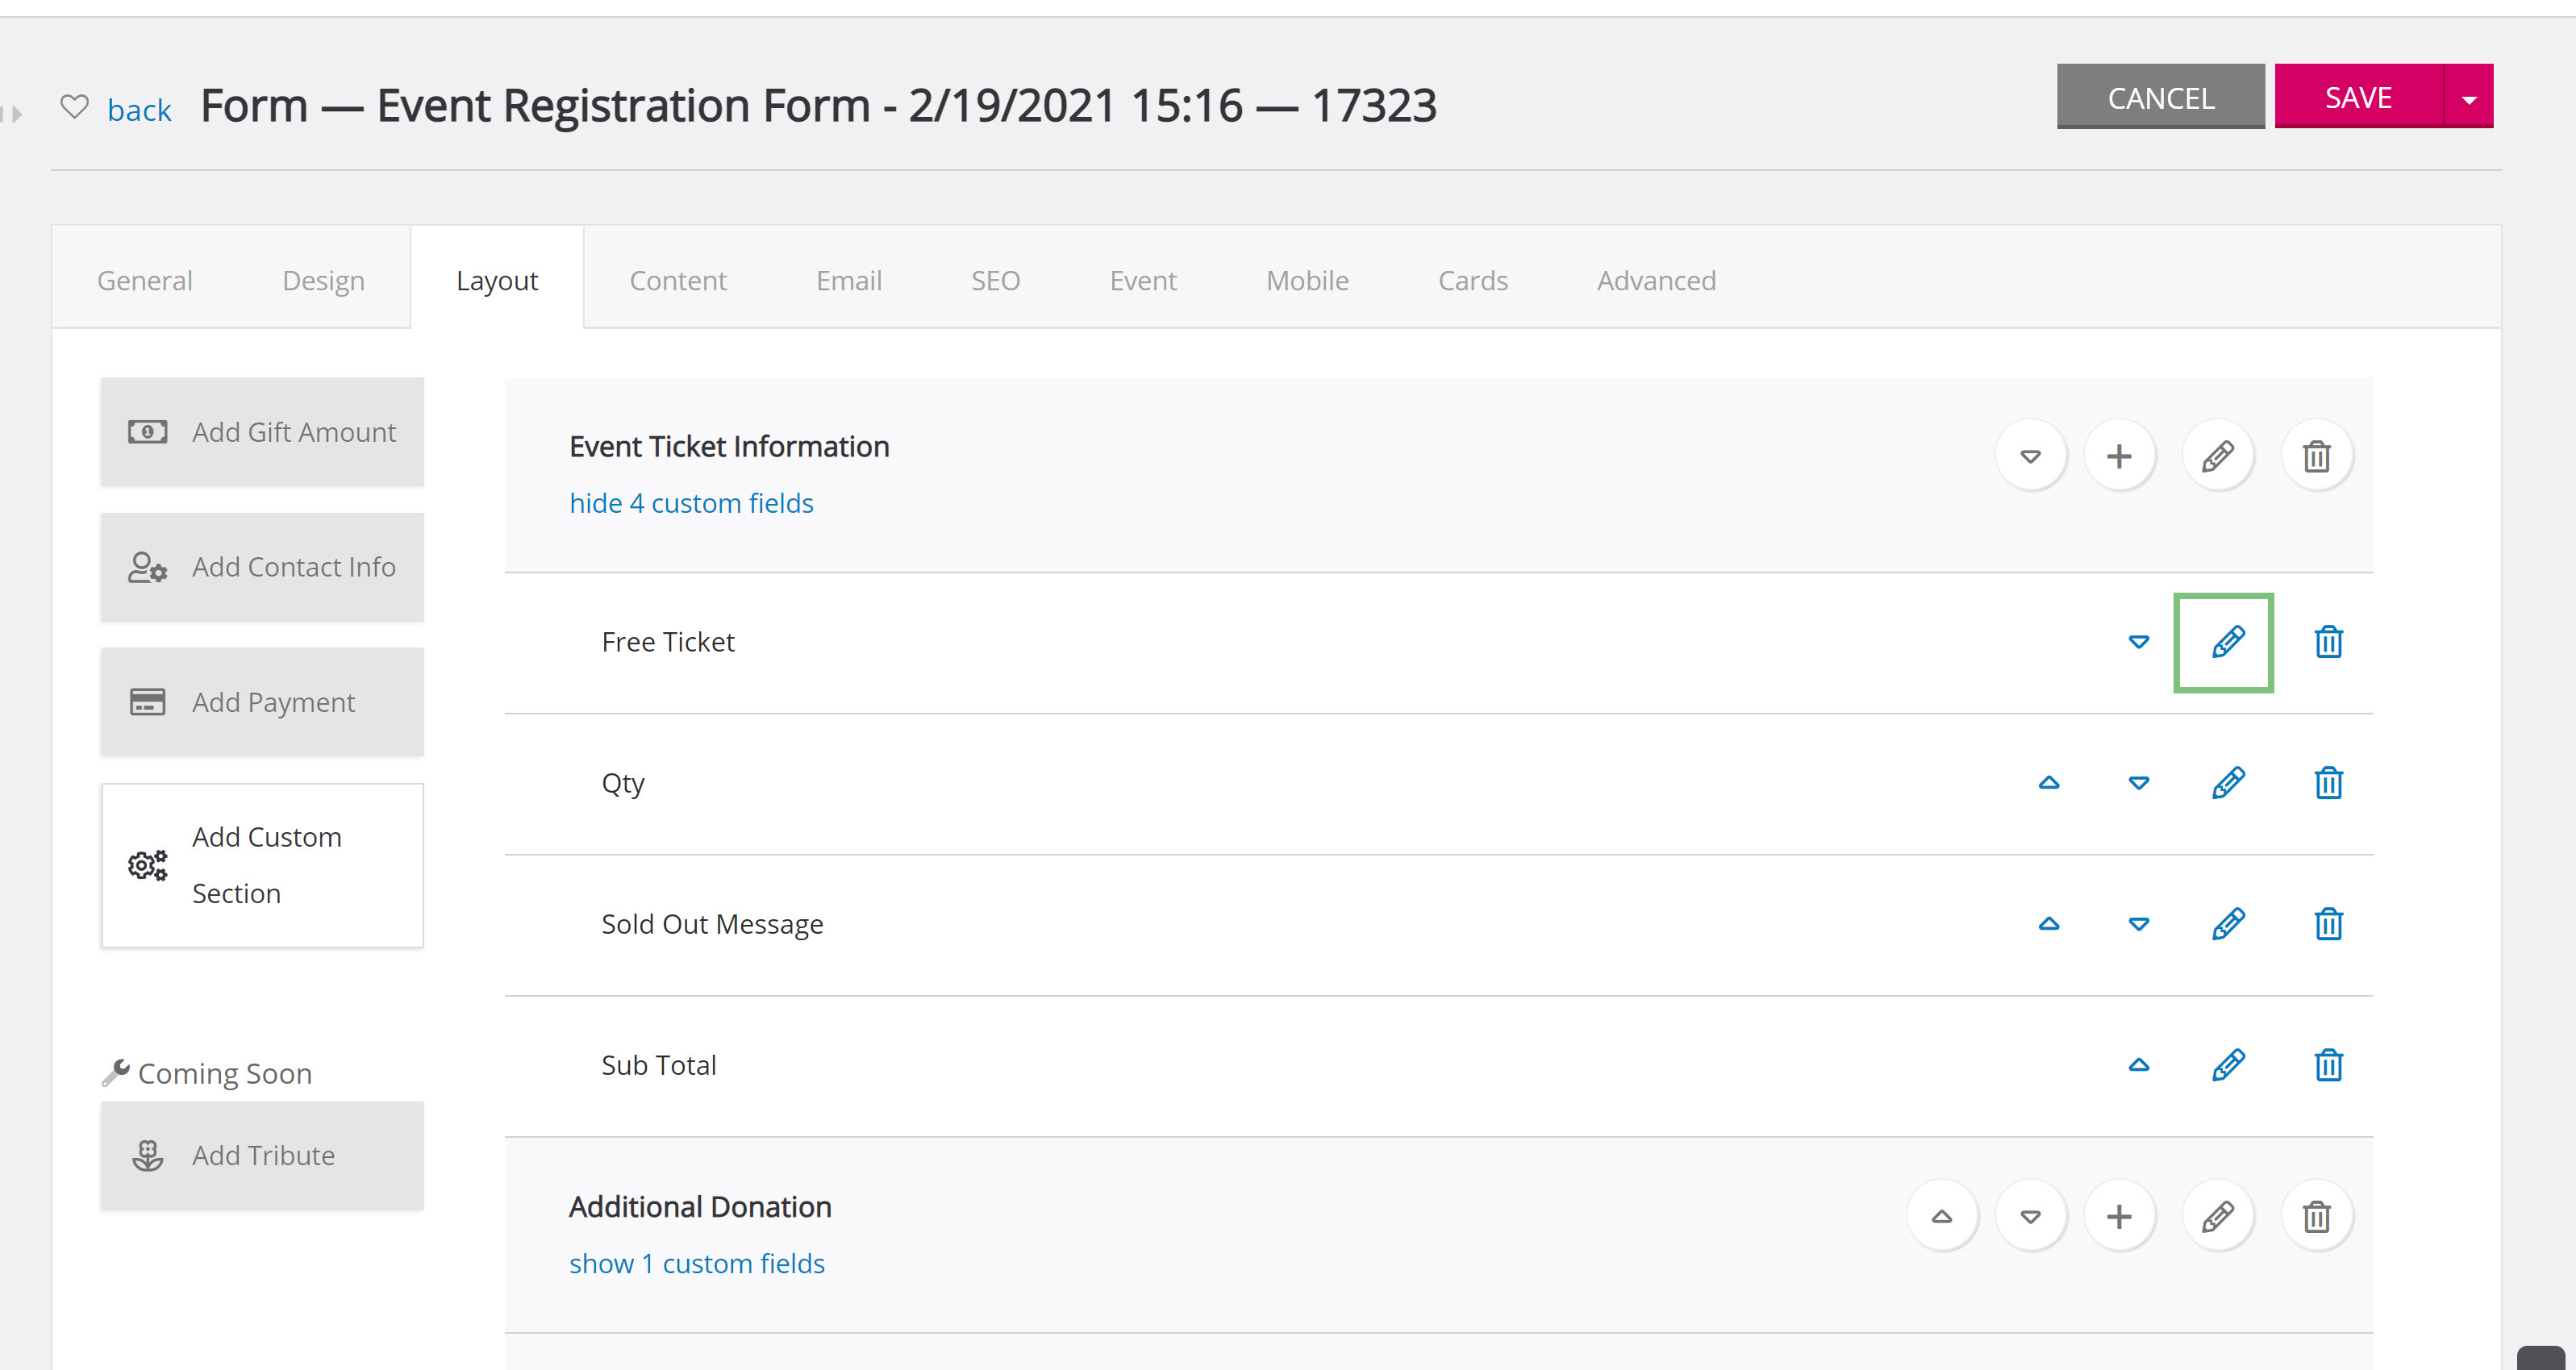
Step 5: Use the Type dropdown to select Ticket Online Description.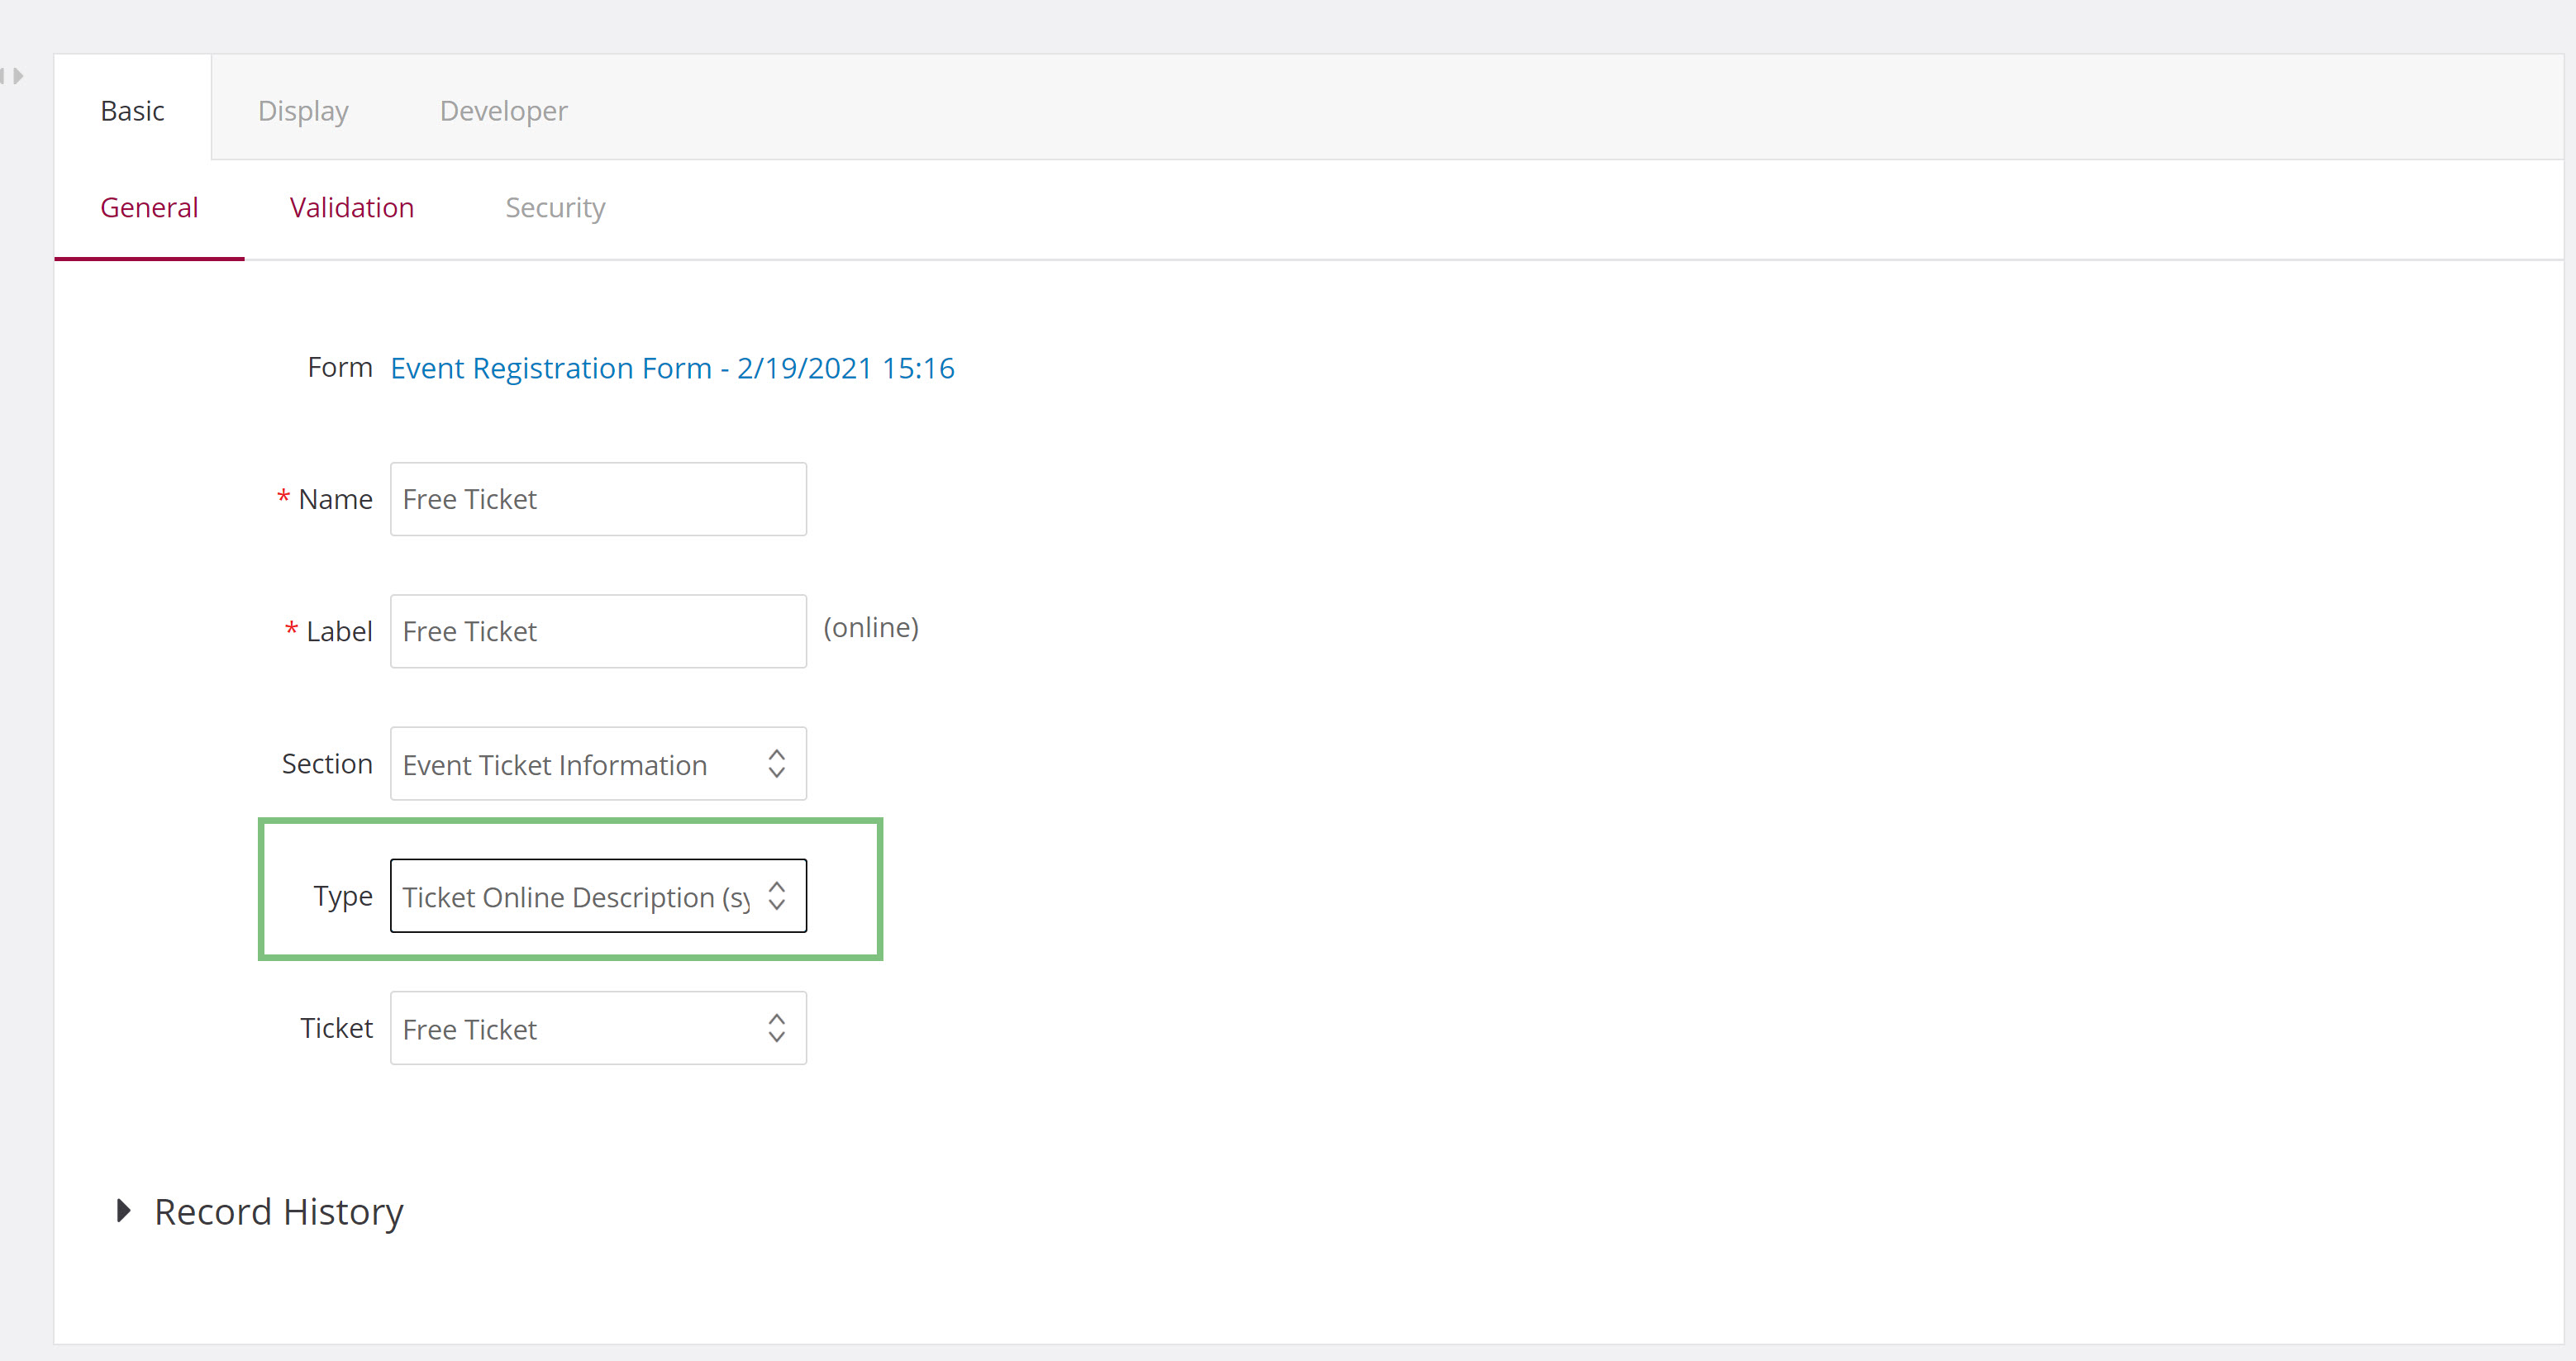
Step 6: Now the cost of the ticket will no longer be displayed as shown below.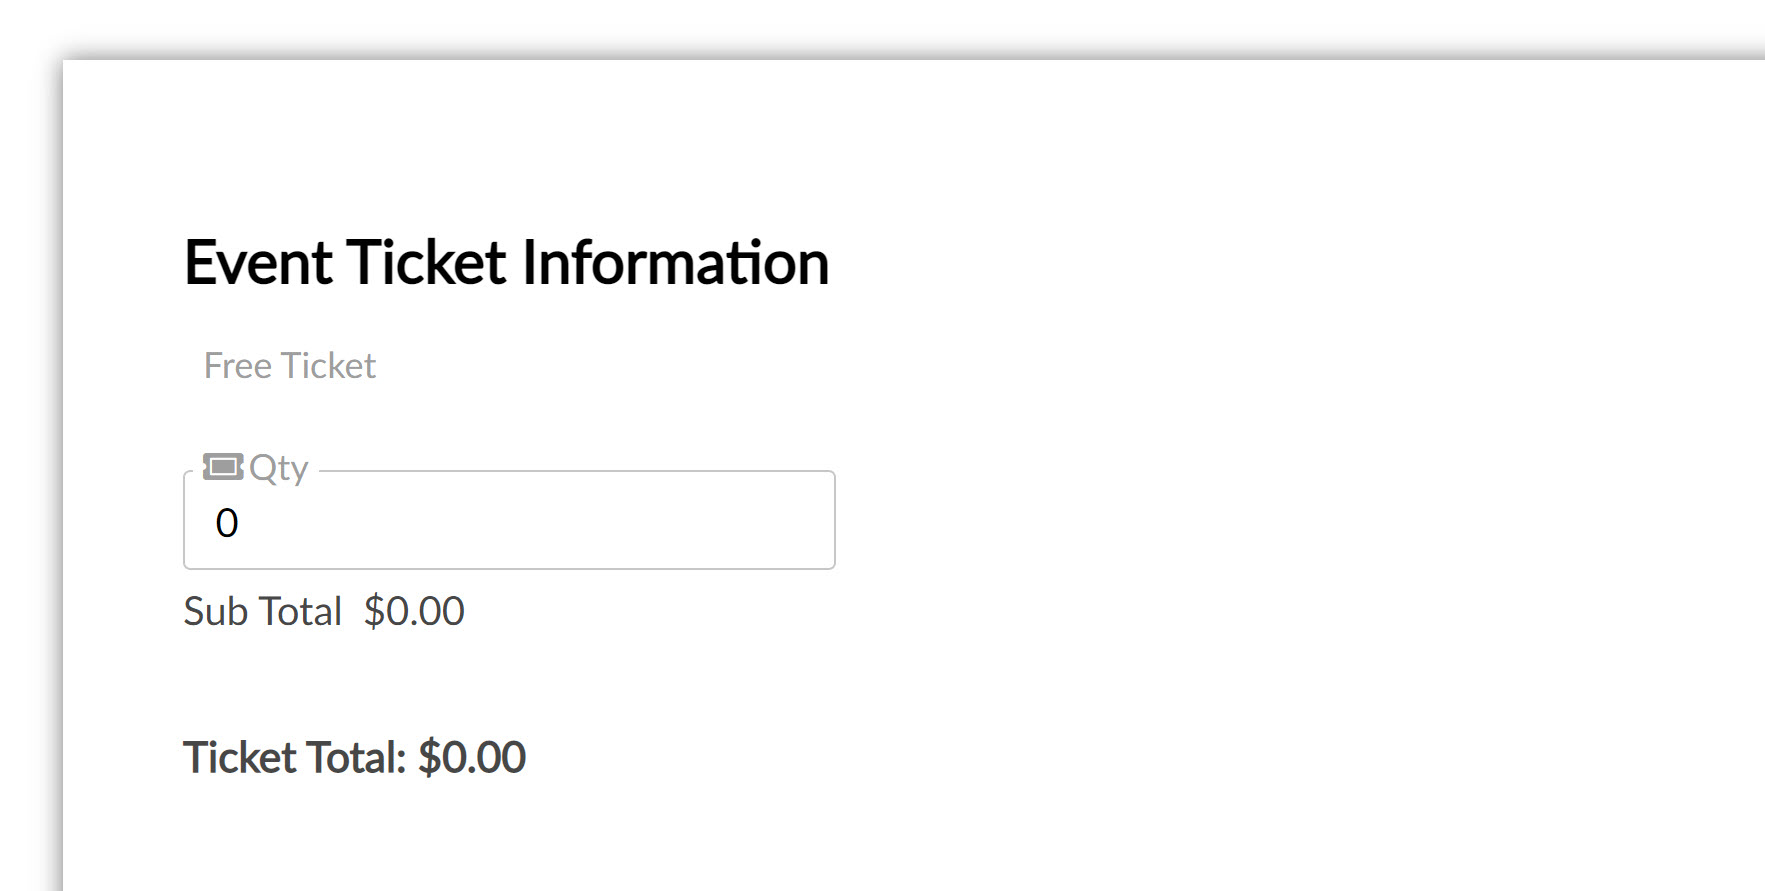
Step 7: To remove the Sub Total Field, navigate back to the Layout tab and click the trash can icon next to the Sub Total field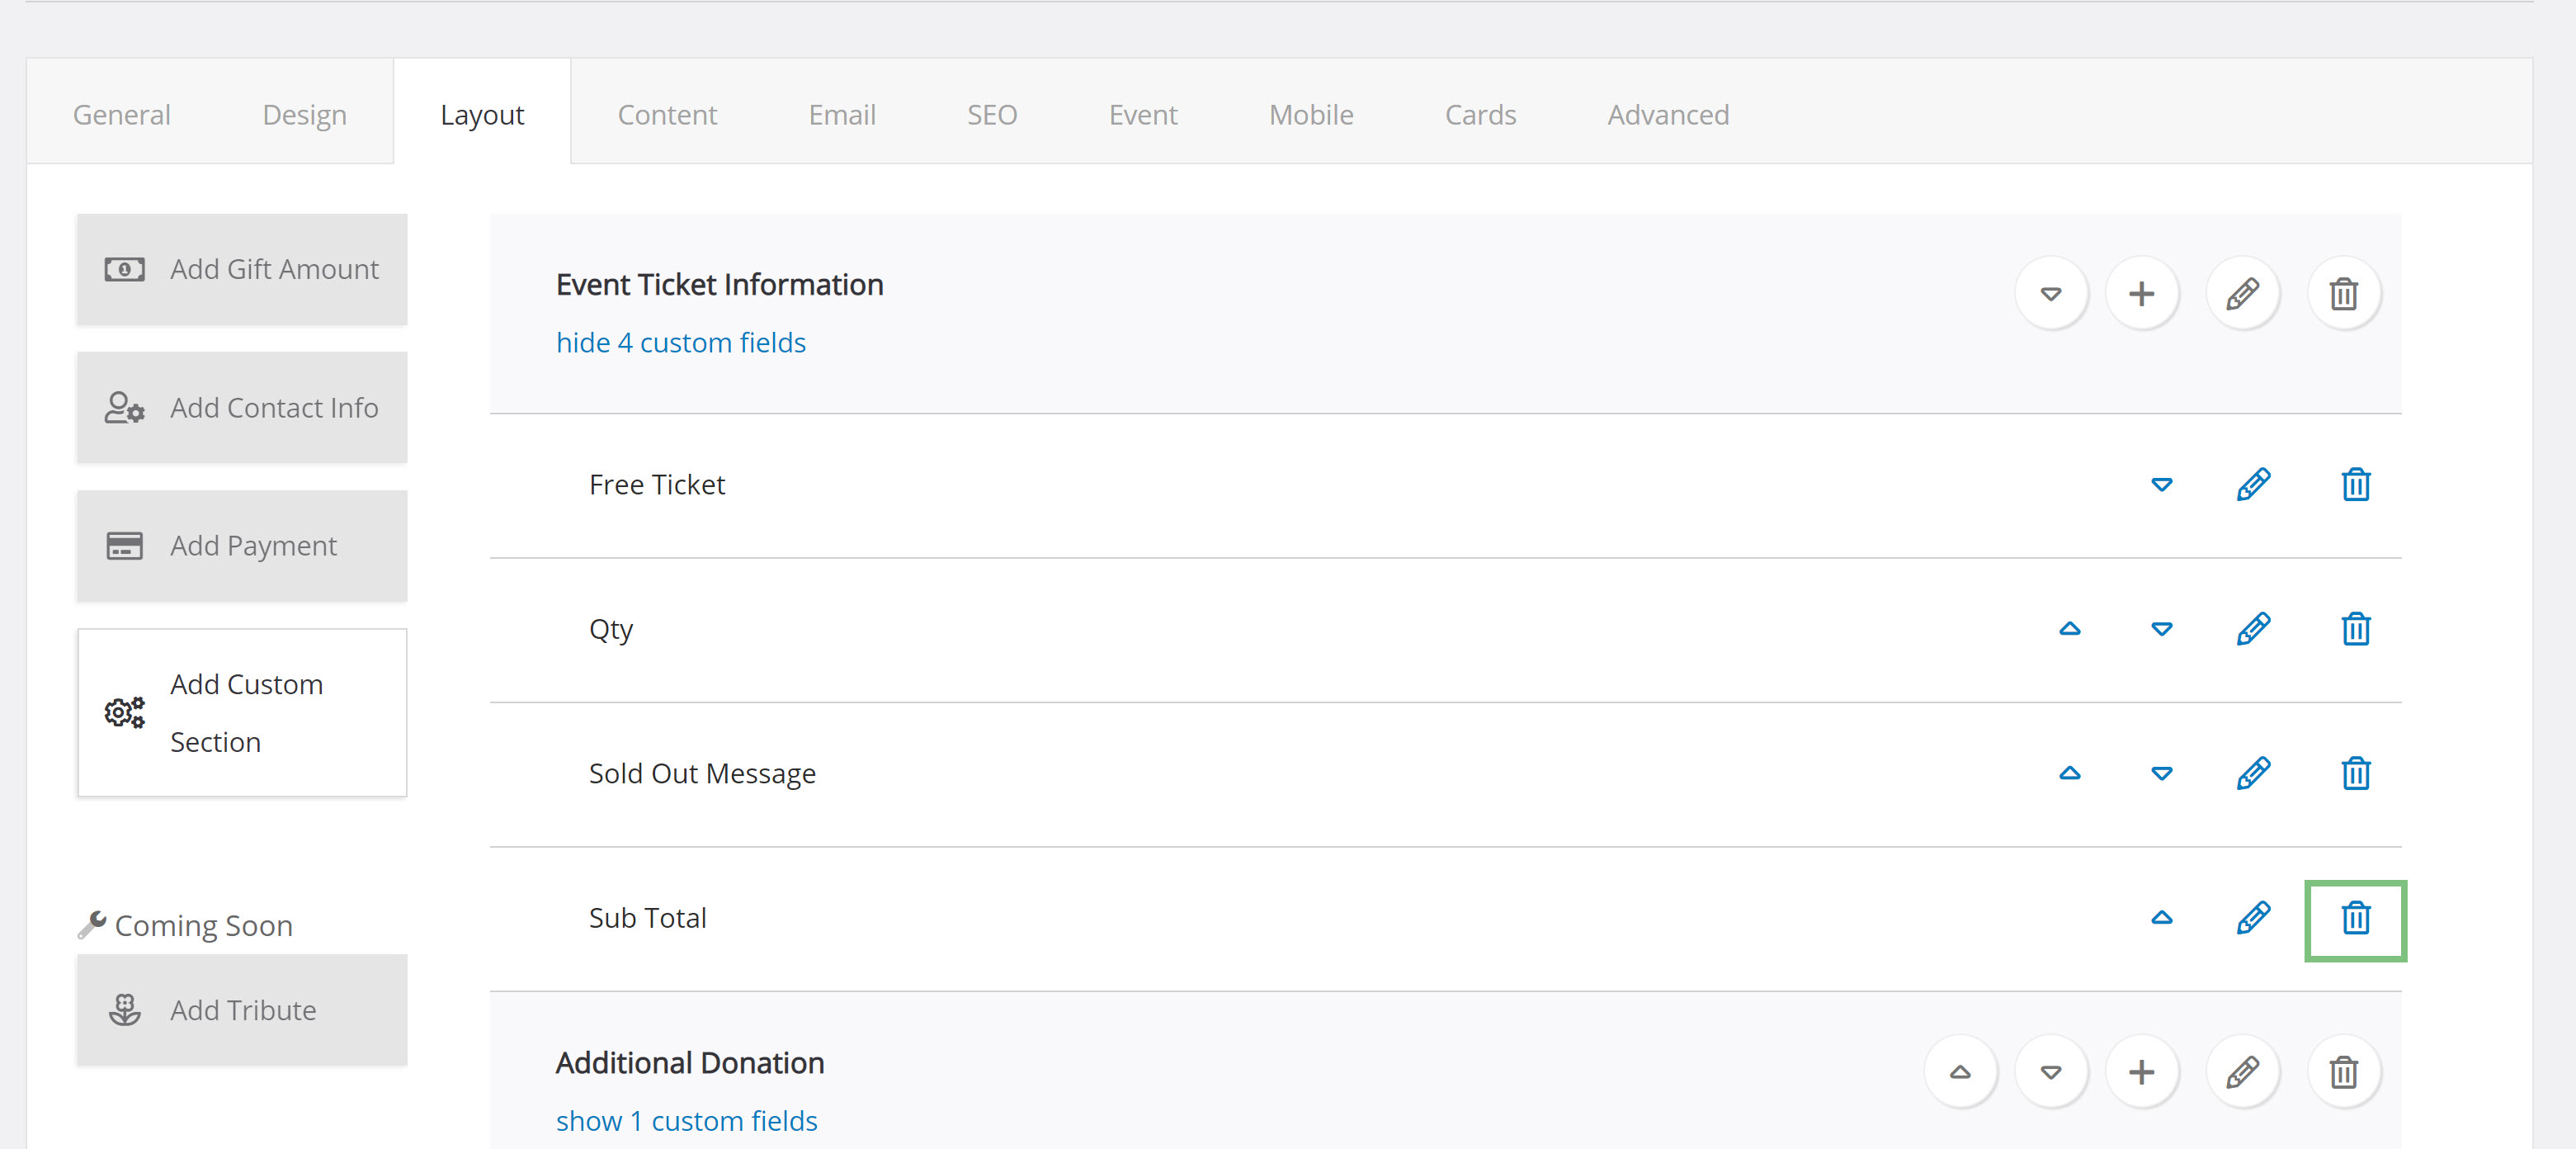
Step 8: The Sub Total will no longer be displayed on your form.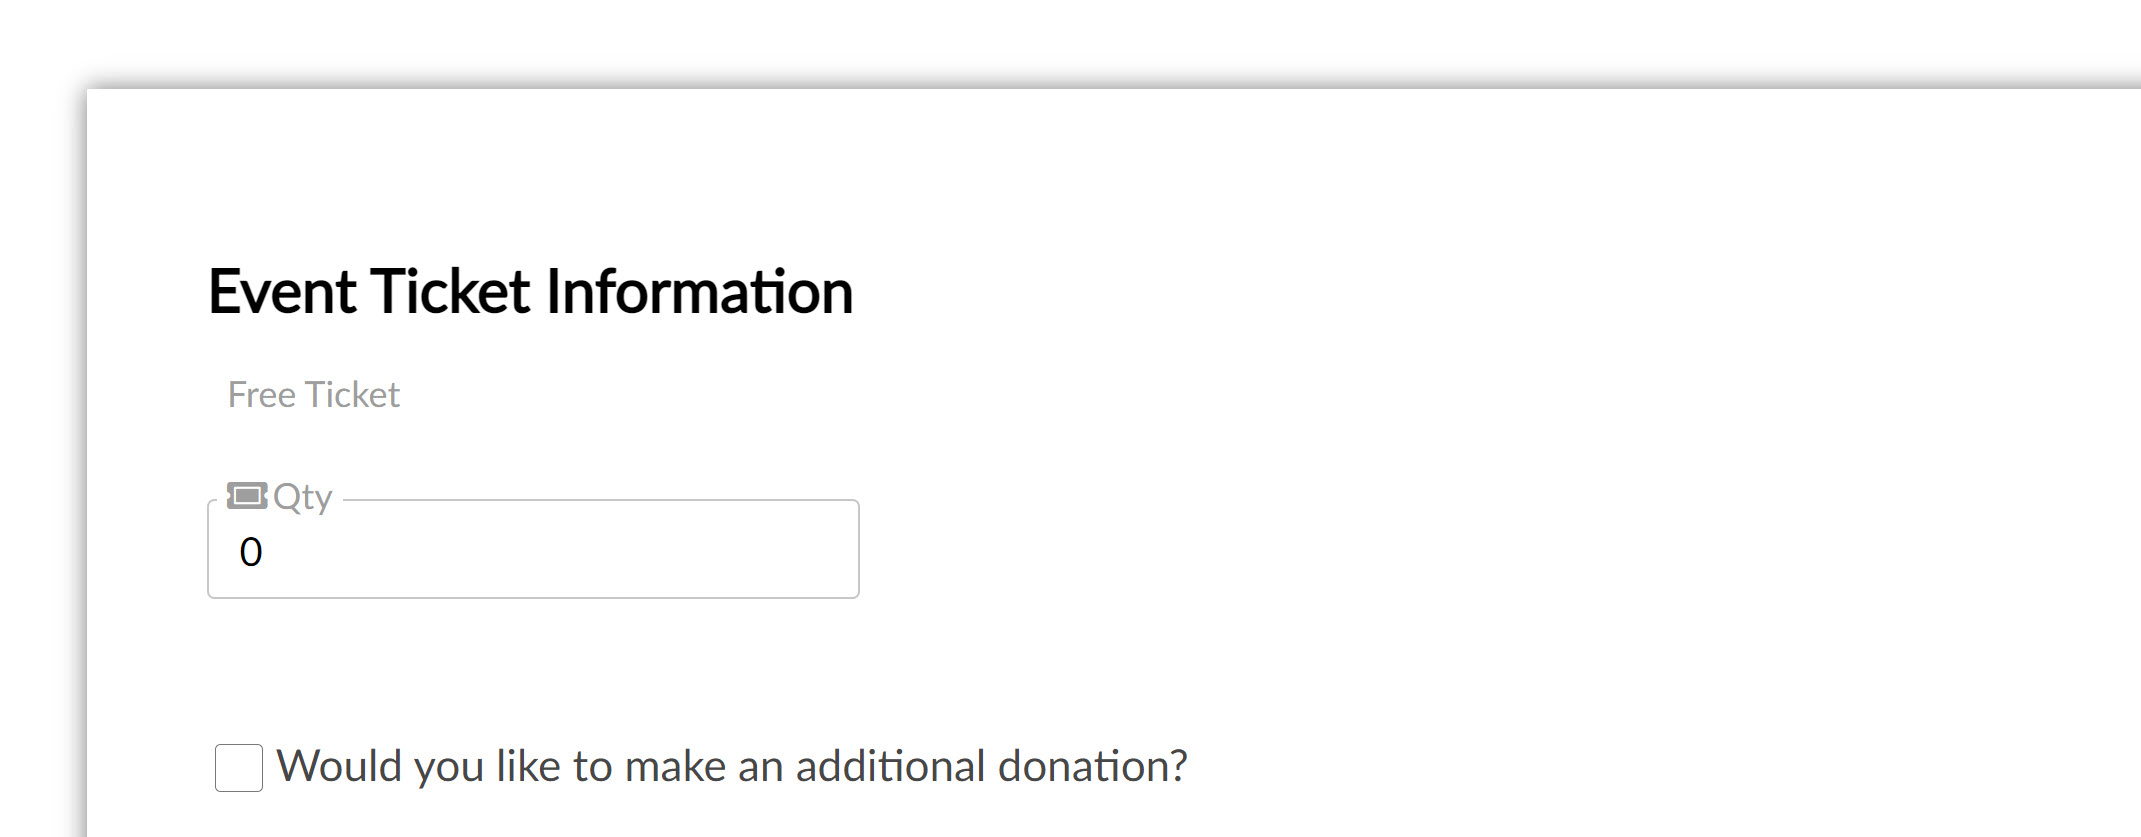
Step 9: You may also want to remove the donation section and the payment section from the form to ensure there is no confusion on payment. To do this click on the trash can icon next to each field.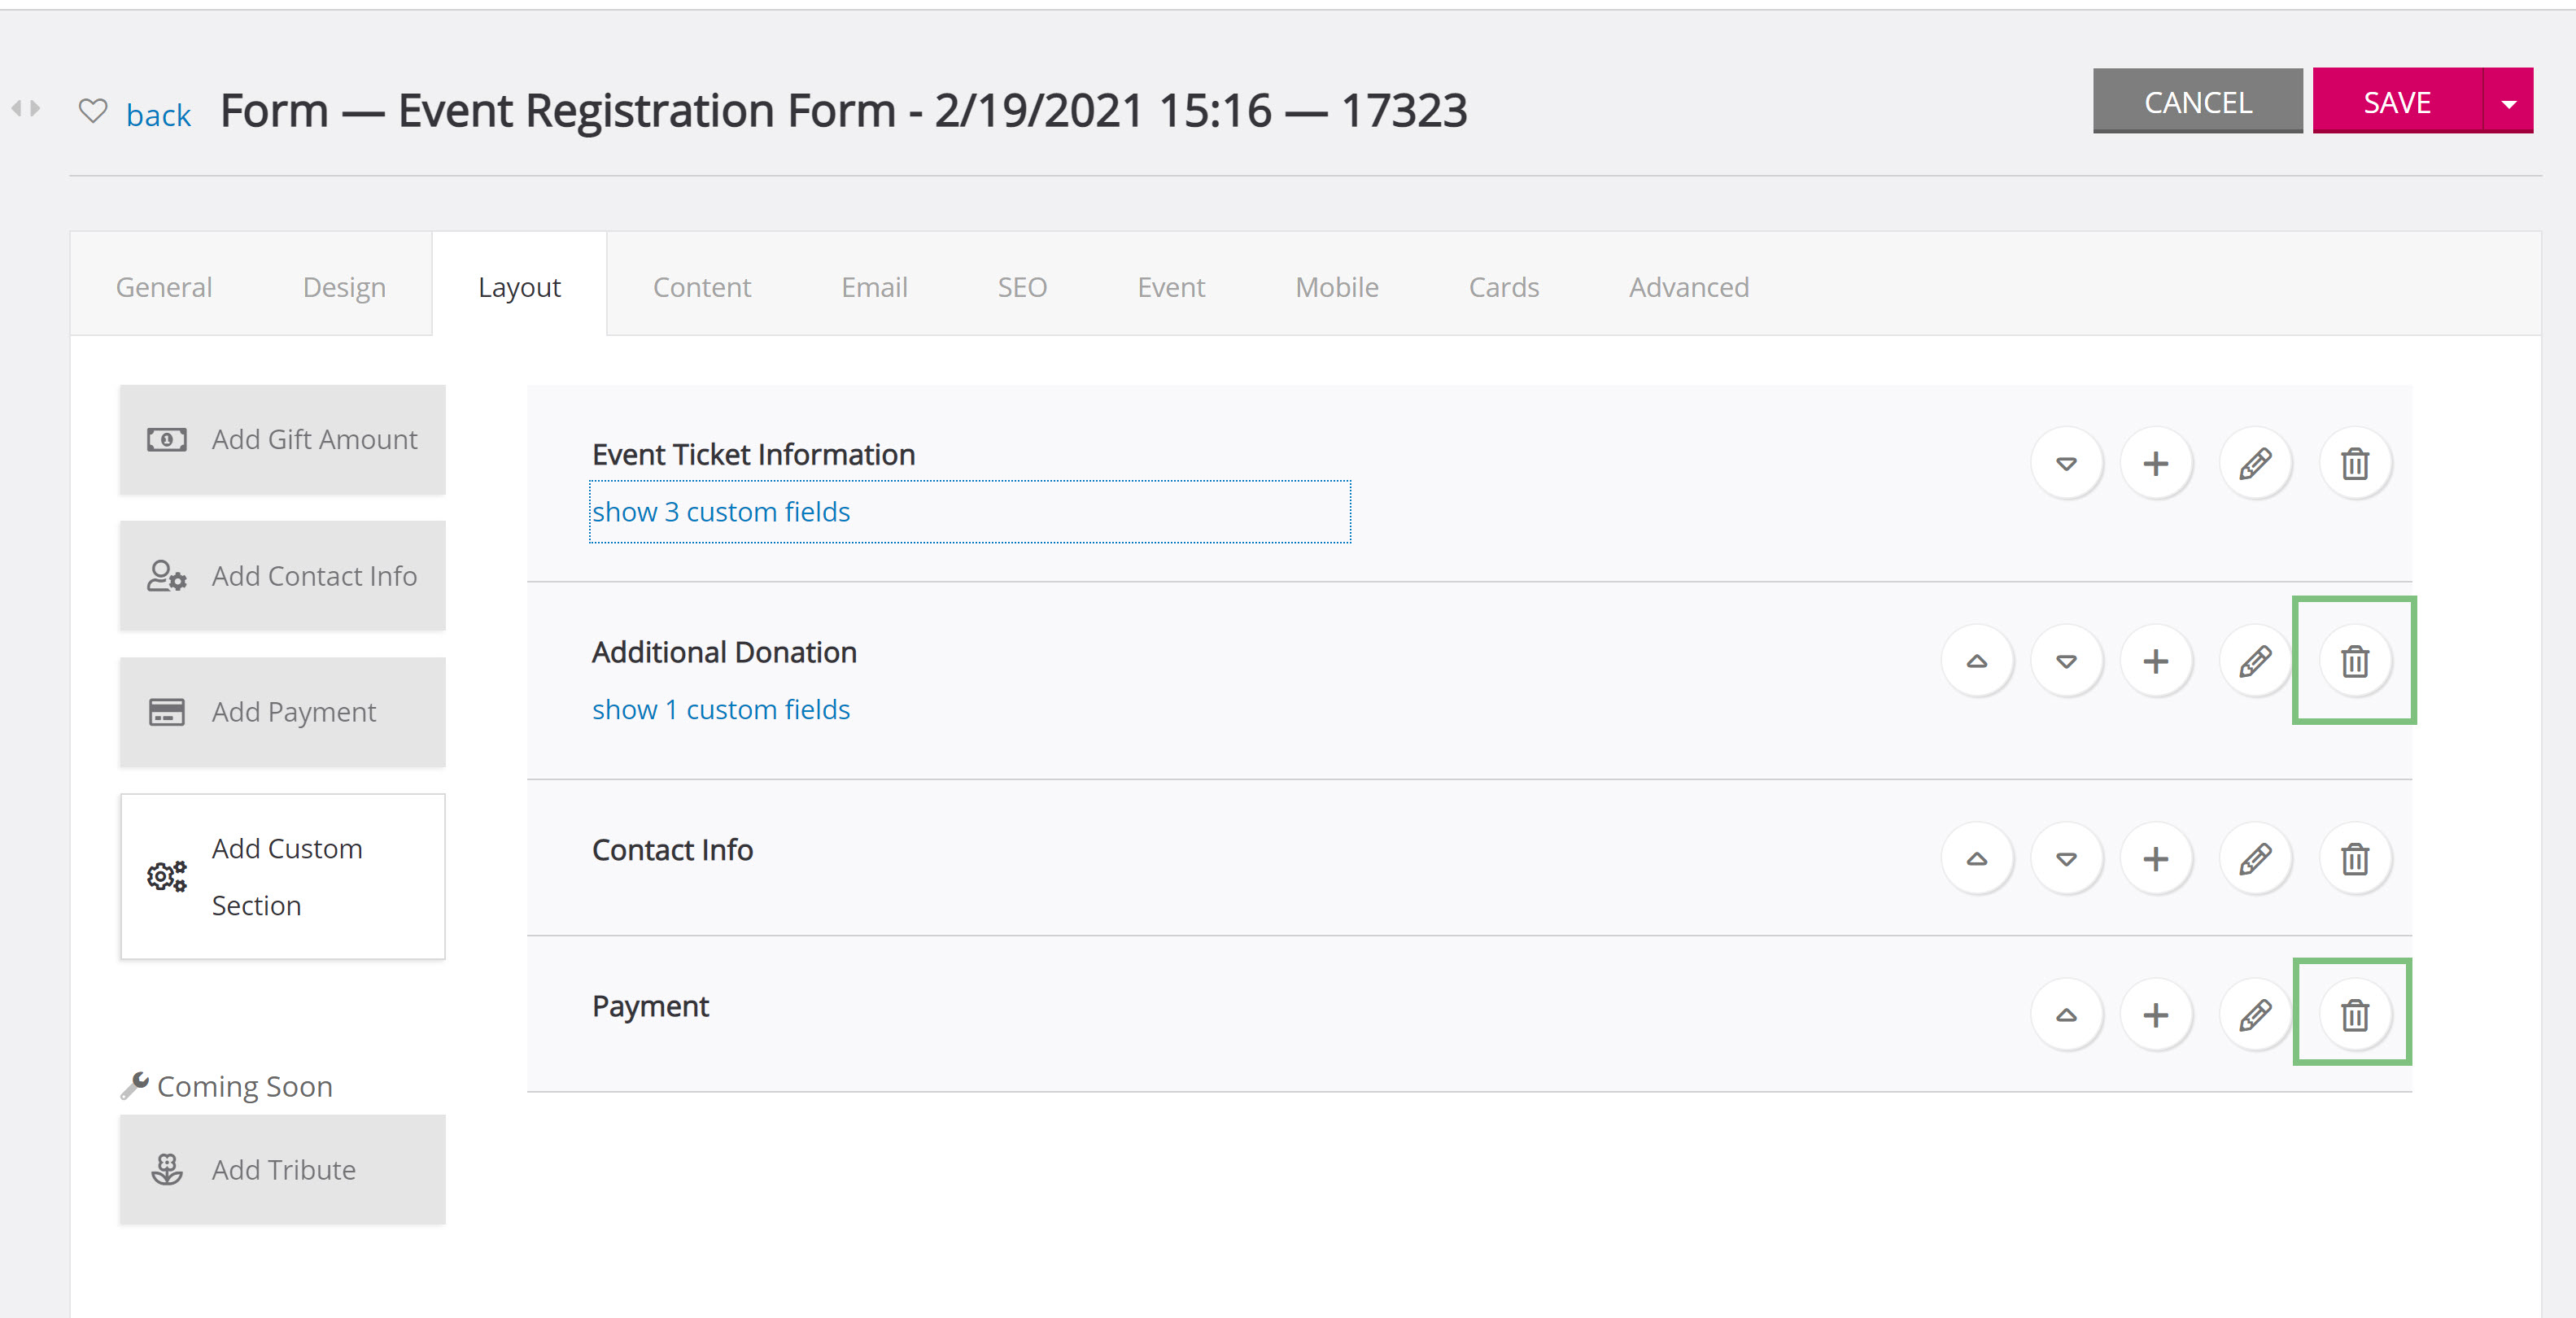
Step 10: Now when registrants navigate to the form, the only fields displayed will be the ticket information and the contact information.
FAQs & Additional Reading
Q. Where can I read more about setting up my Event?
A. The first step is to create the event and your ticket, this can be done through the Events Application or through the Form Wizard. If you need assistance using the form wizard, read this article and for more information on creating a ticket, read this article.
