Introduction
Batch entries of transactions are a great benefit to your organization. This functionality will allow a user within your organization to enter offline transactions in bulk and in similarly grouped tender types or like campaign initiatives. This feature allows your end user for simple and efficient entry of offline transactions. Customization and set-up of your organization’s batching template can be completed in a few simple steps.
Table of Contents
Prerequisites
- Capture repetitive data fields that may be needed for your organization’s batch entry.
- Note, your organization can create more than one batch template.
Instructions: Creating your batch template (configuration)

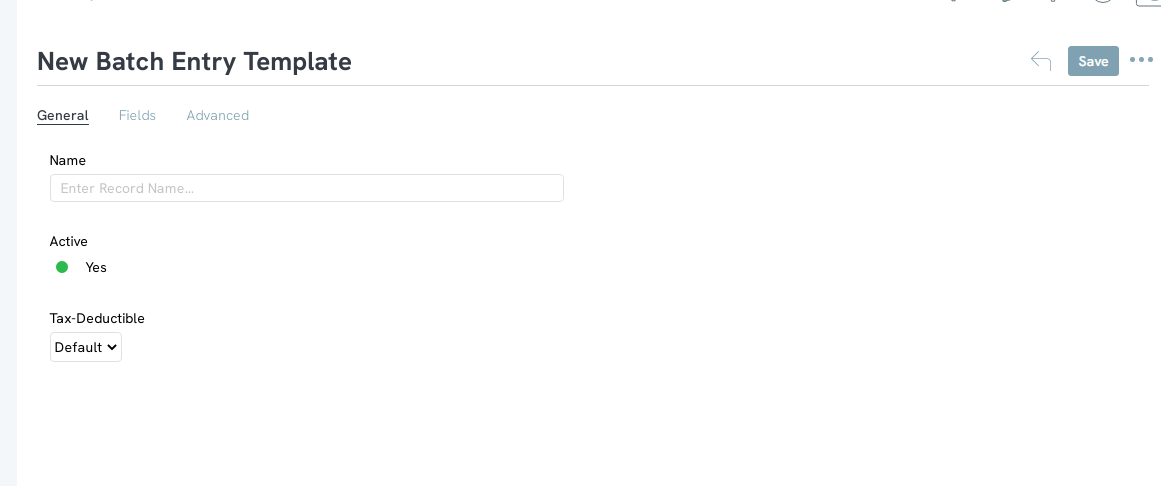
-
- Name: Add the batch Name (required)
- Active: Yes (default)
- Tax-Deductible: Default - or select Yes/No
-
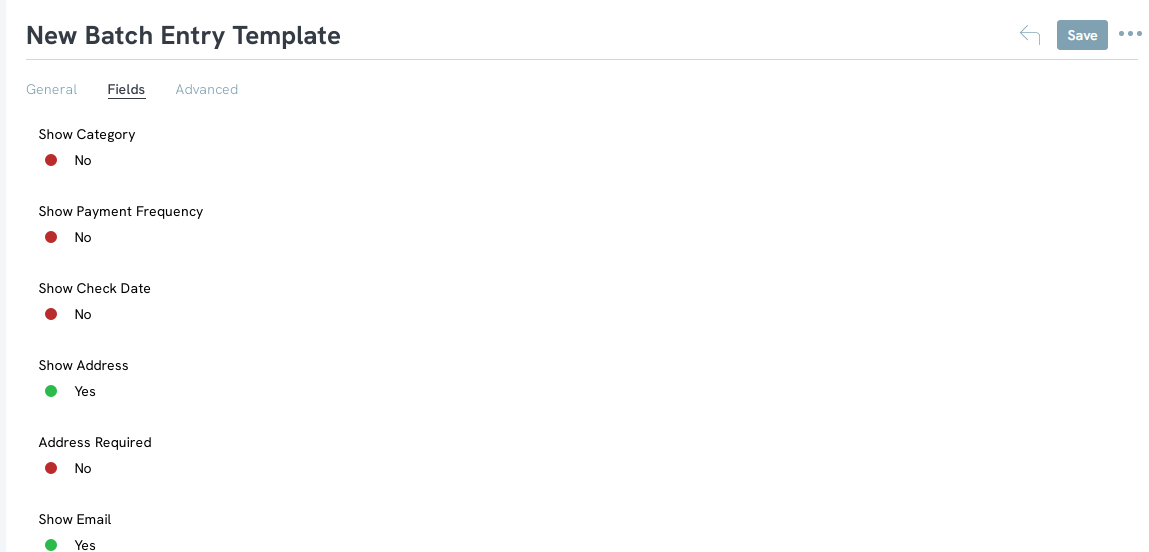
- Note: While there are a variety of fields available for your end user to enter, please note the fields that are listed as Required vs. Entry only. If ‘required’ is selected, your end user will need to add that value for all transactions enter.
-
- Supporting Fields of Note:
- Show Payment Frequency – toggle to yes to allow input of one time & sustaining/recurring payments
- If a sustainer, membership, pledge account does not exist currently, a new account will be created and assign the payment as the first payment
- If a sustainer, membership, pledge account does already exist, the payment will be assigned to the existing account; no new account will be created
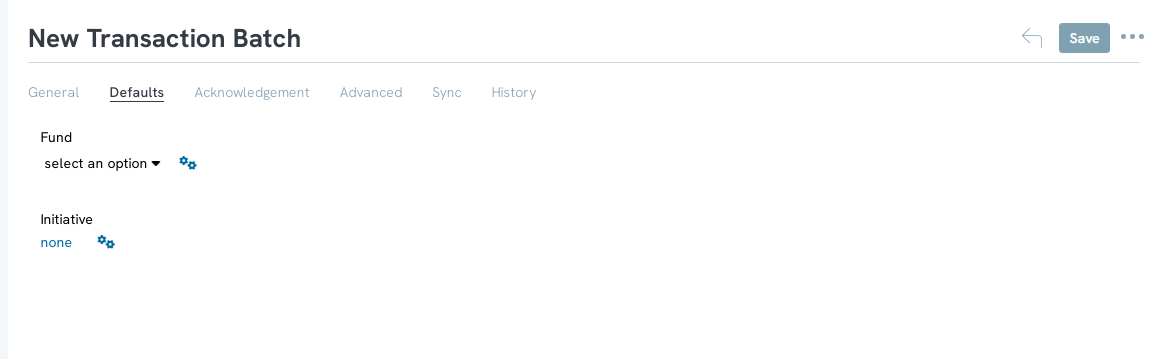
- Show Campaign – toggle to yes to allow entry of and attribution for campaign initiatives
- Show Custom Fields – toggle to yes to allow entry of custom fields of a transaction record
- Show GL Code and Fund - toggle to yes to show GL cod and/or Fund to attribute transactions while entering the batch
- Show Category - Toggle to yes to allow users to attribute a category to the donation. This will be helpful if the donation should be attributed to an event or an auction rather than just a donation.
- Show Payment Frequency – toggle to yes to allow input of one time & sustaining/recurring payments
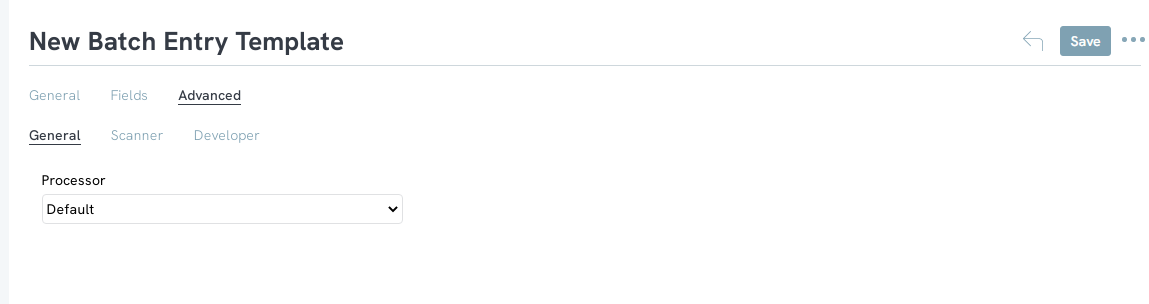
- Supporting Fields of Note:
-
-
- General: select a Processor if appropriate
- Scanner: Ability to use a 'scanner' for barcodes and/or use of the Audience Member ID value for manual entry
-
Instructions: Creating a batch form for data entry
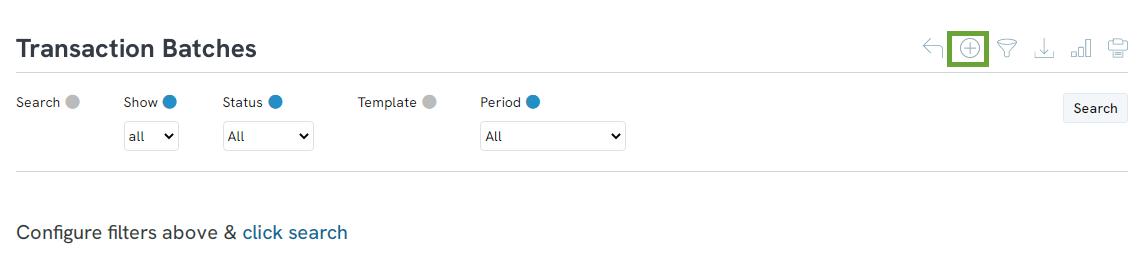
Step 1: Once your template is created, a transaction batch can now be entered by navigating to the Donations app > Transactions > Enter Batches > Create New

-
- Name – enter or modify the name of your batch (default/required)
- Deposit Date – enter the date in which the transactions will be entered
- Note: there is also an option under Advanced tab to Update Deposit Date
- Enforce # of Rows/Amount
- If enforced, enter # Transactions & Total Amount
- Template - Select your Template (as created above)
- Payment Type – payment method to be applied for this batch (i.e. credit card, check, cash, check & cash, ACH, ECheck, In-Kind, Other, or None)
- Optional selections also include:
- Category
- Tax Deductible
- GL Code (general ledger code)
- Response Channel
- Description
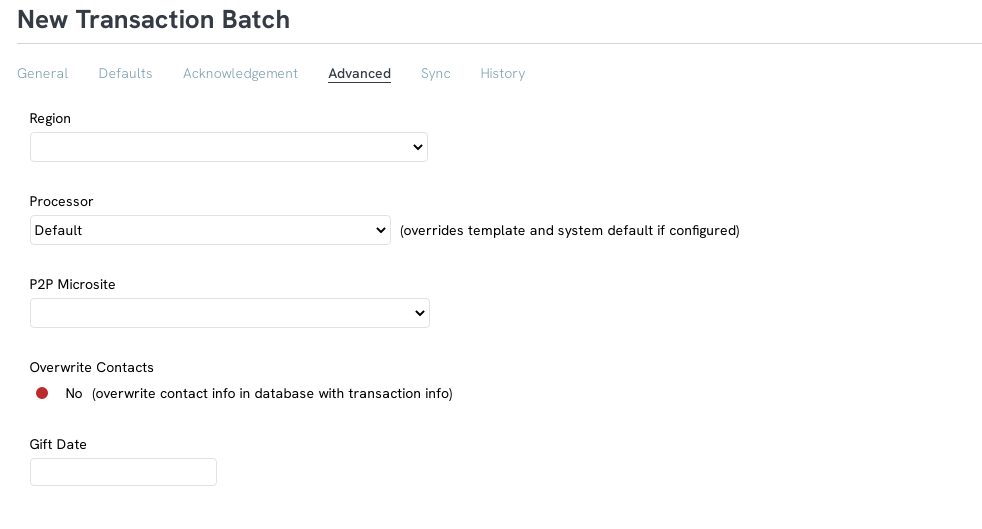
Step 5: Navigate to the Advanced tab for additional options including:
-
- Select a deposit account (if integrating with QuickBooks)
- Leverage Synced for tracking
- Region (if applicable)
- Processor – useful if your organization has payment entries for 501c3 vs. 501c4
- Overwrite Contacts – if you want to allow your user to overwrite the contact information of a contact record
- Gift Date – useful for backdating needs, for example for end of year gift processing
- Select a deposit account (if integrating with QuickBooks)
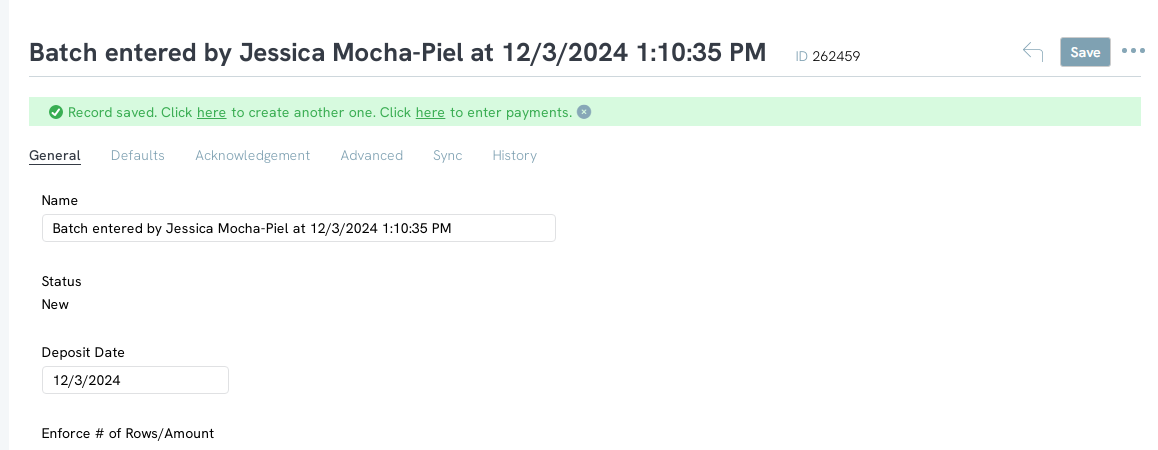
Step 6: Select SAVE to secure your batch and prepare to enter your batch transactions.
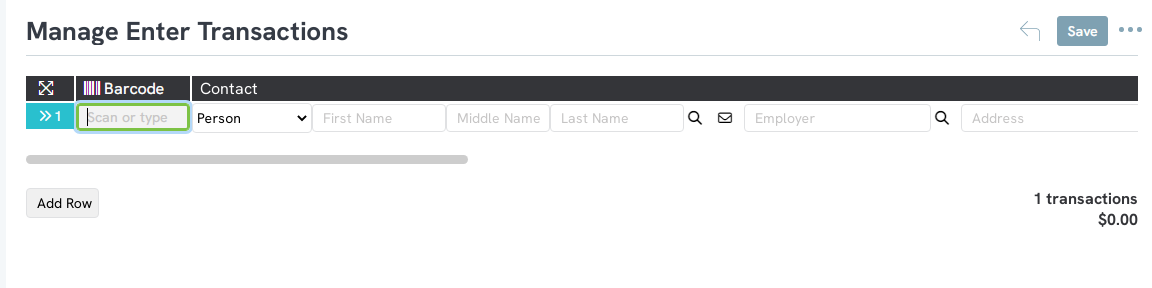
Instructions: Entering your batch
- Use the Enter button to auto-populate if using a contact id, audience id, etc.
- Magnifying Glass: Searching for the CE Contact ID is not necessary as that system will match automatically based upon the name, address, and/or email that is entered. Locating the CE ID is not required.
- Use the Tab button to navigate easily to the remaining entry points.
-
- Using the green bar from above, “Click here to enter payments”
- Or navigate using the drop down arrow from the SAVE option above to select Transactions
- Or navigate to the Donations App > Transactions > Enter Batches > ACTIONS: Transactions
Step 2: Begin transaction entry by clicking ADD ROW for additional rows (if not pre-set), leverage Amount drop down to see options for one time or sustainer payments.
If a sustainer/pledge/membership account exists, the user can associate the transaction to an existing invoice - or the payment can be applied to the account with no existing invoice.
Step 3: Once all donations have been entered, you will need to Process your batch. Navigate to SAVE and leverage the drop down to access the Process option.
Step 4: You will receive a confirmation acknowledgement - click OK to proceed, or Cancel to continue entering transactions.

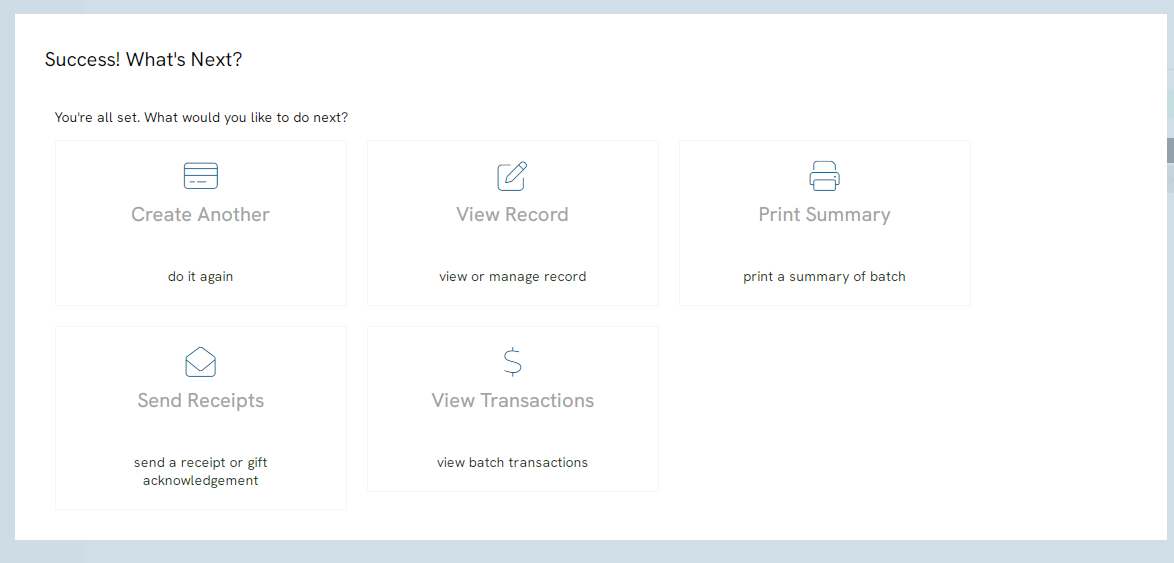
Step 5: Once the processing has completed, a pop up will appear with additional actions, such as creating another batch, viewing the records, or printing the summary
-
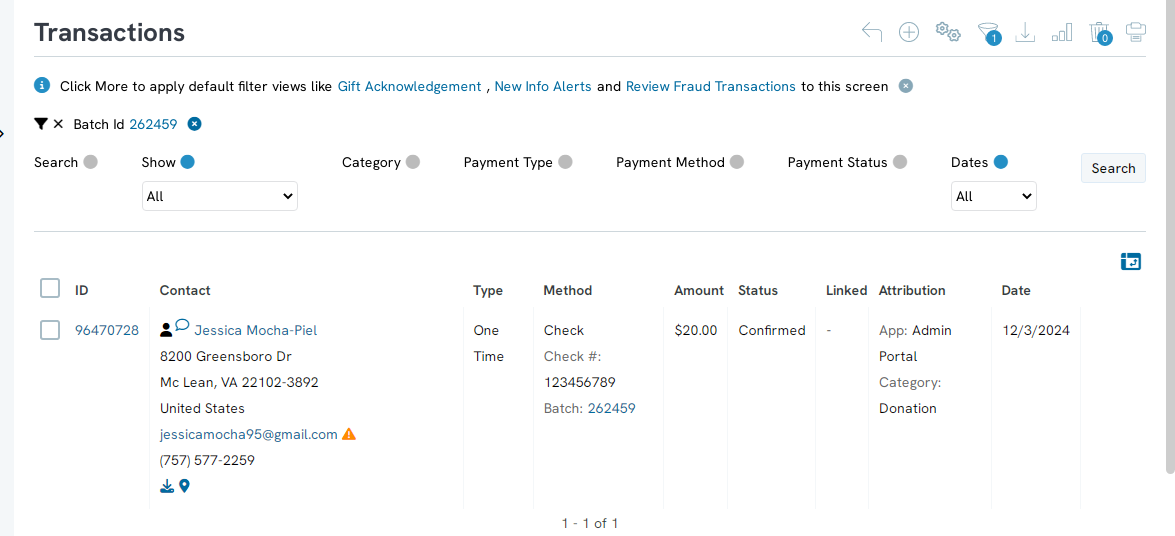
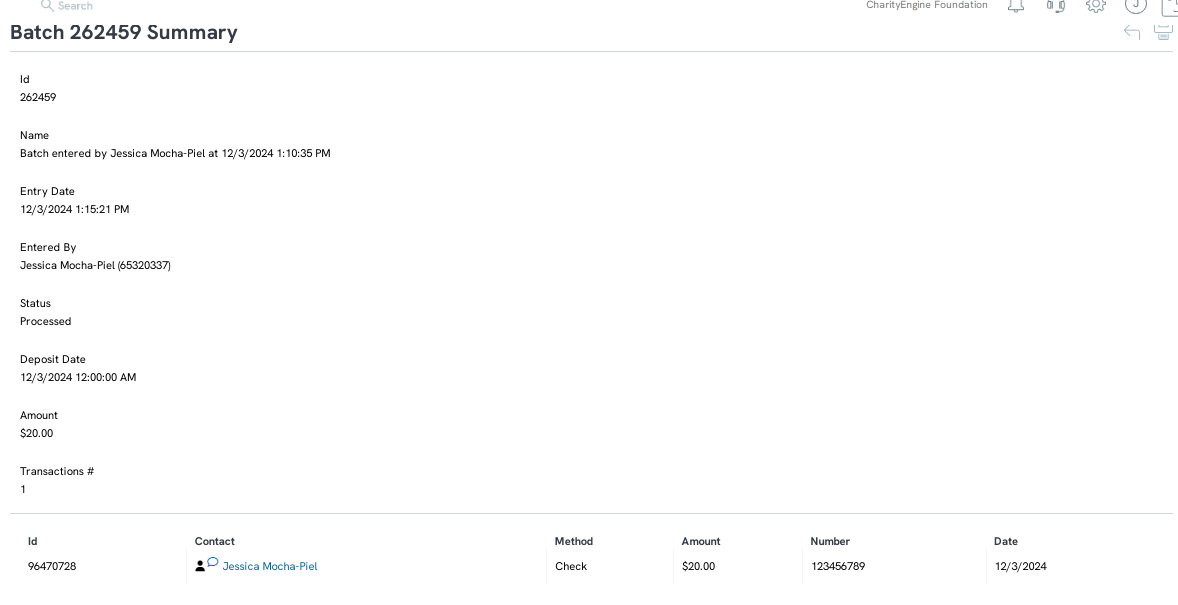
- If you elect to review the transactions, you will be redirected to the transaction listing screen. Each transaction will be assigned a batch id - you will also see the Campaign Initiative assignment (if appropriate), type of payments, amounts, transaction IDs, contacts, and other attribution details.
- If you elect to review the transactions, you will be redirected to the transaction listing screen. Each transaction will be assigned a batch id - you will also see the Campaign Initiative assignment (if appropriate), type of payments, amounts, transaction IDs, contacts, and other attribution details.
Instructions: Post Entry Activities
Transactions: To view transactions within a batch you can navigate to
-
- Donations App > Transactions > Enter Batch > locate batch id > ACTIONS: Transactions
- Or Donations App > Transactions > Search & Manage > Advanced Search > Payments > Batch ID (or Batch Start/Batch End Date)
-
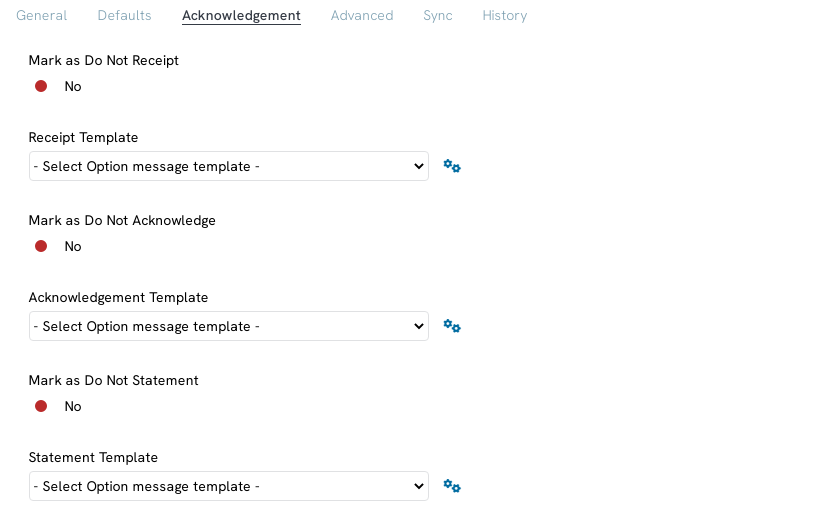
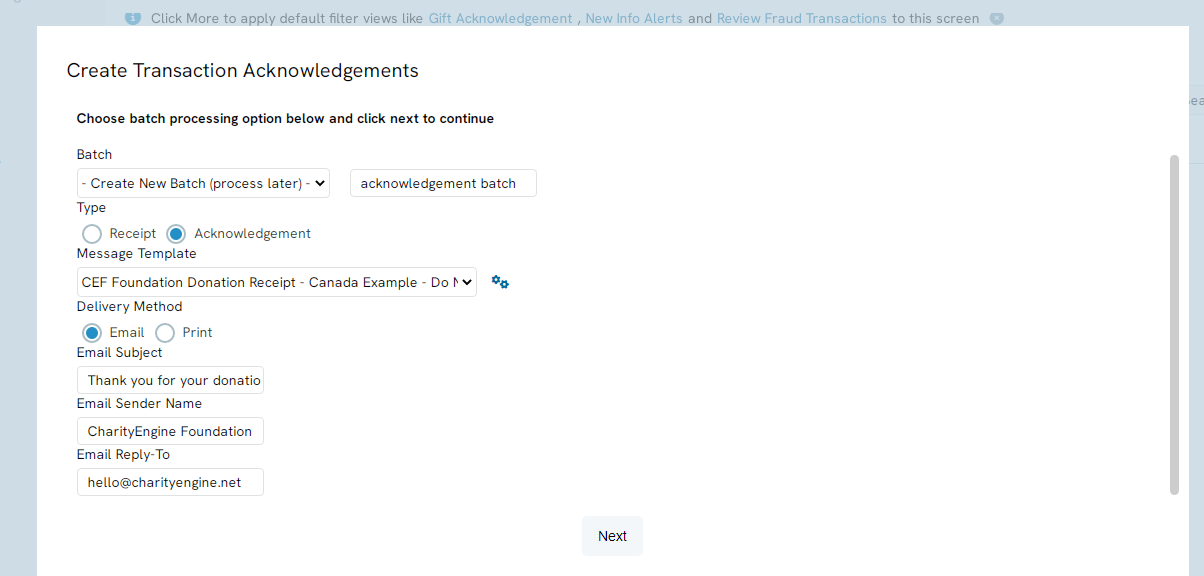
- Donations App > Transactions > Enter Batch > locate batch id > ACTIONS: Send Acknowledgements > using the check box to select all (or select transactions) > use the down arrow to click Acknowledge
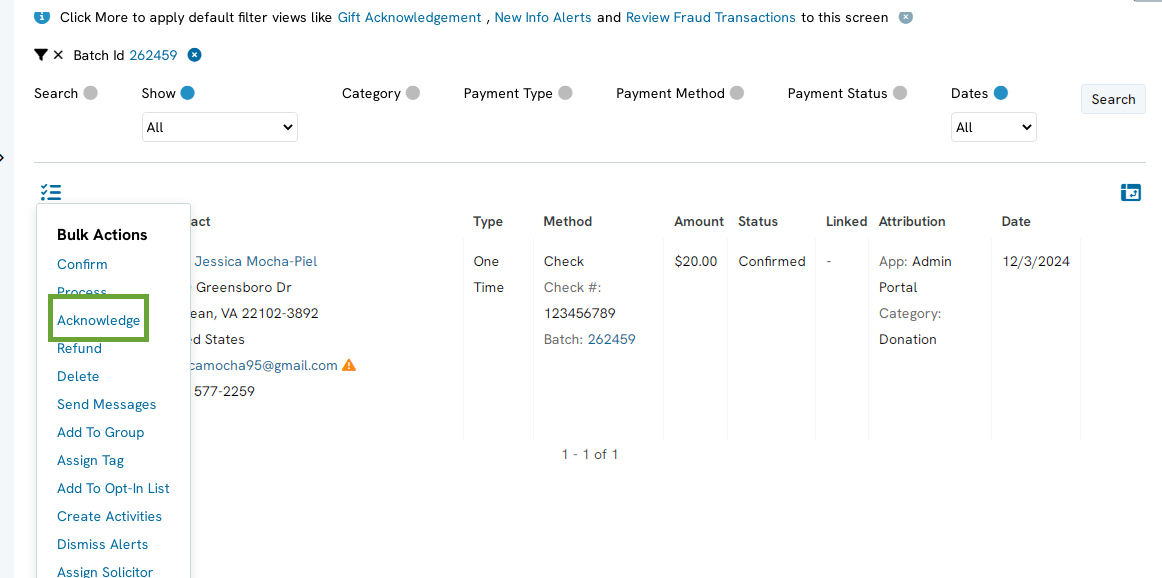
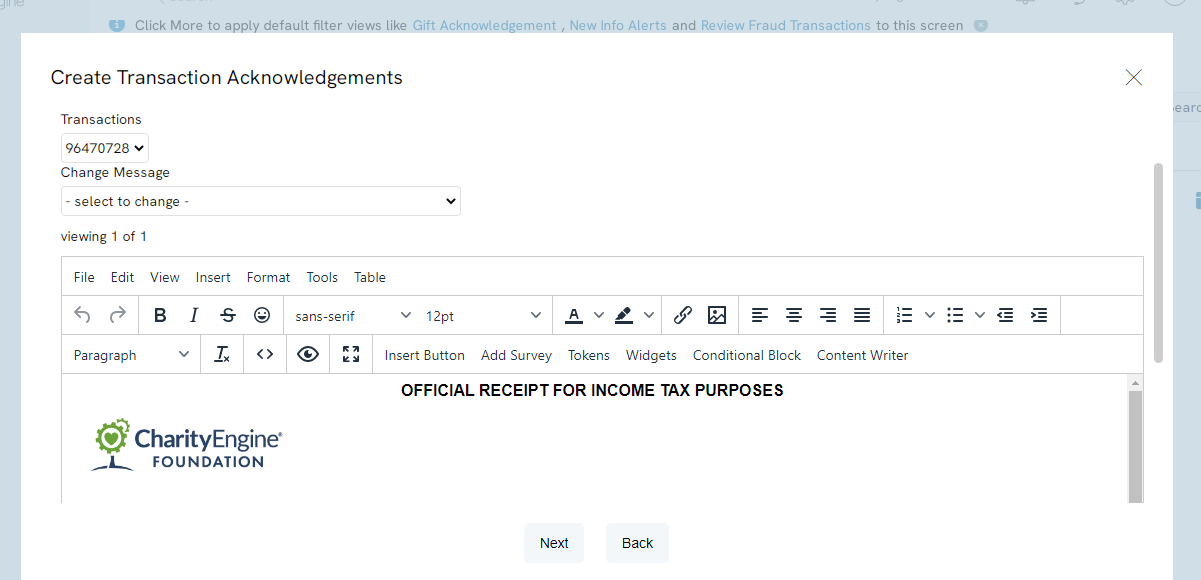
- Complete your acknowledgement/receipt selections and templates and click NEXT to proceed
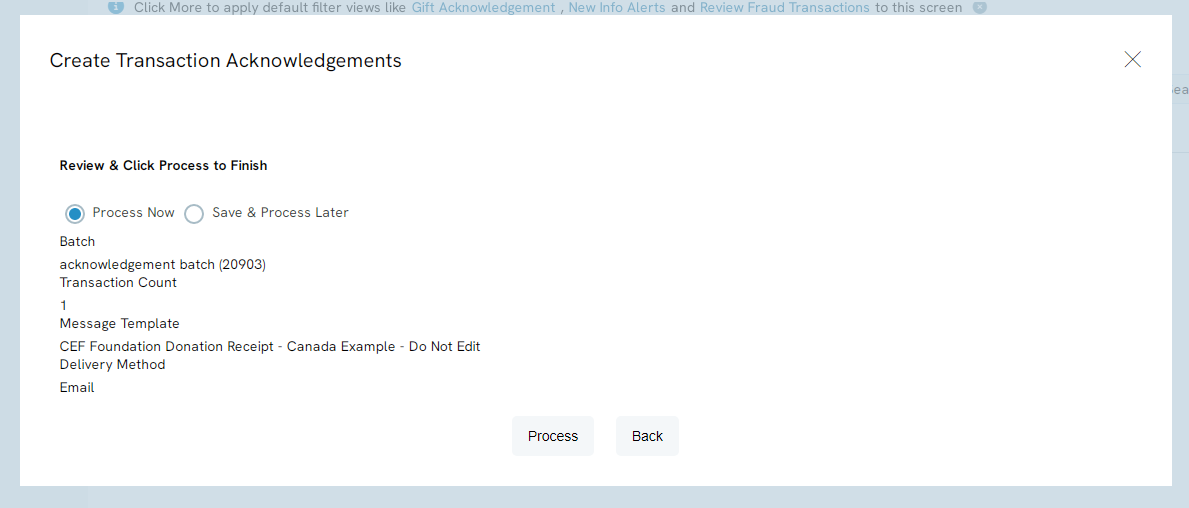
- Verify your send and click NEXT
- Click on PROCESS to proceed
- Donations App > Transactions > Enter Batch > locate batch id > ACTIONS: Send Acknowledgements > using the check box to select all (or select transactions) > use the down arrow to click Acknowledge
-
- Navigate to Donations App > Transactions > Enter Batch > locate batch id > ACTIONS: Print Summary > using the check box to select all (or select transactions) > use the down arrow to click Acknowledge
FAQs & Additional Reading
Q:If we are using a scanner to enter in batches, are there any specification on the scanner?
A: The only requirement for a scanner is that it must e able to send the "enter" command after the value of the barcode for the site to trigger the lookup of the Id. Most scanners can do this and there is not a specific one that CE recommends, however through research we have found that the Motorola Symbol LS2208 scanner is compatible.
