Introduction
Polls and surveys are invaluable tools for non-profits to engage their audience, collect insights, and steer their efforts effectively. By utilizing these tools ethically, setting clear objectives, crafting effective questions, and acting on feedback, non-profit organizations can better understand their stakeholders' needs and drive meaningful change in alignment with their mission. These answers will provide important data that could help your organization make key decisions. With the CharityEngine Survey Tool, users can easily create, send, and collect poll and survey results that are all integrated into the contact records as a CRM platform.
Table of Contents
Prerequisites
- If the survey/poll questions are to be associated with an event or advocacy action, please have your Event/P2P or advocacy action created
- The Survey/Poll creation process does not allow for the ability to use survey/poll questions across multiple Surveys see FAQs for additional guidance
Leveraging Polls and Surveys for Non-Profit Organizations
Polls and surveys serve as powerful tools for non-profit organizations seeking to engage their audience, gather valuable feedback, and make informed decisions. By effectively utilizing these tools, non-profits can enhance community involvement, understand supporter sentiments, and refine their strategies to better serve their mission. Here's a comprehensive guide on leveraging polls and surveys for non-profit purposes:
Understanding the Purpose
- Audience Engagement: Polls and surveys can foster interaction and encourage participation among supporters, volunteers, donors, and the broader community.
- Feedback Collection: Gather insights on donor preferences, community needs, program effectiveness, and overall satisfaction to inform decision-making.
Choosing the Right Tool
- CharityEngine Platform: The CharityEngine feature not only allows for simple set up and monitoring, but the power of the tool ensures that all data points are connected across users and functionality. No need to have a disparate system or extra work to import results.
Setting Clear Objectives
- Define Goals: Establish specific objectives for each survey or poll, ensuring they align with the organization’s mission and strategic priorities.
- Identify Target Audience: Determine the audience segment you aim to engage or gather feedback from, be it donors, volunteers, beneficiaries, or the general public.
- Crafting Effective Polls and Surveys
- Clear and Concise Questions: Keep questions simple, direct, and focused on obtaining the desired information.
- Use of Multiple Choice and Open-ended Questions: Combine closed and open-ended questions to gather quantitative data and qualitative insights.
- Avoid Bias: Phrase questions neutrally to avoid influencing respondents' answers.
Promotion and Distribution
- Utilize Multiple Channels: Share surveys via email newsletters, social media platforms, website pop-ups, and community events to reach a wider audience.
- Incentivize Participation: Offer incentives (e.g., small gifts, recognition) to encourage greater participation and completion rates.
Analyzing Responses
- Data Interpretation: Review survey responses systematically, looking for trends, patterns, and correlations within the collected data.
- Deriving Insights: Extract actionable insights that can guide decision-making, program improvement, and strategic planning.
Implementing Feedback
- Communicate Findings: Share survey results transparently with stakeholders, demonstrating how their feedback shapes the organization’s actions.
- Actionable Changes: Implement changes based on the insights gained, ensuring stakeholders see the impact of their input.
Continuous Engagement
- Regular Feedback Cycles: Conduct surveys periodically to track changes in audience preferences, needs, and satisfaction levels.
- Interactive Engagement: Consider using interactive polls during events or on social media to maintain ongoing engagement.
Ethical Considerations
- Privacy and Confidentiality: Ensure respondents' privacy and confidentiality are respected by implementing data protection measures and clearly stating the survey's purpose.
- Honest Representation: Be transparent about how survey data will be used and the potential impact on the organization's activities.
Conclusion
Polls and surveys are invaluable tools for non-profits to engage their audience, collect insights, and steer their efforts effectively. By utilizing these tools ethically, setting clear objectives, crafting effective questions, and acting on feedback, non-profit organizations can better understand their stakeholders' needs and drive meaningful change in alignment with their mission.
Instructions: Creating an online survey/poll
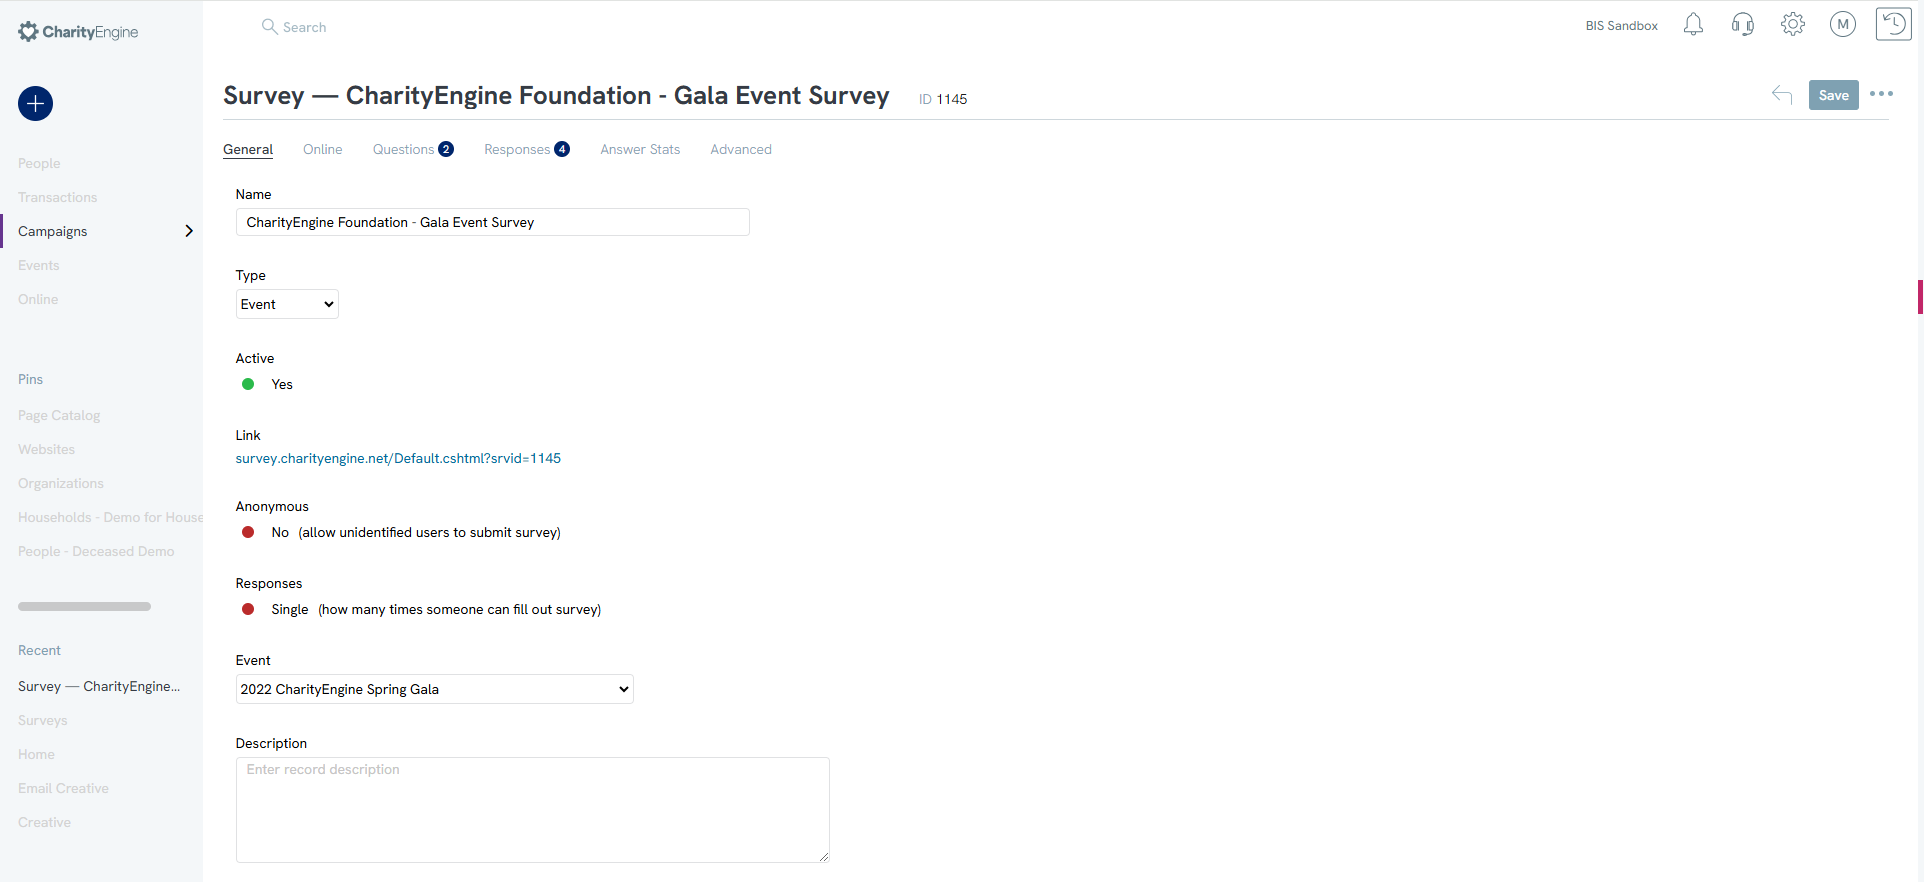
To begin set-up, the first step will be to create the survey or poll.
 > Enter:
 -
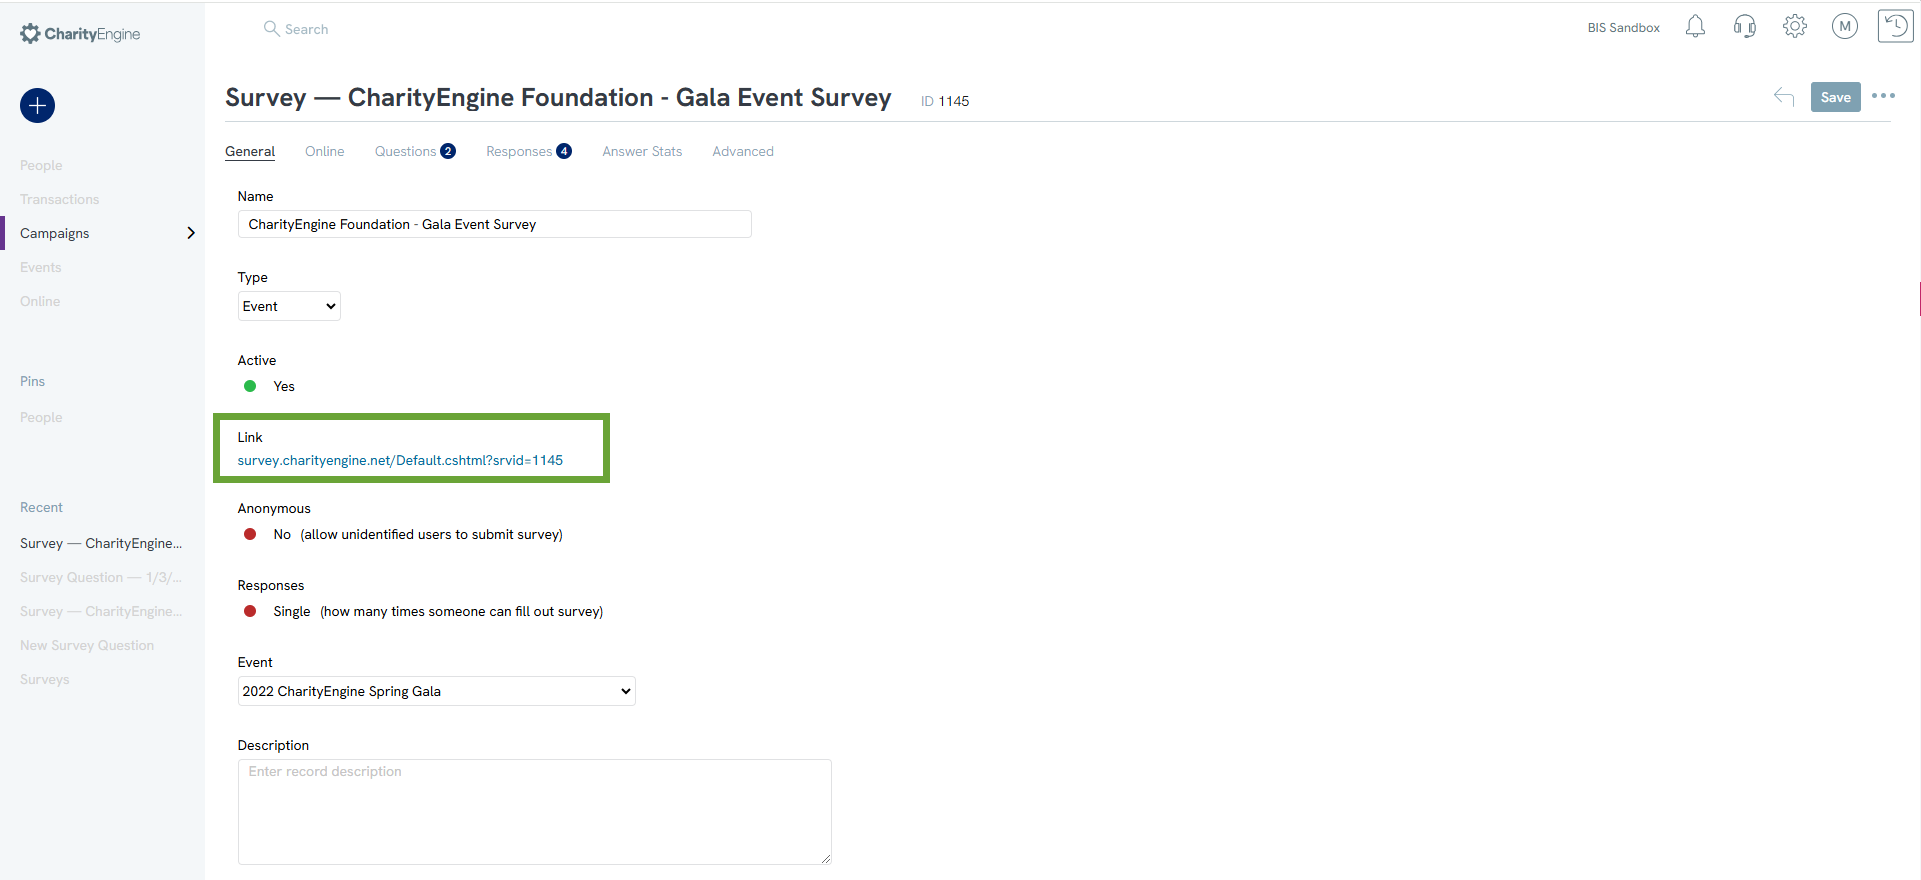
- Name - required
- Type - default Survey
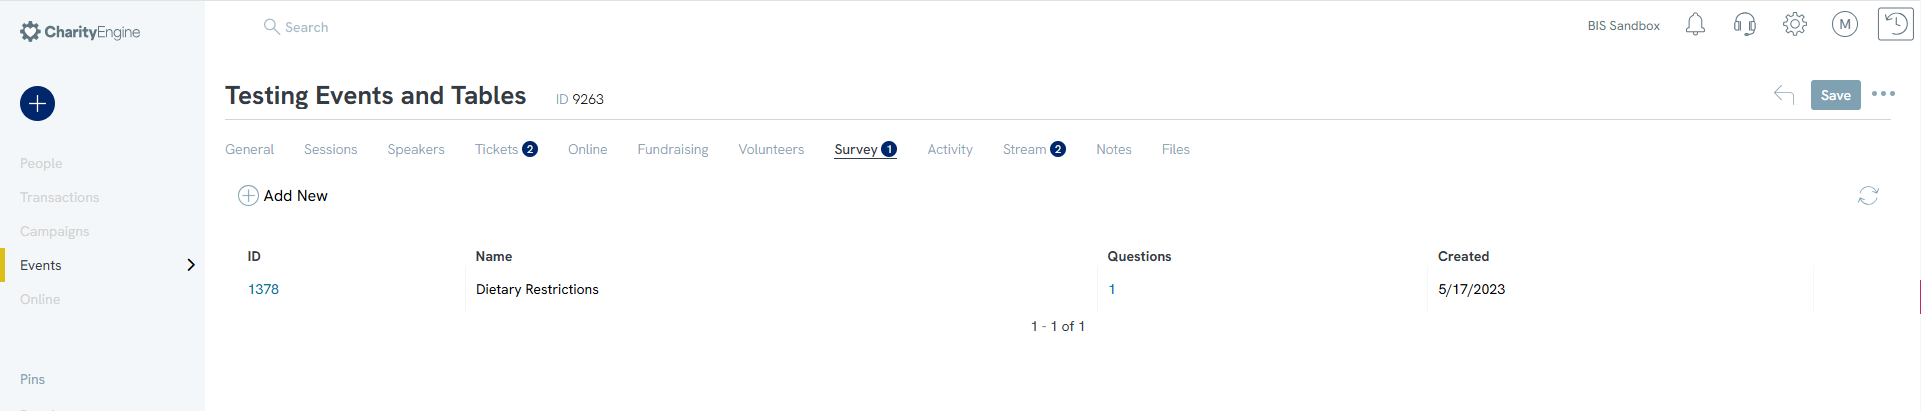
- If this is associated with an event, select Event, Peer-to-Peer, or Advocacy now for downstream association and presentment
- Active - default Yes
- Anonymous - default No
- Responses - default single (how many times an individual can complete)
- Event - default None
- If this will be associated with an Event or Peer-to-Peer, select the associated event now for downstream association and presentment
- Description - default null
- SAVE - click to secure changes and expose additional options
-
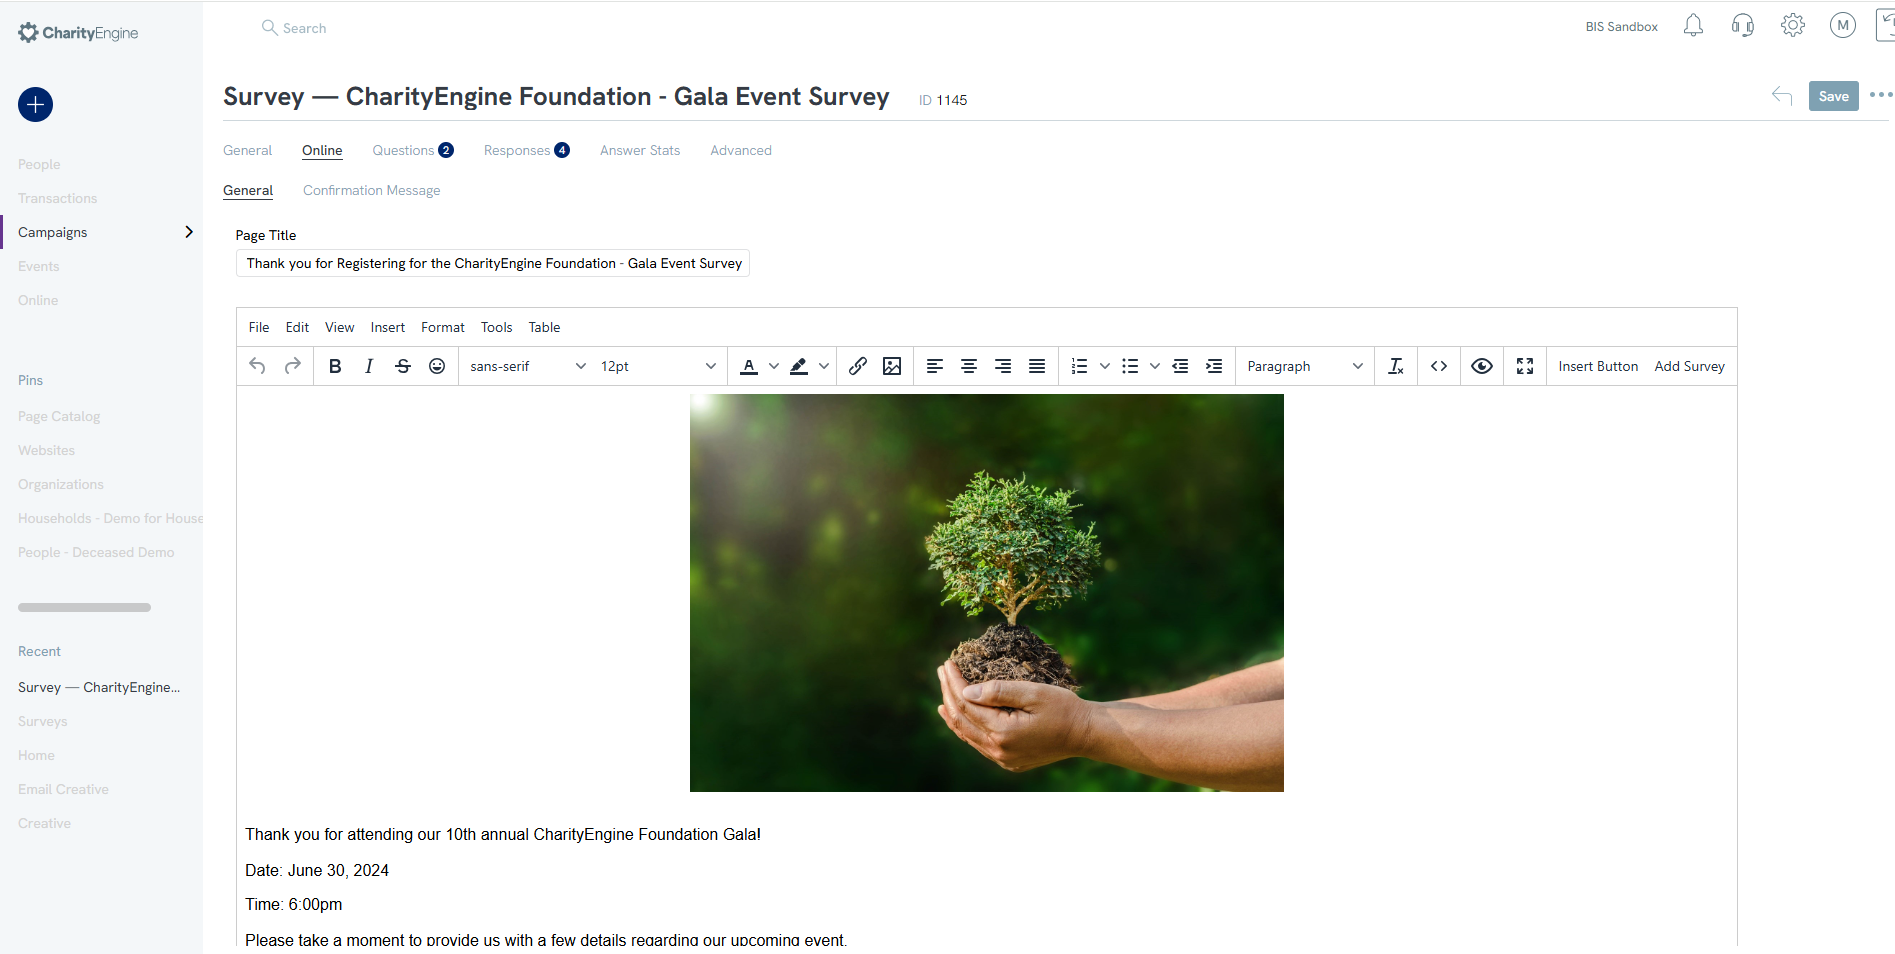
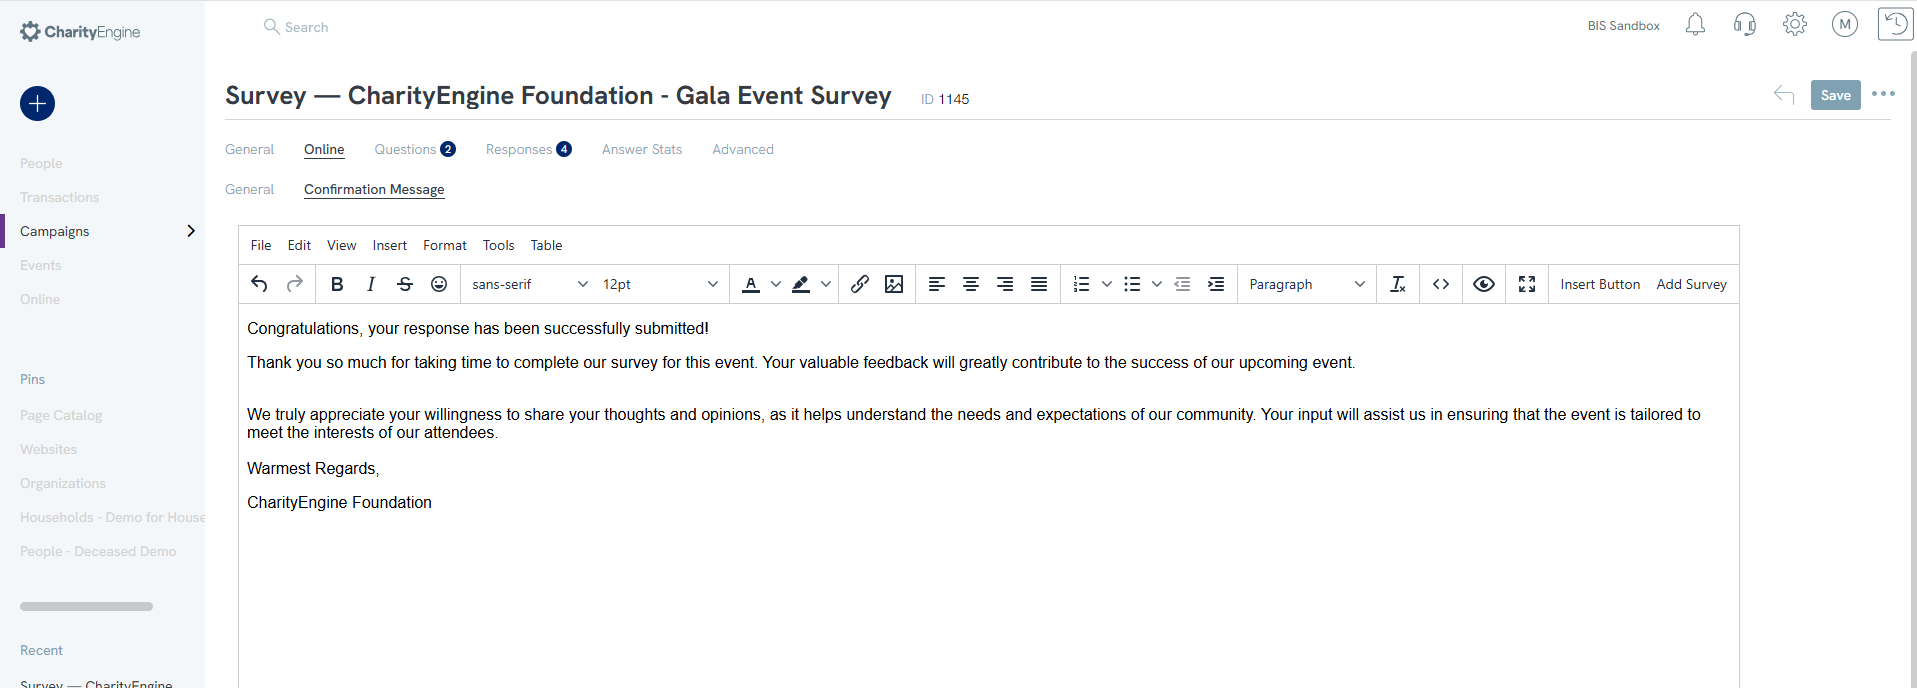
- Page Title: text to be exposed to end user
- Menu: to add content, images, video, links, etc.
- SAVE: to secure your changes
-
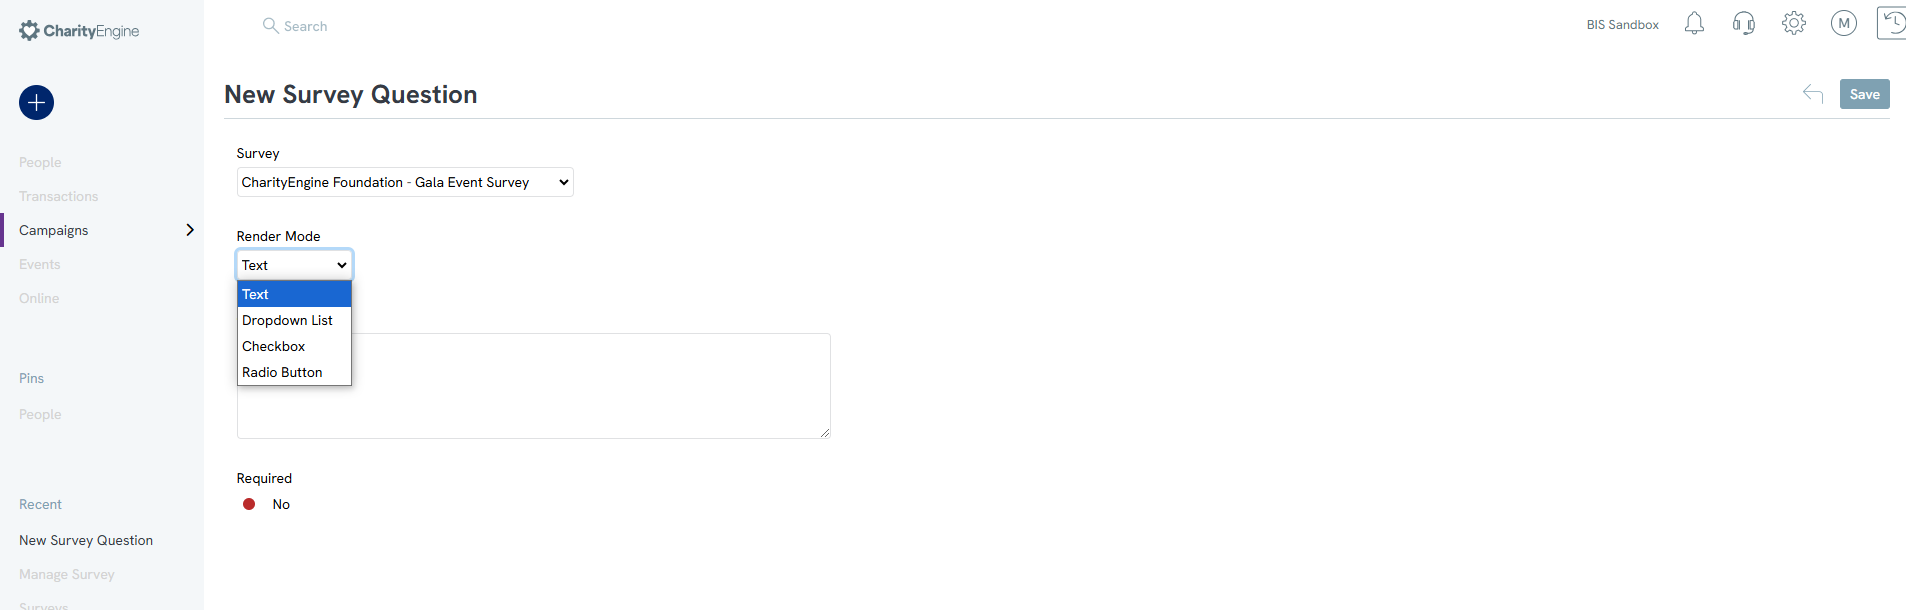
- Text - free form text
- Dropdown List - users selects from a dropdown
- Checkbox - user selects a checkbox
- Radio Button - user selects a radio button option

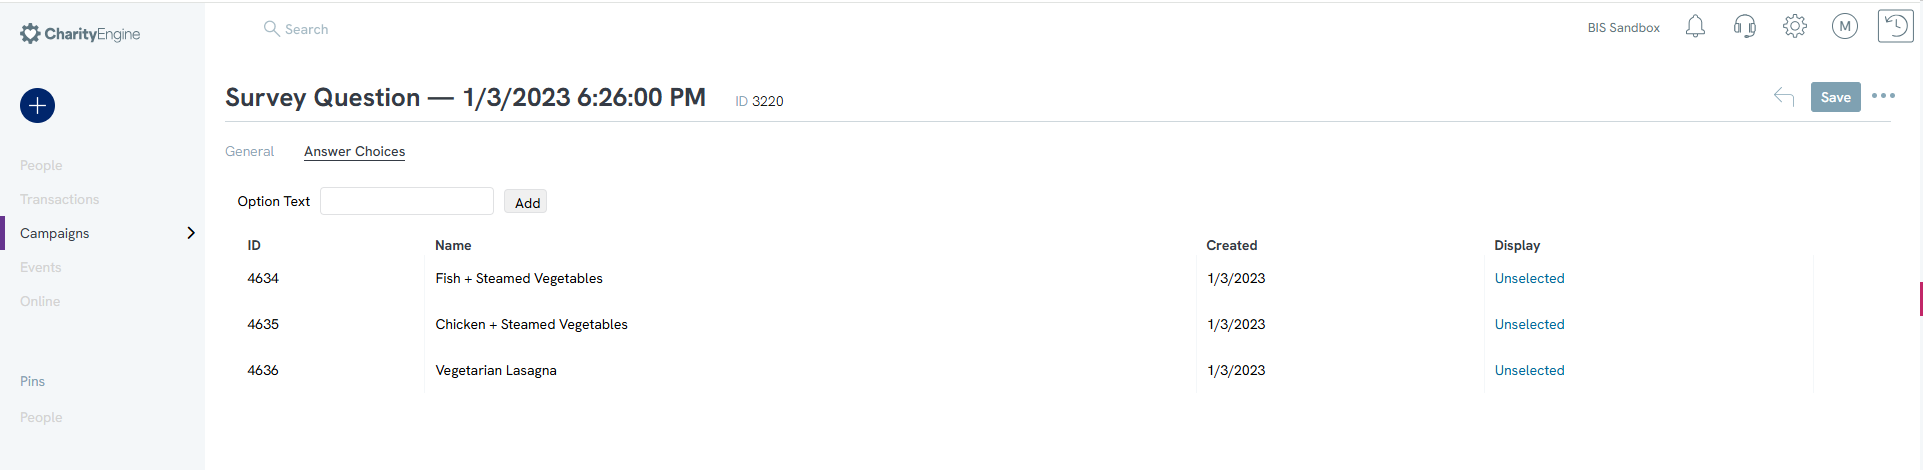
Step 8: Navigate to the Answer Choices tab and leverage the Option Text to begin adding your selection choices. Please note, the Display = Selected will be the first option presented on the survey. Click SAVE to secure your answers. Navigate with the back button to return to the Questions tab.
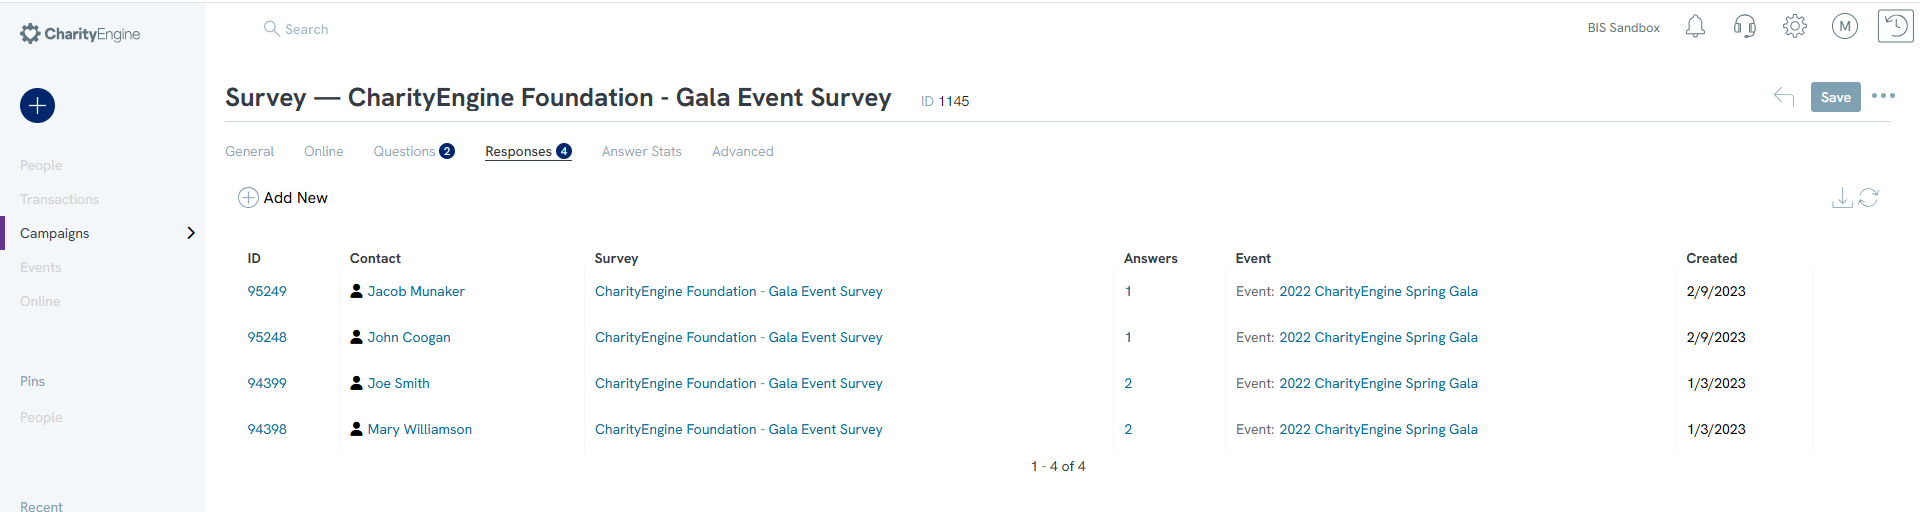
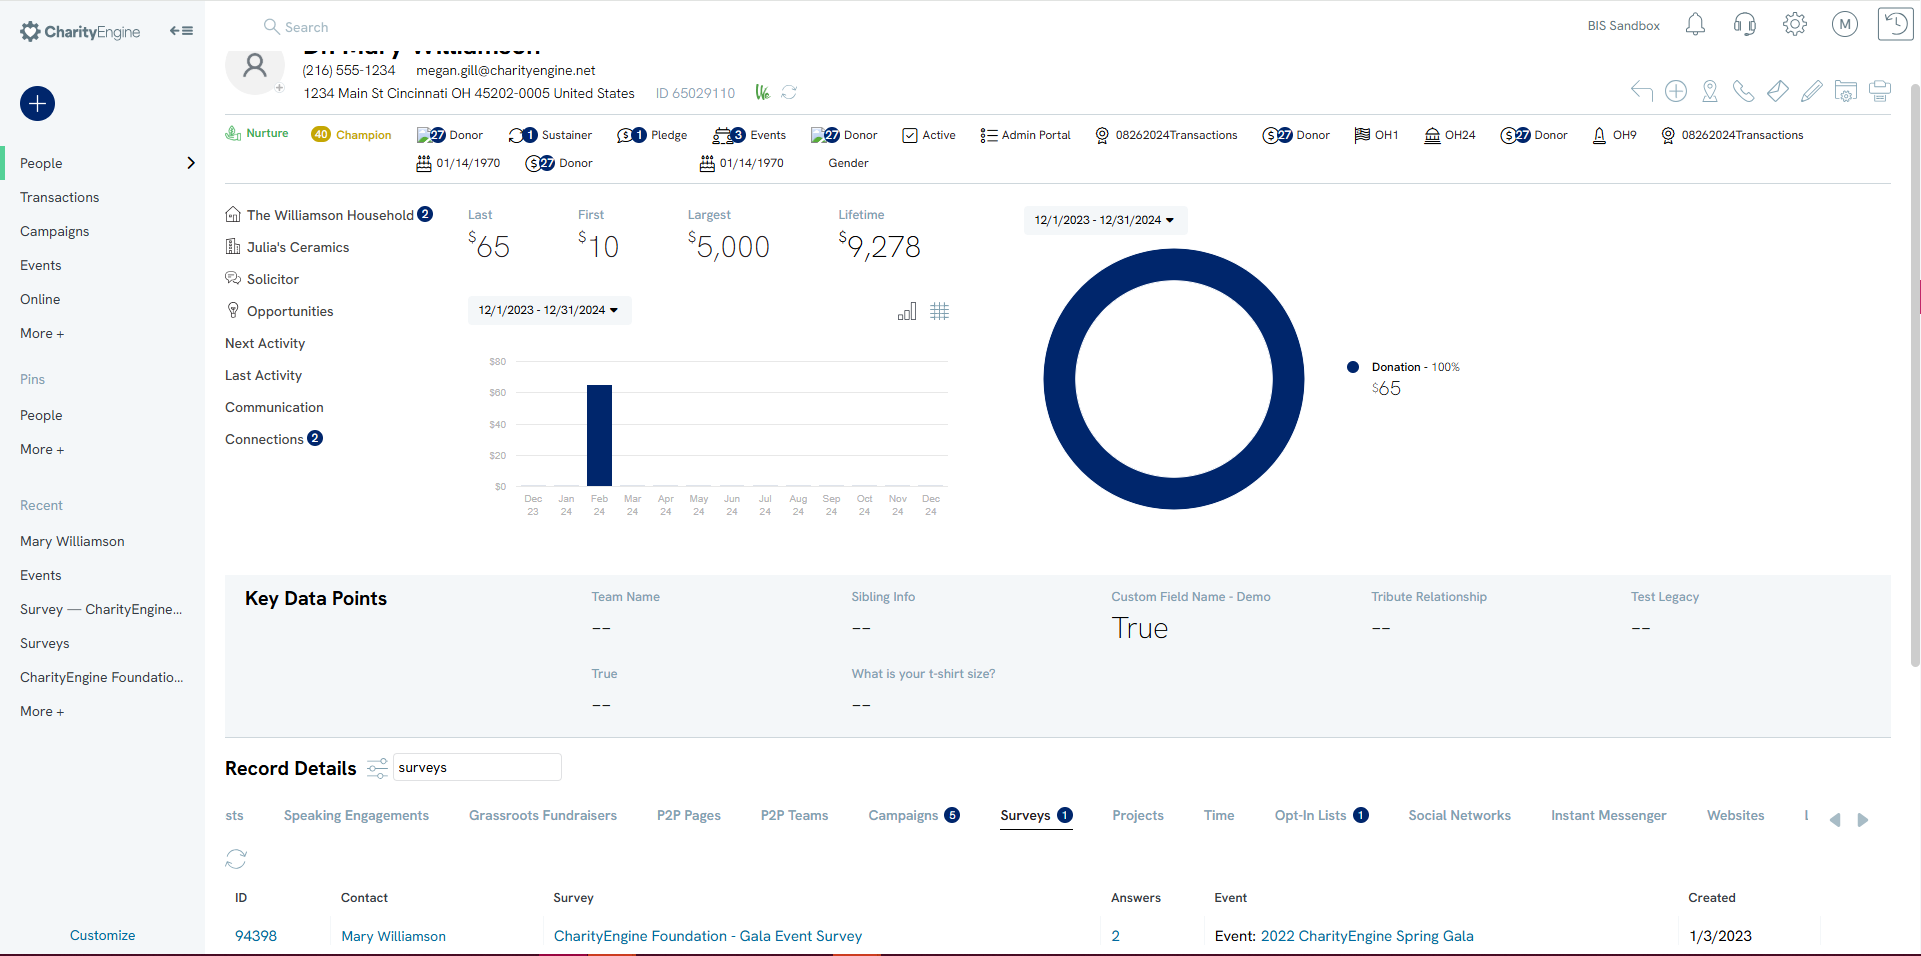
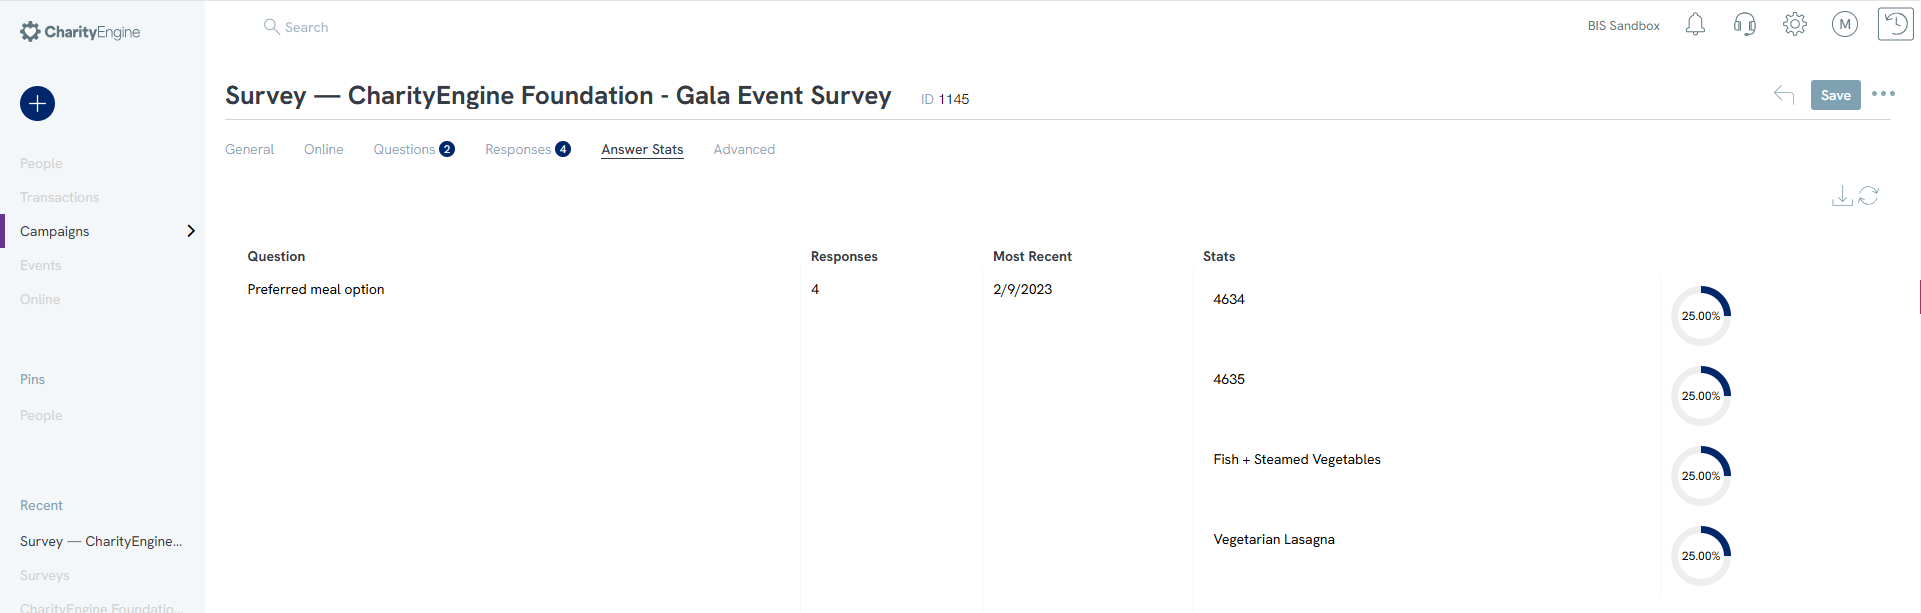
Instructions: Monitoring results

Instructions: How to add Poll/Survey Questions to your Web Form
Prerequisite: If you need assistance on how to set up an Event Web Form, click here for more details.

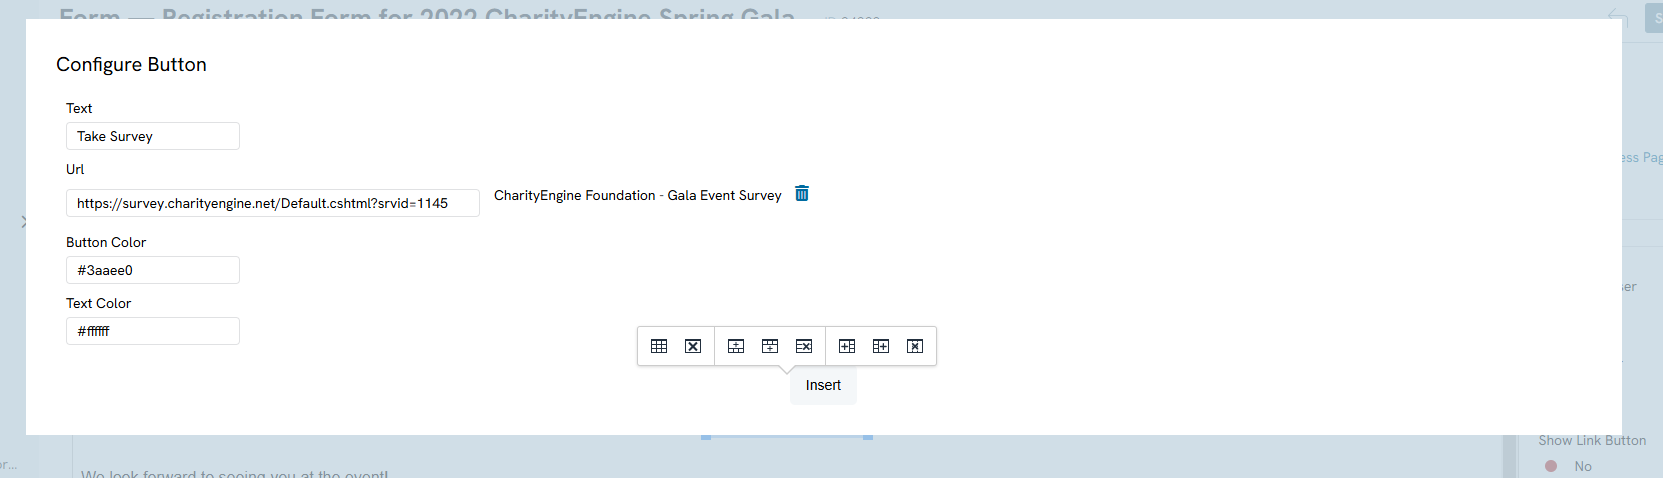
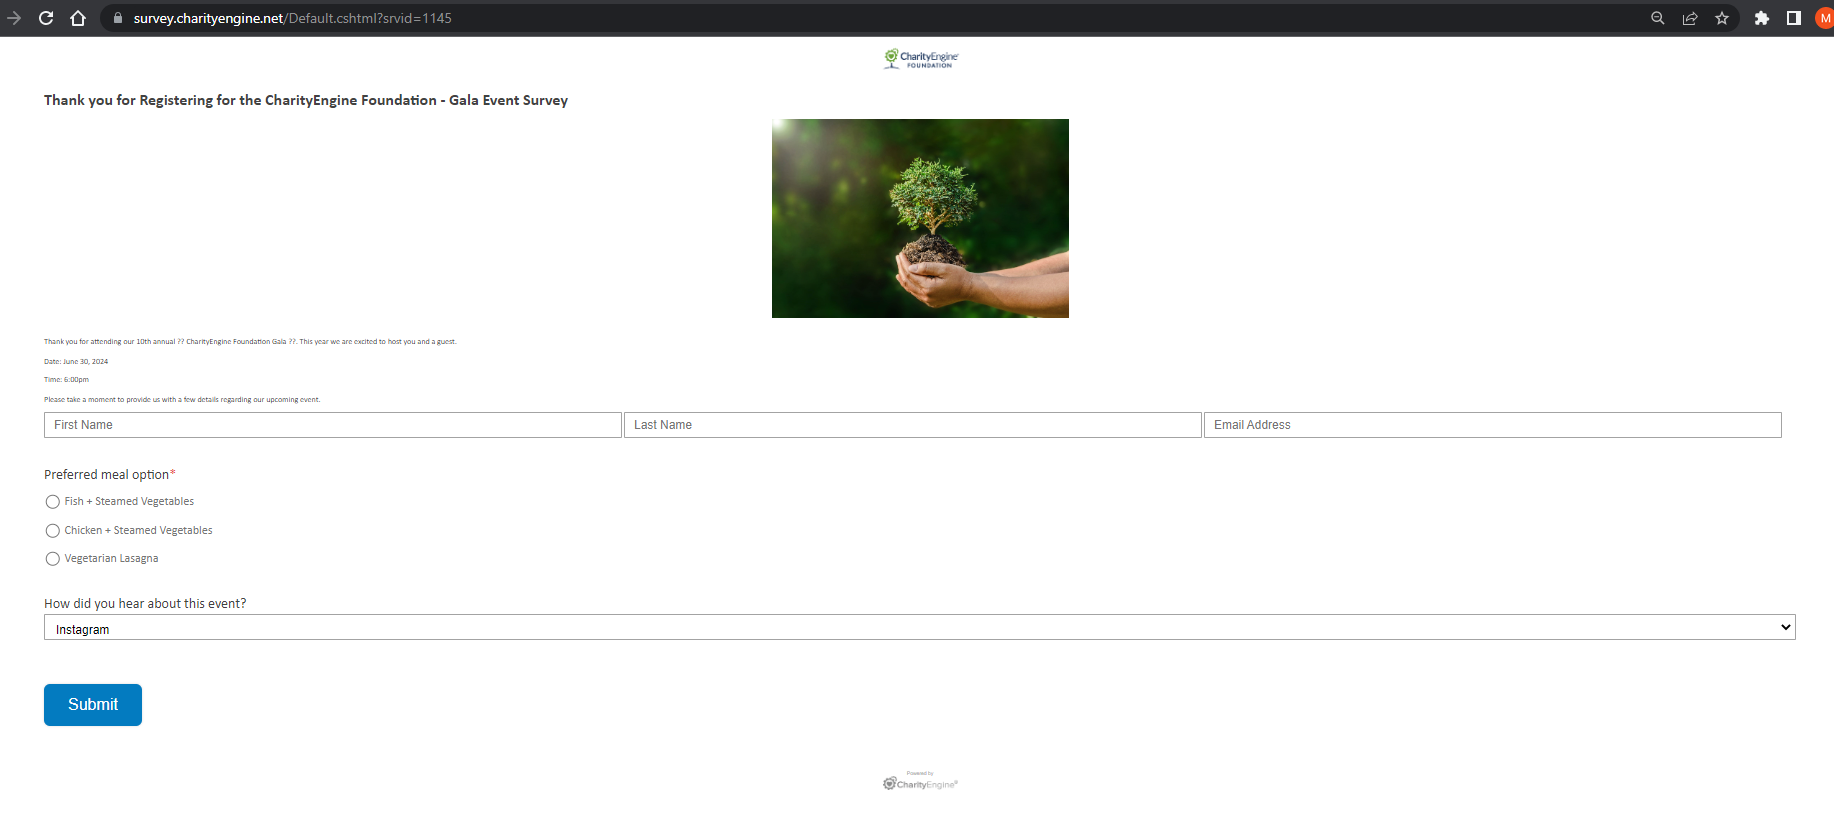
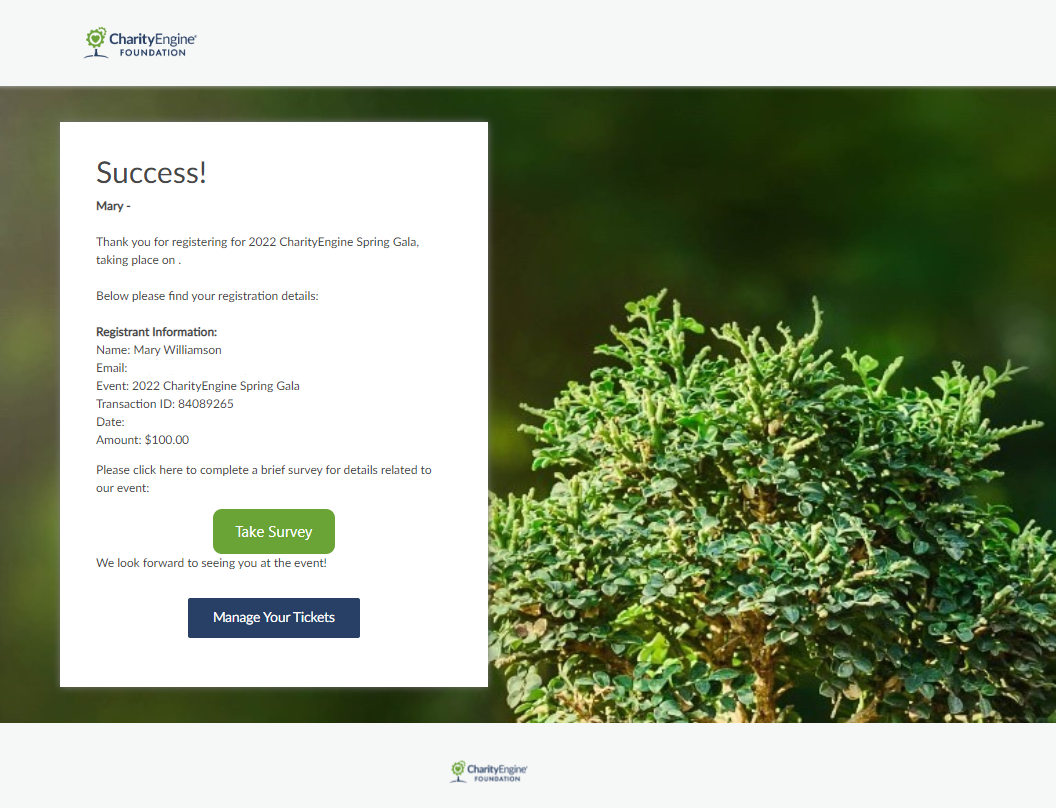
Step 6: As your donor completes their web form, the Success page will now contain a link to interact with your survey.
FAQs & Further Reading
Q. My web form is not allowing me to map my new survey questions. How can I resolve this?
A. You will not be able to map web form fields to multiple surveys as it will create reporting issues. You should create a new survey as
Field 1 - Q1 of Survey 1
Field 2 - Q2 of Survey 1
Field 3 - Q3 of Survey 1
To resolve, unmap the fields, clearing all mapping to Survey 1. Then begin to remap to the questions in the new survey.
