Introduction.
The Events Registrations page is the space to find and create new registrations for your events.
Table of Contents
Navigate to the Registrations page by clicking Events & Volunteers > Events > Registrations.

Use the Advanced Filter and the basic filters to search for a pre-existing registration.

NOTE: Change the mode from Report to Check In to quickly check in the registrants from one page.
Check-In Mode
When you turn the mode to Check-In, check marks appear next to the listings. Use the basic filters to choose whether to show registrants who have already checked in, and whether to show the guests of registrants in the results.
Why use Check-In Mode? This mode can be used while the event is happening to manually keep track of attendees in real time.
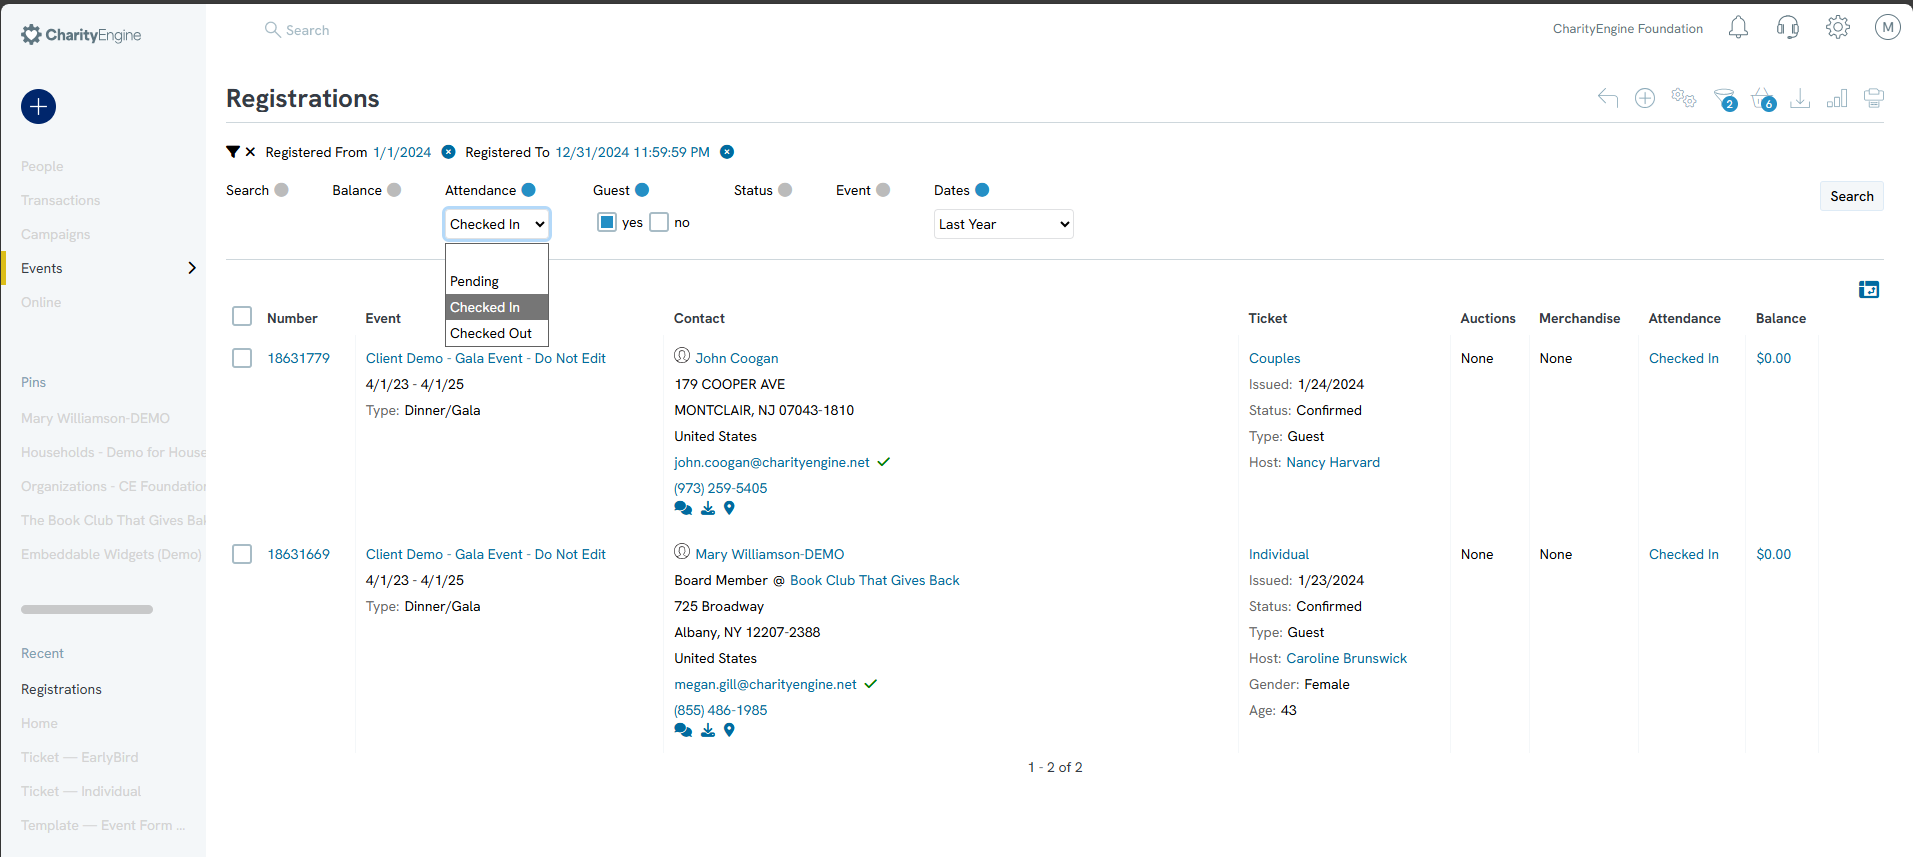
To check in a registrant, click on the ellipses and click Check In. The page will automatically reload and check in the registrant. A banner will appear to alert you that the registrant has been checked in. Checked-in registrants will have the box next to their listing marked as long as they are checked in.
NOTE: If the basic filters are changed to exclude already checked-in registrants, the registrant will disappear from the listing after check-in.

Undoing a Check-In
If you accidentally check in a registrant that you weren’t supposed to, simply click Uncheck in in the ellipses dropdown.
Create a Registration
To create a new registration, click Create New in the top right corner of the Registrations section.

Fill out the form that appears.
General Tab
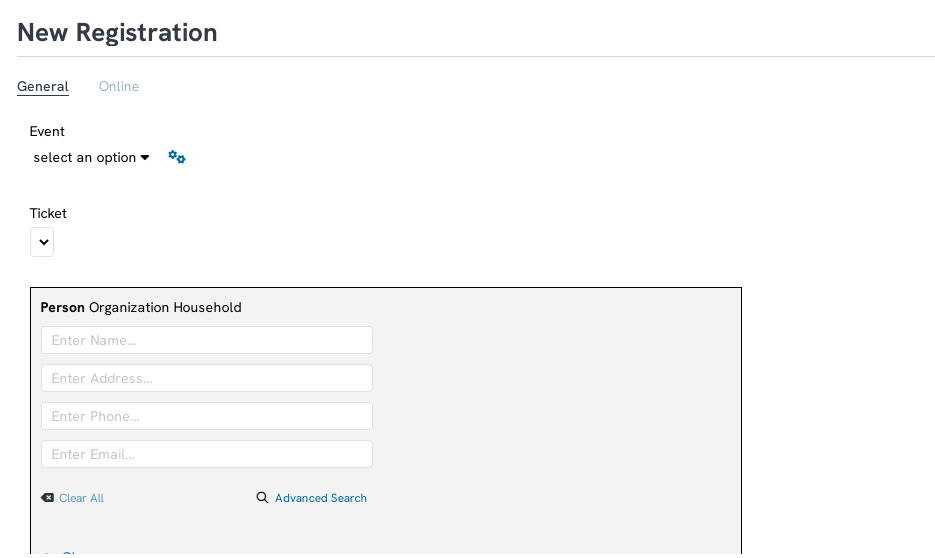
1. Use the dropdown to select the event
2. Enter in the contacts information. If the contact already exists, you will be able to select the contact, otherwise you will be able to create a new contact
Registration Info
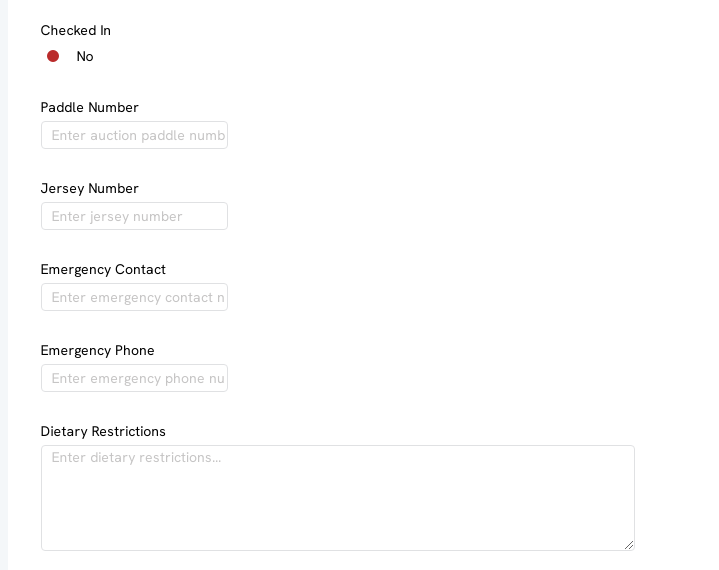
Enter key information regarding the registration on the general tab.
Manage Registration
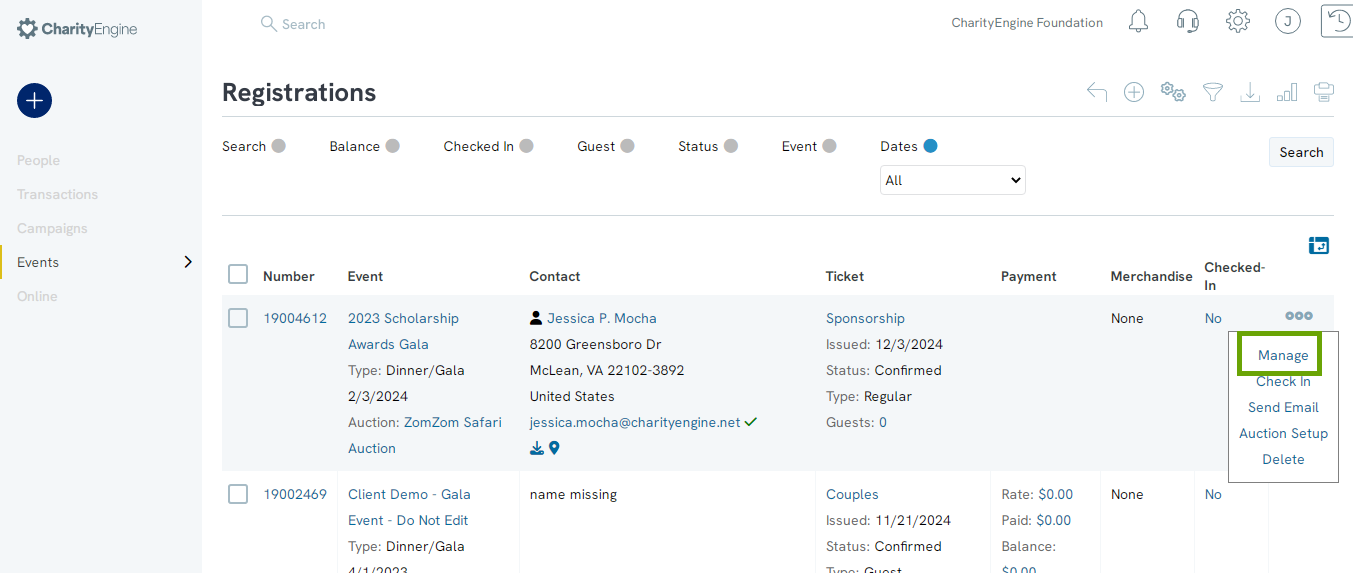
To manage an existing registration, find it using the quick filters or Advanced Filter, hover over the three dots to the right of the registration listing, and click Manage.
General Tab
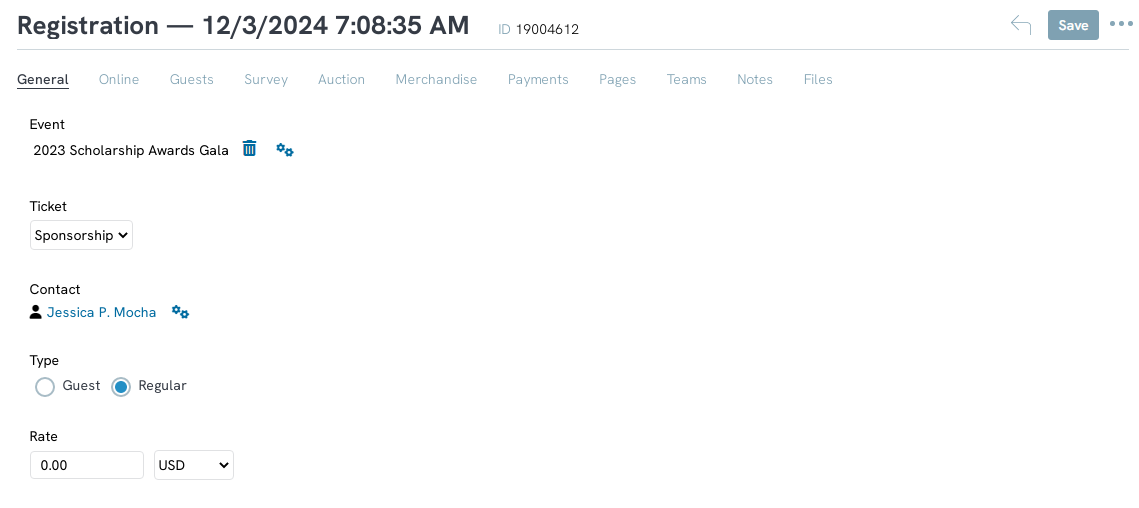
The General tab is the space to change most of the original general information from the creation of the registration. You will be able to preform functions like change the event, the ticket type, or the contact connected to the registration.
Pages Tab
Click the Add New button to create a new personal page for the registrant.

Teams Tab
Click the Add New button to create a new team for the registrant.

Guests Tab
Manually add guests to the registration by clicking Add under the Guests tab. Guests of the registrant will appear in a list under this tab.

Survey Tab
Survey questions that the registrant has answered will appear here.

Merchandise Tab
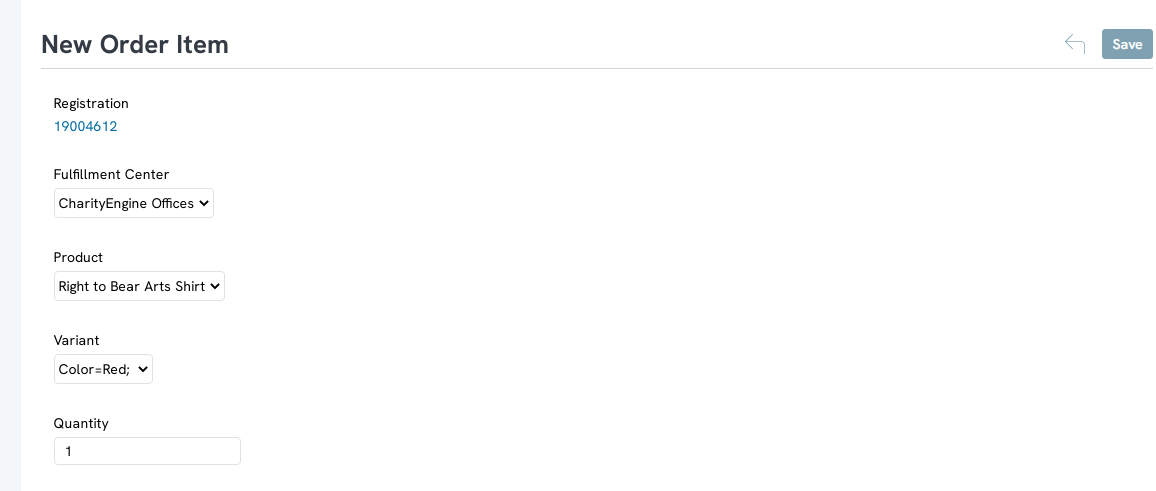
Any merchandise the registrant has purchased will be listed here. Click Add to manually add merchandise purchased to this page.

NOTE: Clicking Add will lead you to the New Order Item page. It will not purchase the item for the registrant. No transactional process will occur.
Email Registrants
To send out a mass email to the attendees, hover over gear icon in the top right-hand corner and click send messages

Select how you want to send a message, by email or letter, a mail initiative, or create a communication series. 
If you select email or letter, a popup will appear where you can select email or letter, the email subject line, sender name, and reply to email, as well as if you want to create an activity.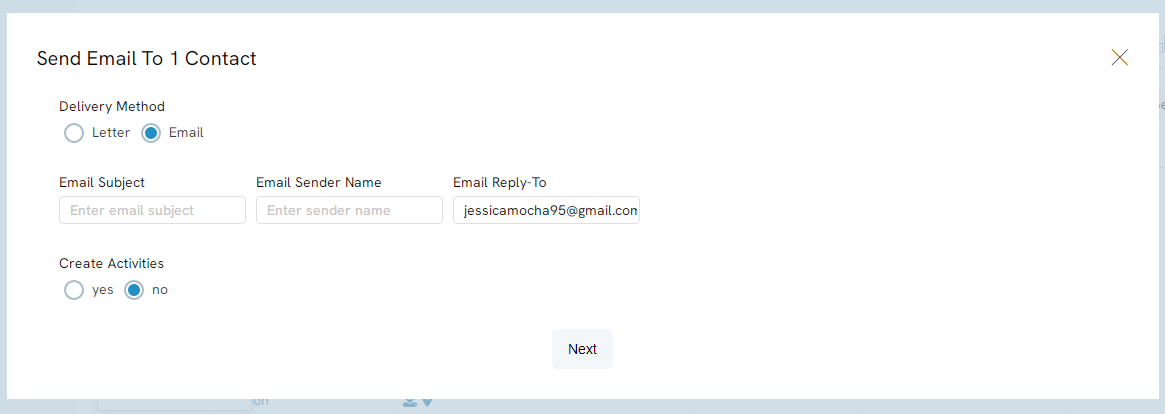
Use the Load Messages dropdown to use a message template, otherwise use the content editor to enter a custom message.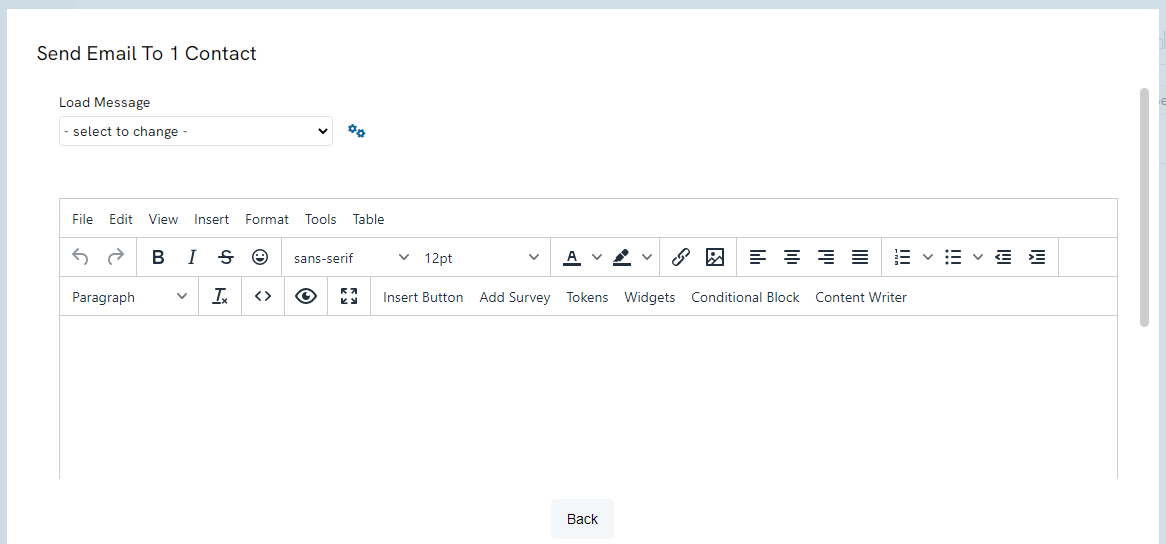
FAQs & Additional Reading
Q. Can I leverage a QR code for registration?
A. Yes - see our article Events: Adding QR codes to Emails to Check-in & Management of Tickets for details on how to send QR codes which will allow users to scan and immediately access the Registration ID.
