Introduction
Issuing a financial credit or outgoing payment may be required from time to time. The following article will cover the various ways in which you can issue a credit, refund, chargeback, etc.
Table of Contents
- Introduction
- Prerequisites
- Voids: Voiding a Transaction (Pre-Settlement)
- Refunds: Processing a Refund (Post-Settlement)
- Credits: Processing a Partial Refund
- Bulk Refund: Introduction
- Chargebacks: Marking a Transaction as a Chargeback
- Manual Reversal: How to Create a Reversal Transaction
- FAQs & Additional Reading
Prerequisites
- Important: When processing ACH reversals:
- The timeframe for processing ACH (Automated Clearing House) refunds can vary depending on several factors, including the policies of the financial institution and the nature of the refund request. However, in general, ACH refunds typically take a few business days to complete and can take up to a week depending on the efficiency and policies of the financial institutions involved. It's worth noting that certain circumstances, such as weekends or public holidays, may affect the processing time as well.
- To avoid fraudulent activities with an ACH donation, please consider business rules that ensure ACH reversals are only completed once the ACH deposit has been received by the non-profit's financial institution Early reversals may result in a direct loss to the non-profit organization.
- CharityEngine has configuration settings in place to allow the organization to restrict ACH reversals by an end user within the specified time frame.
- Access the Configuration App > General > Account Settings > ACH > Refund Hold Days > set day threshold > SAVE to secure changes.
Voids: Voiding a Transaction (Pre-Settlement)
When a transaction has been made prior to daily settlement, the user can void the transaction. This will prevent the transaction from being captured and process.
Step 1: Navigate to the Donations App > Transactions > Search & Manage > locate the transaction > ACTIONS
Step 2: From the available options, select Void to proceed with voiding the transaction
Note: This option will only be presented if the transactions has not been settled
Refunds: Processing a Refund (Post-Settlement)
A refund is when a transaction has been processed and settled. Financial revenue has been processed to the organization's financial institution and requires that funds are returned to the donor.
Step 1: Navigate to the Donations App > Transactions > Search & Manage > locate the transaction > .ACTIONS
Step 2: From the available options, select Refund to proceed with a refund of the transactions.
*Note: Only transactions that have already been settled will have a Refund option.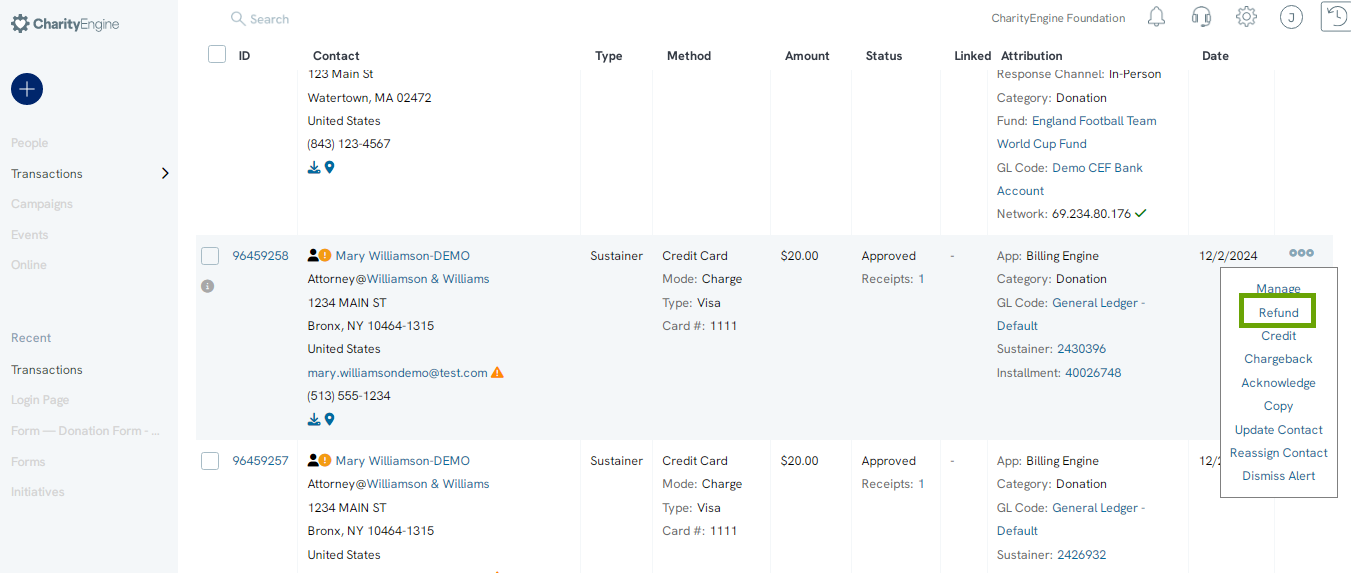
Step 3: A pop-up box will appear to confirm that you would like to refund the transaction. Click the PROCESS button to confirm the refund.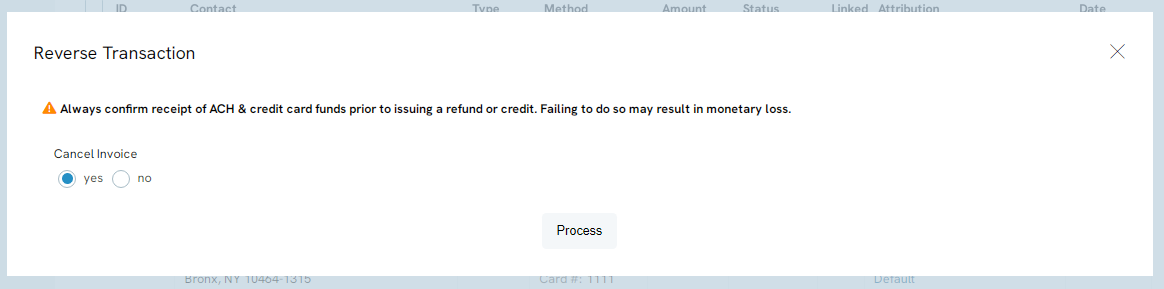
Step 4: Once a refund occurs, the original transaction does not disappear. Instead, a new transaction is recorded as the refund, and the old transaction is linked to the refund. Click "Reversed" to access the refund. The refund will have an equivalent link to the old transaction.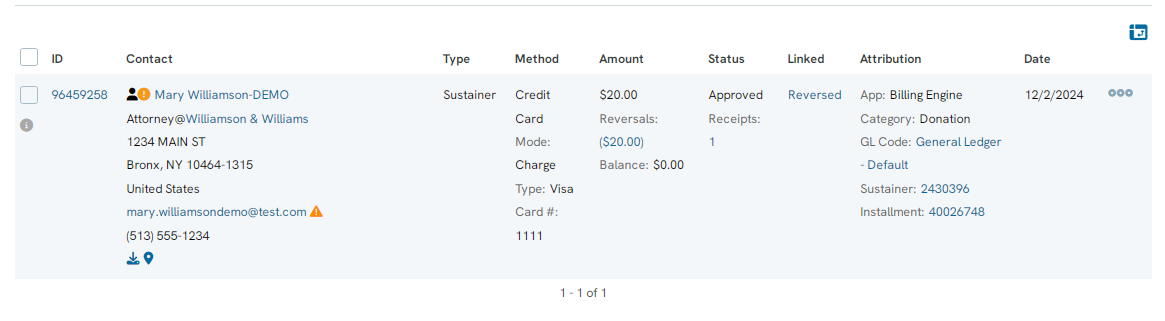
Credits: Processing a Partial Refund
On occasion, a donor may need a partial refund. Whether they bought one too many tickets or an extra piece of merchandise they didn’t want, it is easy to issue a partial credit to them without needing to refund the whole transaction.
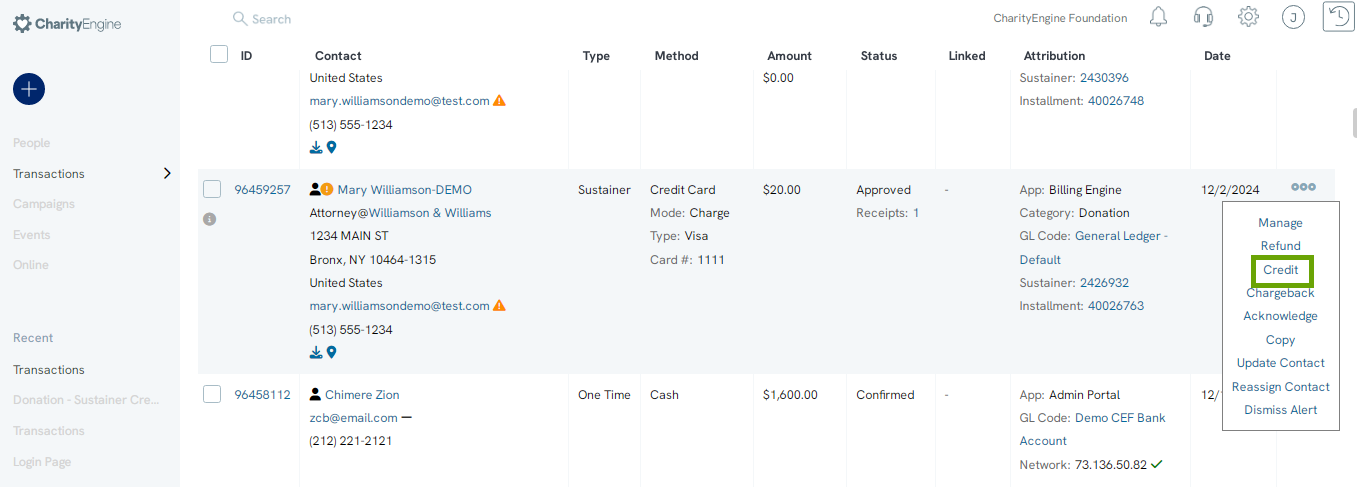
Step 1: Navigate to the Donations App > Transactions > Search & Manage > locate the transaction > .ACTIONS
Step 2: From the available options, select Credit to proceed with a partial refund of the transactions.
Step 3: A popup box will appear with options about the credit.
a. Credit Amount: Enter the amount you want to credit to the donor
b. Amount (Tax Deductible): Enter the amount of the refund that is tax deductible
c. Adjust Invoice Amount: If the transaction was a sustainer or recurring payment, you will be able to reduce the total of the invoice. If this is not done, the billing engine will attempt to collect on the credited amount.
d. Cancel Invoice: If the transaction is a recurring payment, it is important to cancel the invoice if you do not plan on collecting on it.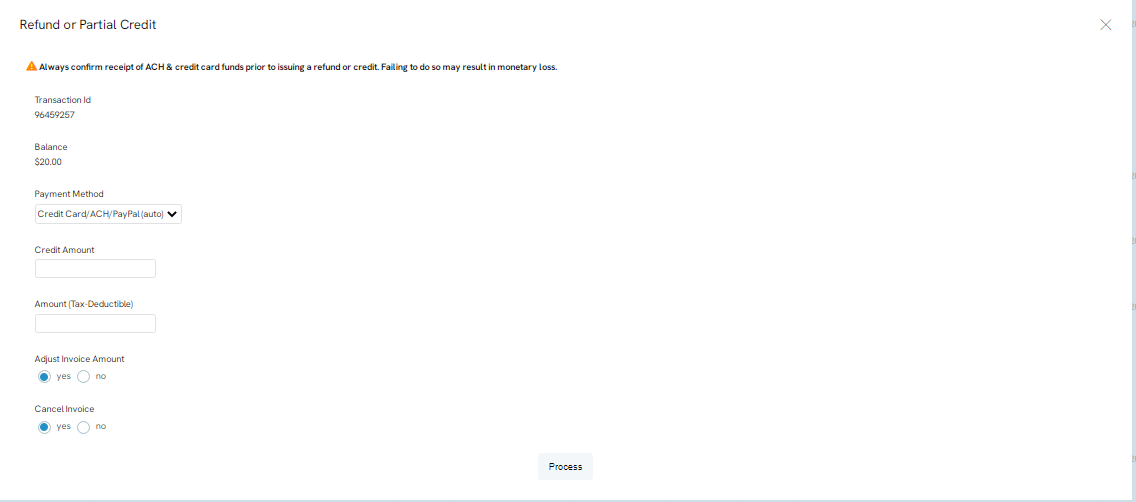
Step 4: Click PROCESS to finish.
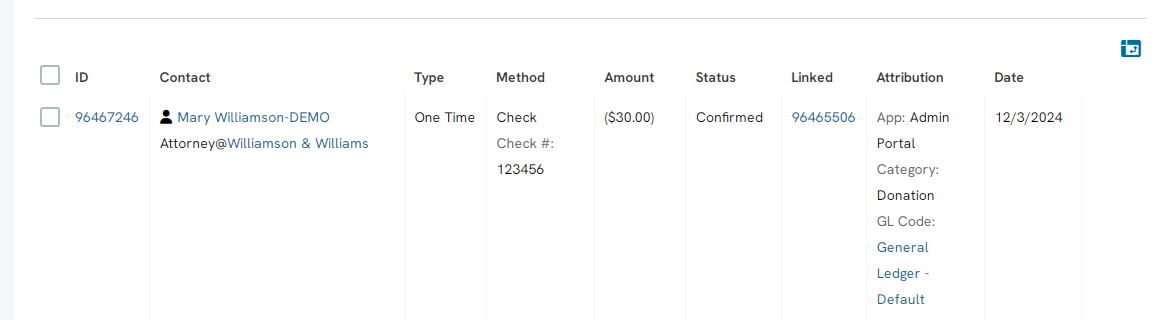
Step 5: At the top of the list of transactions, the new transaction will appear with the processed credit considered. This new transaction will be linked with the ID number of the previous transaction that was credited back, so that it can always be connected to the older version.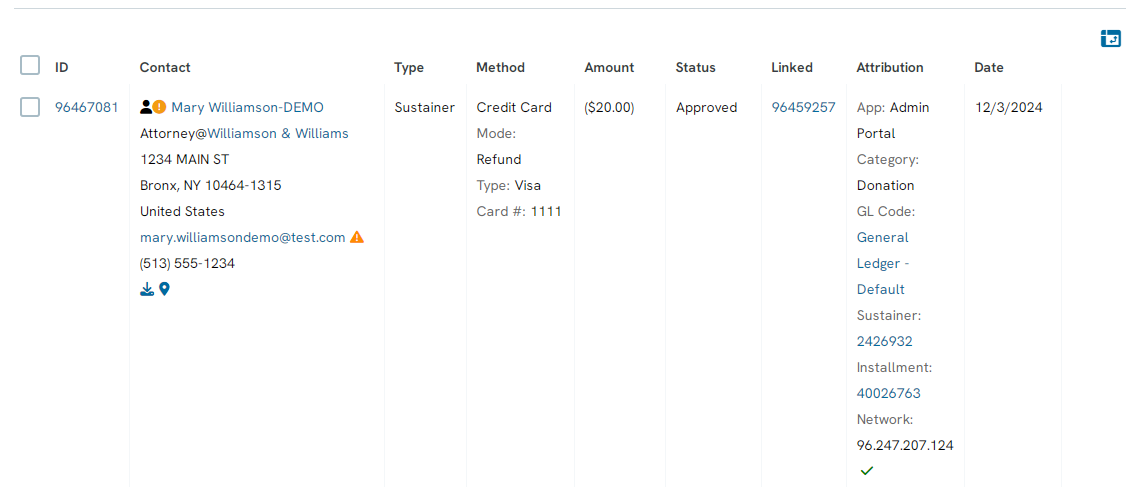
If the transaction is associated with a event registration and you need to cancel one or more of the registrations, you will need to delete the registration to remove any confusion on attending guests. Navigate to Events & Volunteers > Events > Registrations and locate the registration you wish to delete. Under Actions, click Delete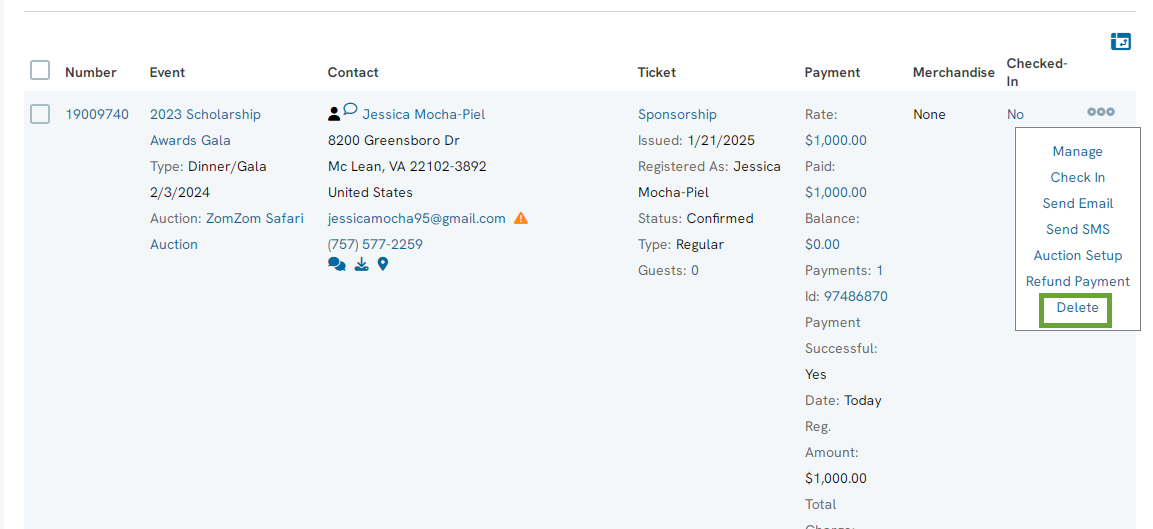
A popup will appear confirming what action to take for the transaction. Select None as you will have already issued the refund on the transaction.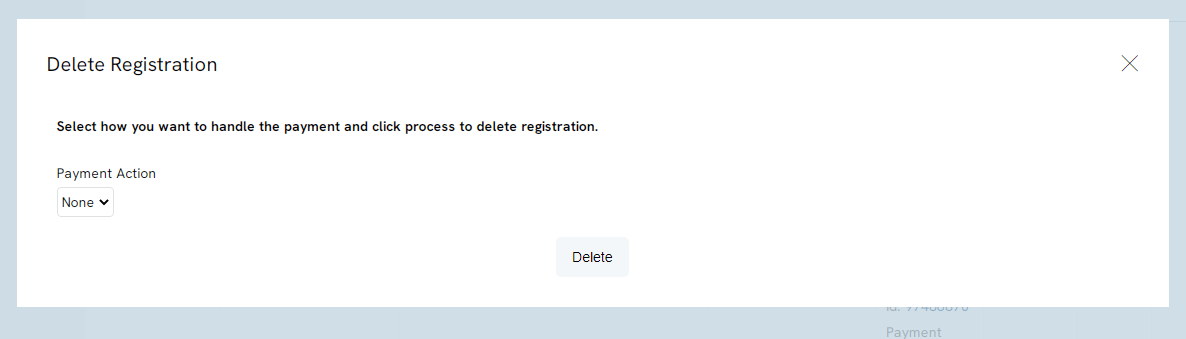
Bulk Refund: Introduction
In some instances, you may be required to process multiple refunds.
Step 1: Navigate to the Donations App > Transactions > Search & Manage > locate the transactions for refund
Step 2: From the listing screen, use the Checkbox to select each transaction require a refund
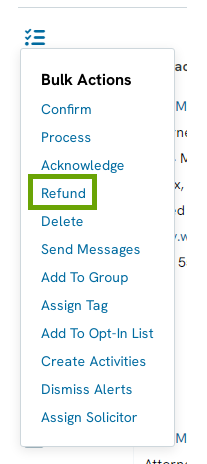
Step 3: Once one or more transaction is select, use the drop down next to ID and select REFUND to process a bulk refund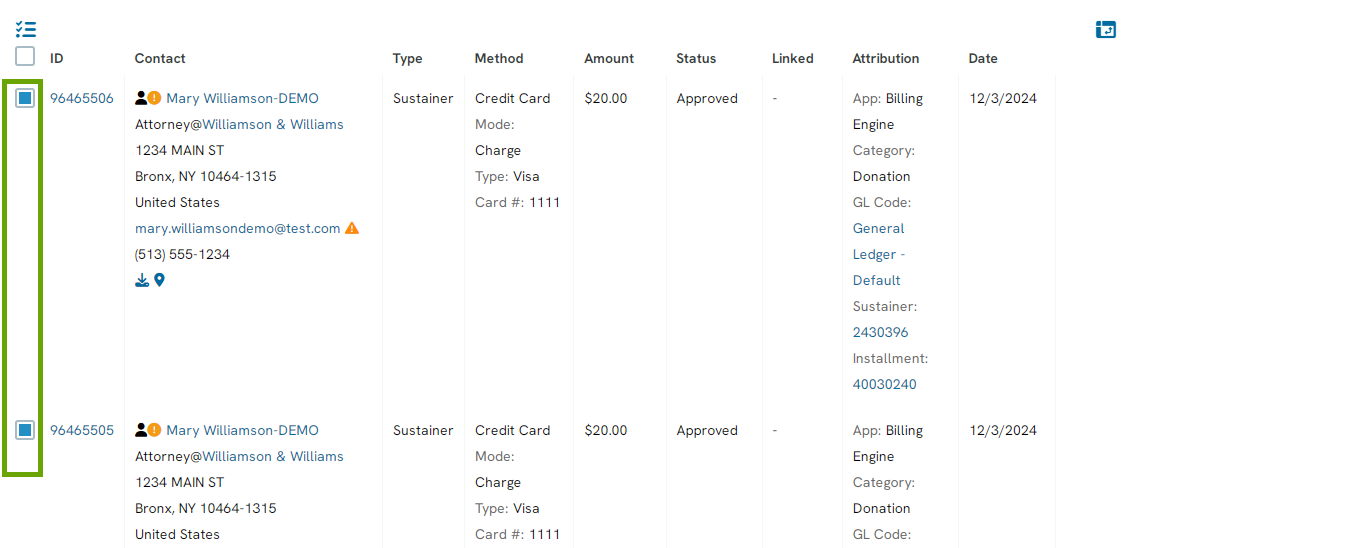
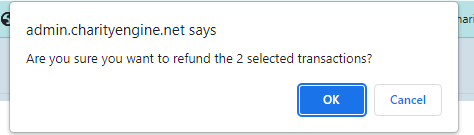
Step 4: Before the refund is processed, there will be two confirmation steps to ensure you are selecting the correct transactions.
r
Step 5: Once you have confirmed on both confirmation steps, a green bar will appear at the top of the screen displaying the success or failure of the refund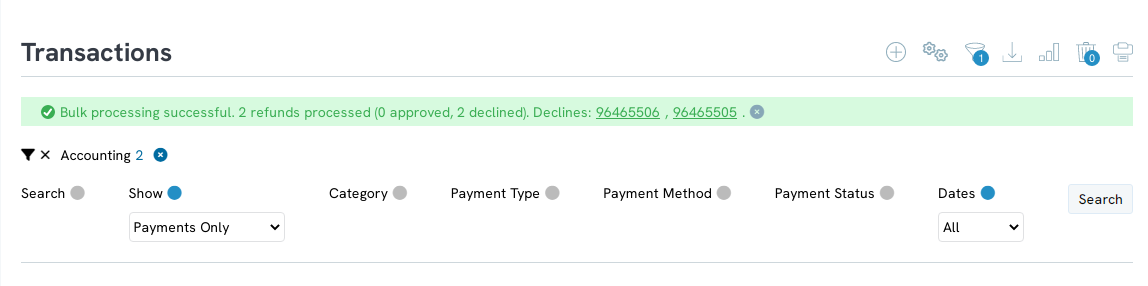
Chargebacks: Marking a Transaction as a Chargeback
Chargebacks occur when a fraudulent charge has been processed through the system. Your organization won’t be refunding money back into the card, but the transaction still needs to be marked. Chargebacks are not counted as revenue and will not show up as revenue.
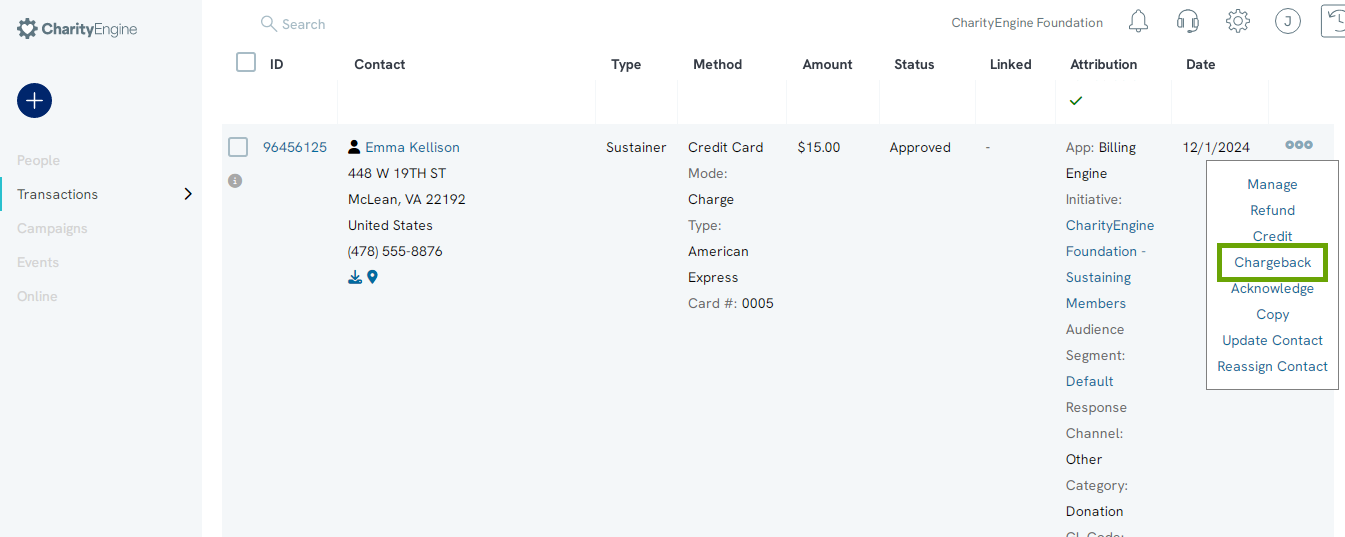
Step 1: Navigate to the Donations App > Transactions > Search & Manage > locate the transactions for refund > ACTIONS
Step 2: From the options, select Chargeback
Step 3: A warning popup box may appear after you click Chargeback. Make sure to click OK on the popup in order to proceed with the chargeback.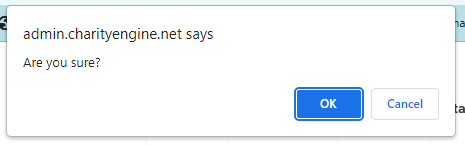
Step 4: The transaction will now be marked as a chargeback. 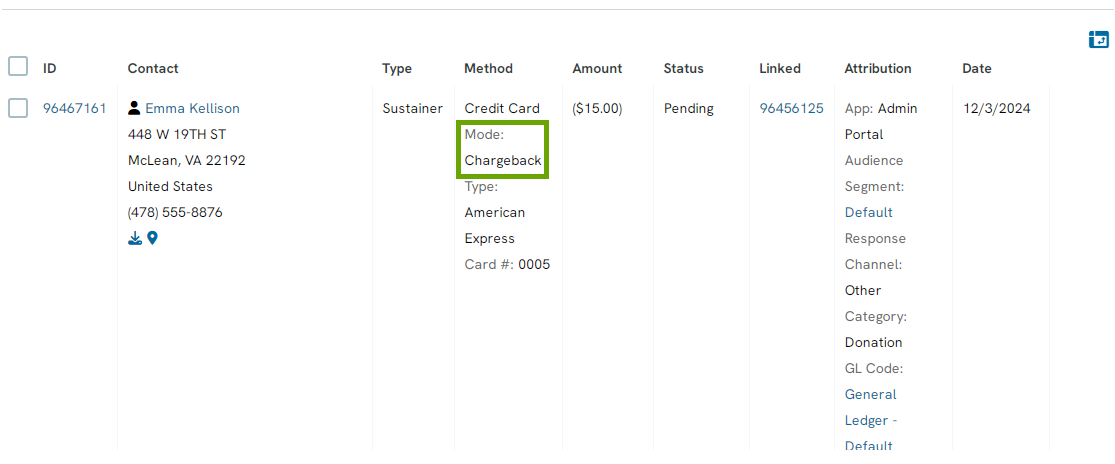
Note: Chargeback fees may apply.
Manual Reversal: How to Create a Reversal Transaction
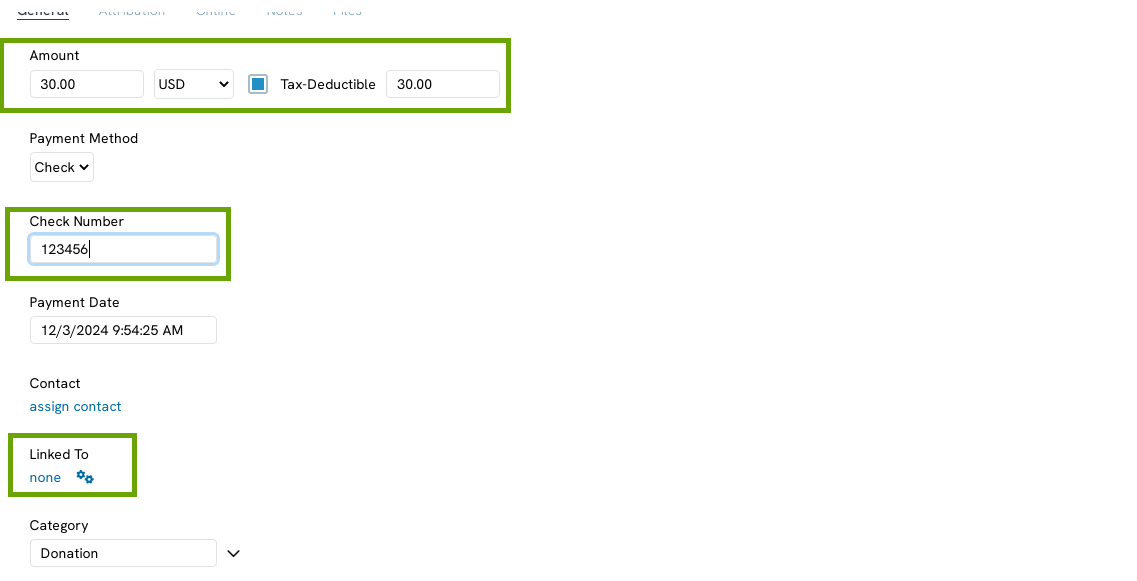
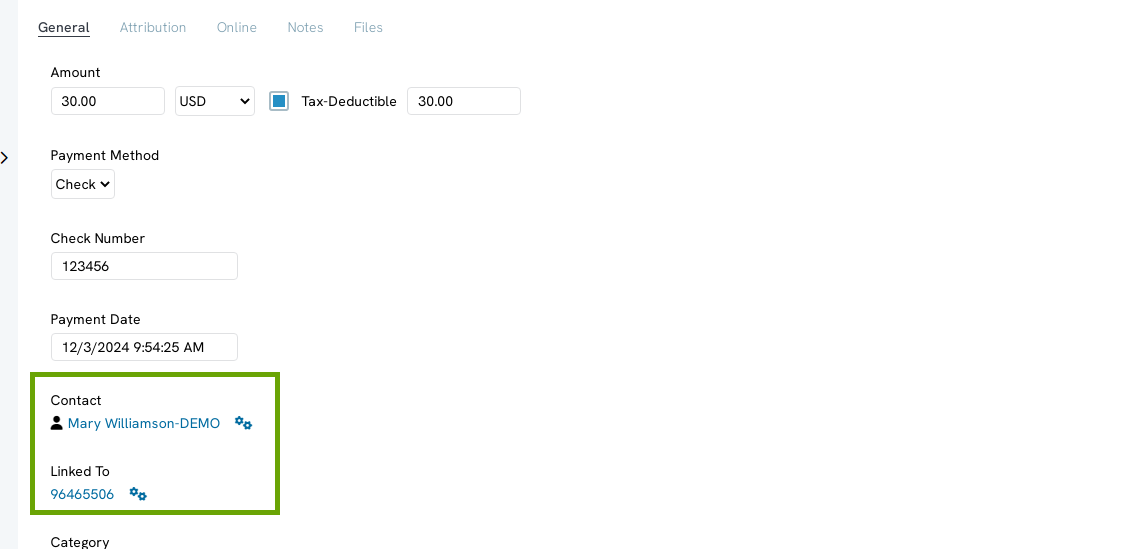
If your organization receives checks or other financial instruments that are not connected to your payment gateway, you may find instances in which you have to issue reversals or refunds. Due the nature of checks and the inability to automatically refund, there are a few extra steps you will need to take to issue a refund for a check. These steps will ensure the proper transactional documentation to capture the reversal (credit) and for your accounting team to accurately capture reversals.
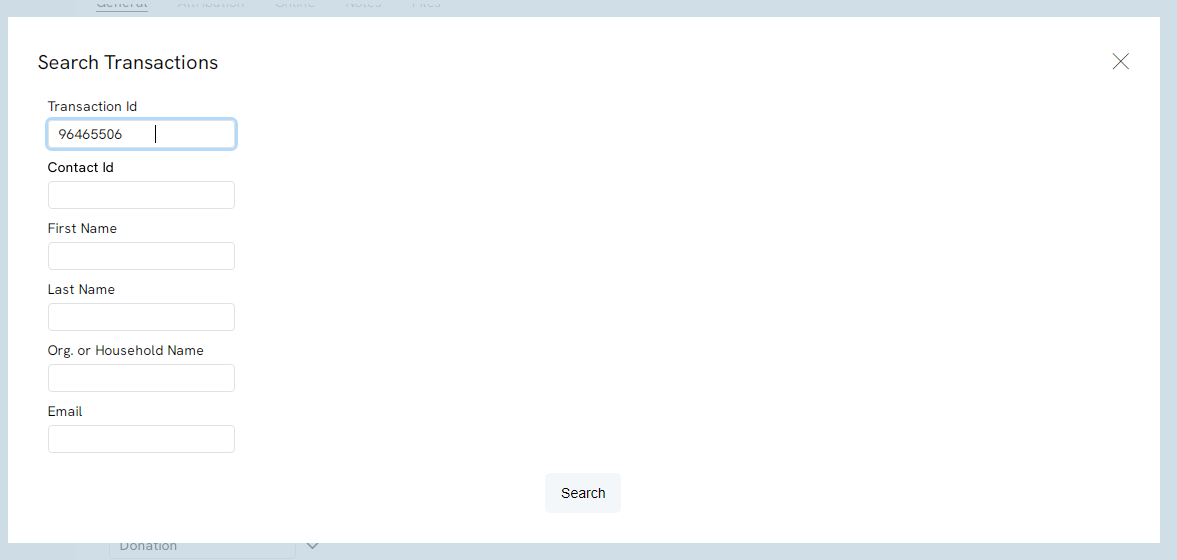
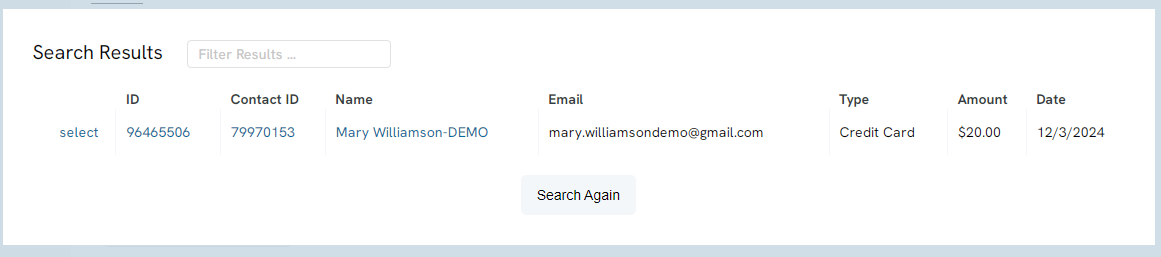
To create a manual reversal for a transaction such as a check, you will need to identify the transaction and obtain the transaction id as this will be an important step in the outgoing payment process.
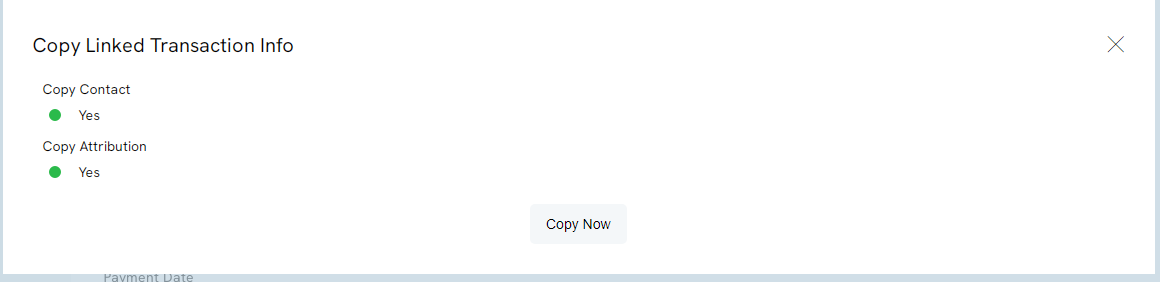
Step 2: Next, click on Create New (top of screen) and select Outgoing Payment. This will initiate the workflow to create a reversal to be associated with the original transaction record.