Introduction
One key element in creating events is setting you your tickets. Without tickets, your donors will not be able to register for you event, even if the event is free. Prior to allowing your donors to register, please make sure you set up your tickets.
Table of Contents
Prerequisites
before you set up your tickets, make sure you have the event created
Instructions
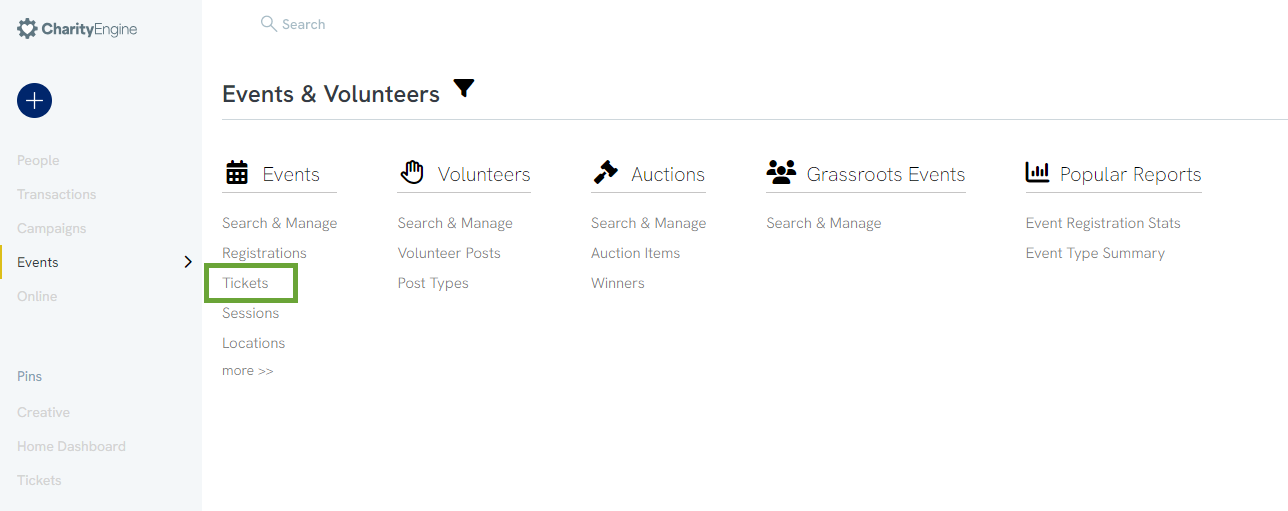
To manage tickets, navigate to Events & Volunteers > Events > Tickets.
Use the Advanced Filter and the quick filters to search for a previously created ticket.

Create New Ticket
To create a new ticket from the Tickets page, click Create New in the top right-hand corner.

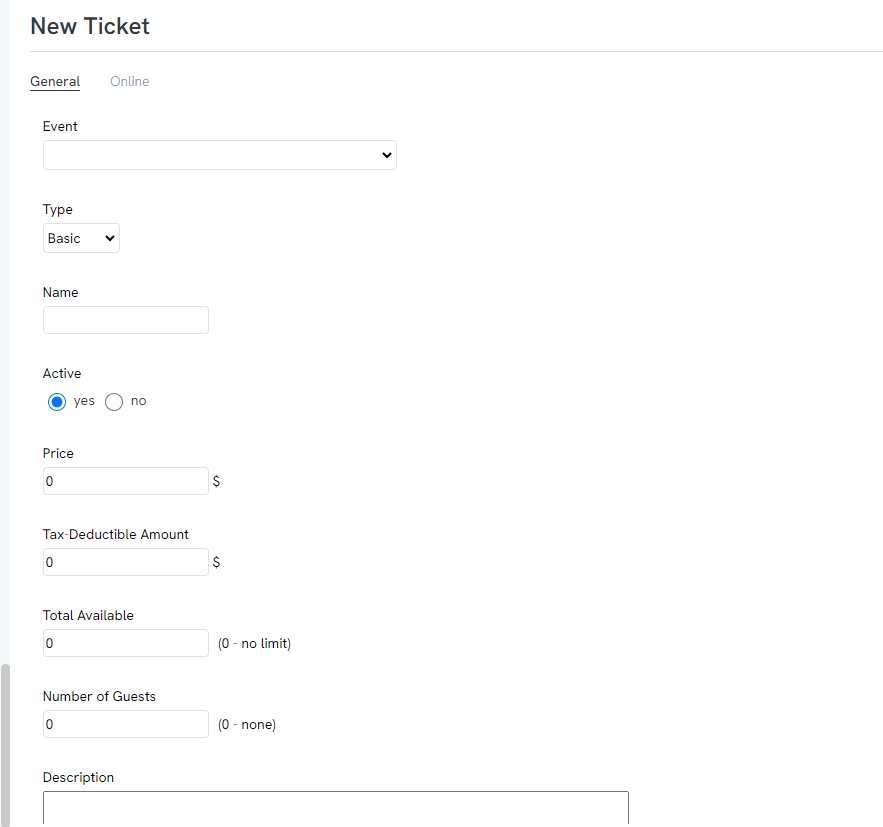
Under the General tab, fill in the basic information about the ticket
1. Select the event that the ticket is tied to *Required*
2. Select the type of ticket from the dropdown
3. Name the ticket *Required*
4. Use the radio buttons to select if the ticket is active. If ticket is not active, donors will not be able to register for that ticket type
5. Enter in the price of the ticket. If ticket is free enter 0.00
6. Enter the tax-deductible amount for the ticket. Here you will want to think about if the donor is receiving services by purchasing the ticket and cost of that service.
7. Enter the total number of tickets available for this ticket type
8. If ticket comes with guest tickets, enter the number of guests. It is important to note that this is not including the registrant, so if a ticket comes with 2 guests, that is 3 tickets total (one for registrant and two guests)
Online Tab
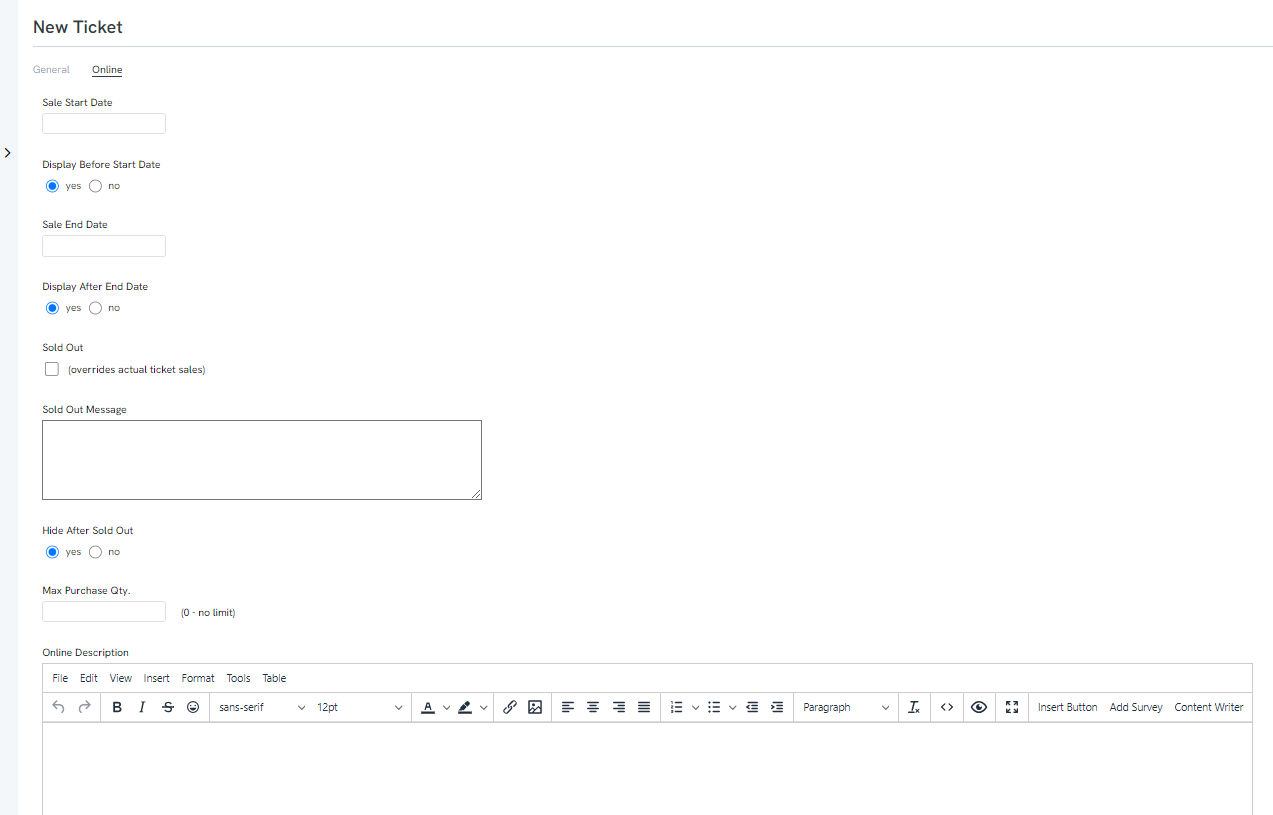
Find the online settings under this tab. Set a ticket sale start and end date, configure a sold-out message, and limit purchase quantities. The settings under the Online tab control the appearance and availability of the ticket on webforms and in peer-to-peer fundraising microsites.
Manage Existing Ticket
Use the quick filters and the Advanced Filter to find a ticket you want to manage. Hover over the ellipsis to the right of the listing and click Manage to manage the ticket. you will be able to edit any of the information that was entered upon creation like the name of the ticket or the cost of the ticket on the General Tab.

Sessions Tab
The Sessions tab will show after you have saved the ticket is the space to add sessions. You will only be able to add sessions if the event the ticket is tied to has sessions already created.

Tickets on Event Forms
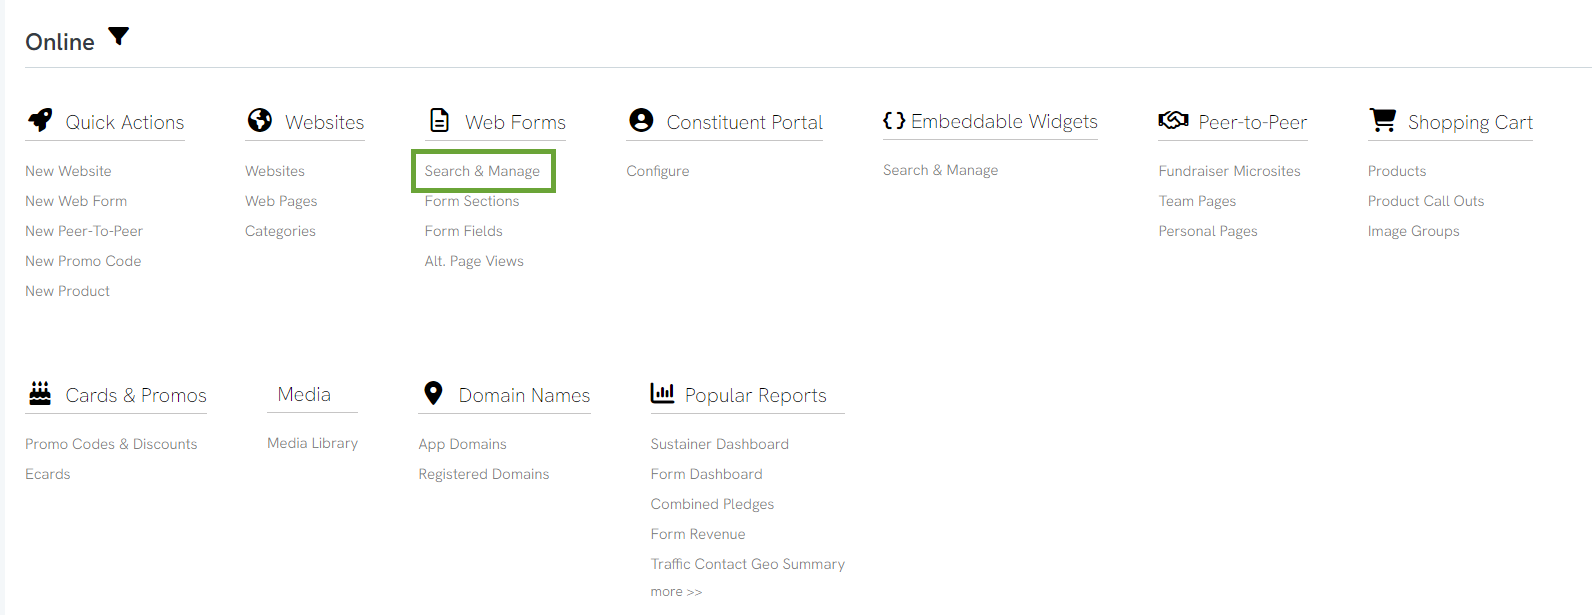
To manage tickets on an event form, click into a new event form by navigating to Online > Web Forms > Search & Manage > Create New > Event Form.

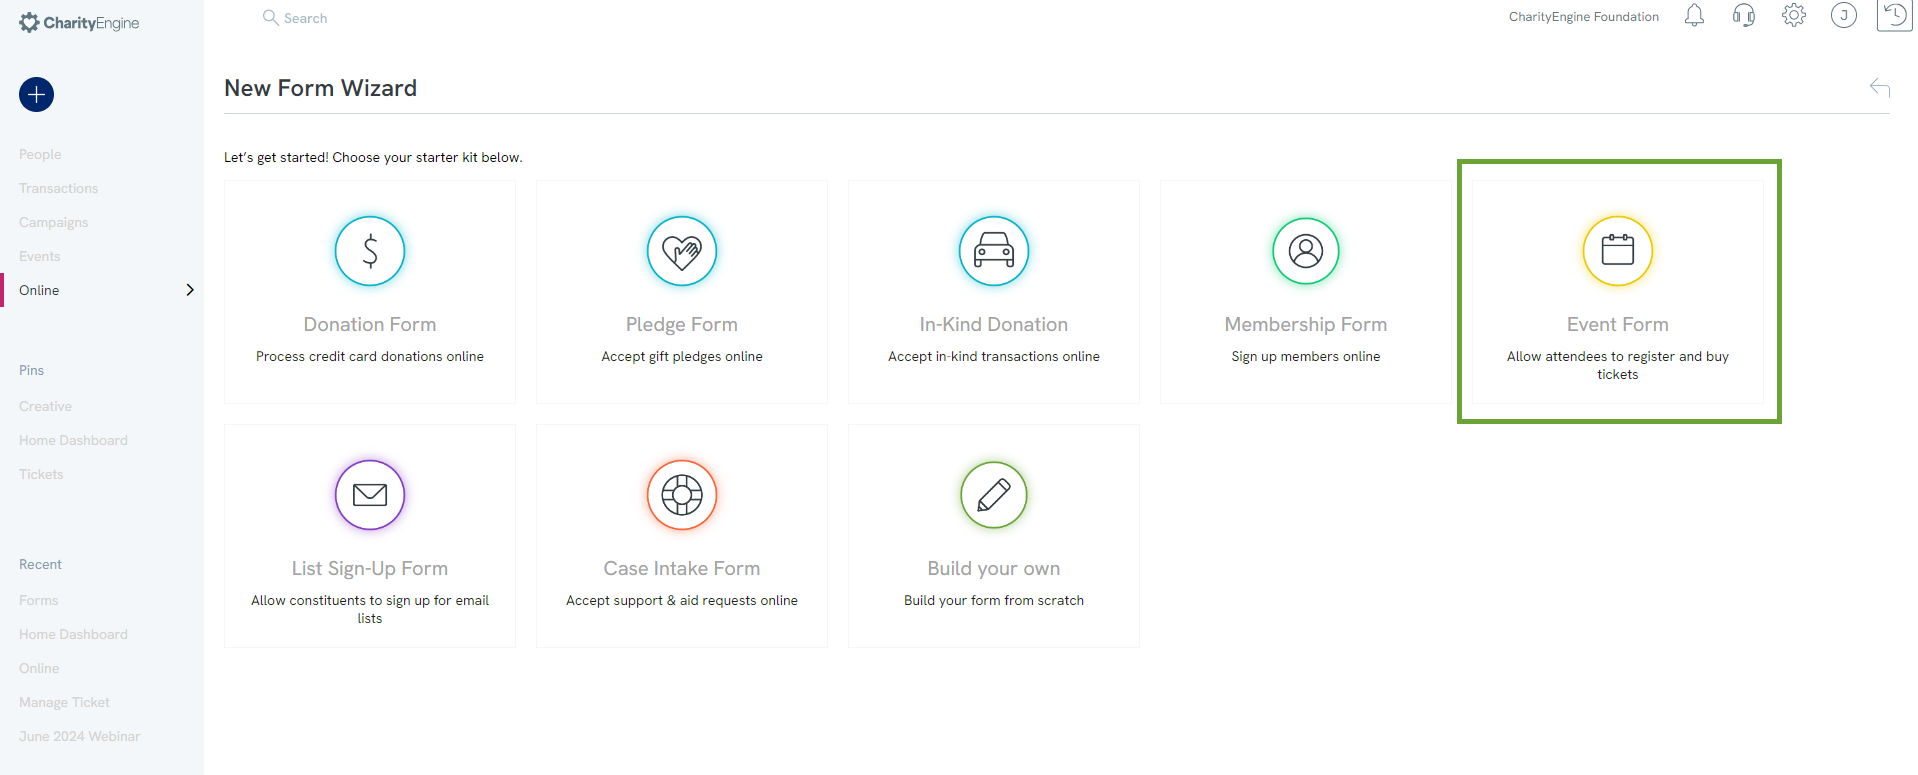
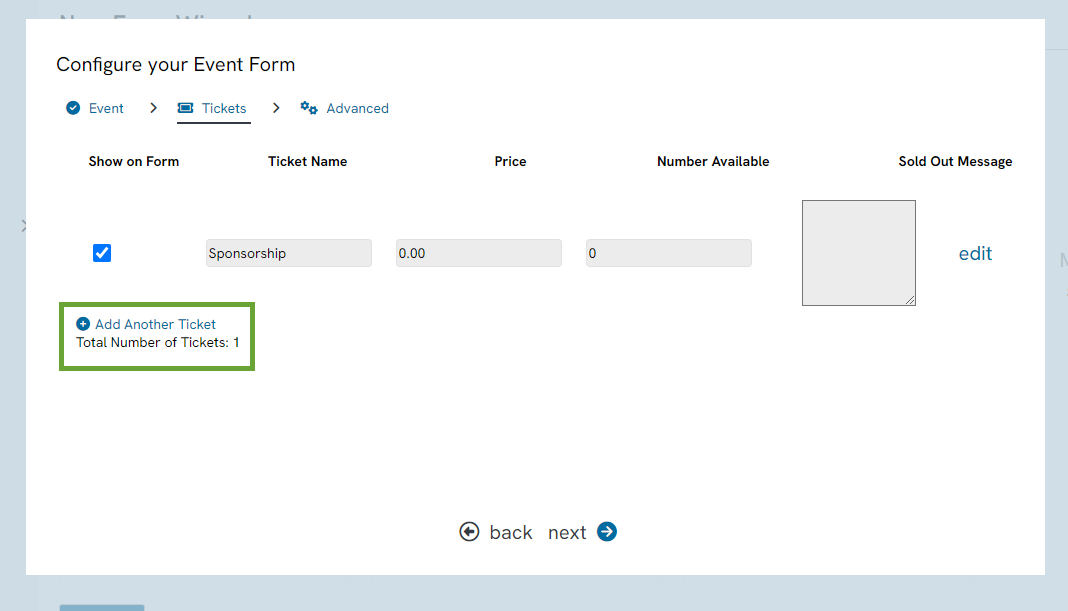
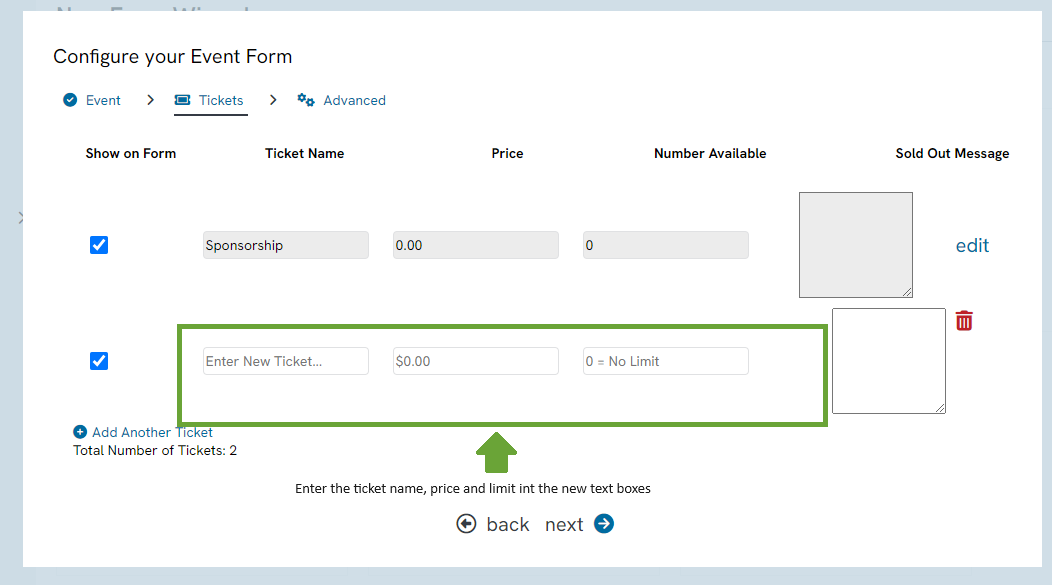
Follow the steps to create an event form (For more information on event forms, please see our Event Forms Wizard documentation). The previously created tickets for the selected event will appear, but you cannot edit them here (To edit them, return to the Tickets page). You can add new tickets using the link below the previously created tickets.
