How to configure the peer-to-peer landing pages
This step will ensure your peer-to-peer event has a landing page with event and organization details. You will be able to decide what information is shown on the Home Page, Donation Page, and Other (if applicable). Use the toggles to turn items on or off of the page.
Pages - Home tab (Basic)
Step 1: Navigate to the Pages tab to configure the peer-to-peer home page
Step 2: On the Home sub-tab, select toggles to expose:
- Goal - display your fundraising goal on the home page
- Total Raised - keep your donors informed with presentment of total dollars raised
- Page Rank - present a listing of top fundraising team
- Fundraiser Lists - present a list of those who have contributed individually; including a scrolling list (to expose all donors) or use default to expose only your top contributors
- Home Page Content - customize your landing page; leverage the various options to include images, links, tokens, widgets, text formatting, or HTML customization
Step 3: Click SAVE to secure your updates.
You now have the basic configuration to initiate your peer-to-peer fundraising. For more customization and attribution elements, continue below for more information/details. 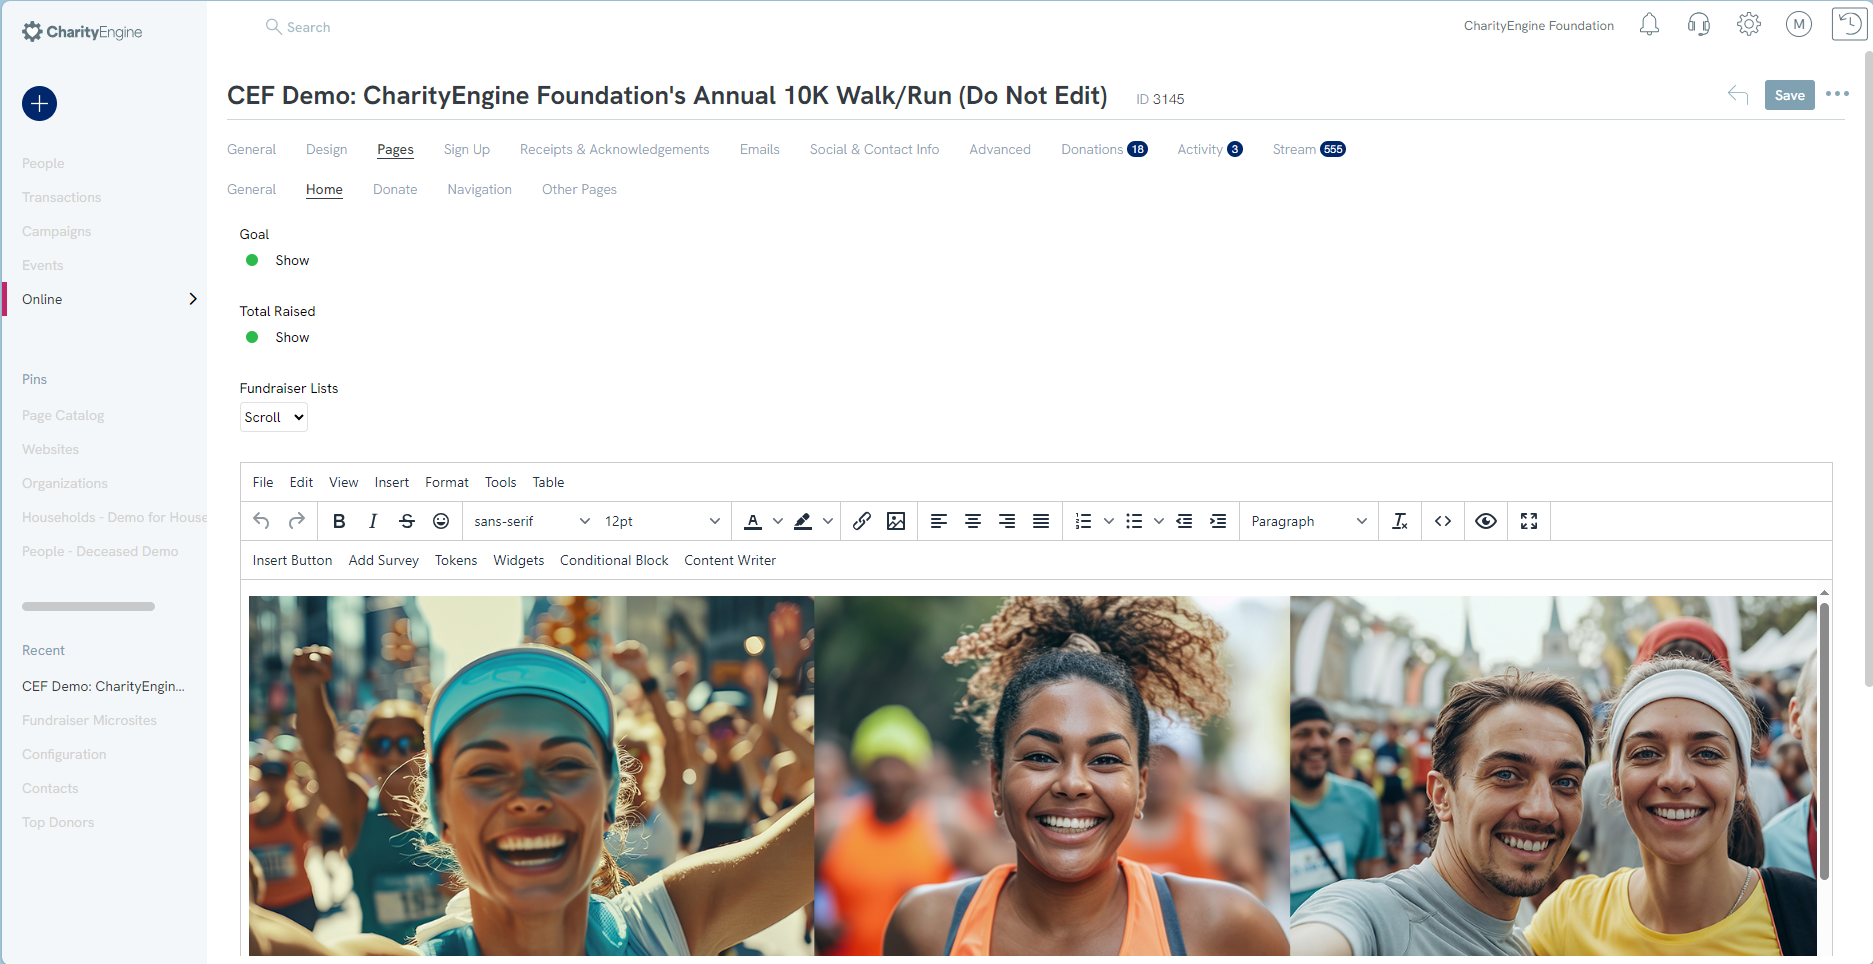
Pages - Donate (Basic)
Step 1: Continuing on the Pages tab, navigate to the Donate sub-tab for additional customization including:
- Tribute - allow donor to donate in honor of, in memory of, on behalf of
- PayPal - allow the ability to donate using PayPal as a form of payment; note, PayPal payment gateway set up required, please see your account manager for more information
- One-Click Check Out - allow your donor's prior information to pre-populate (name, address, payment info)
- Enable Cover Processing Costs - allow donors to select this fundraising tool; for more on set up and functionality see our article here.
- Default Donation - set a donation default value
- Minimum Donation - set minimum donation values
- Team-Only Donation - allow a team's only donation option, or disable to allow individuals not associated with a team to donate
- Default Initiative - select a campaign/initiative for back-end reporting (if applicable)
- Default GL Code - select a general ledger code for accounting purposes (if applicable)
- Default Fund - select a fund for accounting purposes (if applicable)
- Ask Amounts - Enter the default gift strings that will appear for donors. Enter in the order you want them to appear on the page and if you want an "other" amount, enter 0

Pages - Other (Advanced)
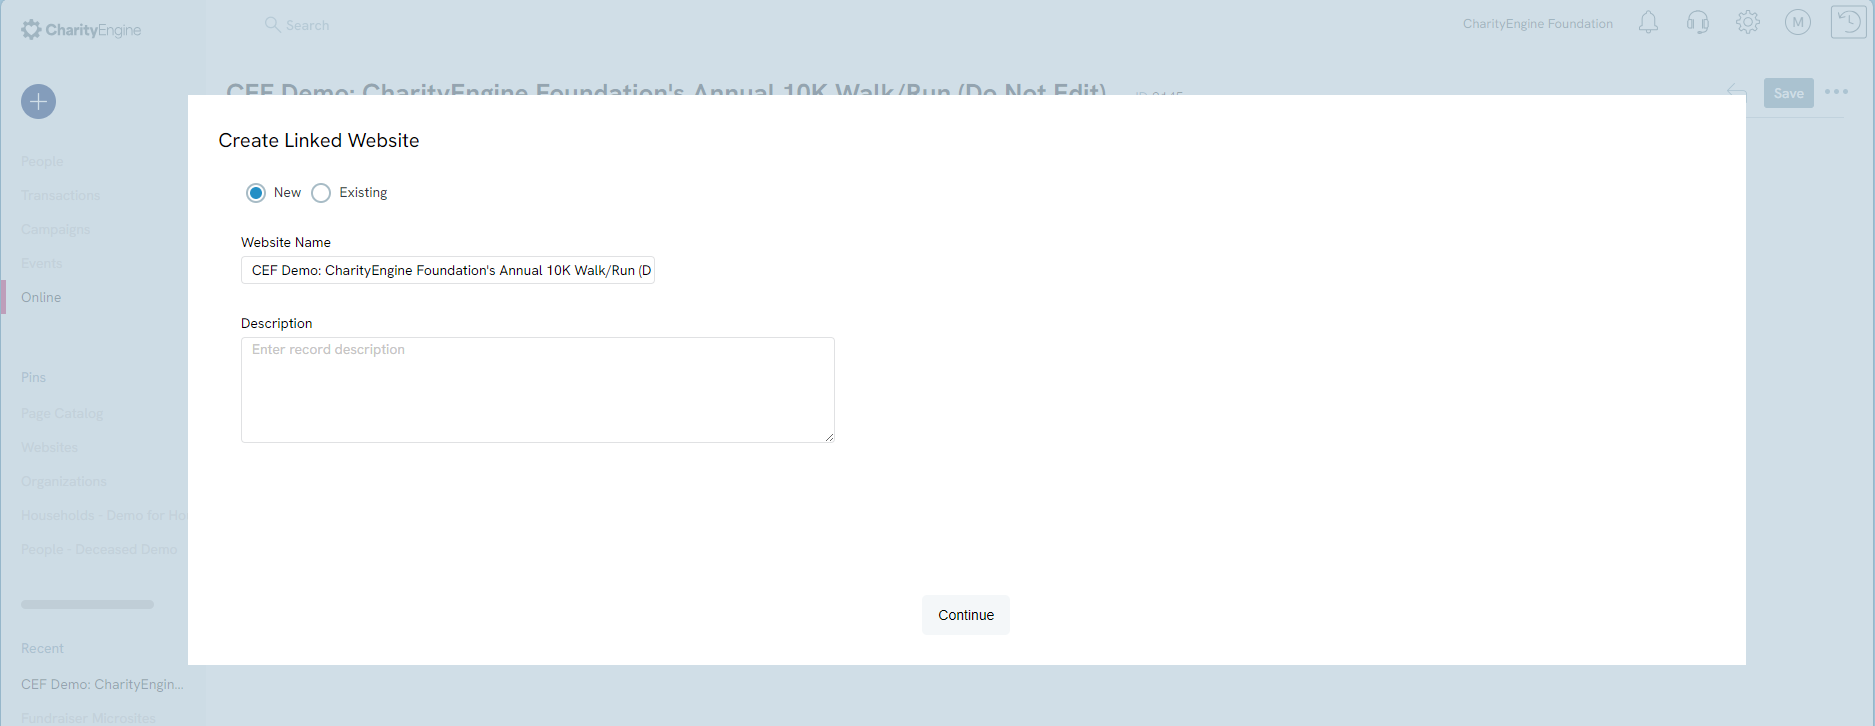
Step 1: Navigate on the Pages tab to the sub-tab Other Pages to create additional pages for your home page. Click on Add New on the right-hand side of the configuration. A new box will appear allowing you to create your new page.
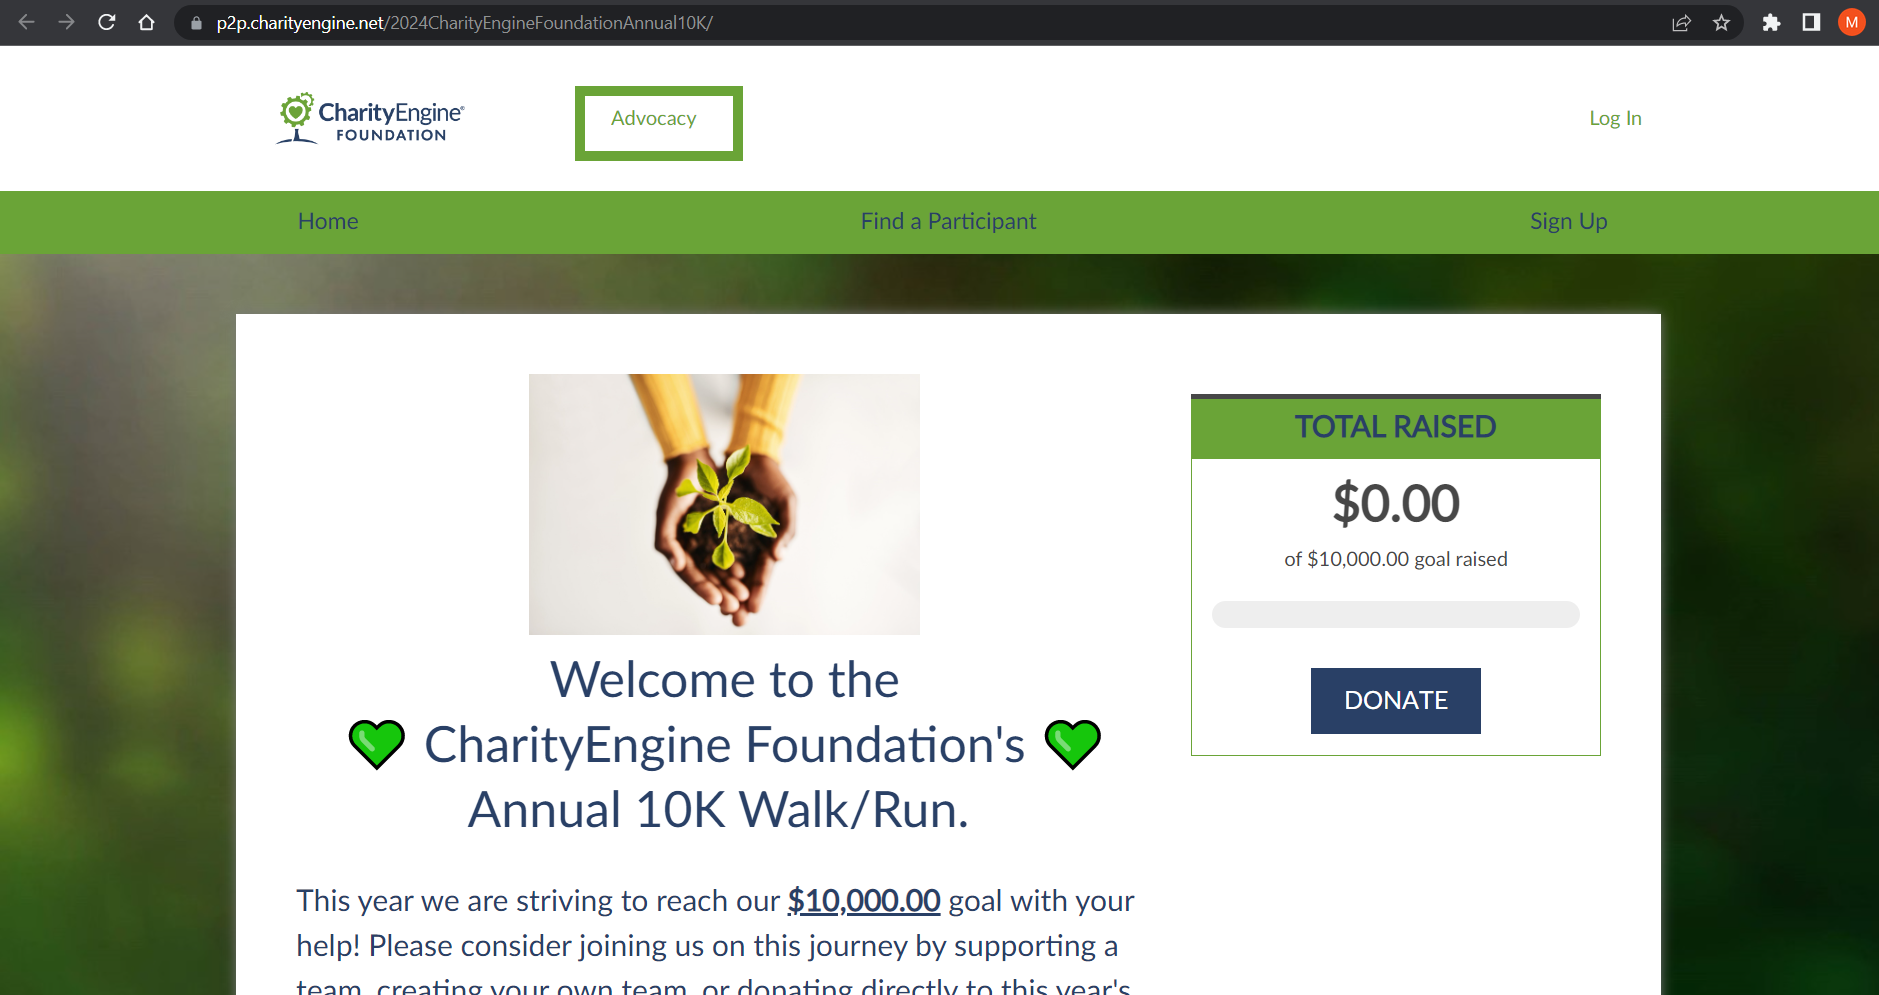
In this example, we have created a new page for donors to learn more about the organization's advocacy efforts which will now appear in the header of the peer-to-peer site:
Pages - Navigation (Advanced)
Step 1: Continuing to leverage the Pages tab, navigate to Navigation sub-tab where you can customize the navigation elements for your peer-to-peer page. Elect to show or hide element and/or customize the language (note - character limits apply)
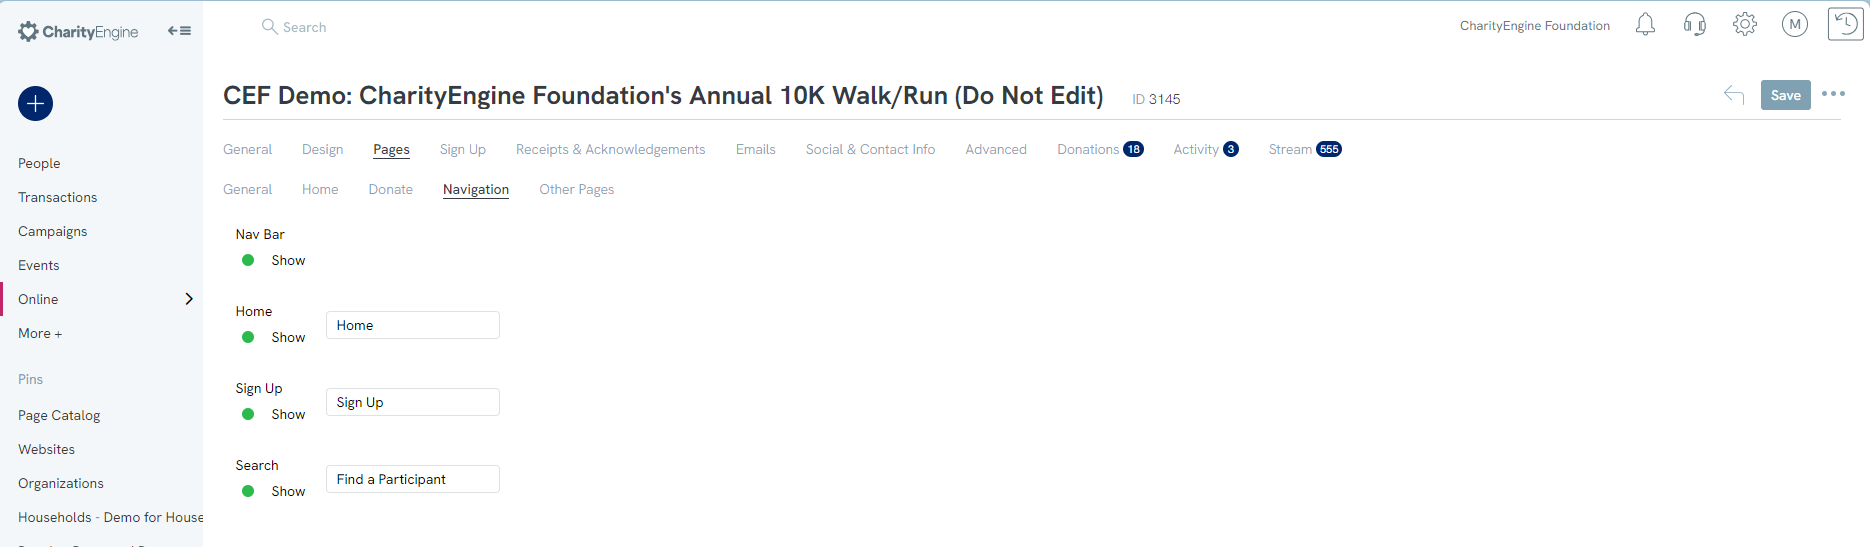
In this example we have elected to expose but update the default language of the navigation options.

Step 4: How to customize registrant Sign Up details (Basic)
Previous - Peer-to-Peer: How to design your Peer-to-Peer microsite (Basic)
Home - Peer to Peer: Comprehensive Guide for Set Up, Configuration, and Reporting
