Instructions: How to customize registrant Sign Up details (Basic)
CharityEngine also allows for customization on what details are collected for your registrants.
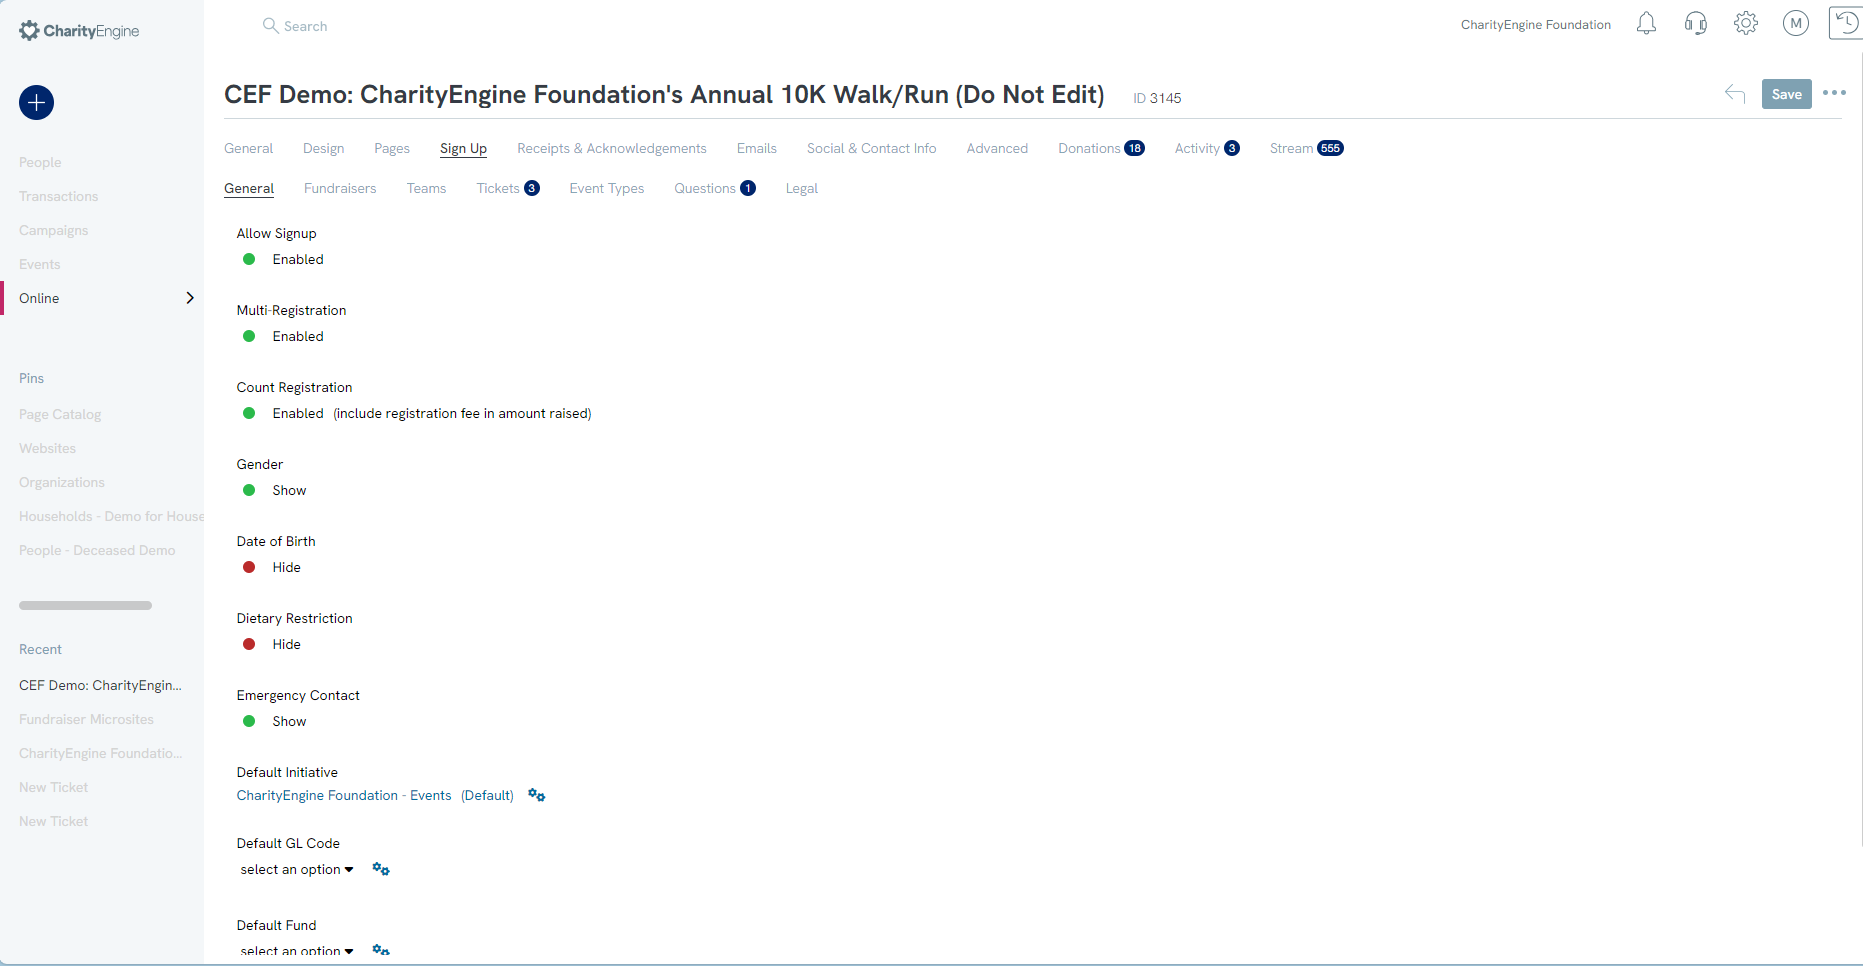
Sign Up - General
Step 1: Navigate to the Sign-Up tab and the General sub-tab
- Allow Signup - allow individuals to self-register
- Multi-Registration - allow an individual to register to more than 1 team
- Count Registration - if your event has a registration fee, determine if you would like to include the registration fee in your total dollars raised
- Gender - allow users to select gender (not required for registration if enabled)
- Date of Birth - allow users to enter DOB (not required for registration if enabled)
- Dietary Restrictions - allow users to enter dietary restrictions (not required for registration if enabled)
- Emergency Contact - allow users to enter an emergency contact (not required for registration if enabled)
- Default Initiative - assign a campaign initiative for back-end reporting (if applicable)
- Default GL Code - assign a general ledger code for accounting purposes (if applicable)
- Default Fund - assign a fund for account purposes (if applicable)
- Add additional sign-up questions - add additional questions for sign up; will be routed to set-up for Questions sub tab
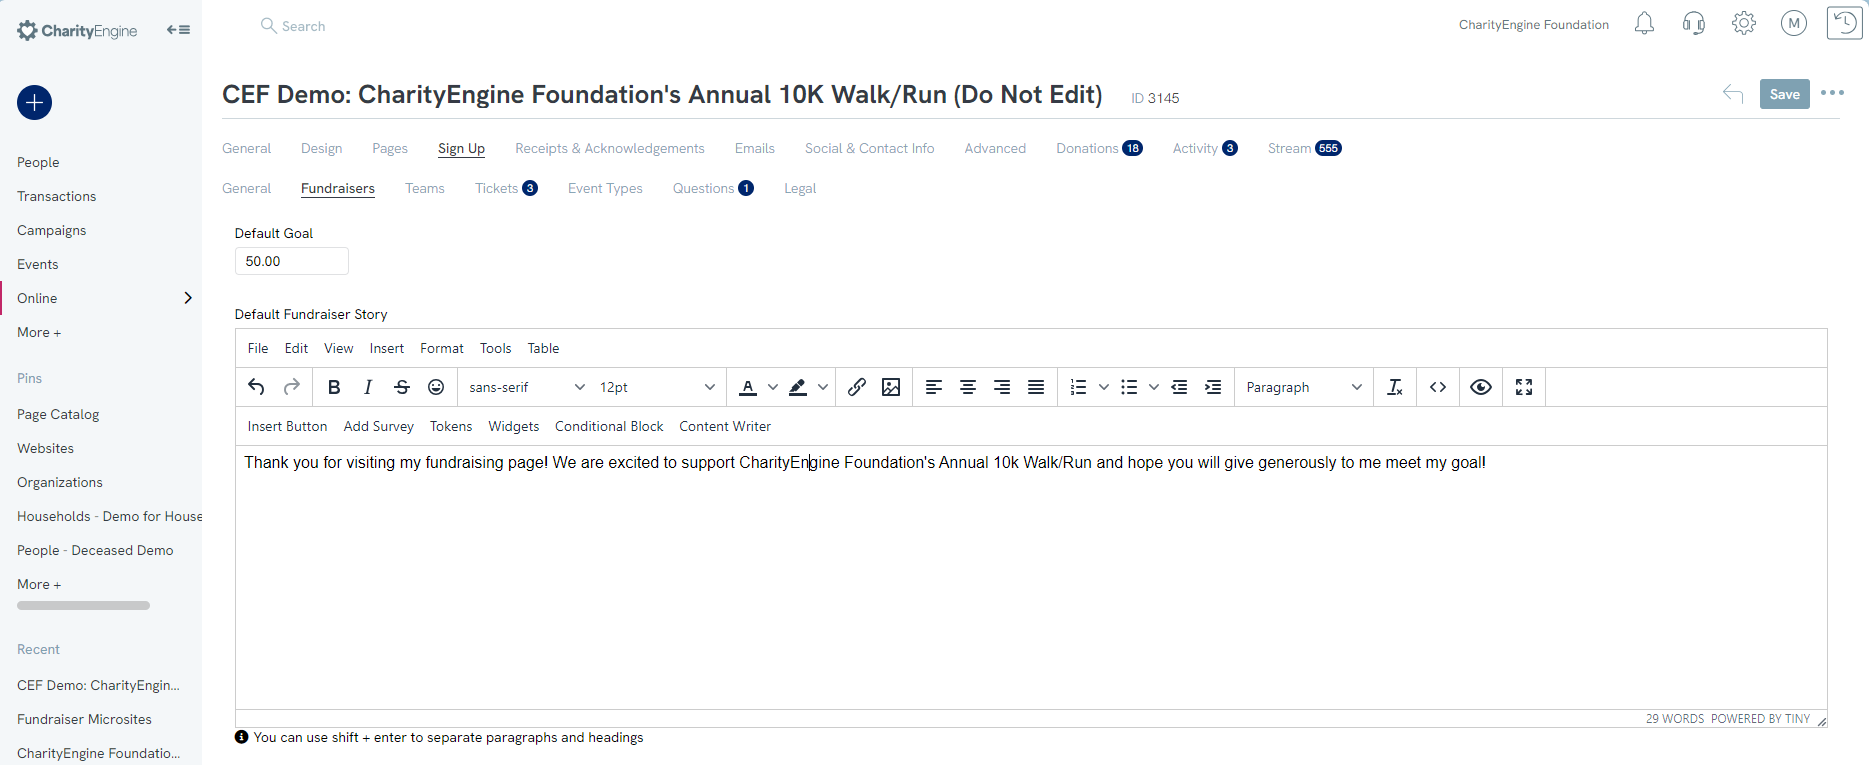
Sign Up - Fundraisers
Step 2: In the Sign-Up tab, navigate to the Fundraisers sub-tab. From here you can set a minimum fundraising goal for your individual fundraisers who are participating in your peer-to-peer event. You can also customize a default fundraiser story to help give your fundraisers a head start on their personal reason for fundraising and participation. Note, the fundraiser can customize during the sign-up process. Click SAVE to secure your changes.
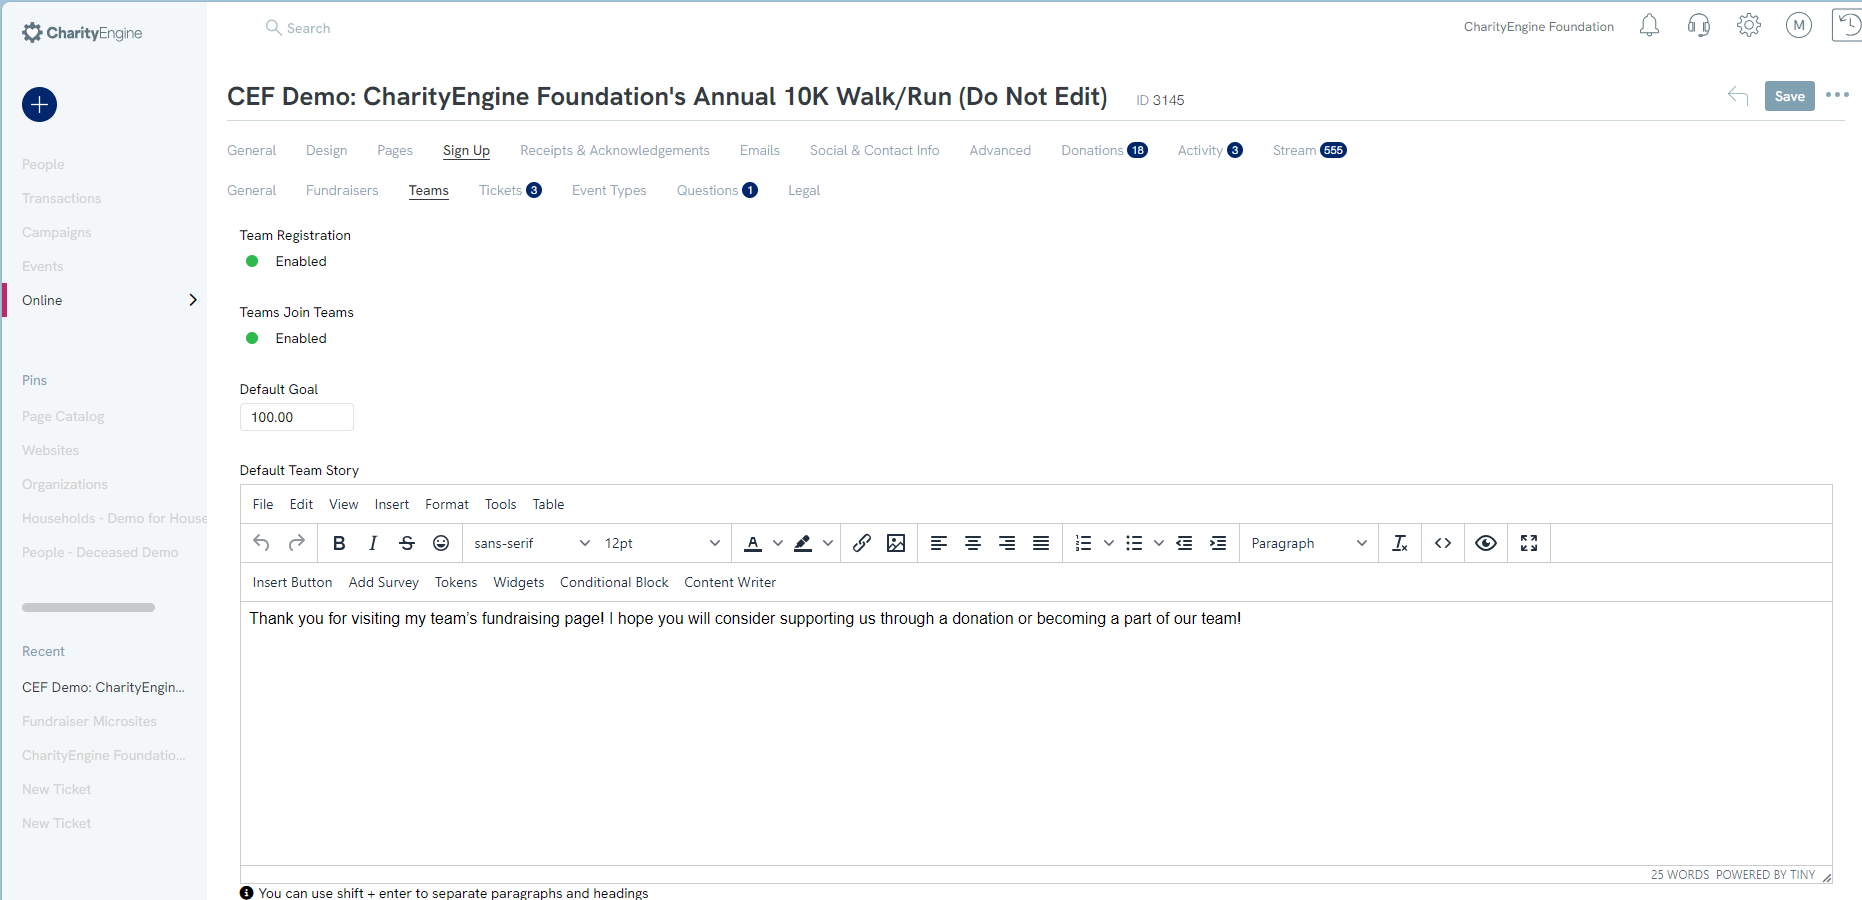
Sign Up - Teams
Step 3: Continuing with the Sign Up tab, navigate to the Teams sub-tab where you can enable the ability for teams to register for your event. Note, by enabling you also expose an option for Teams to Join Teams. This is a great feature for departments within an organization who need to roll up into the overall corporate total. Also set Minimum Goal for your team's participation. Again, get a head start with your fundraisers by adding a default team story. Again, the team story can be customized by the team captain during registration. Click SAVE to secure your changes.
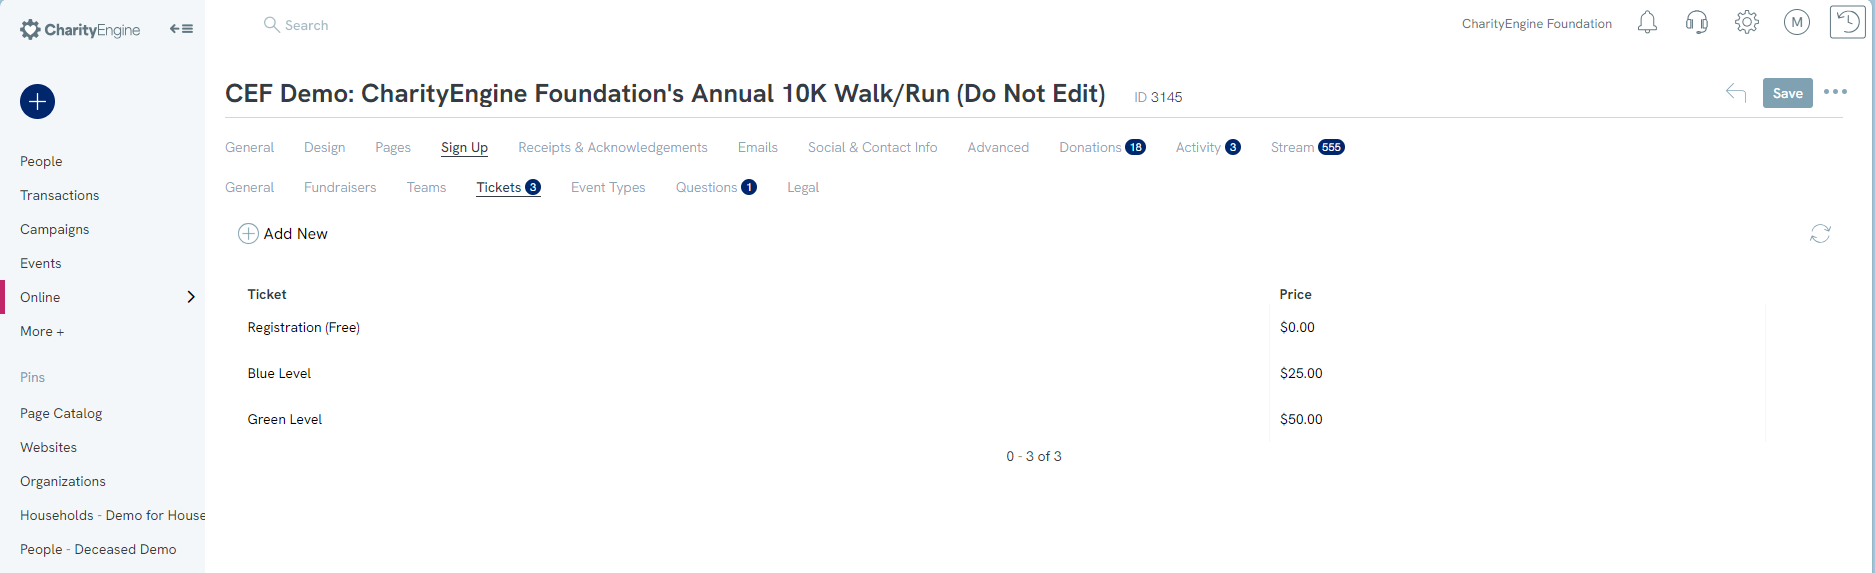
Sign Up - Tickets
Step 4: Remaining on the Sign Up tab, navigate to the Tickets tab to add tickets. Use Add New to add existing tickets (if applicable). Click SAVE to sure changes.
- Note: If your Peer-to-Peer type = Hosted Event, you will need at least 1 ticket. The ticket value can by free at $0.00.
- Note: Tickets must be established within the Volunteers & Events application prior to clicking on Add New
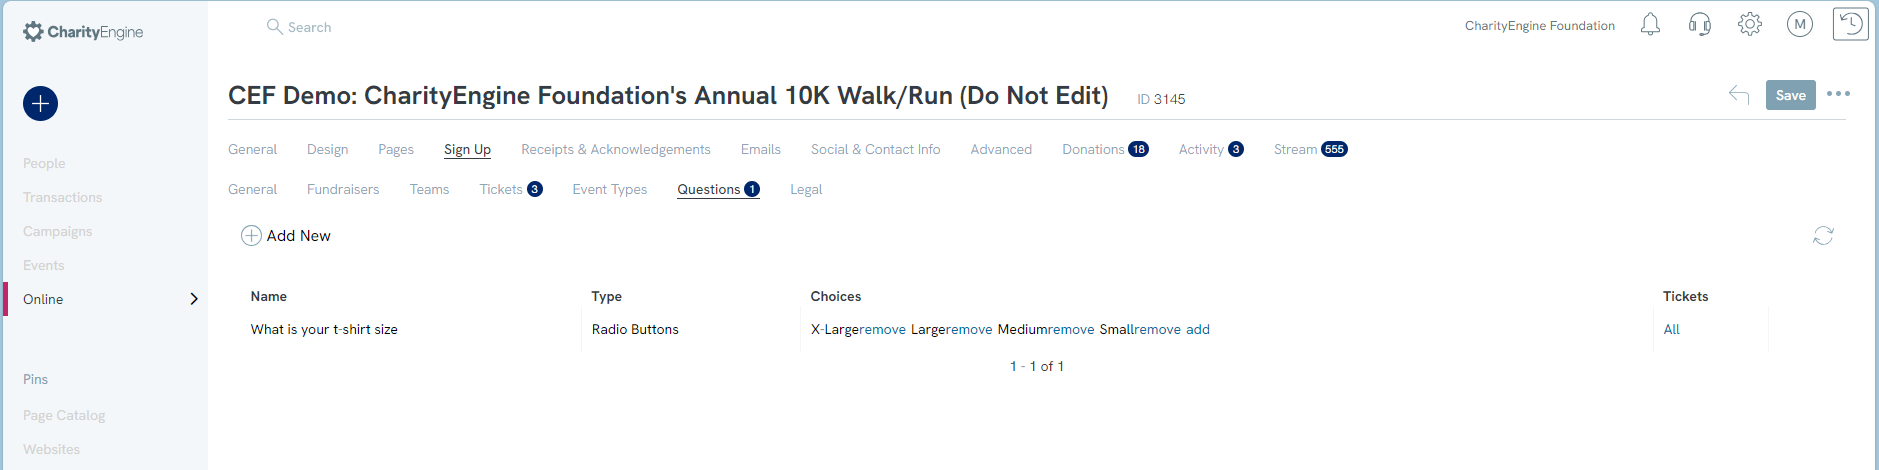
Sign Up - Questions
Step 5: Continuing on with Sign Up tab, navigate to the Questions sub-tab to add custom questions for your event. Click on Add New to create your custom question(s). Click SAVE to secure your changes.
- Note: If you select a question Type that requires choices or selections, be sure to add your response selections by clicking None Configured under CHOICES
- Note: Your question(s) can be assigned to specific tickets by clicking on All under TICKETS
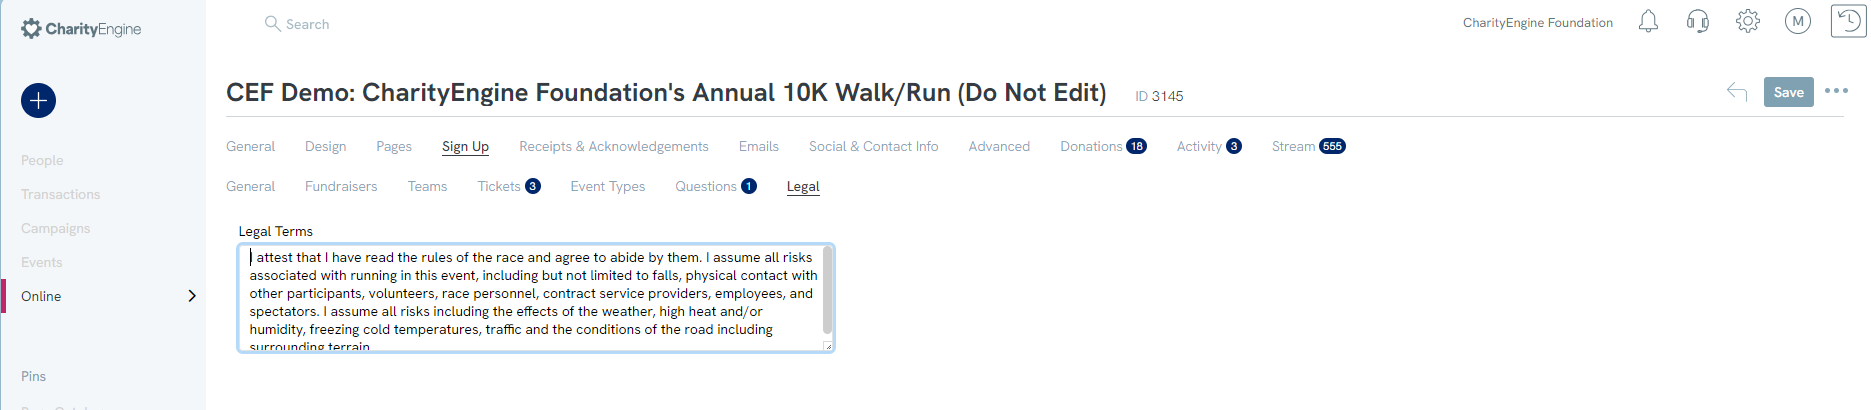
Sign Up - Legal
Step 6: Continuing with the Sign Up tab, navigate to the Legal sub-tab. Here you can add customized legal terms that may be required for your event. Click SAVE to secure your changes.
Step 5: How to customize Receipt & Acknowledgements (Basic)
Previous - Peer-to-Peer: How to configure the peer-to-peer landing pages (Basic)
Home - Peer to Peer: Comprehensive Guide for Set Up, Configuration, and Reporting
