With our Acknowledgements Wizard, we’ve made it extremely easy to create, edit and duplicate
Table of Contents
Import/Create Letter Templates (including from Microsoft Word®)
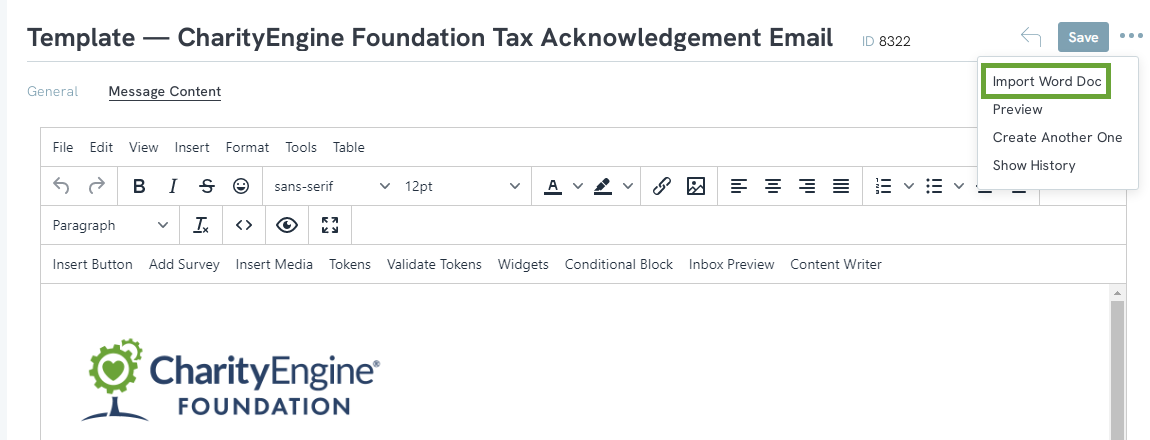
To create a template, navigate to Configuration > Design & Messages > Templates then click the + icon to create a new template. You can create templates in the app or you can import anything you’ve built in Microsoft Word. To import from Word, you must name your template and Create the message first. The Import Word option will appear under the Update button.
Managing Microsoft Word Margins
In Microsoft Word, you cannot directly view or access the HTML code that represents the document's content and formatting. Microsoft Word uses its own proprietary file format (.docx) to store documents, which is not HTML-based. As a result, the user will need to add coding to care for margin adjustments. The following is one example of coding that can be used to create and adjust margins for printing or delivery.
To access the source code, from the Message Content tab, click on the Source Code icon (< >).
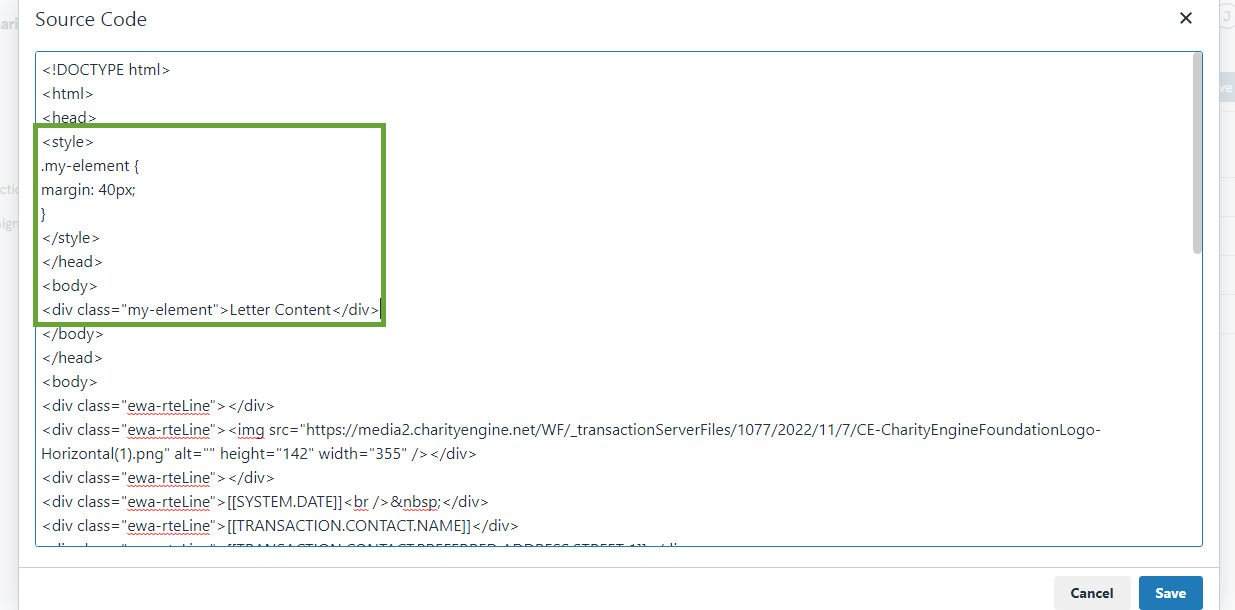
Enter the style code to create a margin. In this example, the following code has been applied for a 40 pixel margin.
<head>
<style>
.my-element {
margin: 40px;
}
</style>
</head>
<body>
<div class="my-element">Letter Content</div>
</body>
How to add Merge Tokens
Easily add Merge Tokens! Navigate to Message Content and in the toolbar locate Tokens to view a listing of available tokens to insert into your acknowledgement.

Getting Started With Acknowledgements
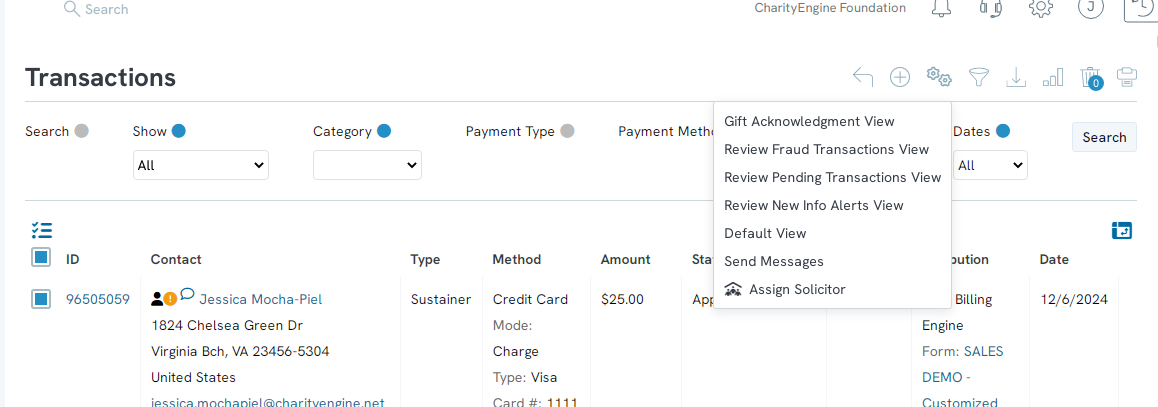
- The More button has Commonly used Filters around Transactions so you do not have to set up all of your filters when you want to do specific tasks. In this case, Gift Acknowledgement View will show you who needs to still be acknowledged for their Gifts. The first thing to do is select Gift Acknowledgment View.
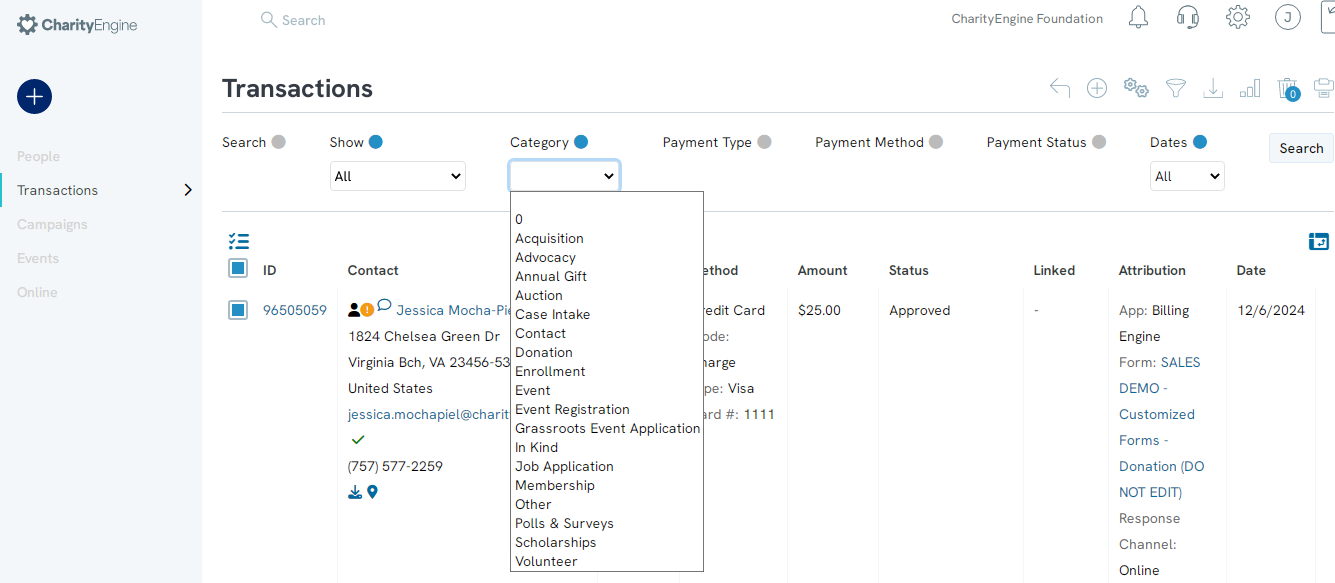
2. The category dropdown gives you quick control of which types of Acknowledgments you will be working with so you don’t have to manually make these selections.
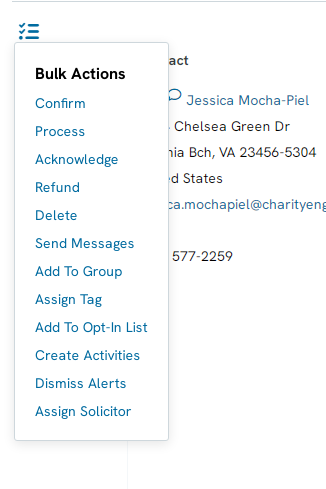
3. This Batch Action button makes it easy to do the desired action in bulk based on your desired tasks. Select Acknowledge if your goal for this task is to Acknowledge gifts.
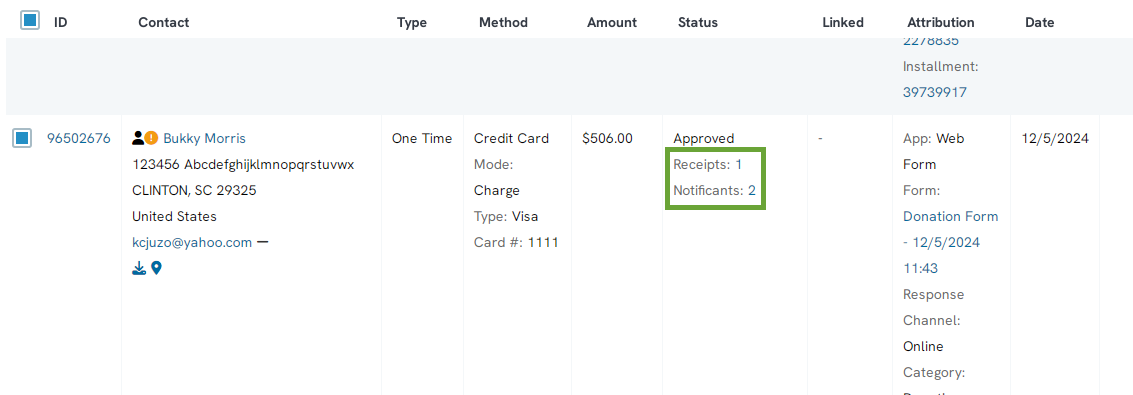
4. Once an
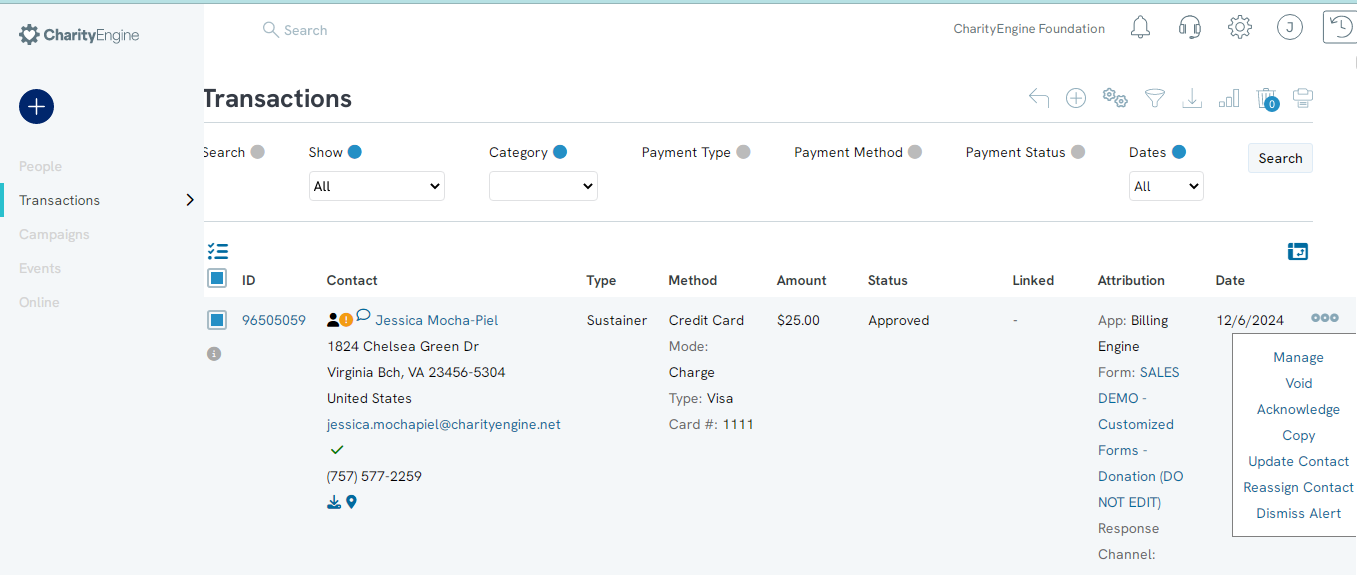
5. Now you can Acknowledge an individual transaction directly via the Manage button.
FAQs & Additional Reading
Q. How do I send one or multiple acknowledgements or receipts?
A. Learn more in our article Transactions: Sending Individual/Multiple Acknowledgements or Receipts
Q. How can I acknowledge tributes?
A. Learn more in our article How to Acknowledge Tributes Manually
Q. Can I make a copy of an existing template?
A. Yes, manage the template and click on Duplicate.
Q. Are there tokens for matching gifts?
A. Yes!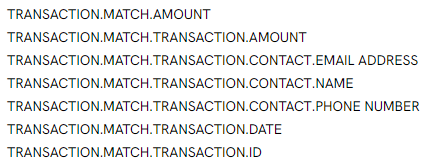
Q. Are there tokens associated with previous receipts and acknowledgements?
A. Yes!

