Introduction
Sustainer deactivation is a very important step in maintaining good data hygiene. Identifying sustainers who are no longer active will allow you to have up to date information on your sustainer program and allow you to focus on those who are actively donating. Identification of inactive sustainers also allow organizations to initiate re-engagement activities through a lapsed sustainer campaign. CharityEngine recommends as a best practice to implement quarterly, bi-annual, or annual data governance practices to ensure accuracy of your CRM.
Note: Warning: Importing data can cause irreversible changes to your database. Make sure you back up your data first.
Table of Contents
Prerequisites
-
- Active usage of the Sustainer functionality
-
Note: Warning: Importing data can cause irreversible changes to your database. Make sure you back up your data first.
Instructions: Query Creation and Bulk Deactivation
If you do not already have a list of sustainers you want to deactivate, you can use the query builder to find your list. If your list is available navigate to step 7 to prepare for the data append.
-
-
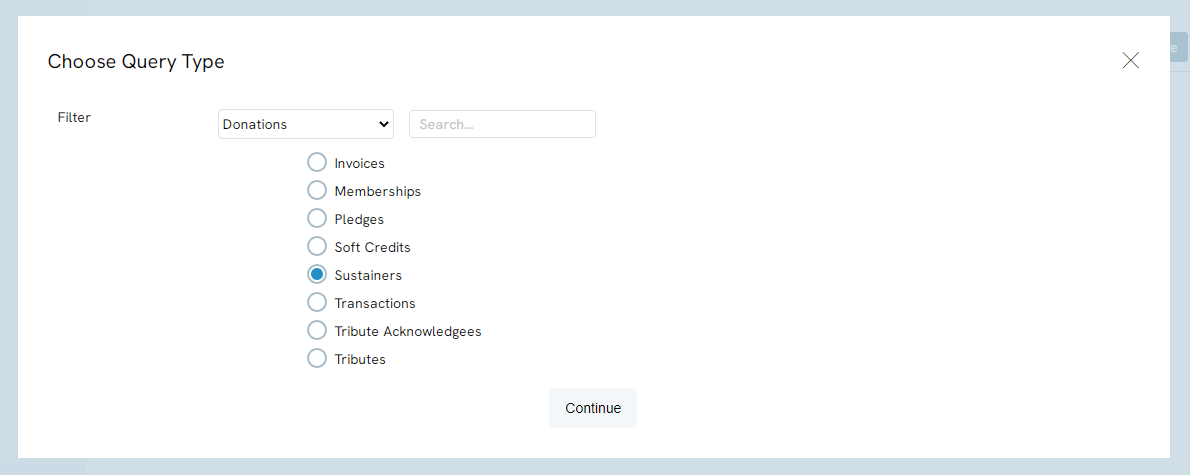
- Filter: Donations database
- Select: Sustainers
- Click CONTINUE
-
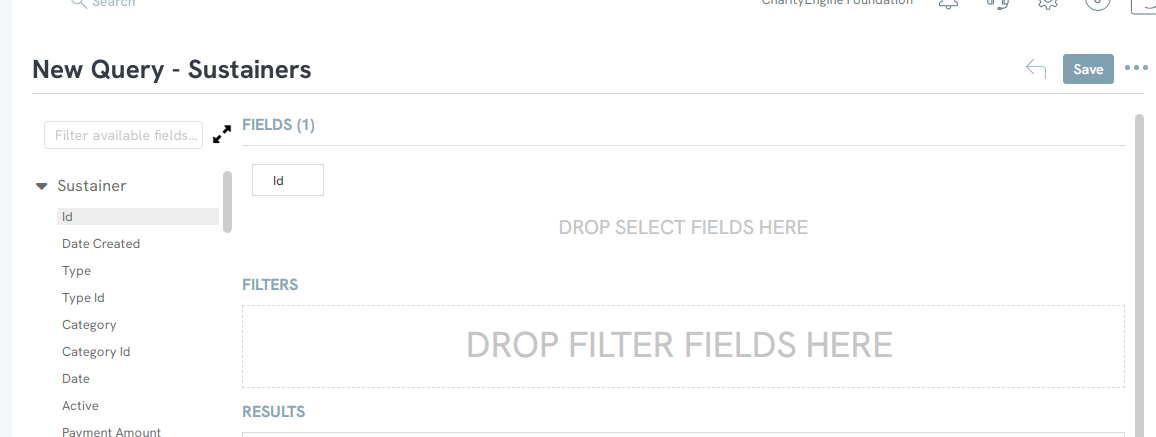
-
-
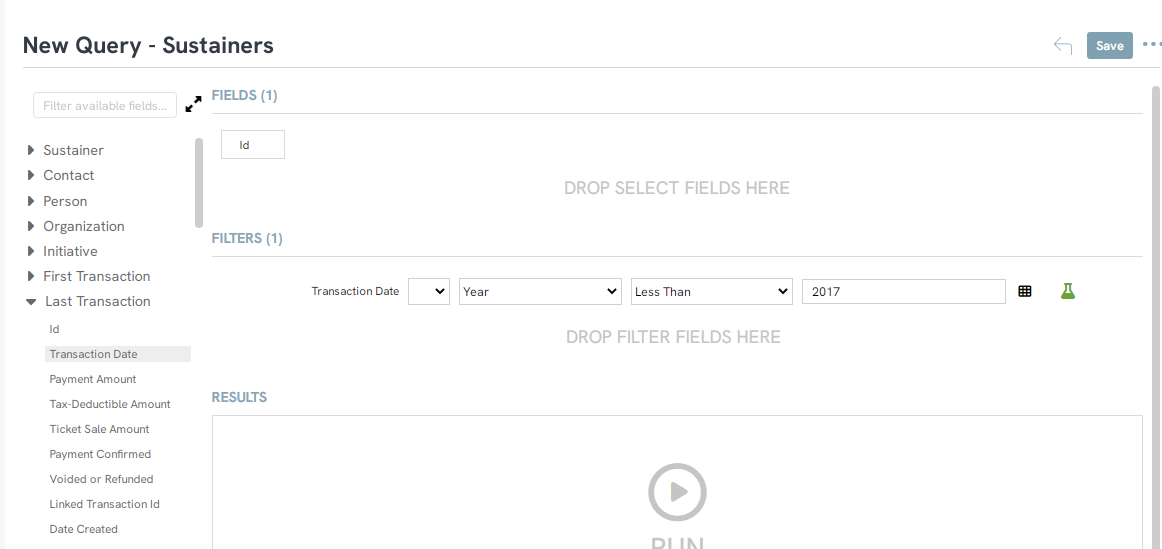
- Within Last Successful Transaction, double click or drag and drop Transaction Date into the FILTER block.
- Click on the Formula (beaker) and expose Year > Less Than > 2017
-
Step 6: Click the EXPORT icon to export these Ids to Excel
-
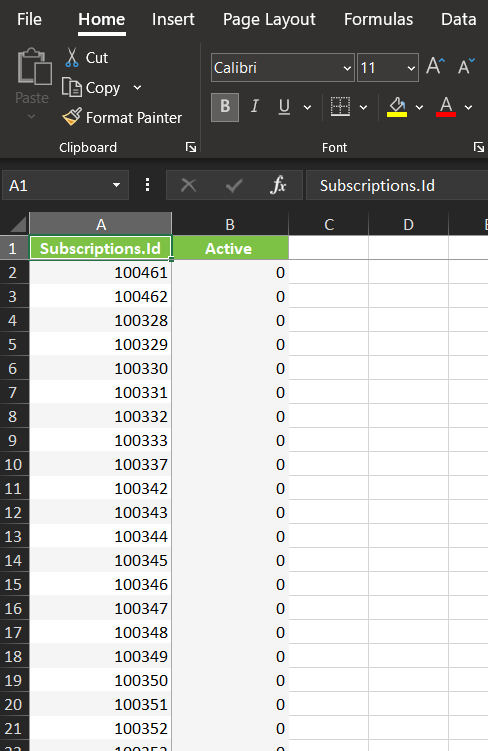
- Add an addition column and name it Active
- Place the value of “0” in all cells in column B: Active
- This will inform the database to deactivate the Sustainer Id during data importing/data append.
- If you have added other fields (such as transaction date) - delete these fields from the Excel document
- Save the Excel document to your local drive
-
- Navigate to Automation & Workflow > General > Import & Export > Create New > Import
- Navigate to Automation & Workflow > General > Import & Export > Create New > Import

Step 9: Select Import To: Sustainers > Click NEXT
Note: No change to Mode or Form is needed

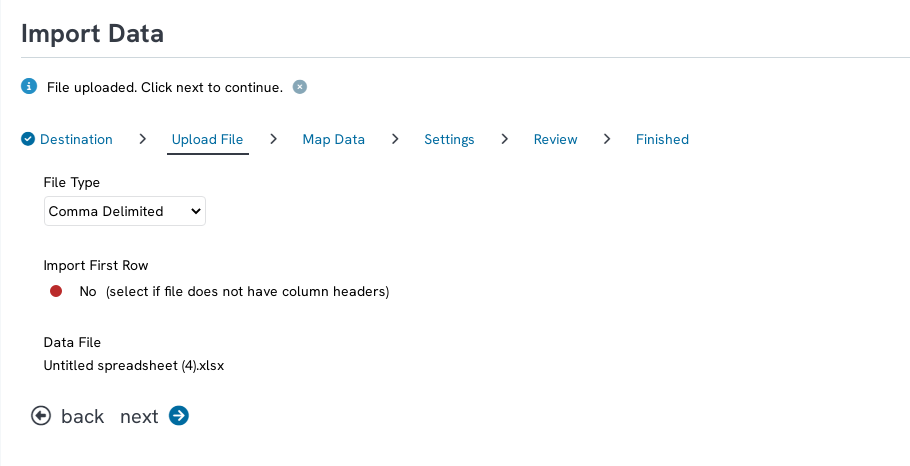
Step 10: Select Upload File
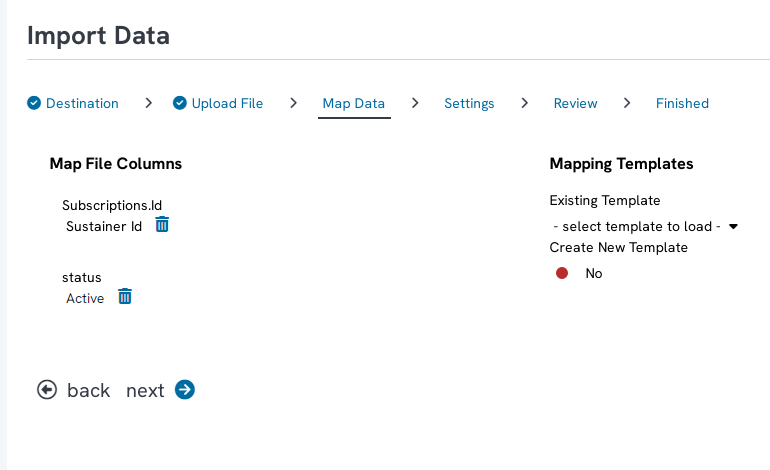
Step 11: Use the dropdowns to map your file to CharityEngine Fields
-
-
- Note: Warning: Importing data can cause irreversible changes to your database. Make sure you back up your data first.
-
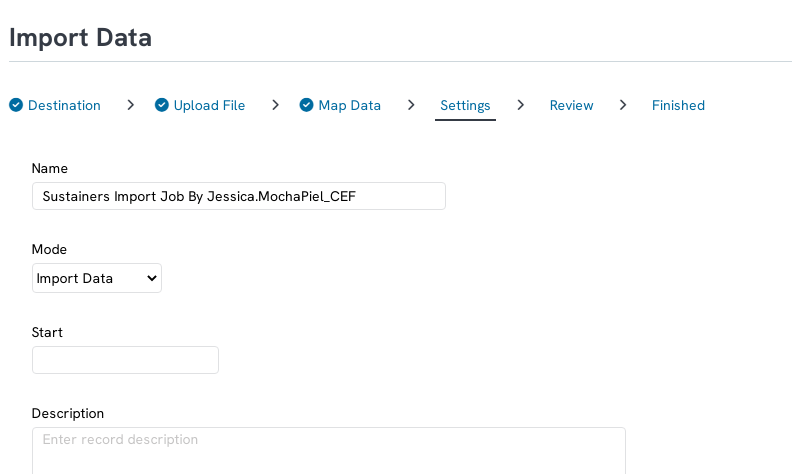
Step 13: Confirm the job and click FINISH. You will be able to view the job status and confirm that the sustainers were deactivated once you confirm the job.
FAQs & Further Reading
Q. Can I automate a deactivation of a sustainer?
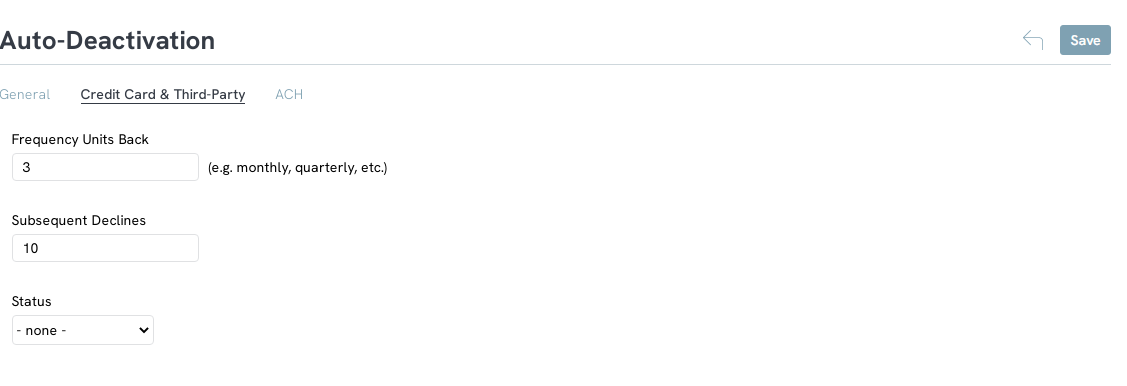
A. Yes. Admin can set auto deactivation settings in the configuration application by navigating to Configuration > Sustainers > Deactivation. On the General tab, enable the sustainer auto deactivation service by toggling it on, Then select the day of the month you would like this preformed.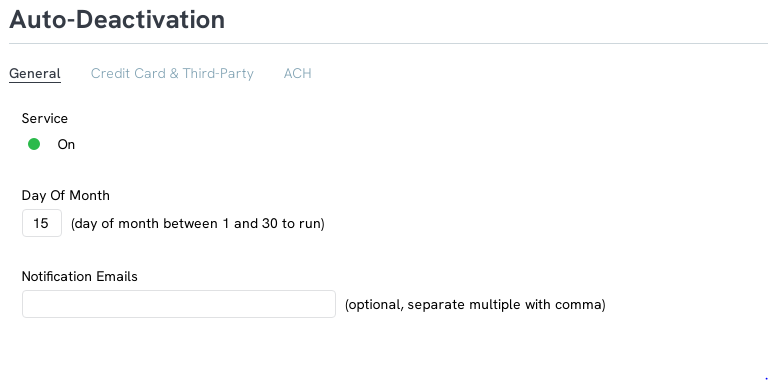
Once enabled, you will need to determine the criteria to deactivate on the Credit Card & Third-Party an ACH Tabs. Use the Text boxes to determine how many failed attempts in a set amount of time will qualify the sustainer to be deactivated. Be mindful of how many attempts will be made when setting deactivation settings. For example, if 3 attempts are made within one billing period, there will be a max of 9 attempts in 3 months. If the deactivation is set to 10 decline within 3 months, sustainers will never be deactivated because 10 attempts will never be made within that time frame.