Introduction
Our out of the Box templates are very easy to use and do not require any technical coding skills. If you understand front end technologies and wish to create your own custom template for your form, you do have the capability to do this. You can use the available CharityEngine branding tokens in your customized template to maximize the Live Preview feature shown below. This is especially helpful if the user creating the template is not the same person that will be selecting the branding settings.
Prerequisites
Critical Note: When customizing web form templates, it is important to exercise caution as any modifications made to the templates may potentially lead to issues or breakages during future releases or updates.Before making any changes to CharityEngine out of the box form templates, please ensure you have CSS, HTML, and JavaScript experience. The below article contains advanced instruction and any changes should be done with careful thought. You do not have to make changes to the templates for the forms to work and any changes made to templates are the responsibility of the organization. CharityEngine will not be responsible for modifying the template if changes are made that cause the form to not work as designed. Please be careful when making any type of changes.
Here are some important considerations to keep in mind:
- Backup the original template: Before making any changes, create a backup copy of the original web form template. This ensures that you have a fallback option in case something goes wrong during the customization process.
- Understand the template structure: Familiarize yourself with the structure and organization of the web form template. Identify the key components, such as HTML, CSS, JavaScript, and any server-side scripting used. This understanding will help you make targeted modifications and reduce the chances of introducing unintended issues.
- Follow best practices: Adhere to best practices for customizing web form templates. This includes using clean, well-structured code, avoiding inline styles, and separating presentation (CSS) from behavior (JavaScript) and structure (HTML).
- Test thoroughly: After making modifications, thoroughly test the customized web form template across different browsers, devices, and screen sizes. Test various input scenarios, including valid and invalid data, to ensure that the form functions correctly and gracefully handles user interactions.
- Document changes: Keep a detailed record of the changes made to the web form template. This documentation will be invaluable for troubleshooting and debugging if issues arise in the future.
- Stay informed about updates: Regularly stay informed about updates or new releases from CharityEngine. Updates may include important bug fixes or security patches that could affect your customized web form template.
- Plan for future compatibility: Consider how your customizations might interact with future updates or releases. Avoid relying on deprecated features or specific version-dependent behaviors. Instead, aim for compatibility with future versions by utilizing standardized and well-supported techniques.
Instructions
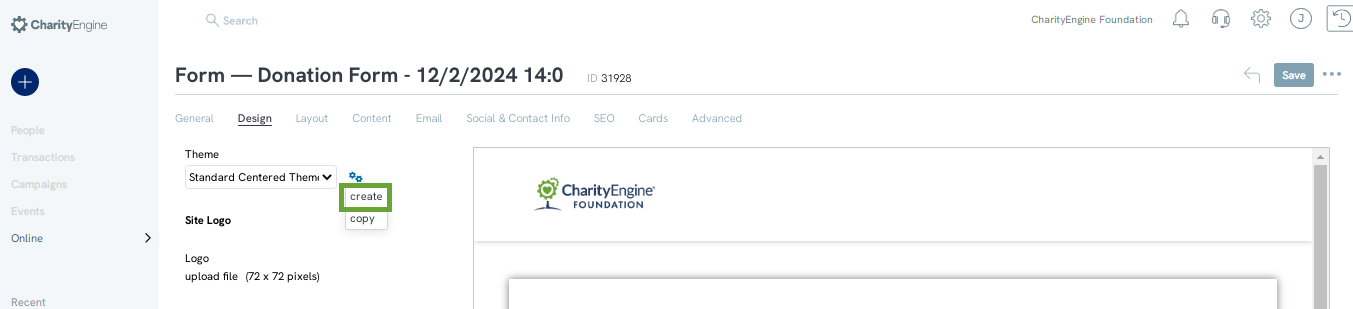
To create your own template, Navigate to the design tab on the Form Builder and click on the gears icon next to the template dropdown. Select Create to create a new template. If you want to create a copy of the standard template in order to use that as a base, select copy.
You will be navigated to insert your own code to create the template.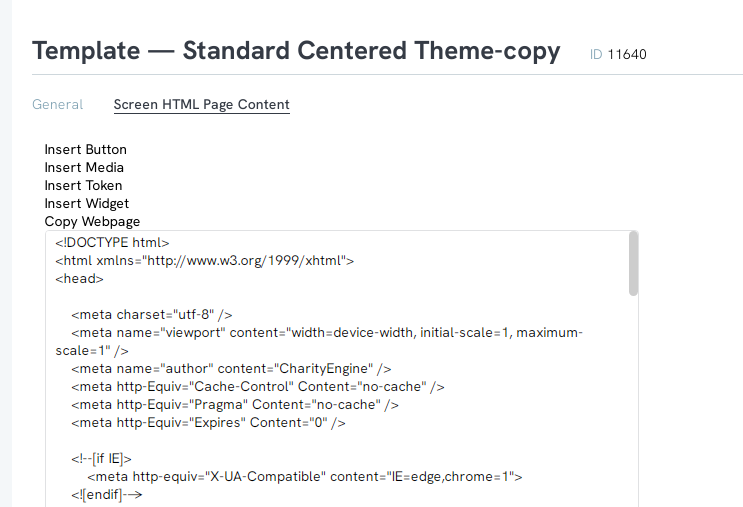
Once you have inserted your own code, you will be able to use our tokens to easily insert more customization, such as color. For example, if you would like your page wrapper to be a particular color, you will need to have inserted code for a page wrapper, then add additional code using our tokens to set the color.
The below is code for the page wrapper within the form.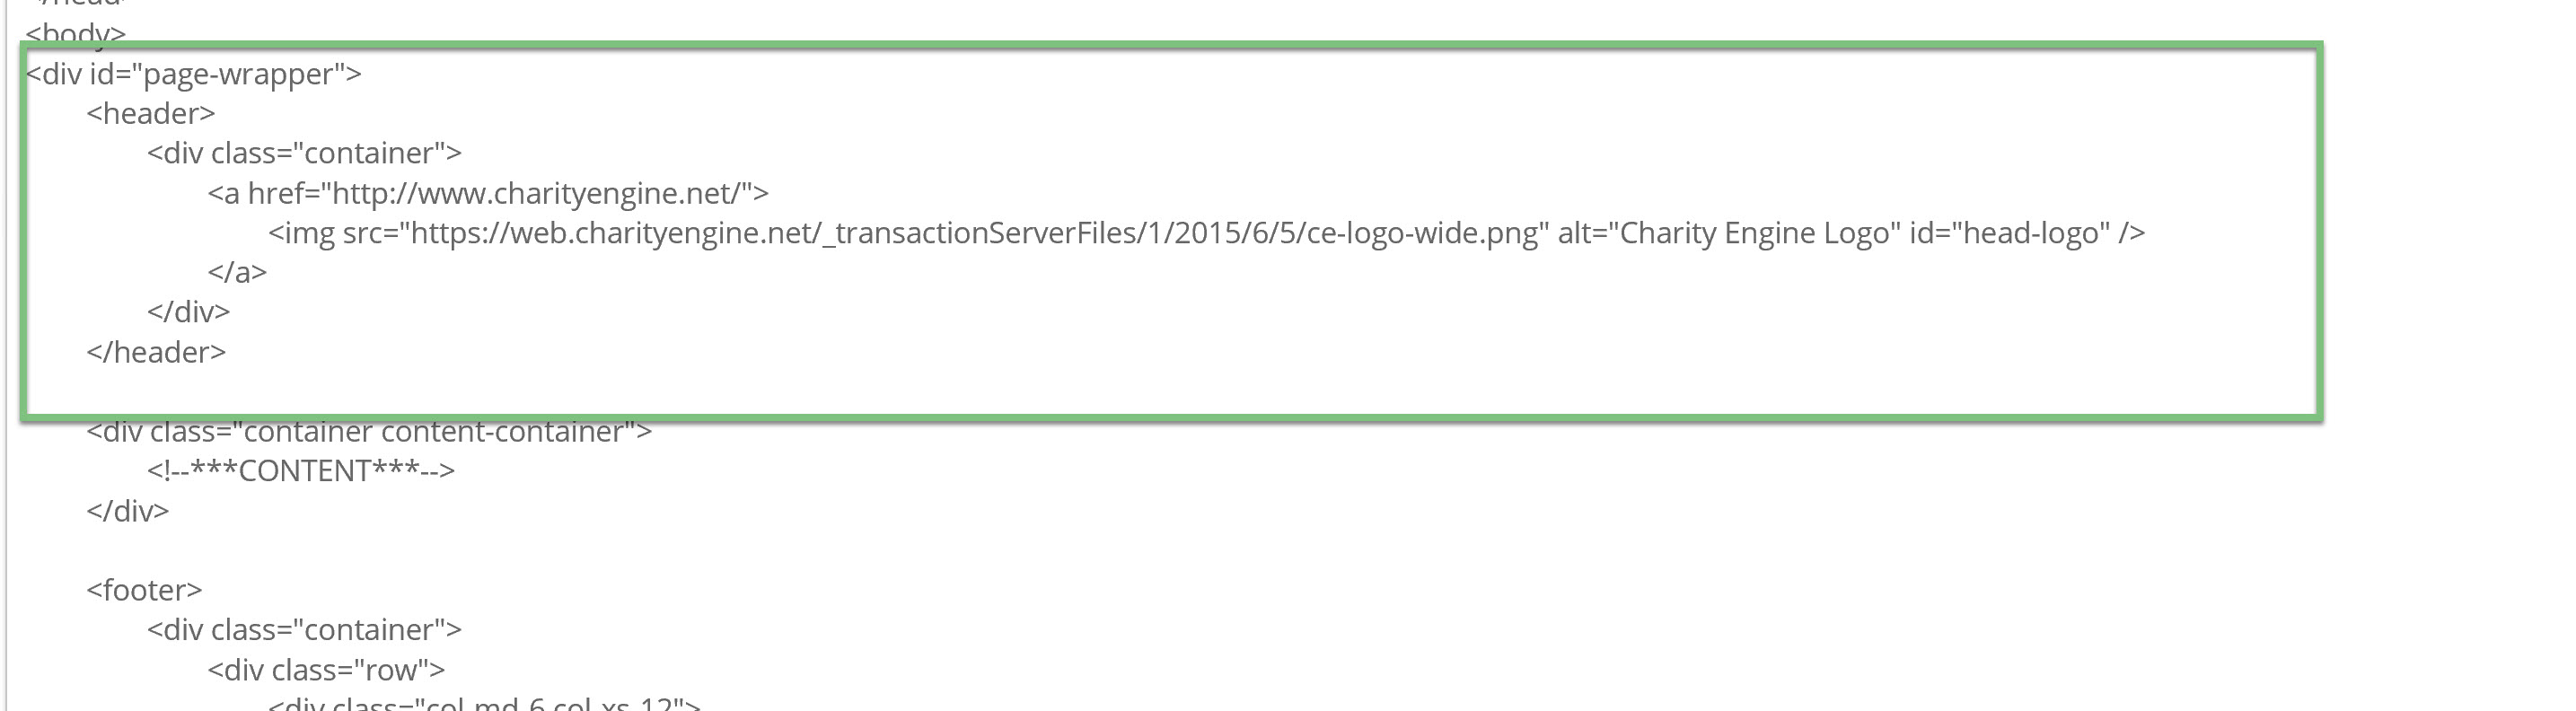
Then using CharityEngine Tokens, the page wrapper has been set to the background color that was picked on the design tab.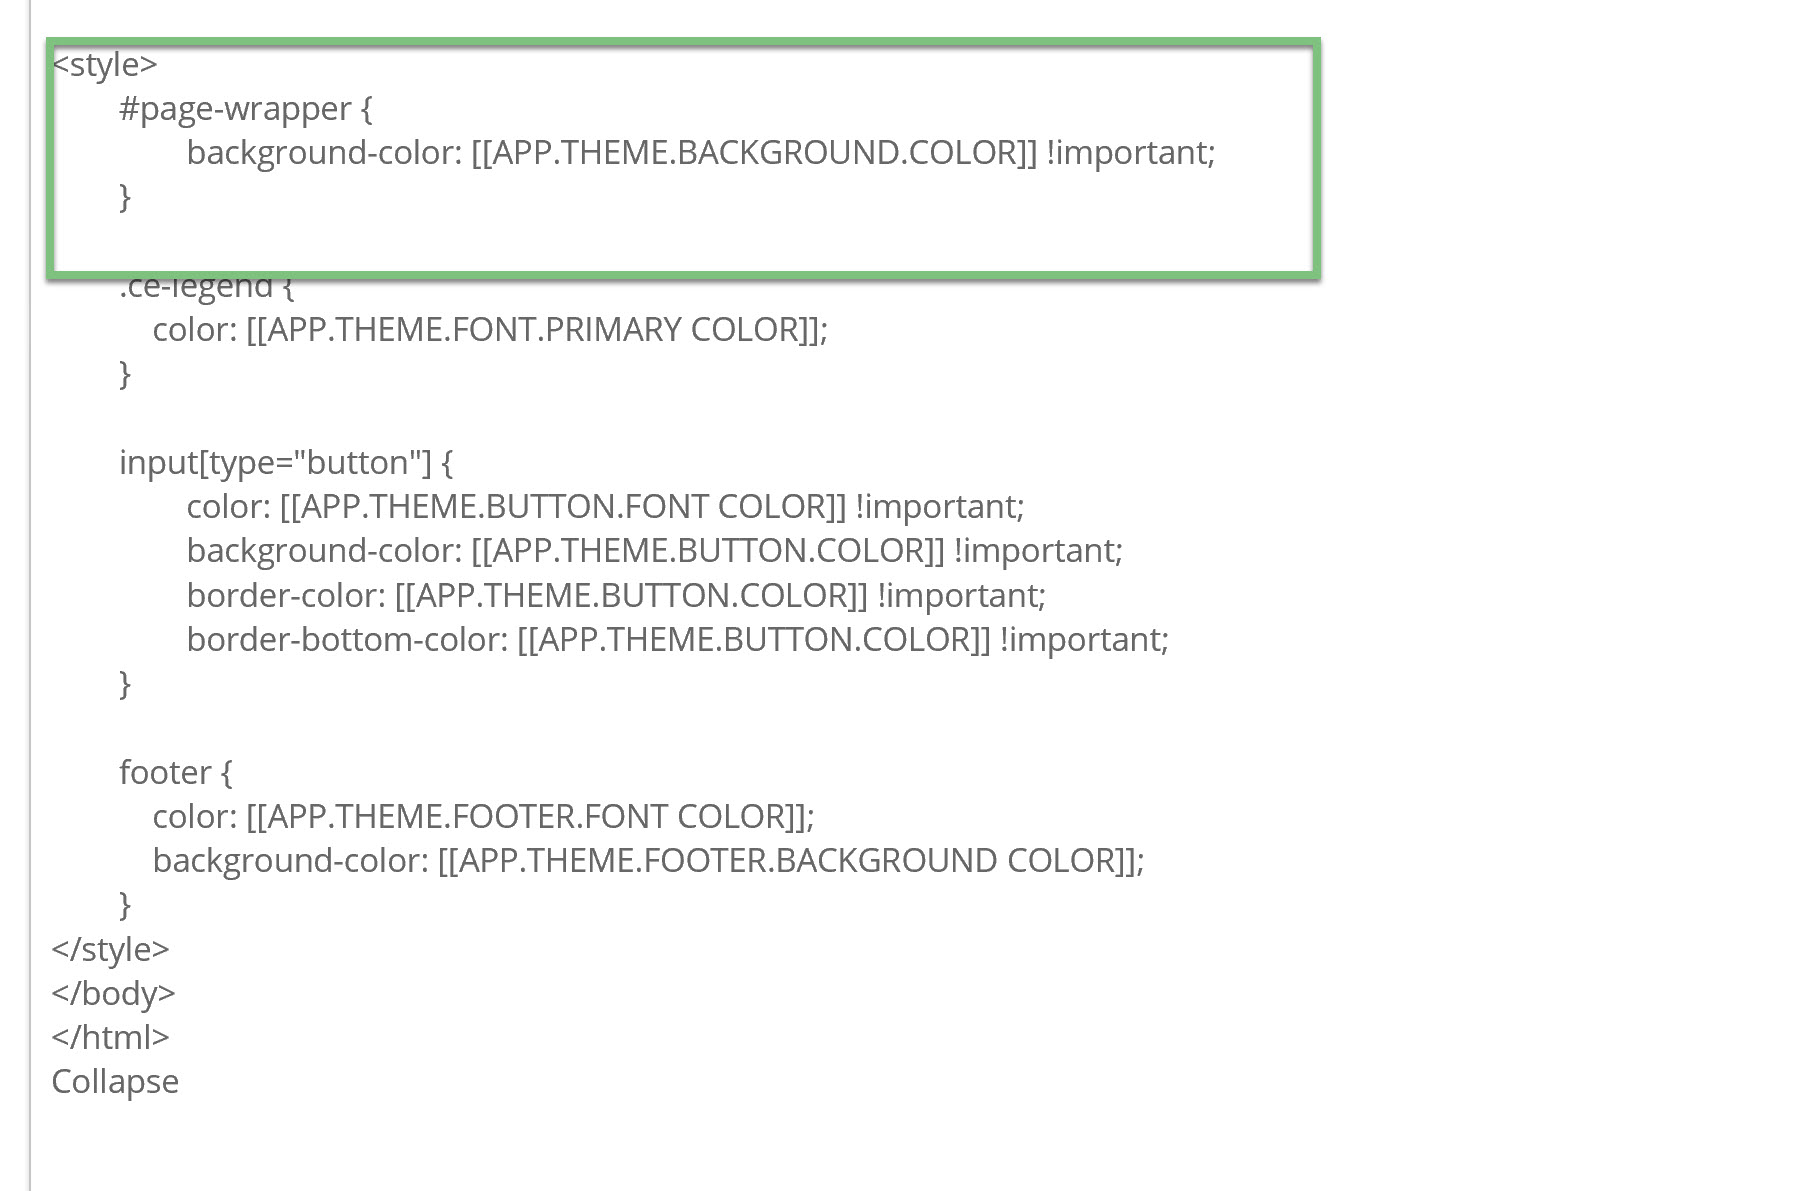
Then tokens that are used in your code, will determine the color pickers that will be available in the design tab.
As you can see in the below example, Background color, Primary Font Color, Button Font Color, Button Color, and Footer Background color tokens are used.
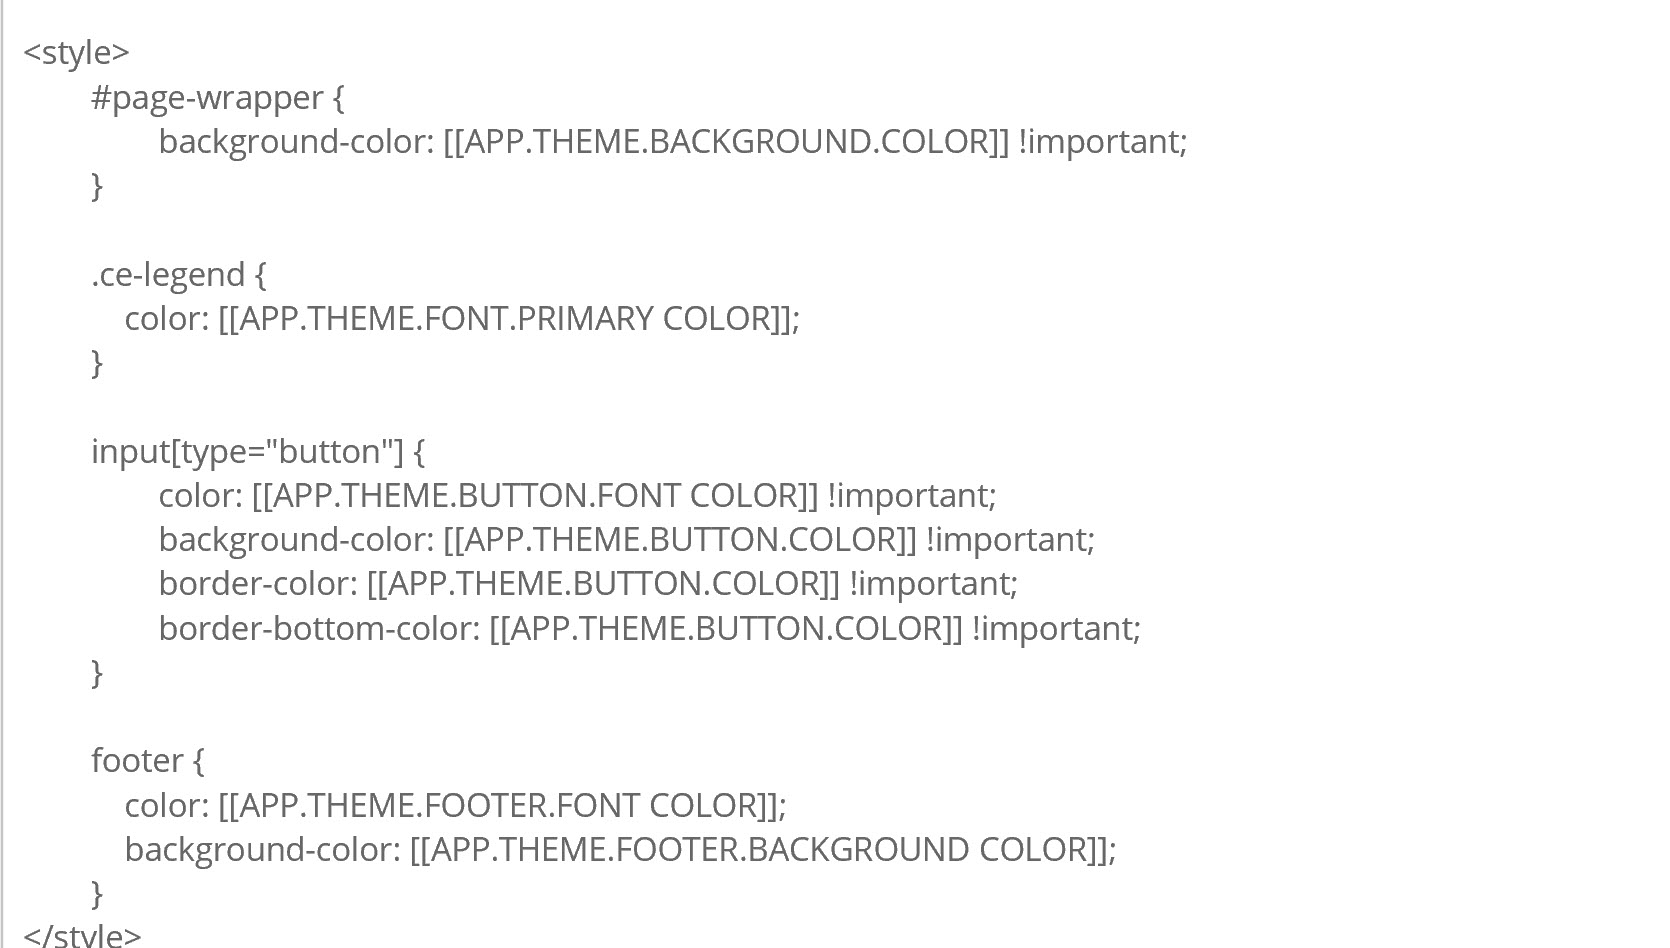
These color options are also the options that will be displayed on the design tab
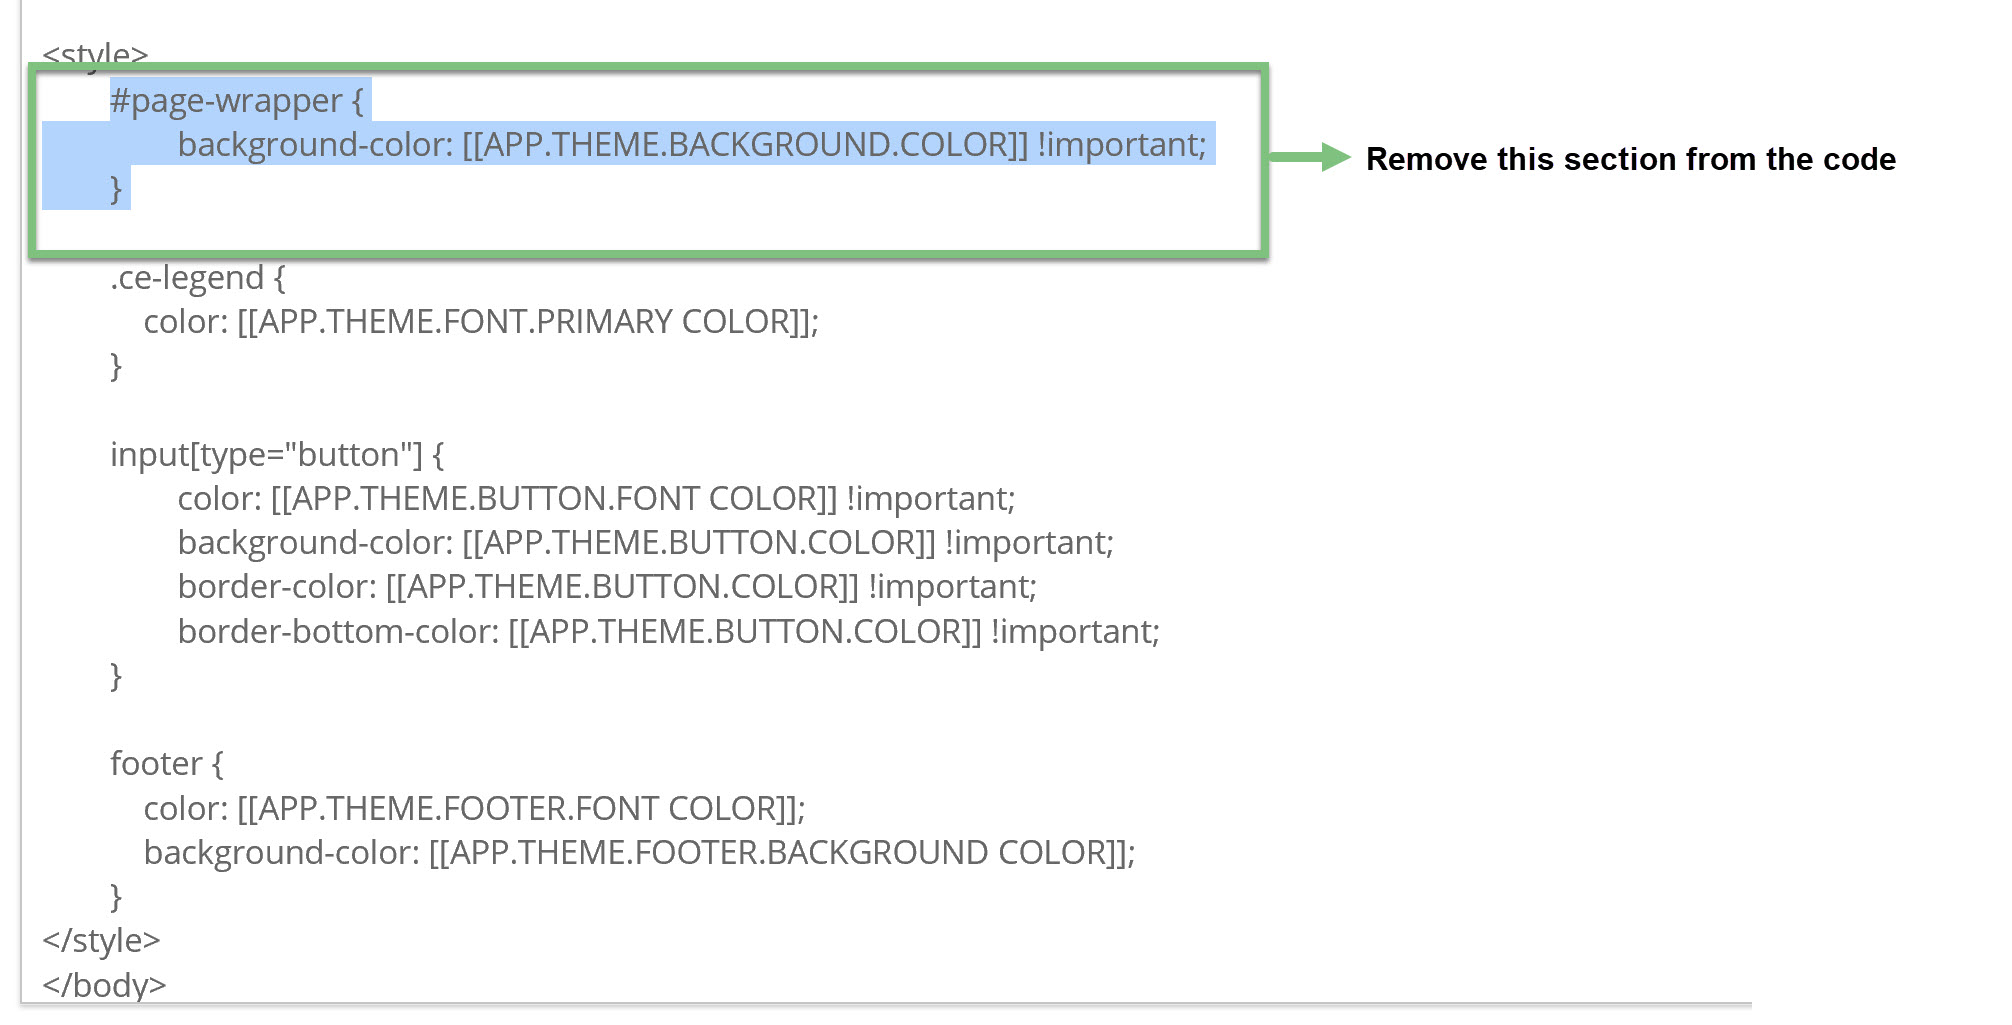
If one of the tokens is removed from the code, the selection on the design tab will also be removed.
For example, if you remove the Site Background Color token from the code, it will also be removed on the design tab.
Note: Tokens used to manipulate elements in the form content will appear in the list, but may not visibly change the appearance of the Live Preview. The Live Preview consists of your custom header and footer, but the content (i.e. where the form is rendered) is a static watermark. Only when using the CharityEngine out-of-the-box templates will the user see manipulations happening in the Live Preview. You will have to view your form online to see all branding settings properly applied.
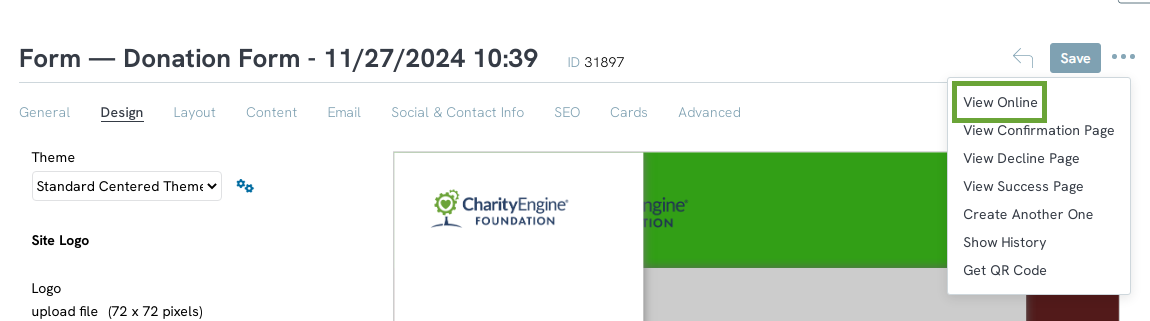
To view your form as your donors would click the drop down next to the save button and select View Online. This will show any customizations you have made that do not show in the Live Preview watermark.