Introduction
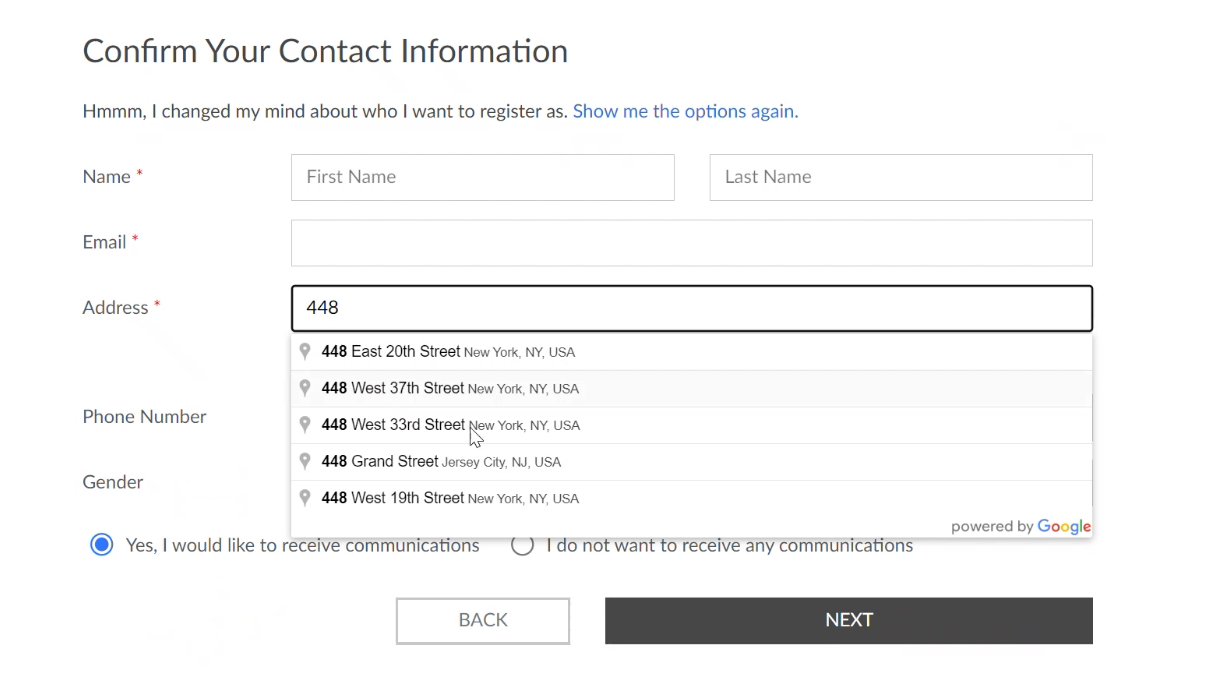
When using a CharityEngine form or creating a new contact in CharityEngine, you may notice that CharityEngine can leverage Google Maps to perform an address verification to ensure that incorrect address are not entered into the database (for example, when creating a Contact or Transaction record, or when entering Batch Transactions). CharityEngine uses Google Maps API to preform address verification. The Google Maps API integration also supports various visual reporting elements as well. While this is an optional feature and will assist you in visual map representation.
Table of Contents
Prerequisites
- If you have not already, be sure to apply from your Google for Nonprrofits Grant, as you will receive $250/month in credits towards Google Maps API usage within the product (subject to change). The general cost range for using Google Maps to look up an address (when entering contact or transaction information, if using single line address on forms, or when entering batches) is $2 - $7 per 1000 requests/lookups (subject to change).To apply for your Google For Nonprofits Grant, please visit https://www.google.com/nonprofits. Approval can take up to 2 weeks, but once approved, you will be able to apply for the Google Maps API credit from within your Google for Nonprofits account.
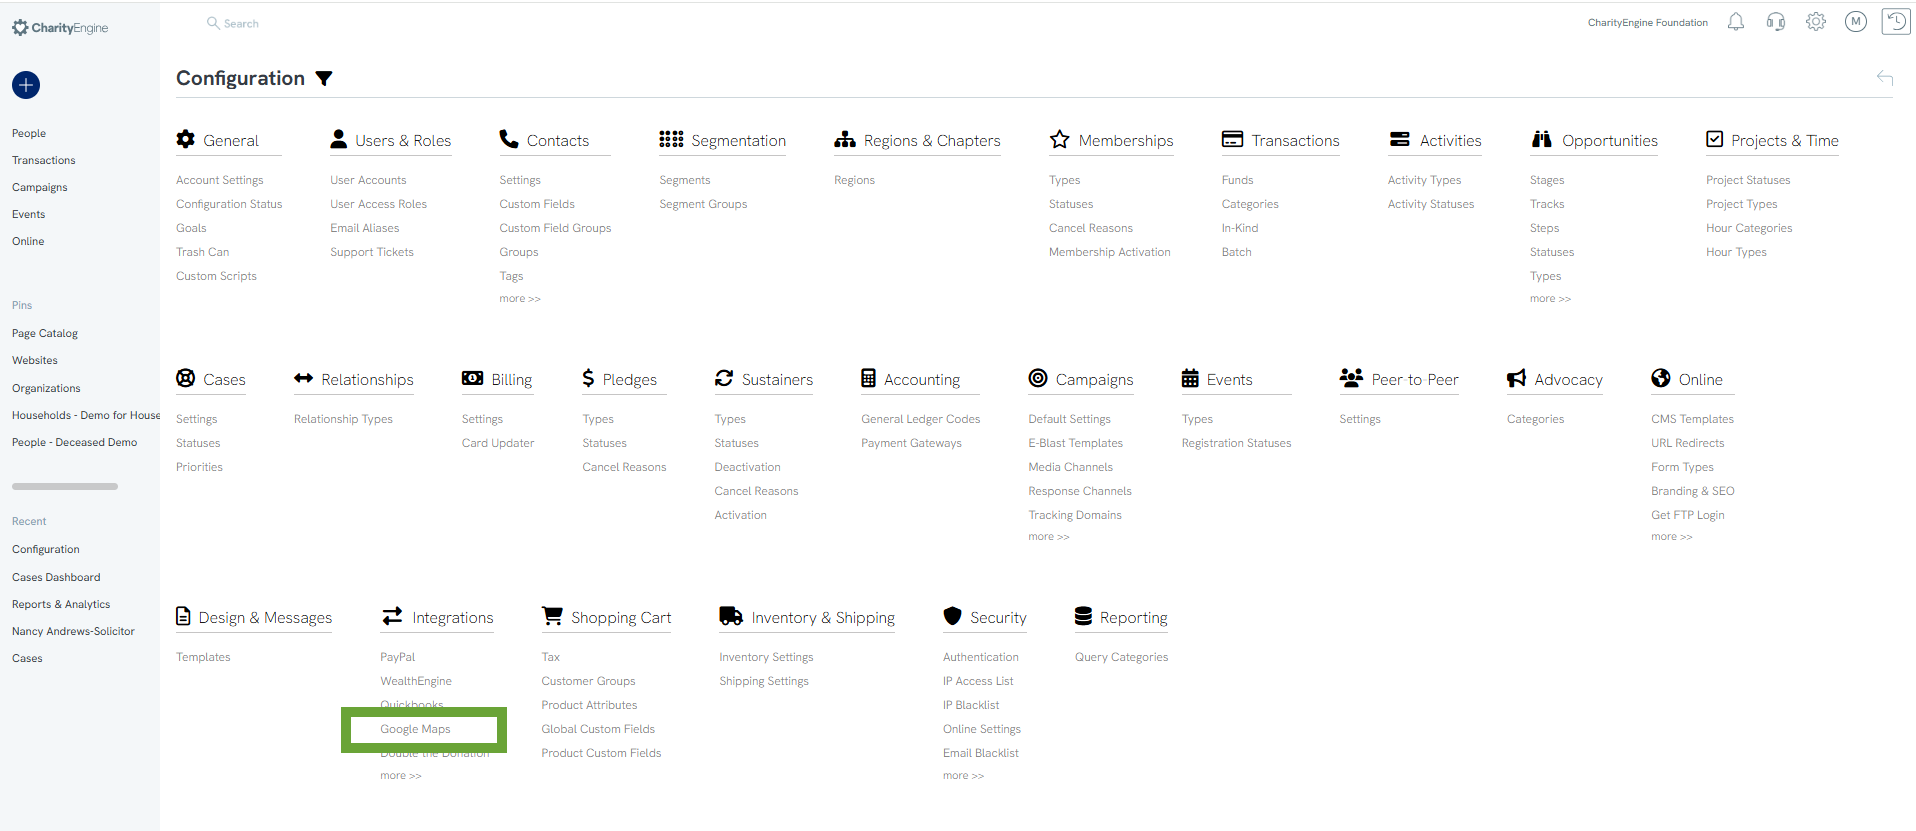
- You will need your organization's Google Map API to enter into the CharityEngine product in the Integrations section of Configurations (top right gear icon in the Admin Console).
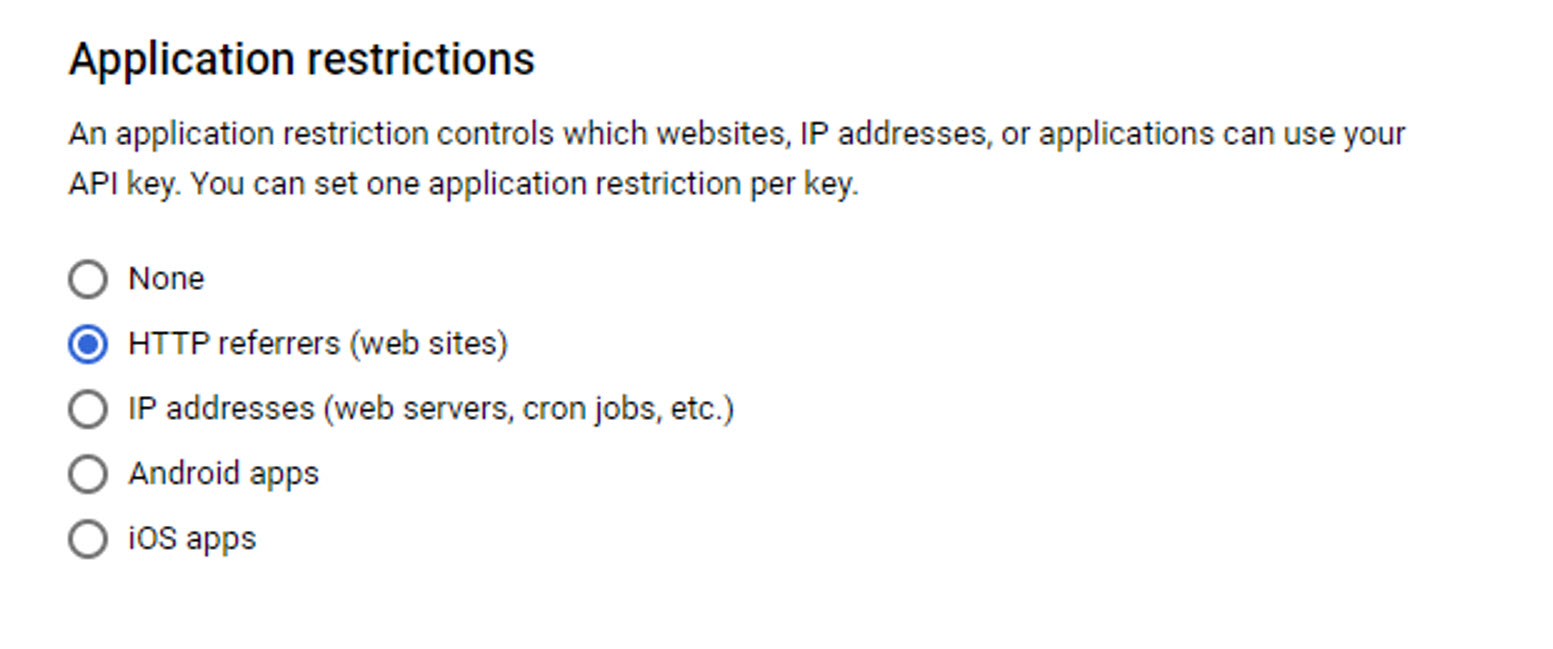
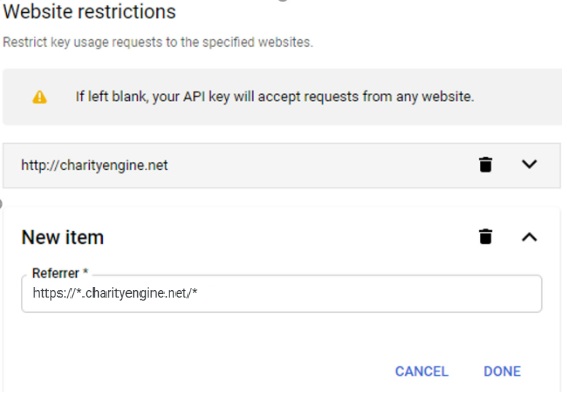
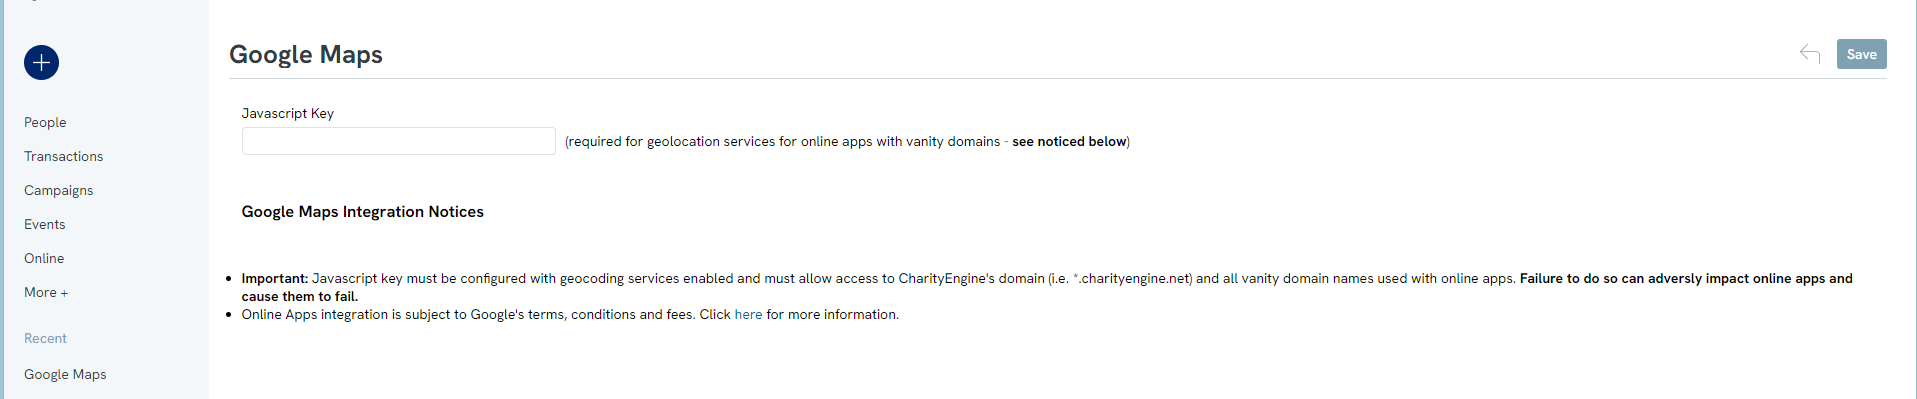
- Important: Javascript key must be configured with geocoding services enabled (should automatically be the case when you set up the Key, but important to double check), and must allow access to CharityEngine's domain (i.e. *.charityengine.net/*) and all vanity domain names used with online apps (this article walks you through the steps for this). Failure to do so can adversely impact online apps and cause them to fail.
- Online Apps integration is subject to Google's terms, conditions and fees.
- If Geolocations are updated through Data Enrichment functions, CharityEngine transaction fees may apply. Please refer to your contract for pricing or contact your account manager for more details.
Instructions - Locating API Key from Google
To use Single Line Address on forms you will need to generate a Google Maps API key from Google. This document will walk you through that process.
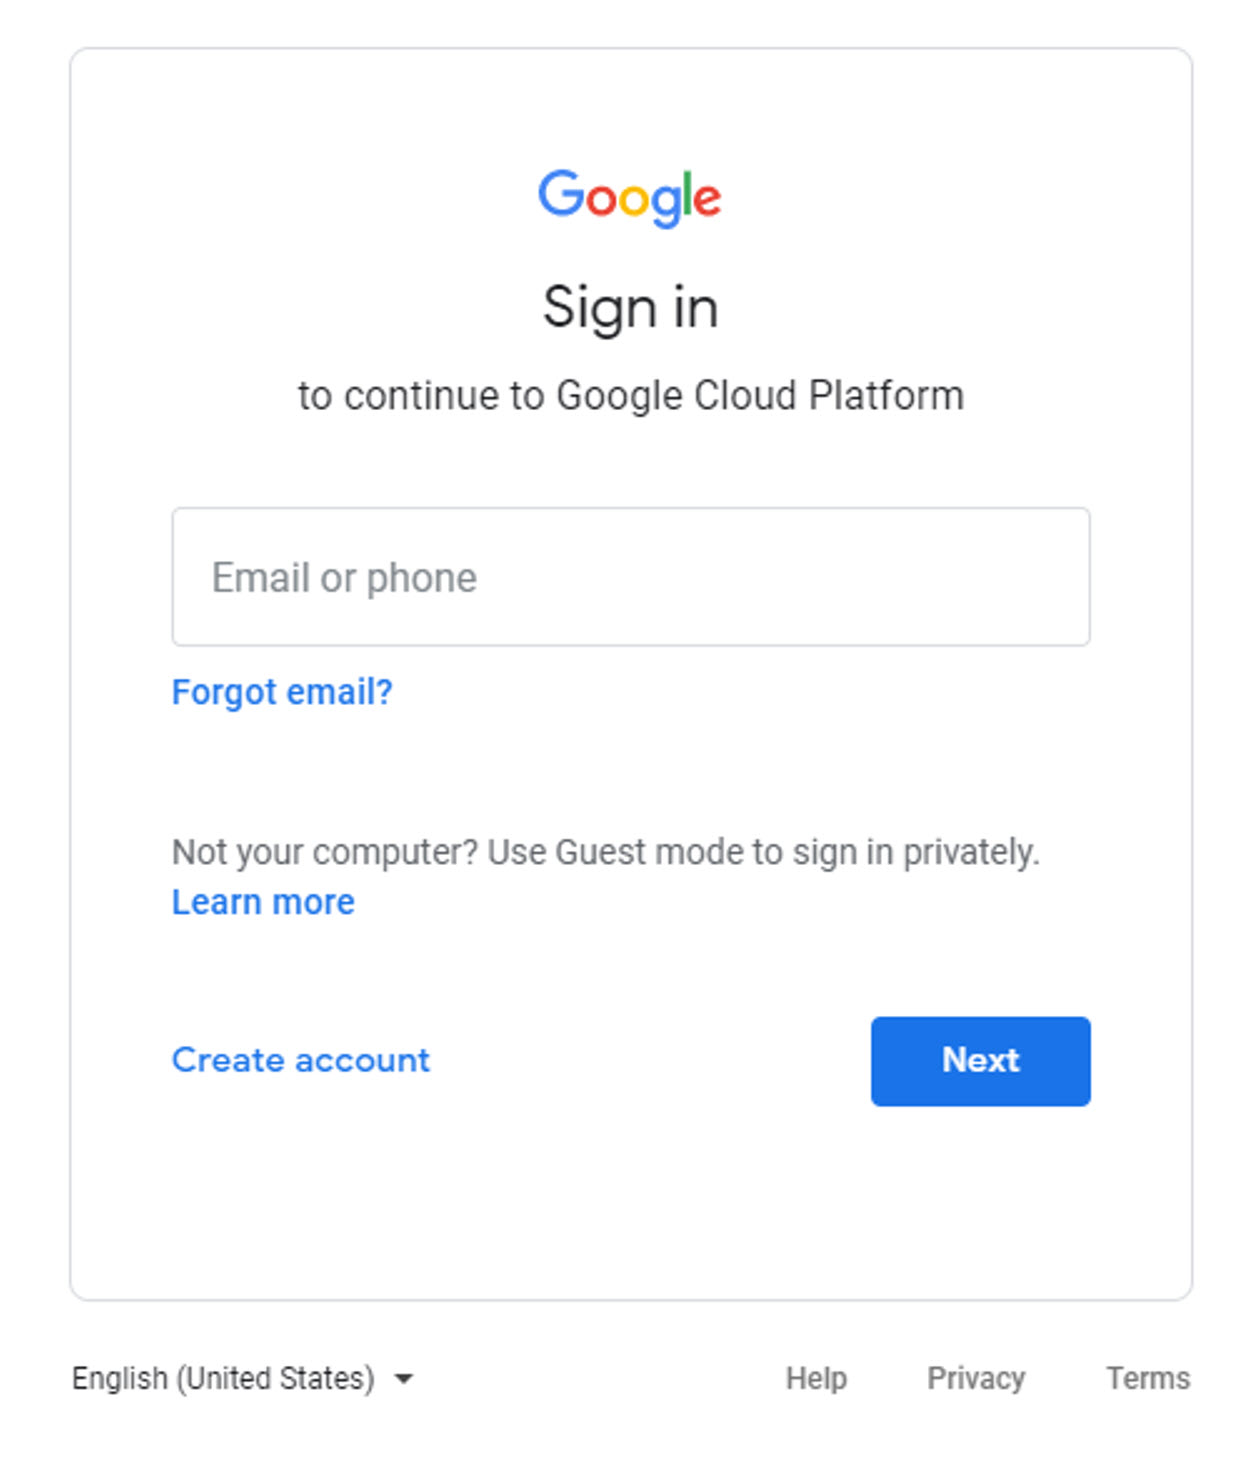
NOTE: You will need to first enter billing information for your Google Cloud account (https://console.cloud.google.com/) in order to activate the Google Maps API (to take advantage of your Google for Nonprofits Grant and associated Google Maps API credit (see Prerequisite #1 above), be sure to use the same Google account you are using for Google for Nonprofits.
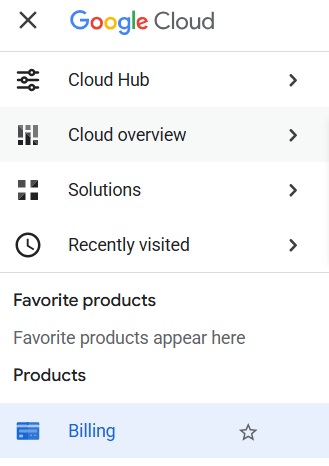
First, follow the Billing menu item from the main Google Cloud menu:
From here, you can enter your billing information:
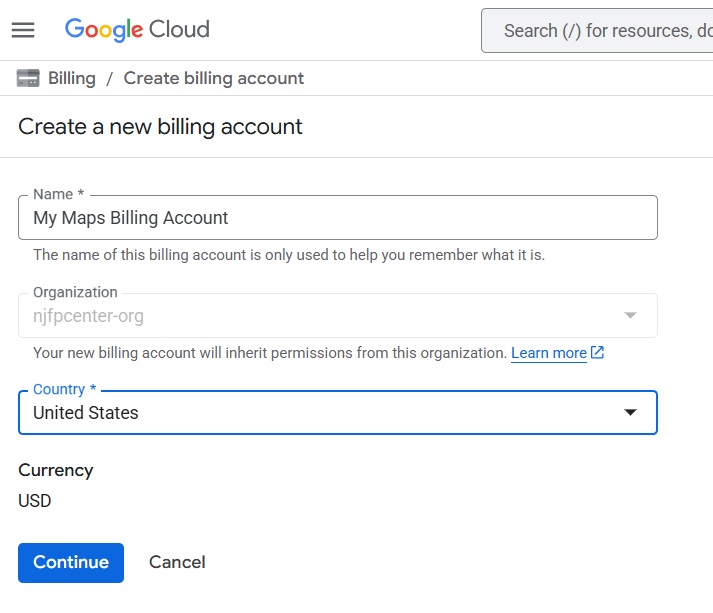
Once you have entered your billing information, you can continue on to set up your Google Maps API.
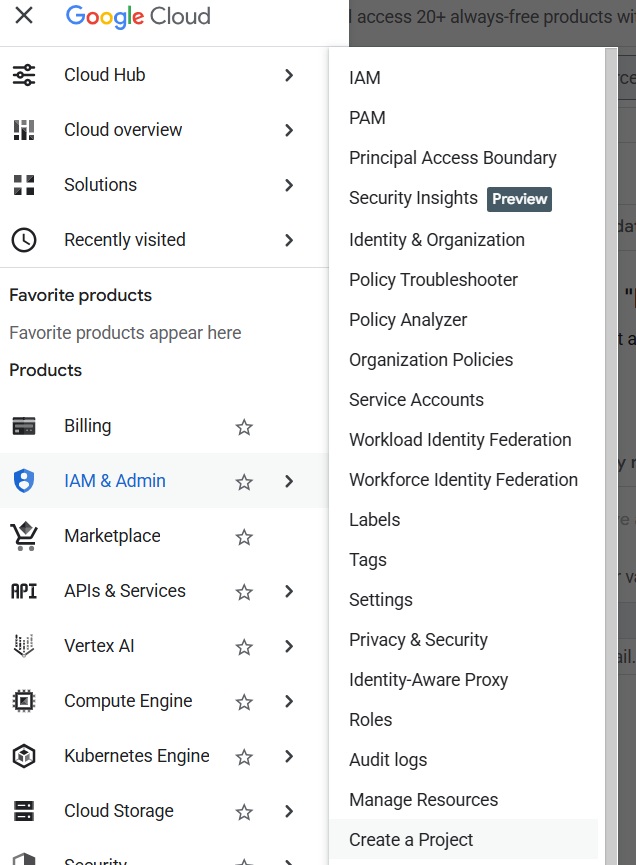
Step 2: After logging in you will need to create a new project.
* NOTE: Once you enable the Maps Javascript API, you will be presented with a key. Copy that key and save, and then click "Go to Google Maps Platform".
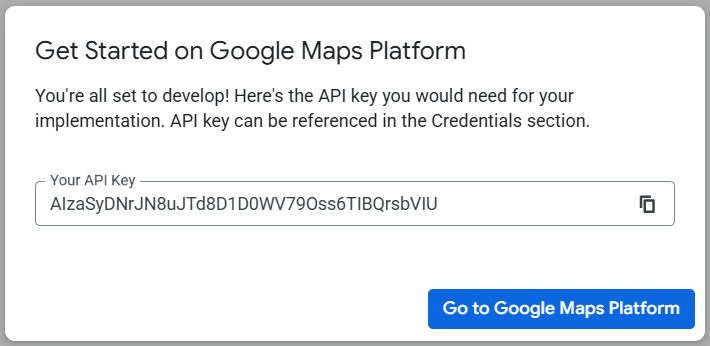
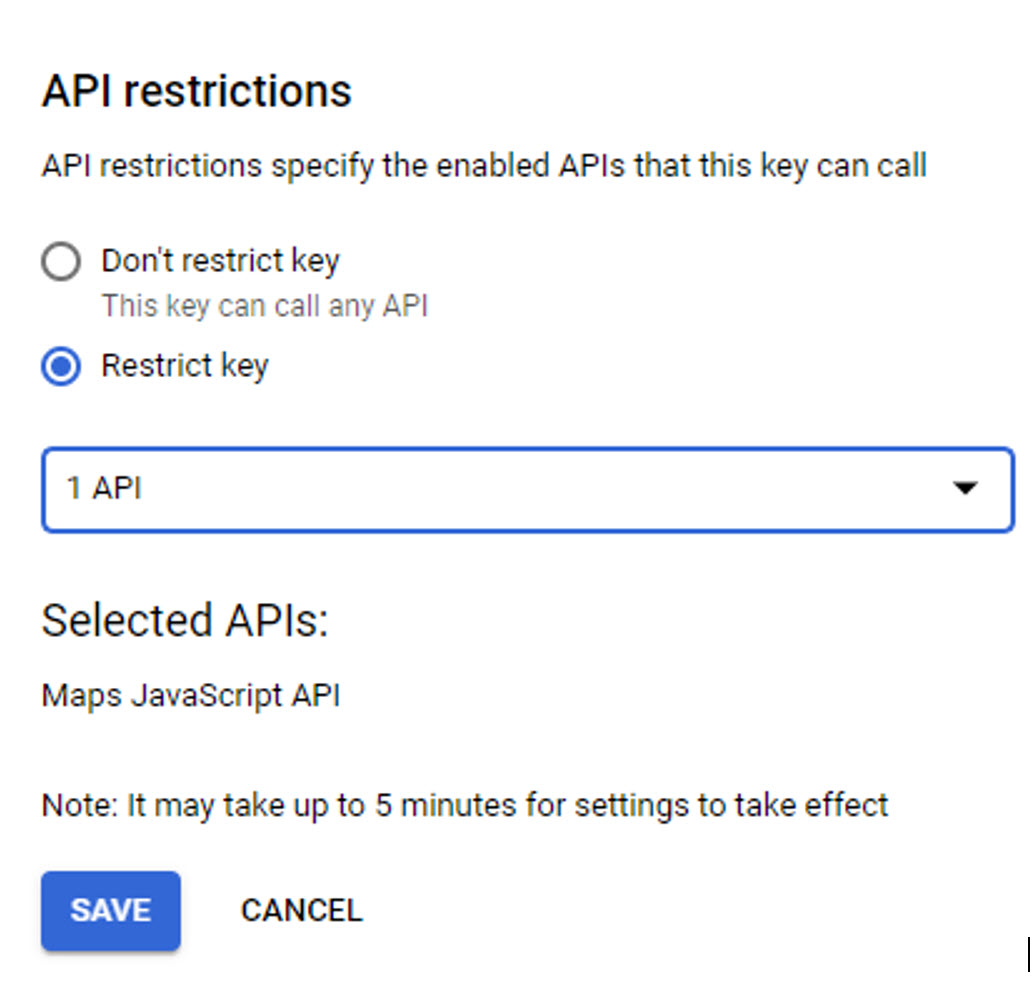
If the key is not automatically generated, please follow step 4 below. Otherwise, the next step is to select your restrictions on the next screen.You will then select "Websites" as your restriction and enter https://*.charityengine.net/*:
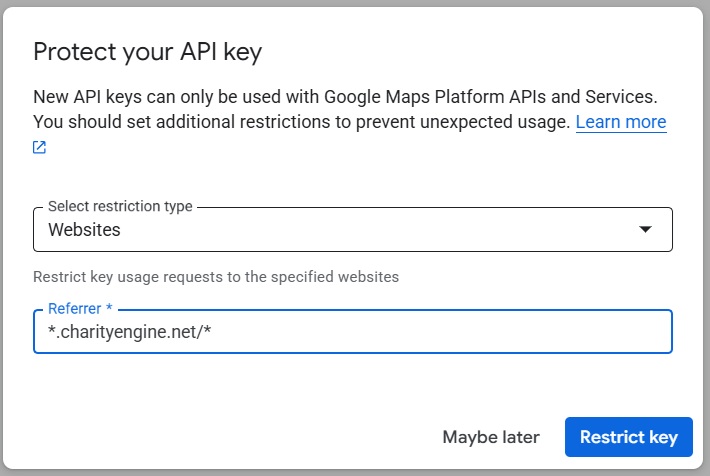
You can then click "Restrict Key" and skip to Step 7.
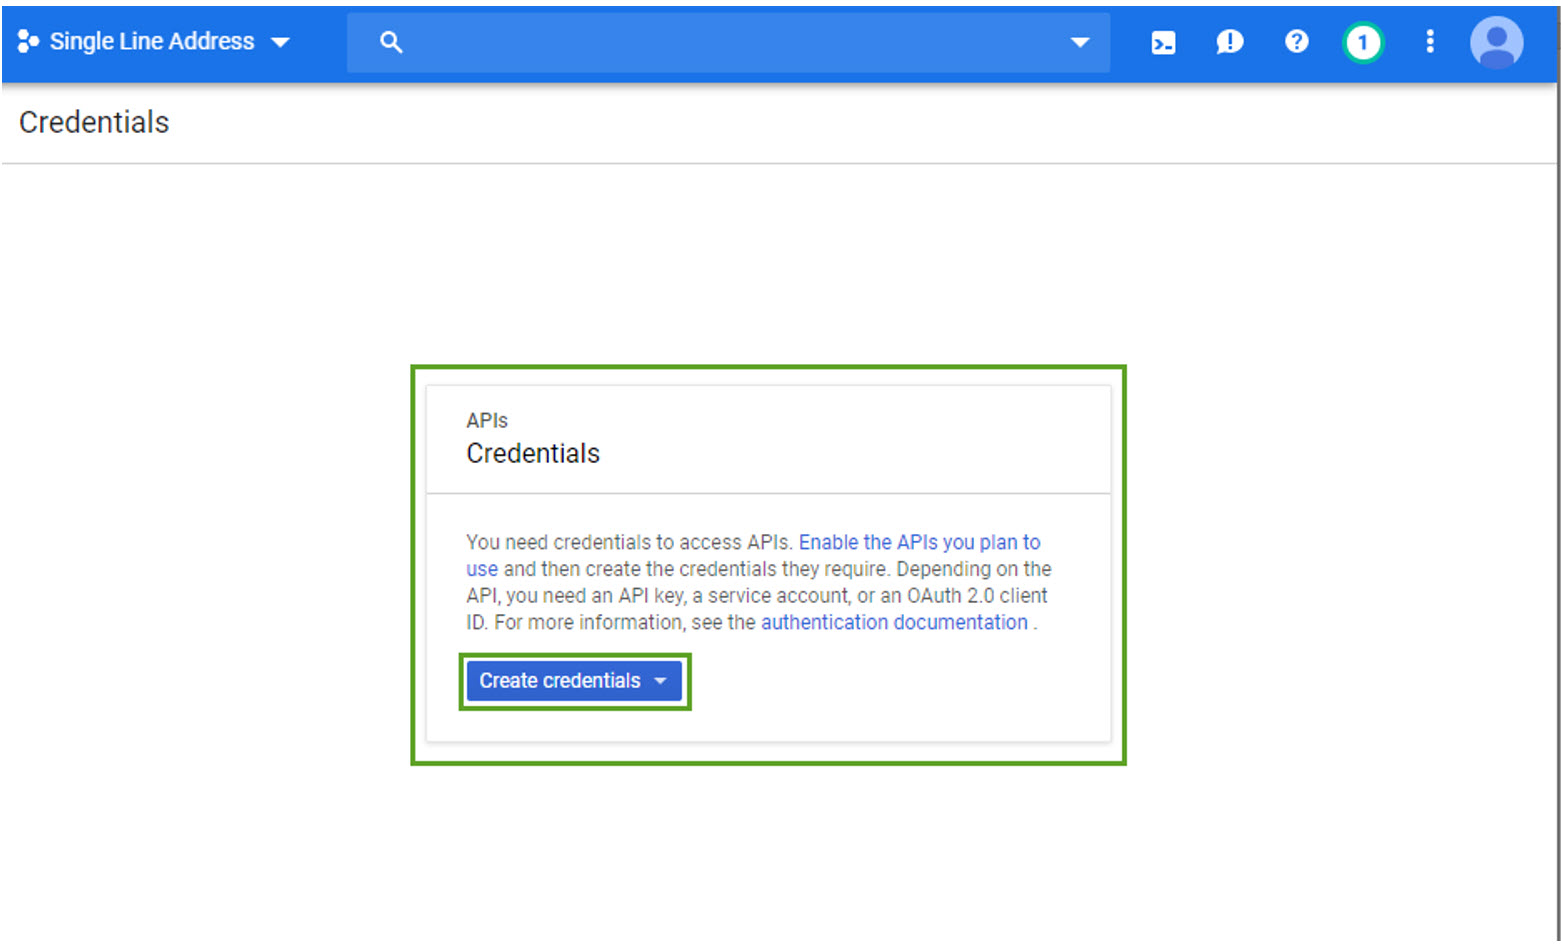
Step 4: After enabling the JavaScript API you will need to generate API credentials. Navigate to Keys & Credentials. On the next
Step 5: On the next
Step 7: After saving your Credentials, you can see your key in the API Keys section of the Keys & Credentials menu item in the Google Maps Platform.menu:
Click Show Key to see the key and copy it to your computer for future reference within the CharityEngine product:

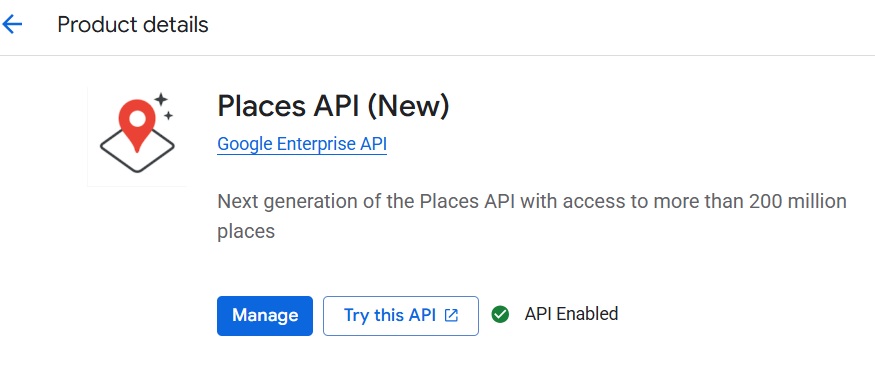
Next, search for Places in the top search bar (type "Places" and hit enter). You should then see both the new and old Google Places showing in the results screen:
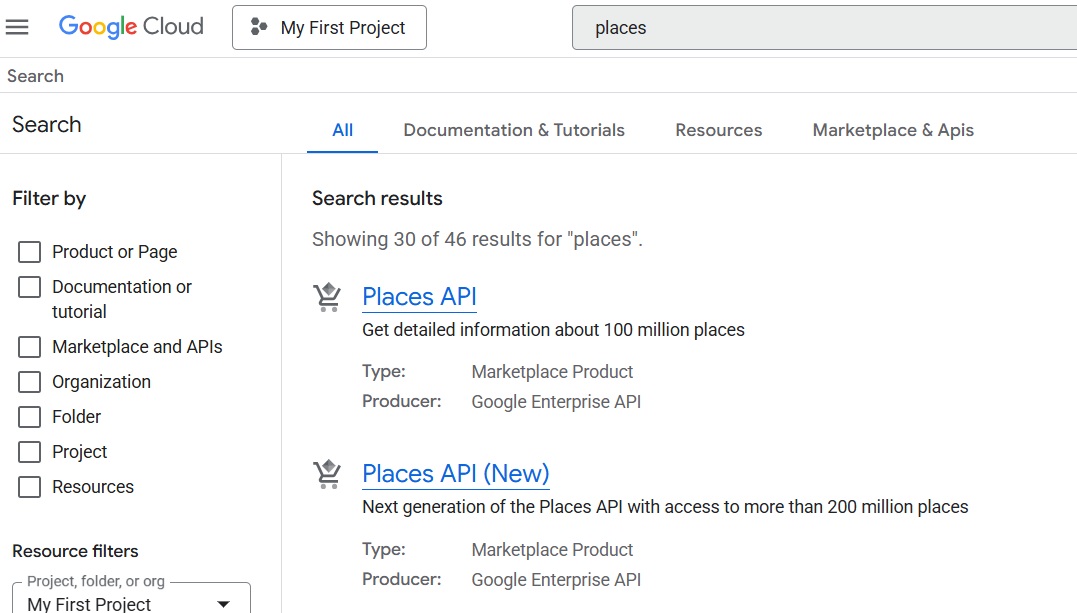
From here, click into each to ensure they are enabled:

At this point your Google Maps API key should be ready for use in the CharityEngine product.
Instructions - Adding your Google API Key to CharityEngine


FAQs & Further Reading
A. Please refer to your contract for pricing or contact your account manager for more details.
A. Users can leverage the Geolocation Updater in a variety of locations including:
-
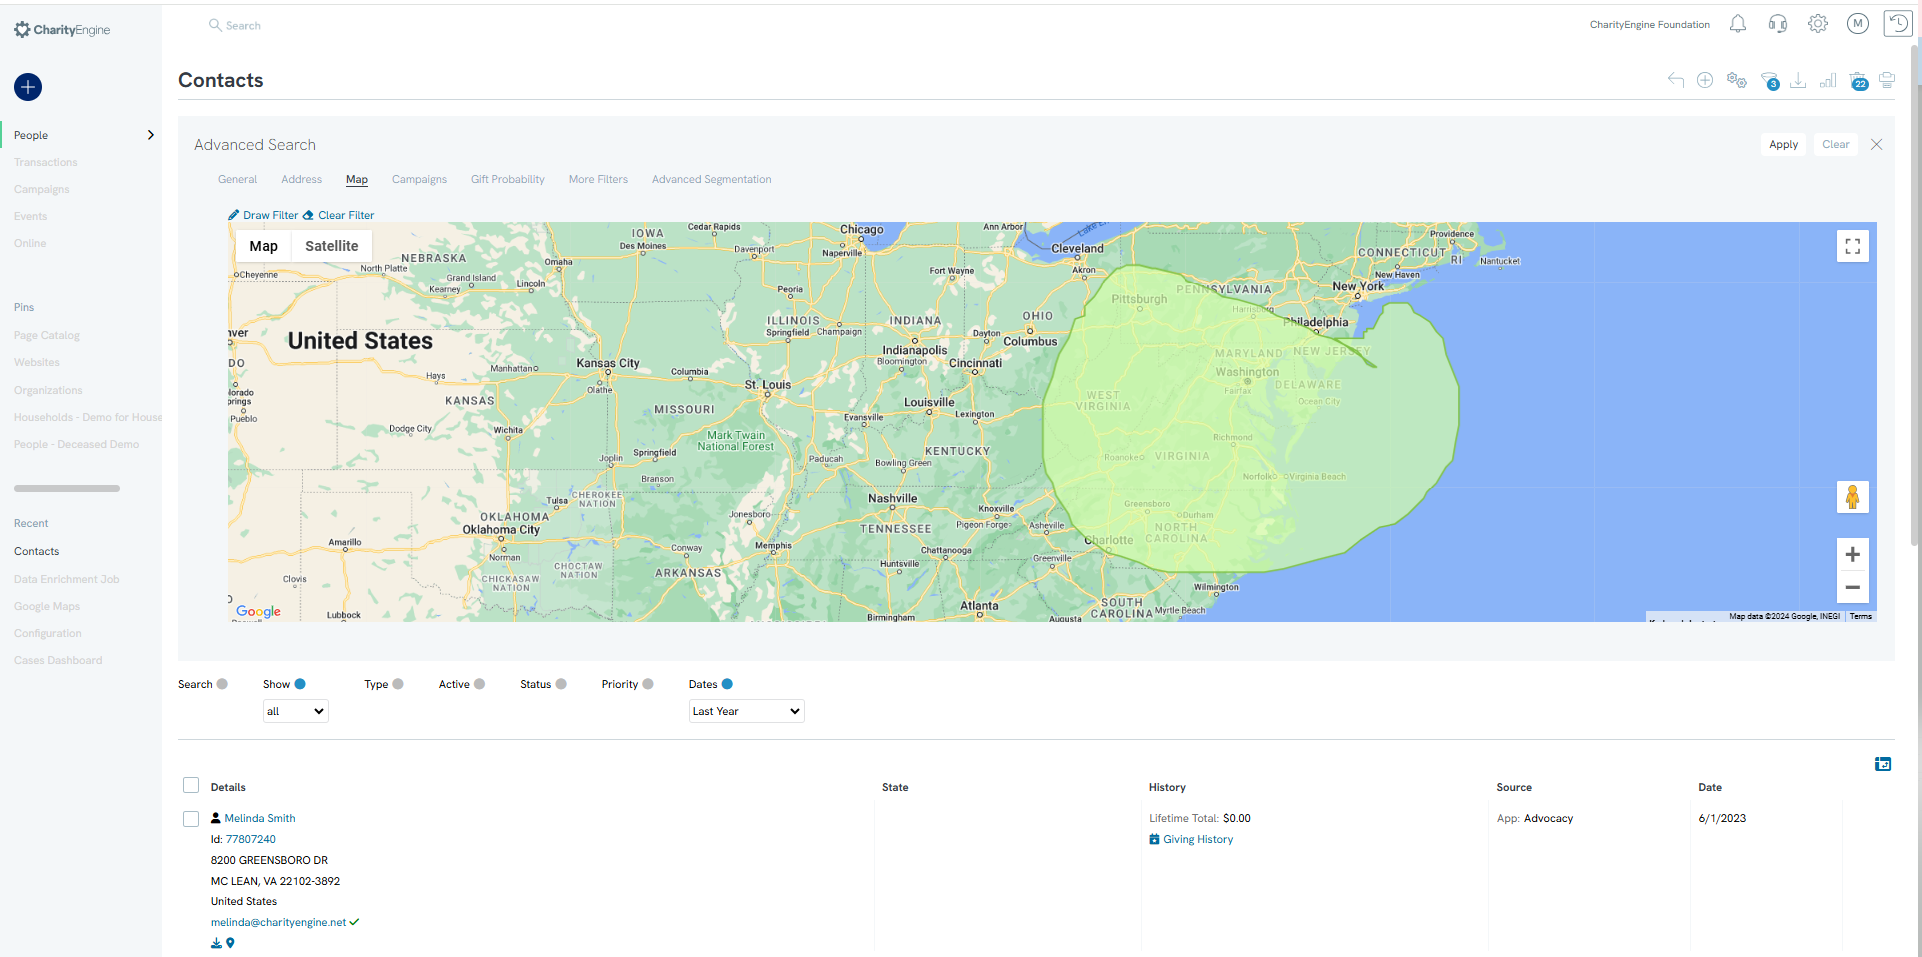
- the People App > Organization & People > >Contacts > Search & Manage > Advanced Filter > Map
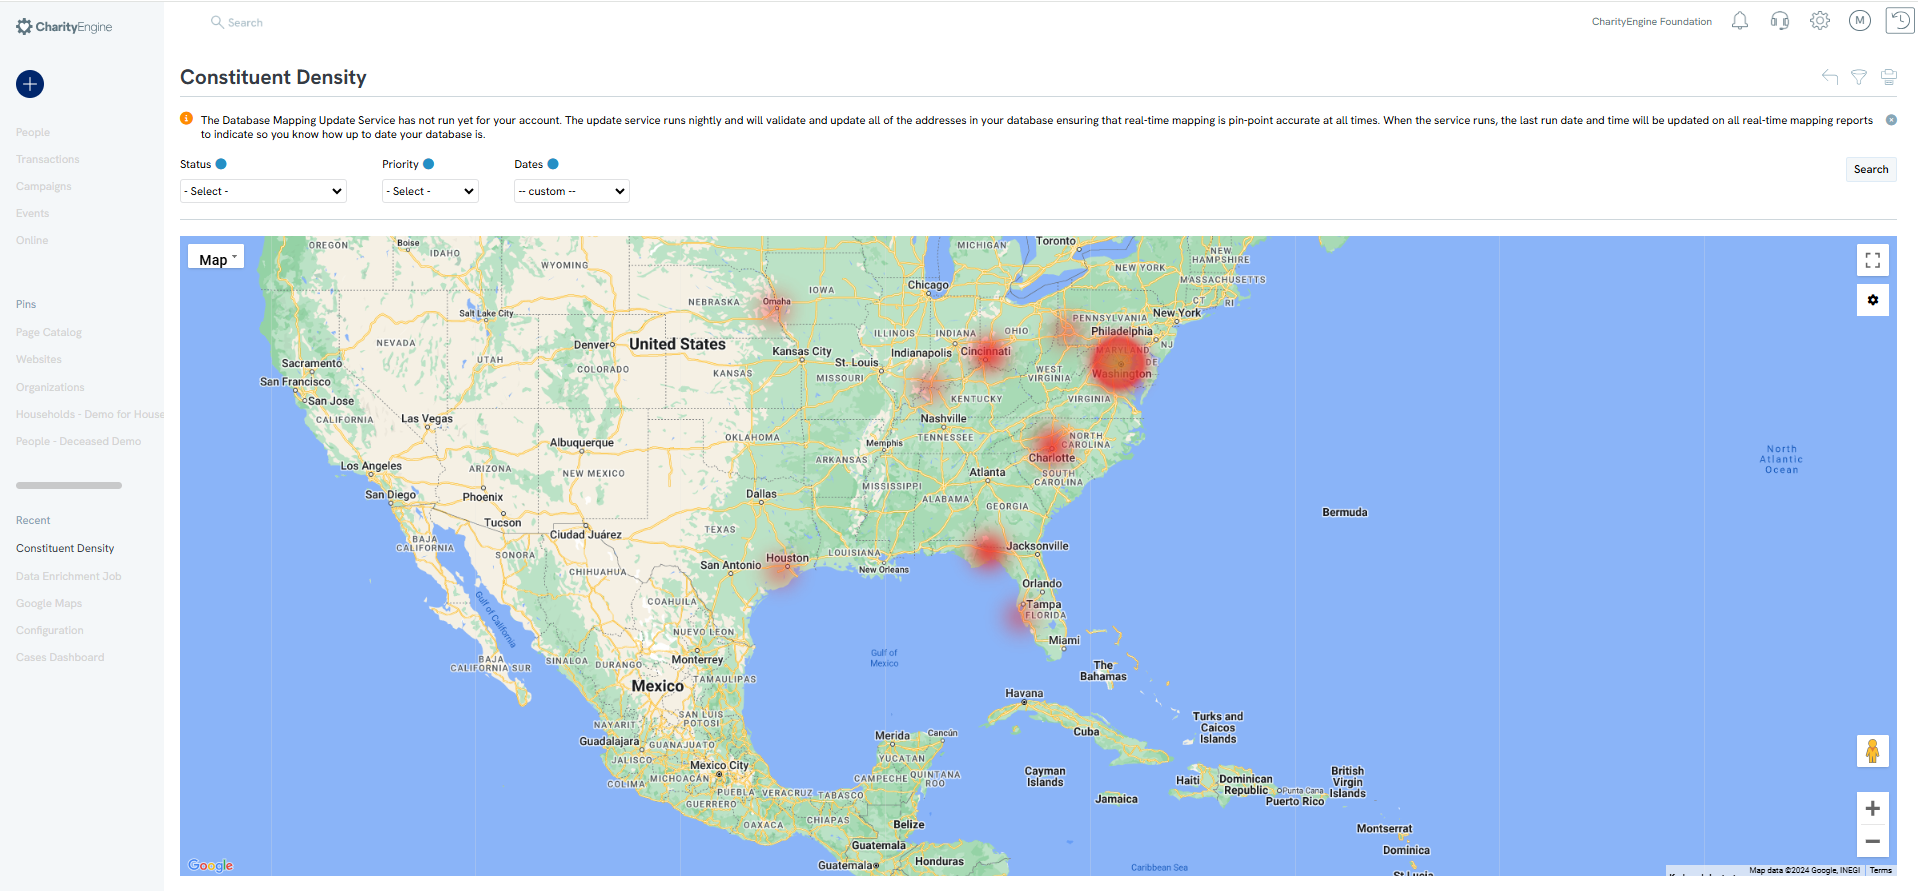
- the Reports & Analytics App > Contacts > Constituent Density
- leverage Google Maps integration for custom dashboard development - learn more here on dashboard development
- the People App > Organization & People > >Contacts > Search & Manage > Advanced Filter > Map
A. Yes - once integrated, users will have the ability to leverage the Google Maps Integration for auto population of addresses.
-
Sign in to Google Cloud Console
-
Go to console.cloud.google.com.
-
Log in with the Google Account associated with your project.
-
-
Select Your Project
-
At the top of the screen, open the project selector.
-
Choose the project where you want to enable the Places API.
-
-
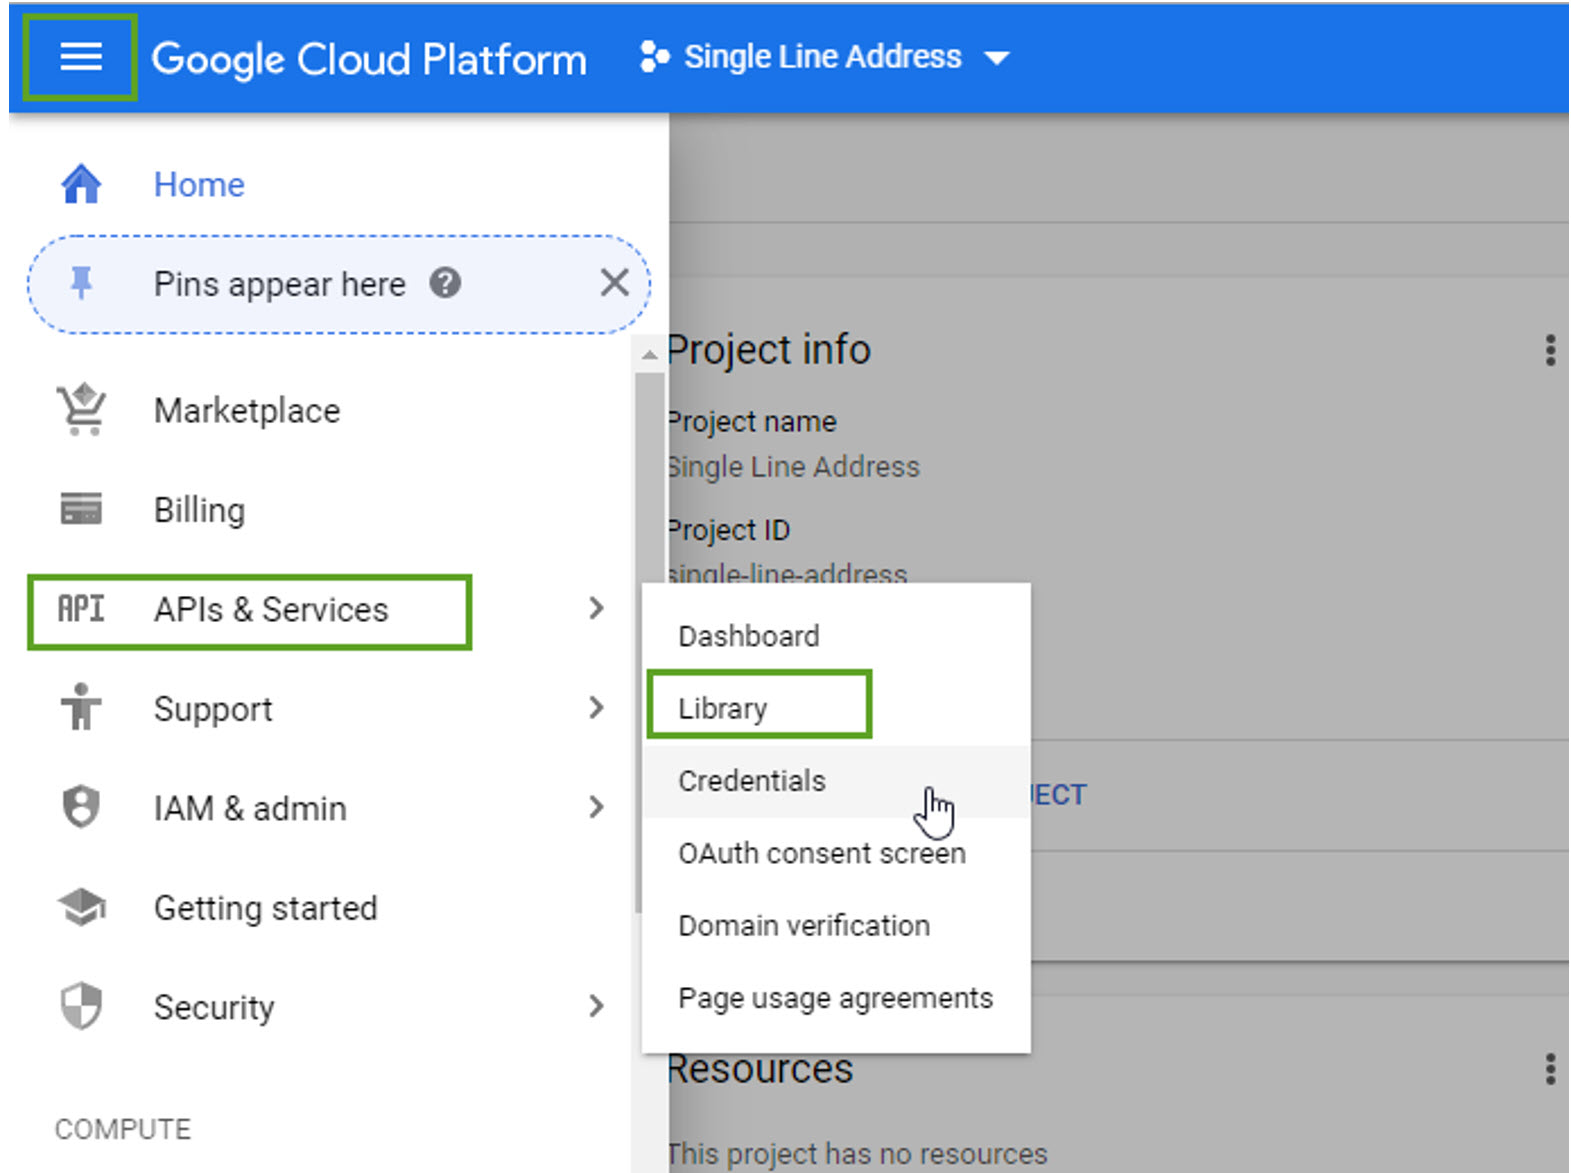
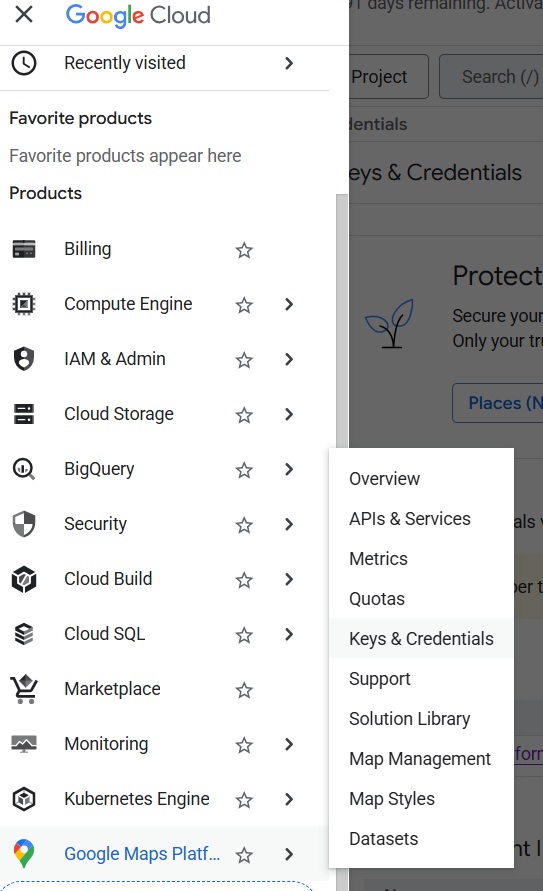
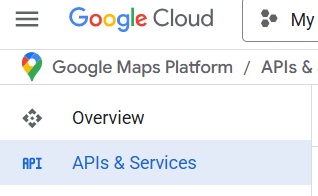
Open the “APIs & Services” Dashboard
-
From the left-hand navigation menu, click APIs & Services → Dashboard.
-
You will see a list of APIs already enabled for your project.
-
-
Enable the Places API
-
At the top of the dashboard, click + ENABLE APIS AND SERVICES.
-
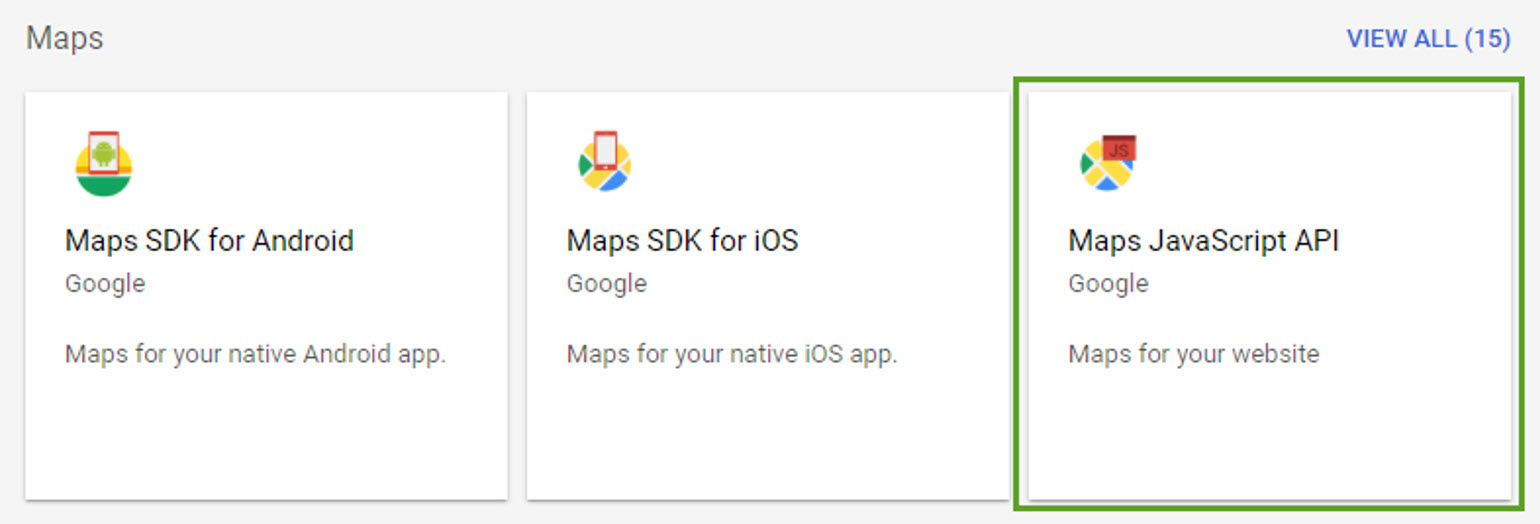
This opens the API Library.
-
Search for Places API.
-
Click on Places API in the results.
-
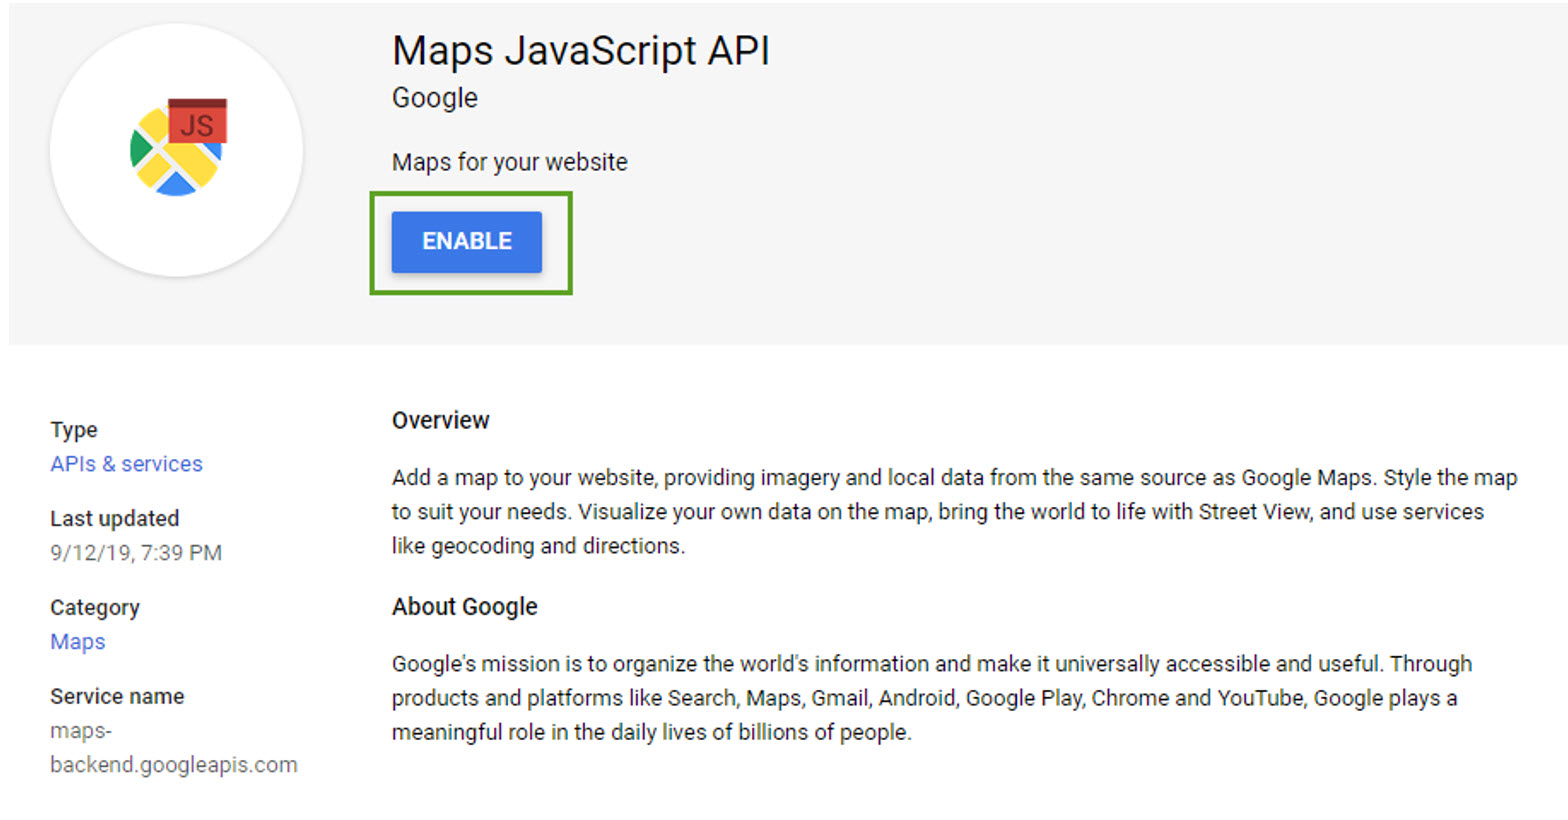
Click the Enable button.
-
-
Verify That It’s Enabled
-
After enabling, return to APIs & Services → Enabled APIs & Services.
-
Confirm that Places API now appears in the list.
-
-
(Optional) Manage API Settings
-
From the Enabled APIs list, click on Places API to:
-
View usage metrics.
-
Set quotas or restrictions.
-
Manage credentials and API keys.
-
-
-
You’ll need a valid billing account set up in Google Cloud for the API to function.
-
If you don’t see Places API in the library, check that your project has the correct permissions and that your account has billing enabled.
