Table of Contents
If your organization is utilizing householding and want to assign all new contacts to a household, you can create a query and use the trigger tool to auto assign your contacts to households. After you have created the trigger, you can then schedule the trigger to be run on a set frequency to automate the process of assigning households.
Creating the Query
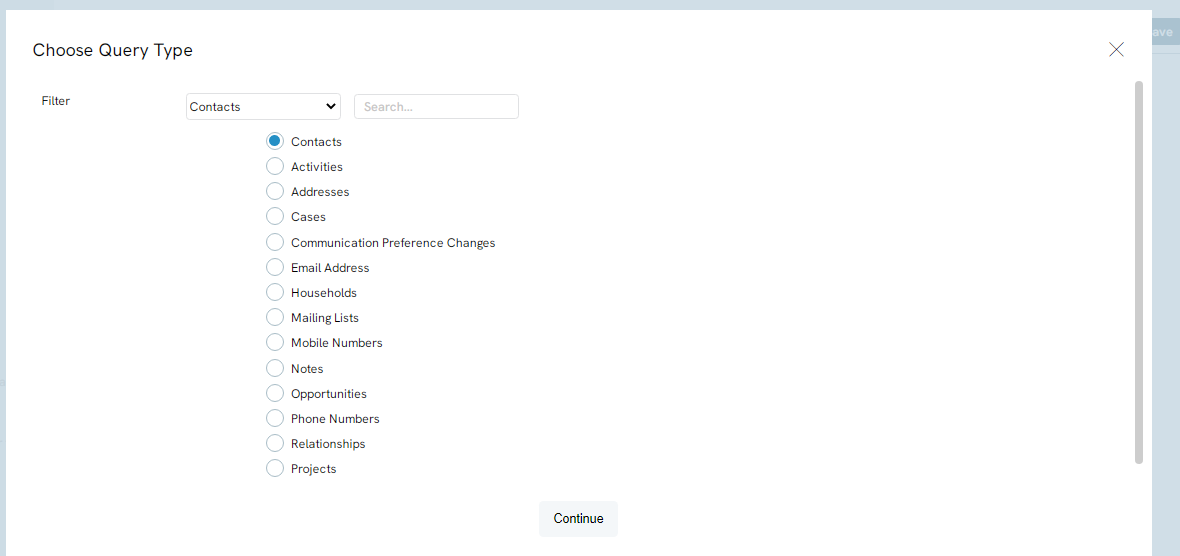
The first step in using the Auto Assign Household Trigger is creating the query that will be used as the data source. Navigate to Automation & Workflow and under General click on Queries and click on Create New. Select Contacts from the filter dropdown and select the Contacts radio button.
In the Select section, make sure you place the Contact Id field in as a minimum requirement; however you can place any other additional fields you want to see In the query.

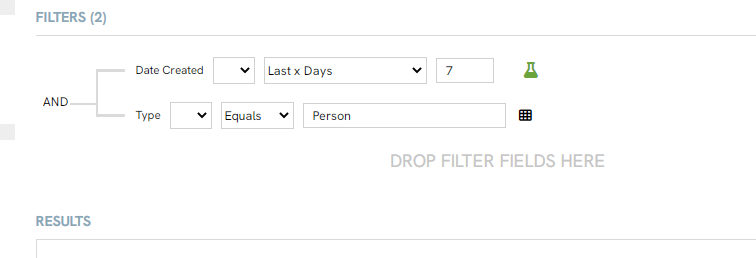
In the filter field add the Date Created field and set it to the frequency you will be running the trigger. For example if you are running the trigger every day, you will want to set it to “Last 24 hours”, or if you are running weekly, you could set it to “Last 7 Days”. You will also want to ensure that the only type of contacts you are pulling in are People and not households or organizations. To do this, add Contact Type Id into the filter and use the dropdown to select Person.
Click Save and Name the query.
Creating the Trigger
Once the query has been created, you will then be able to use that as the data source for your trigger. The trigger is what is going to assign the contacts to a household.
Note: The trigger will create a household for each individual person
To create the trigger, navigate to Automation & Workflow and under the Workflow Section click on Triggers to navigate to the trigger listing screen. Click on Create New in the Upper right-hand corner.
Use the Type dropdown to select Create & Assign Person Household, then click Next.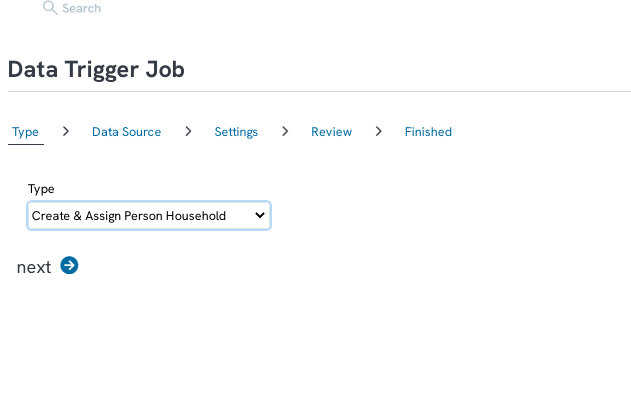
Type in the name of the query you made the previous step as your data source, then click NEXT.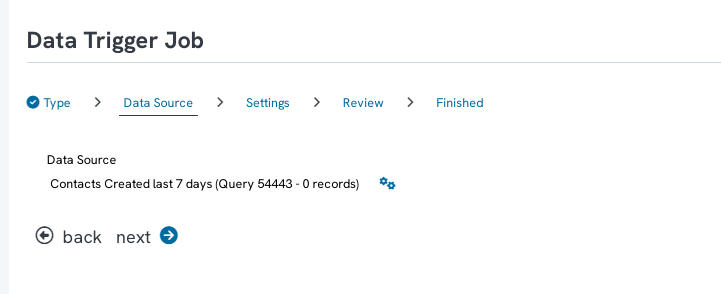
Finish setting up your trigger by entering in a name and any emails you want to be notified of this trigger job.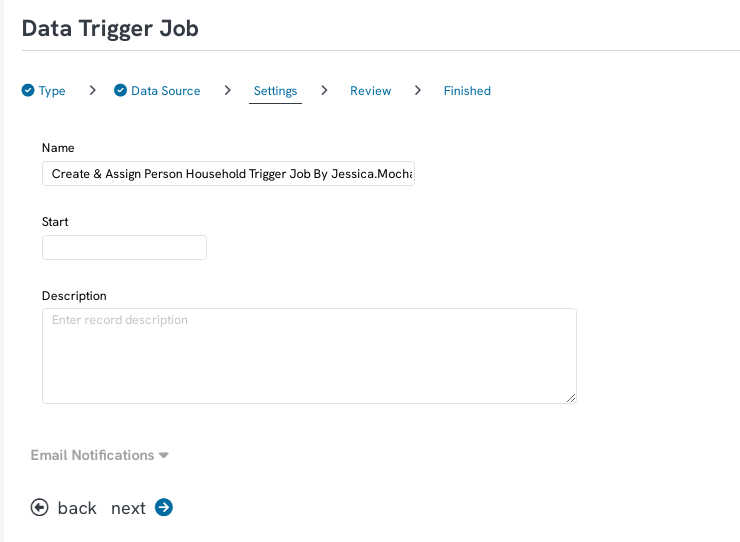
Finally, confirm the job and click FINISH.
Once your trigger job has run, navigate back to the listing screen and you will see the affected population.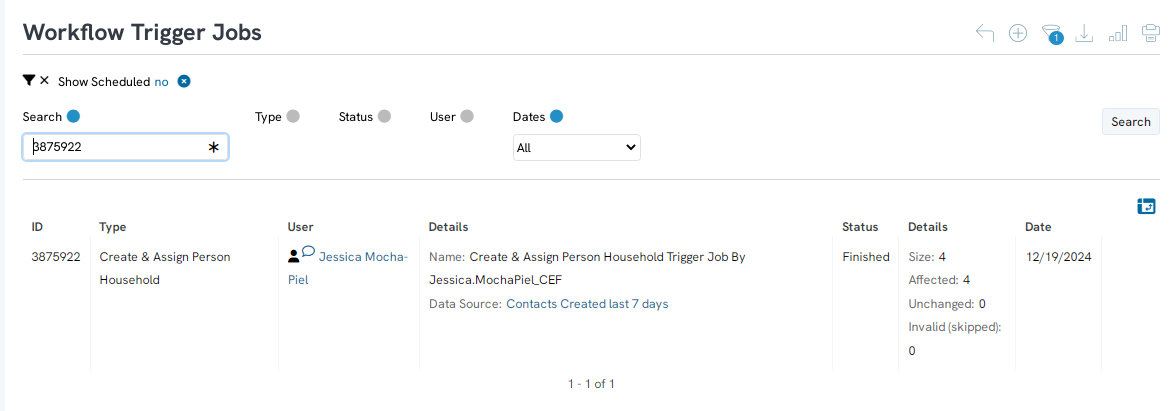
Scheduling Your Trigger
After your initial run of the trigger, you can schedule the trigger to run at a set frequency. This will allow you to automatically set up households without having to manually run the trigger. By navigating to the Trigger Listing screen through the Automation & Workflow application and the Workflow section. Find the trigger you just created. Under Actions click on the three ellipses and click Schedule
Enter in the name of the scheduled job and click SAVE.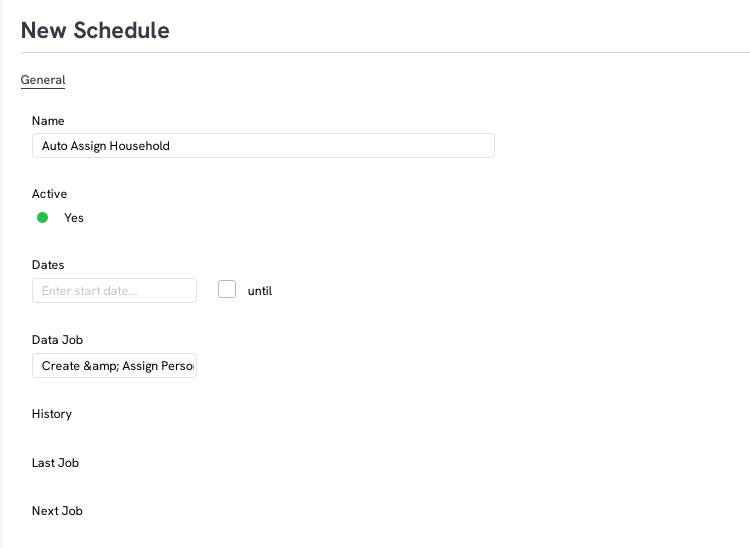
After you click SAVE, the Notification and Triggers tab will appear. On the Notifications tab, enter in any emails you want to receive a notification of the job running. The recipients will get three emails, one when the job is pending, one when the job is running, and one when the job has finished. You can also change the email Subject line to something more descriptive so the recipients know what the job is for.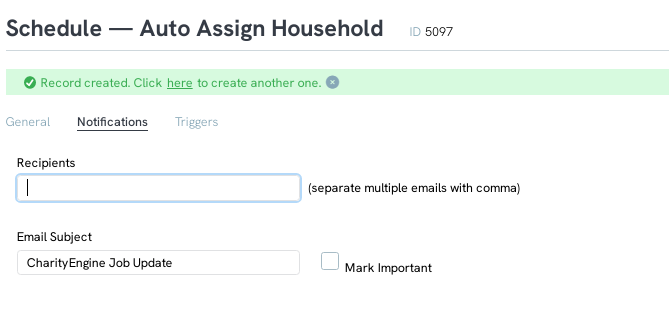
On the Triggers tab, you will be able to set the frequency of the job. Use the first dropdown to select the frequency type. For example, if you want it to run every day, select Day from the dropdown. Use the second dropdown to select the time you want the job to run. For example, if you want it to run at 8 AM select 8th hour of the day, then click ADD to add the trigger.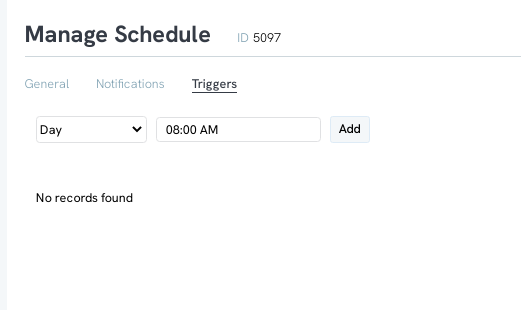
Once your trigger has been added, click SAVE to ensure that your trigger starts to run.
After you have completed all of the steps listed above, people contact records will be added to a household on your set frequency. It is important to remember that these contacts will not be grouped by last name and a new household will be created with every contact that is pulled into the query. You may want to manage these household records on a regular basis to combine households with the same last names for best data management
