Introduction
When contacts leave an organization there are a few practices that should be completed to promote good data hygiene, prevent emails from being sent to inactive users, and to ensure data security. Deactivating contact/user accounts, adjusting their preferences, and cleansing personal email address from internal notifications, such as form carbon copy and scheduled data/transformation job distribution lists, are a few of the steps that will need to be completed for contacts.
Table of Contents
Prerequisites
Super User/Administrator access will be needed to deactivate CharityEngine access.
Instructions: Deactivating User Account
CharityEngine recommends deactivating the user account.
Step 1: To deactivate the user account, navigate to the Configurations App > User & Roles > User Accounts > locate the user you wish to deactivate > ACTIONS > Manage > General > Main tab
Step 2: Once in their user account, select No in the Active field.
Step 3: Click the SAVE button to save your changes.

Note: CharityEngine suggests deactivating the user over deleting is to keep track of the changelog. By deactivating, you will be able to see who and when the deactivation was completed and you will still have all of the information in the contact history.
Instructions: Removing Email from Web Form Internal Carbon Copy
Contacts can also be carbon copied on internal communication for forms. When the contact has left an organization, they no longer need to be CC’d on internal forms information.
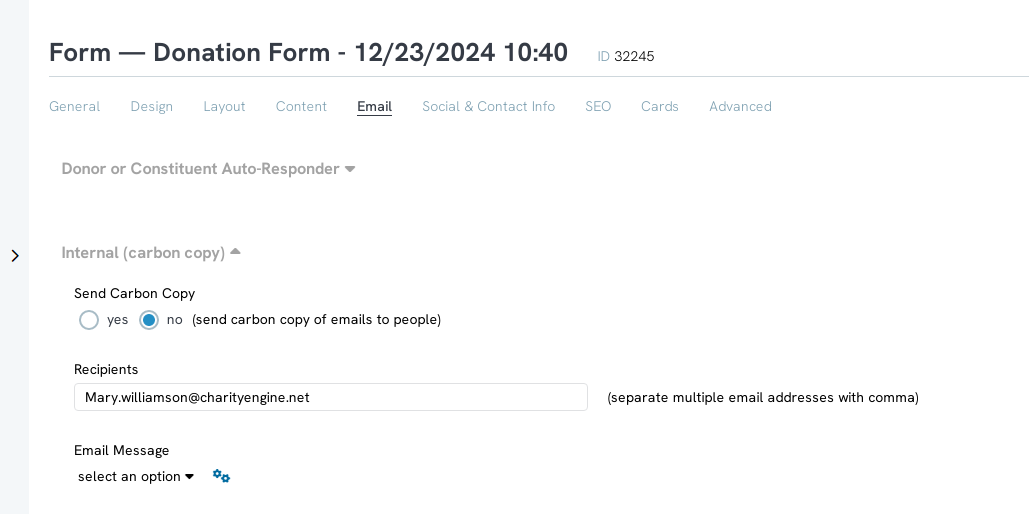
Step 1: To remove the contact email, navigate to the Online App > Web Forms > Search & Manage > locate the form(s) > ACTIONS > Manage > Email tab
Step 2: Expand the Internal ( Carbon Copy) section and locate the contacts email.
Step 3: Delete the contacts email and click SAVE to secure your changes.
Note: Removing the internal cc will have to be done for every form the contact’s email is listed individually.
Instructions: Removing Contact Email from Data Jobs
CharityEngine suggests to do to maintain good data hygiene when contacts leave an organization is removing the contact email from data jobs notifications.
Step 1: To remove the contact email from receiving data jobs notifications, navigate to the Automation & Workflow App > General > Job Scheduler > locate the identified job(s) > ACTIONS > Manage receive notifications.
Step 2: Navigate to the Notifications tab and remove the email of the contact that has left the organization.
Step 3: Click SAVE to secure your changes.
Note: just as you had to remove the contact email from the forms internal cc individually, you will have to remove the contact email from the data jobs notification for each data job they are listed under.
Instructions: Deactivating Contact Records
Deactivating contacts is a very simple process and is a good way to maintain good data hygiene.
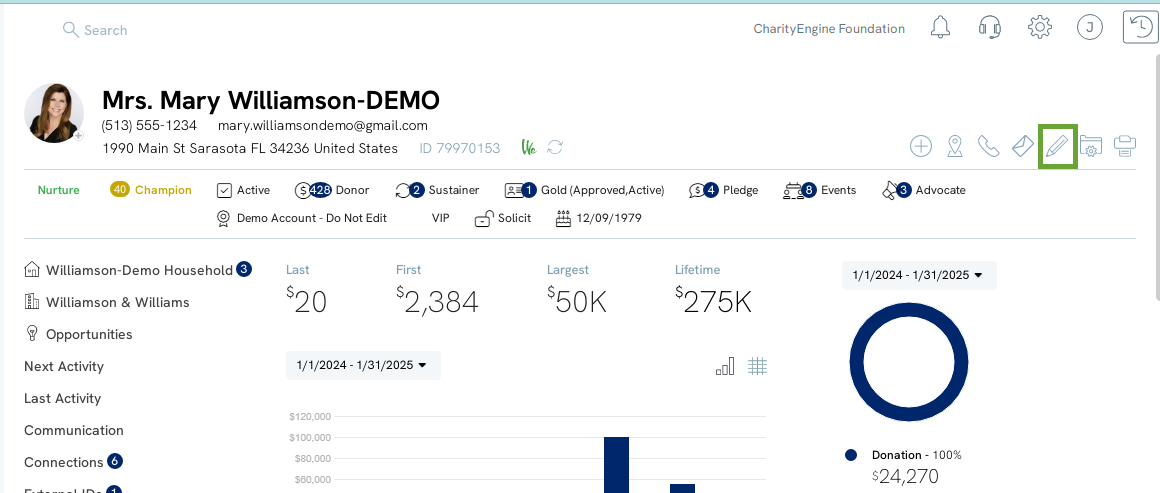
Step 1: To deactivate a contact record, navigate to the Contact App > Organization & People > Contact > locate the contact record > ACTIONS > Manage
Step 2: Locate Edit in the top right hand corner of the contact record

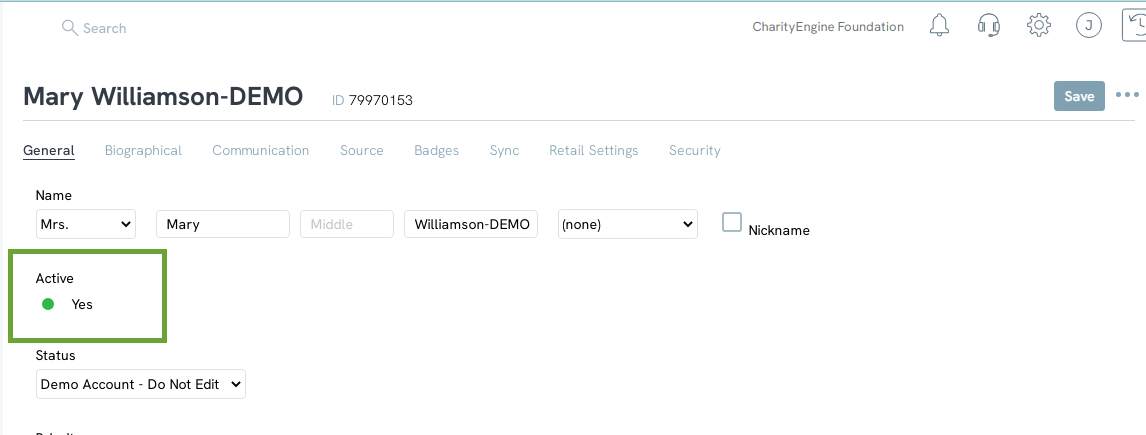
Step 3: On the General Tab, toggle Active to no to deactivate the contact
Step 4: Click SAVE to secure your changes
Contact Records: Marking Preferences to No
Marking a contact’s preferences to No will prevent any form of communication being sent to the contact. This applies to any opt-in lists the contact has opted into or forms they have submitted.
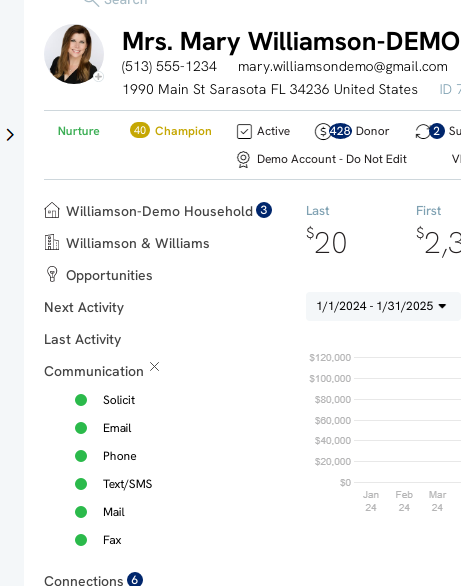
Step 1: To mark the contact's preferences to No, navigate to the Contacts App > Organization & People > Contacts > locate the contact record
Step 2: From the global Communication preference, you can navigate to toggle No

