Manually Entering Trusted IP Addresses
Introduction
Once an IP address is entered into the CharityEngine database, it will become a trusted network. Determining if a network is trusted or untrusted will assist in keeping your accounts secure and safe. If it is the first time a user is logging in from a new network, a blue bar will appear at the top of the screen asking if the network is a trusted network, if “Yes” is selected, the network will automatically be placed in the Trust IP List.
Instructions
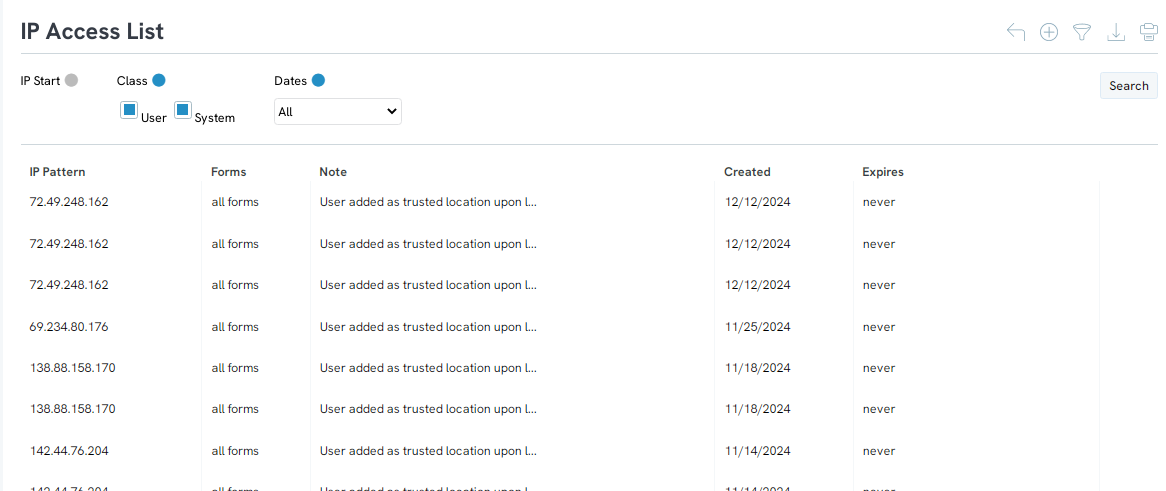
To manually enter an IP Address navigate to Configuration > Security > IP Access List. You will be able to manage all IP Addresses that have already been approved on this screen.
To the + icon to a new IP address, click on create new.
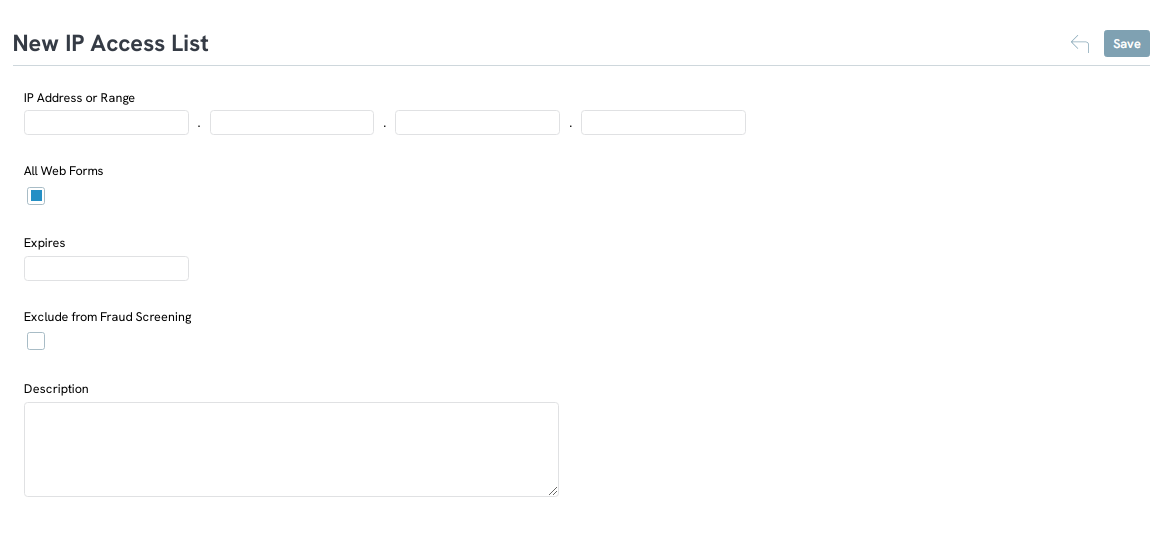
Now you will be able to enter the IP Address to make the user a trusted user.

You can also set an expiration date for the user if the user is only temporary, for example, if someone is visiting your office or will only be using your account for a short period of time, you can set a date when their IP Address will no longer be trusted.
