Introduction
Sessions serve as a way to block off time within an event for specific activities to occur, such as breakfast blocks, pre-conference workshops, etc.
Table of Contents
To find the Sessions page, navigate to Events & Volunteers App > Events > Sessions.

Use the Quick Filters and the Advanced Filter to find a previously created session.

Creating a New Session
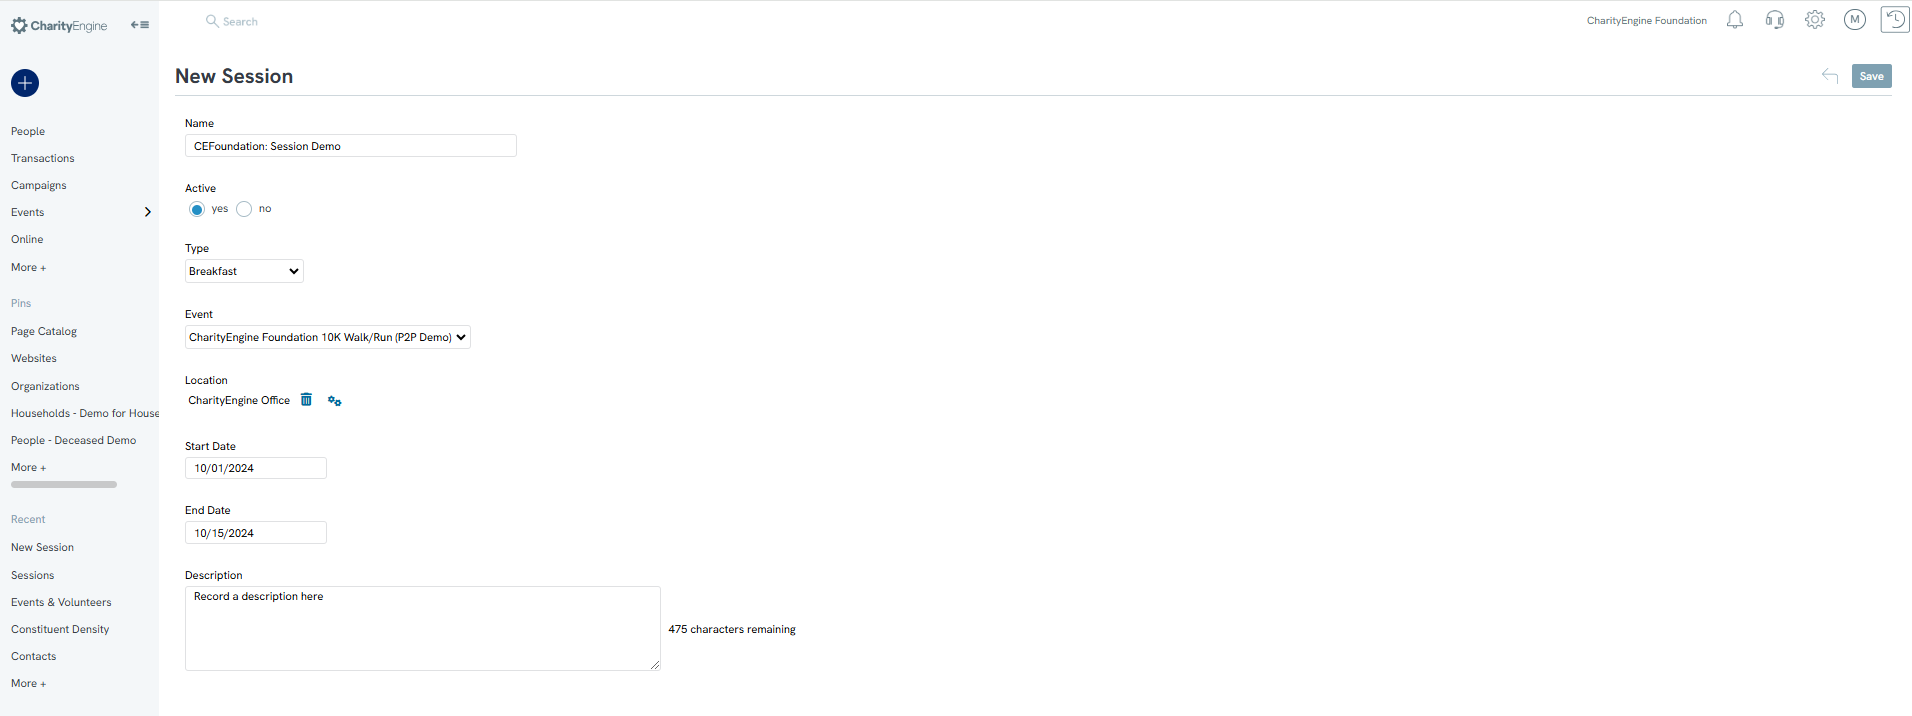
To create a new session, click Create New using the plus sign  in the top right corner of the page.

Fill in the details of the form that appears.

Name: This is the internal referenced name of the session (required)
Active: Default to "yes"
Type: Select from drop down
Event: Select from previously created event name
Location: Select form previously created location
Start Date: Enter start date
End Date: Enter end date
Description: Enter optional internal description name
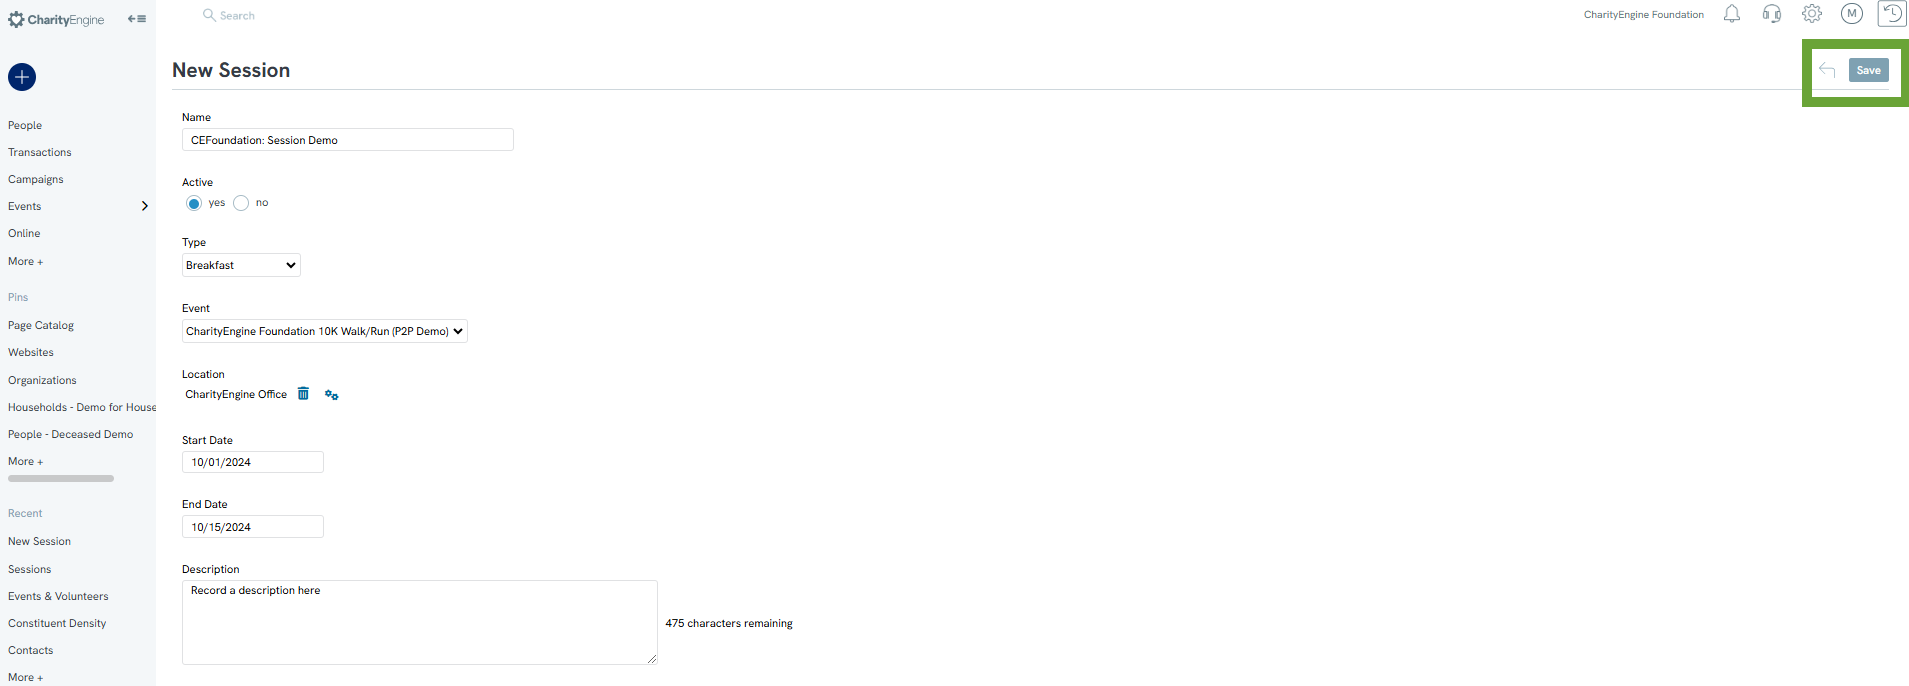
Click Save in top right hand corner.

Managing Sessions
Hover over the ellipse to the right of a listing and click Manage to manage the session.

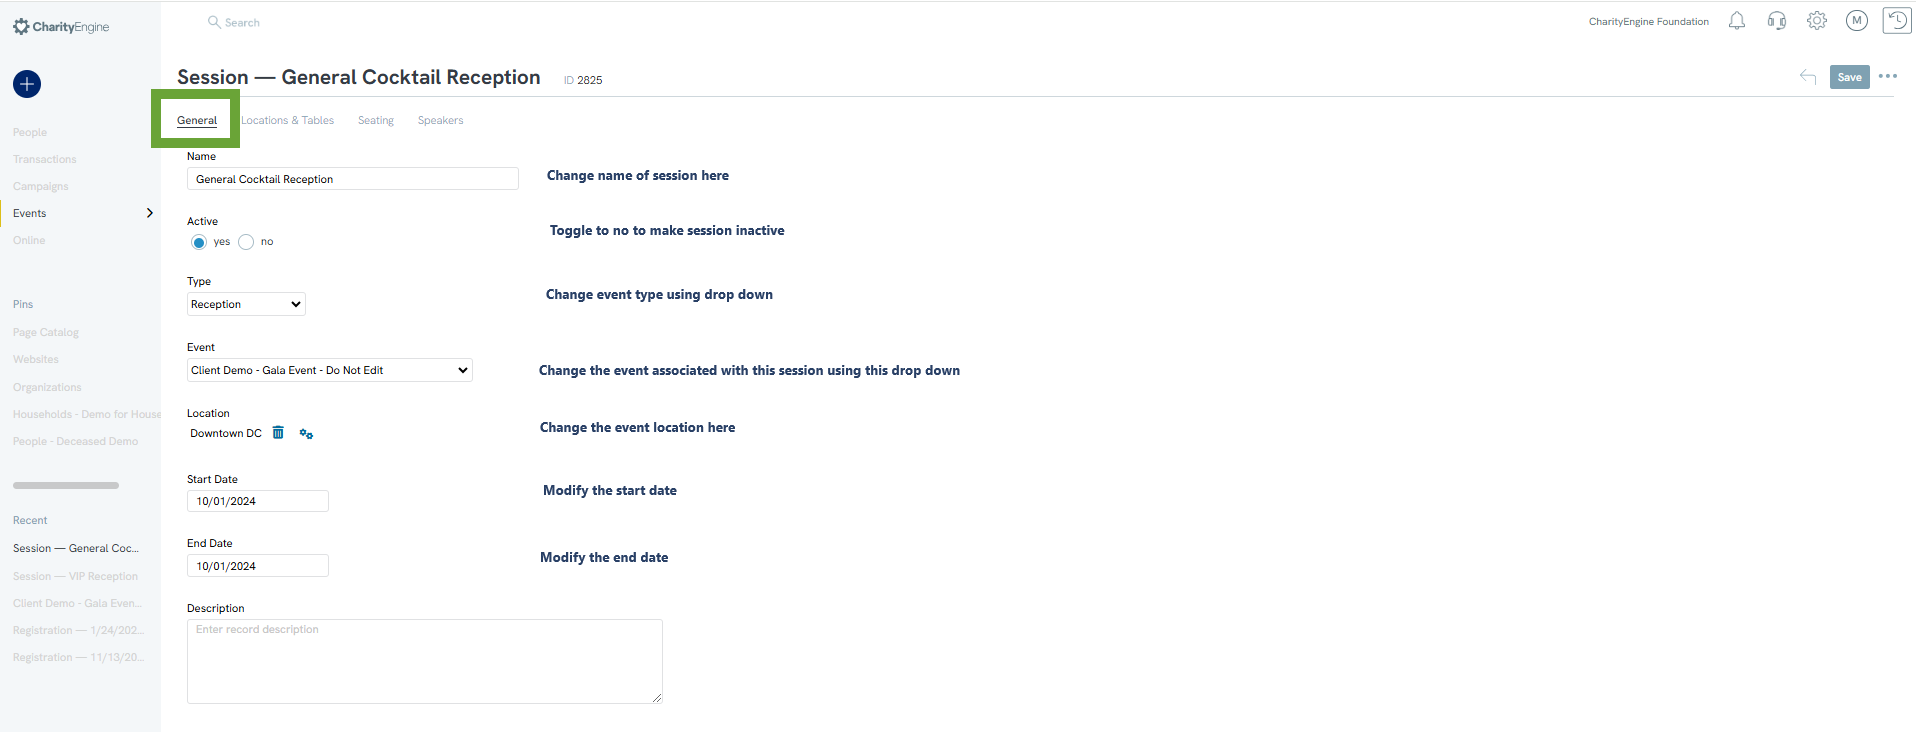
General Tab
Edit the original information under the General tab.

Locations & Tables Tab
Set a location for the session under the Locations & Tables tab. Only available locations will appear under the drop-down.
Add All: Click to add all the available locations/tables
Add: Click to add only select locations or tables

Seating Tab
Use the Seating tab to assign available seats to ticket holders. The only seats that will appear are available ones.
Show: Choose the location/table. If selecting Unassigned, select registrant to assign seat.
Select Available: Select to assign a seat/location

Speakers Tab
Assign speakers to present at your session under the Speakers tab. Choose which speakers you would like to view based on availability (Show: Booked, for example) and assign the speaker by clicking the Assign button.
Show: Select from status
Select Available: Available speakers will appear in a list in this drop down
Type: Designate the type of speaker, i.e. Keynote
