Introduction
Creating custom questions or survey questions to your event forms will allow you to gain more information about the guest who has signed up for the event. These questions are completely customizable, and could b be about food allergies if the event is a dinner or they could be T-shirt sizes if the event is a Run.If you are creating a peer-to-peer fundraising microsite, the survey questions that you create on the Microsite management page will automatically appear during the sign-up page. You do not need to match any fields. A
The following article shows how to create custom survey questions that appear on traditional event forms. This will automatically tie the data to the event registration itself.
Prerequisites
Before creating your survey, please make sure the rest of your event has been set up with the tickets and other key information. Additionally, you will have to create an even registration form in order to add the survey to the form.
Surveys are an upgraded feature and your organization may not have it included. If you do not see surveys in the Campaigns Application, reach out to your account manager to get more information.
Instructions
The first step is to create the survey question in relation to the Event itself. Navigate to the Events & Volunteers application and under the Event section, click on Search & Manage and identify the event you are adding the survey to. Click on the name of the event to manage it. You will see there is a Survey tab where you will be able to create and associate the survey with an event. Click on Add New to add the survey to the event.
You will then be navigated to the survey section in the Campaigns application. The only required field on the general tab is the name of the survey, which could be "Survey for <Insert Event Name> Event". You will notice that the type of survey and the event have already been configured on this page due to navigating form the event itself. There are additional configurations on the general tab that are not required, however you can make your survey anonymous and limit the number of times someone submits the survey. These options are more geared to a survey that is not associated with an event, but you do have the option to utilize them.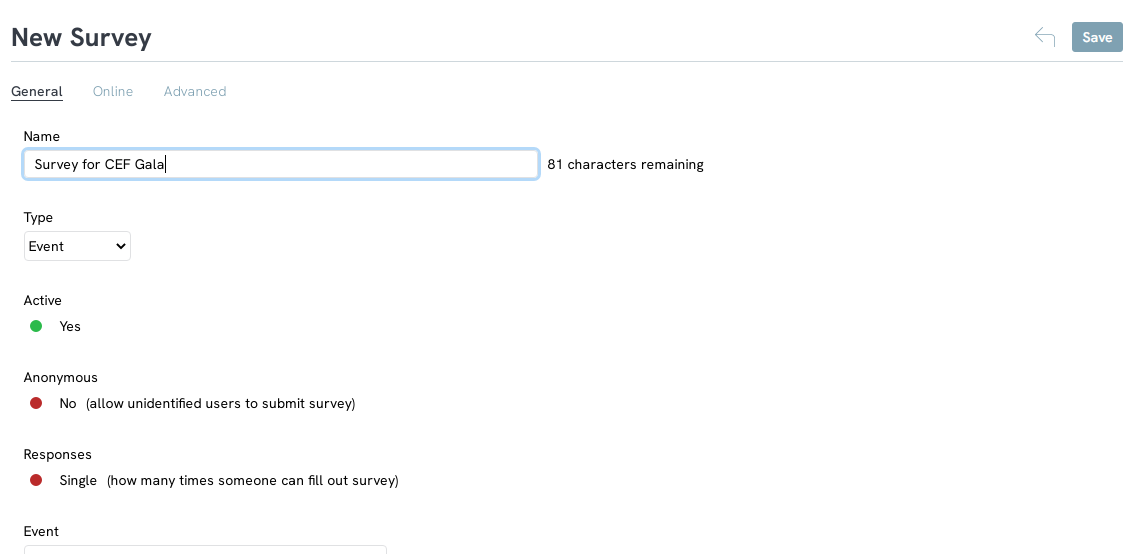
After you enter in the general configuration, click Save you other tabs will appear in the tool bar. Navigate to the Questions tab to create your questions by clicking Add New.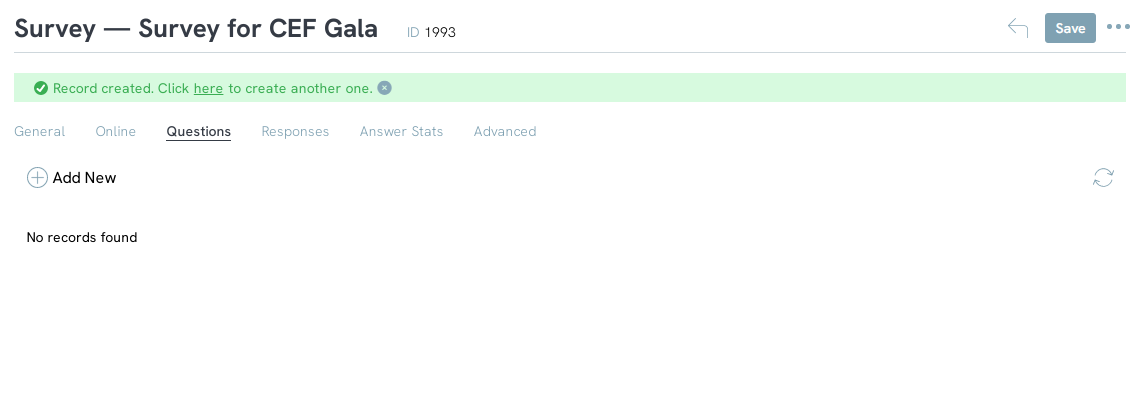
Note: If you want to ask multiple survey questions on the event registration form, make sure that all survey questions are added to the same survey. You will not be able to use multiple surveys on a singular form.
When creating the questions for your survey, you will need to select the render mode, or how the registrant will be answering your questions, and add the actually question. Use the Render Mode dropdown to select either Text, Dropdown, Radio Button, or Check Box. and then use the Question Text box to enter in your question. Click Save after you have finished this step.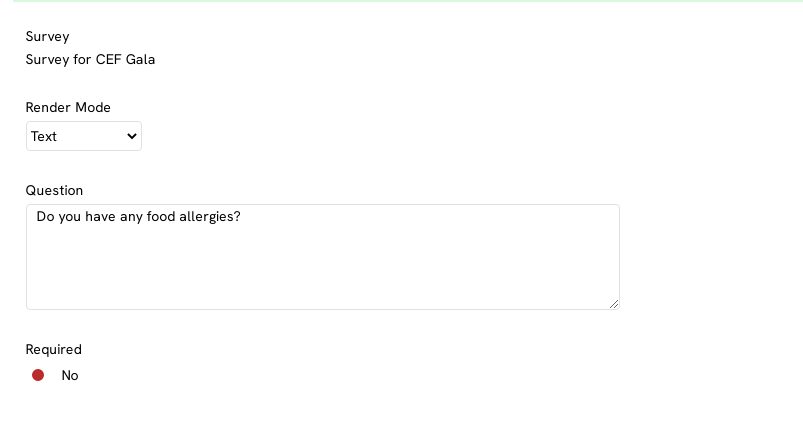
If your answer type is anything other than text, you will notice that another tab called Answer choices appears after you save your question. It is not required to input your answers here as you will have to create the answers on the registration form, however if you plan on sending this survey out separate form your event form, you will need to add your answer choices. If you choose to create you answers here, use the text box to enter the option and click ADD
Now that you have created the survey question, you will need to tie it to the event registration form
Navigate to Online > Web Forms > Search and Manage and click Create New. Select Event form from the form wizard. If you are creating a form for an existing event (as in this example), select the Existing Event from the Search Events dropdown.
Note: If you have not created your event yet, create a new event. Once created, go to that event management page and repeat the instructions mentioned earlier in this article for adding the Survey question. Once that is complete, return to this next step in the process.
Now that our form and event with Survey questions are created, navigate to the manage form page and select the Layout tab.
You can add the survey question to the Contact Info section by clicking the Plus sign and adding a new field.
In this example, we are creating a new section for Survey Questions, which CharityEngine recommends doing on all event forms.
To do so, click Add Custom section and a pop up will appear to name the new section. 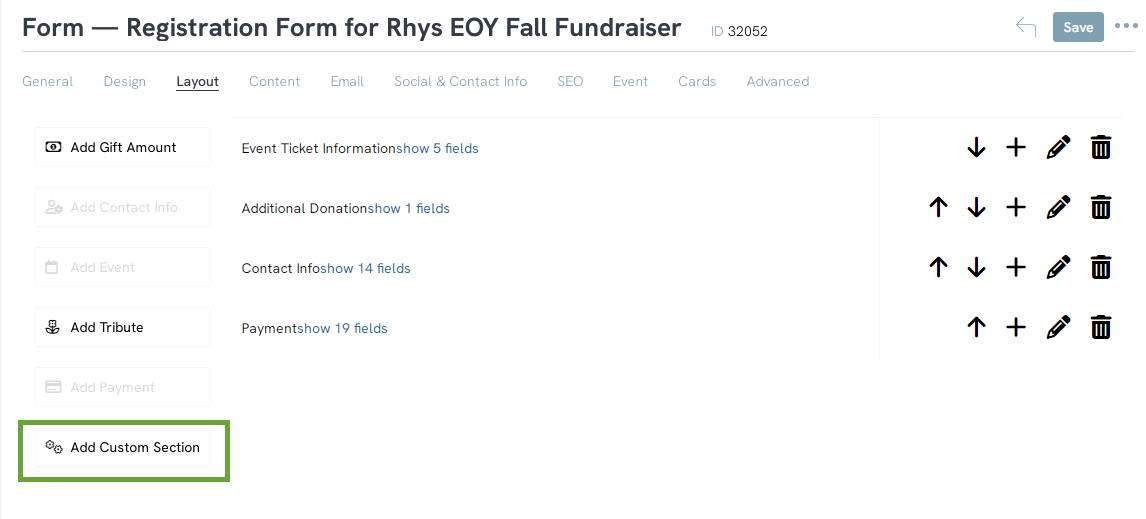

Once created, go to the new section (ours is titled Survey Questions) and click the Plus sign. This will add the new field.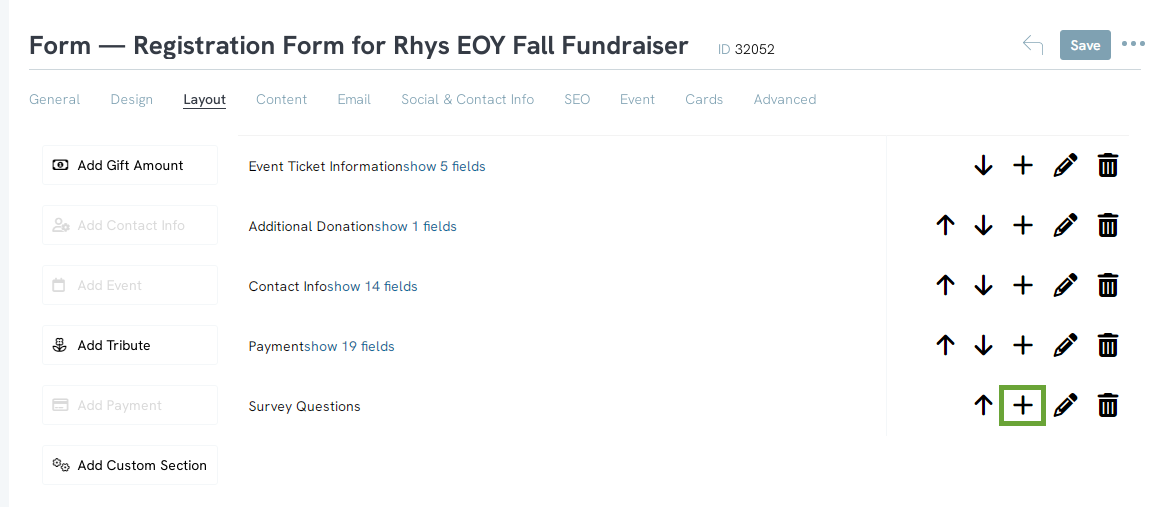
Select the Field Name and the type of survey question that your question is (Ours is the radio button type). Note, the field name is an internal name. This will not appear on your form.
Now that it’s created, return to the Layout Tab. You will see the New field. Click the Pencil to begin editing it.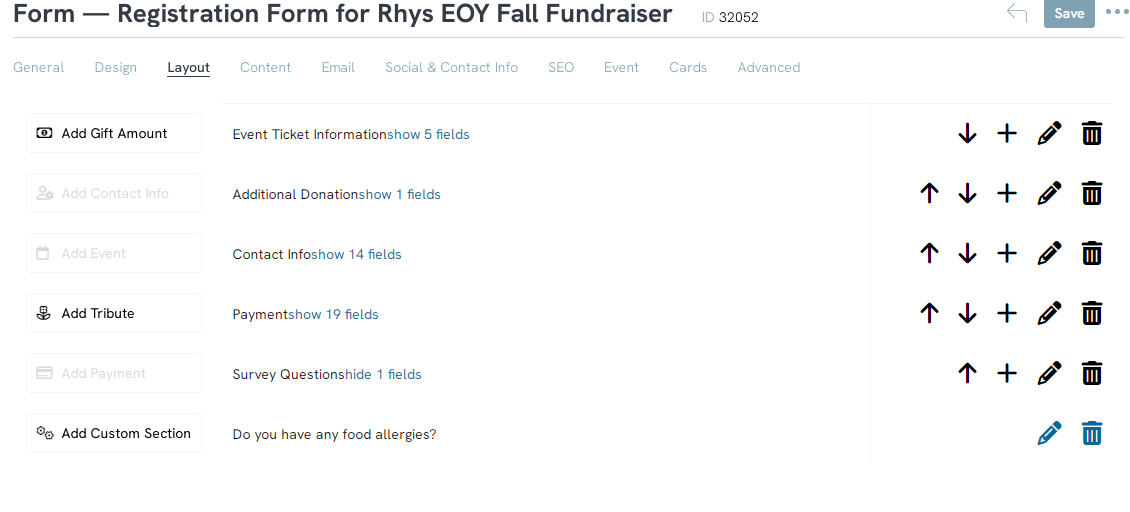
Now we are going to edit the field like any field. The Label is the label for the question that will appear on the form. However, based on the type of question, you may not want the label to appear (i.e. a Checkbox where we simply want them to Check the box next to the question. We don’t need the label to explain it.) Use the Type Dropdown to select how you donors will answer your question. 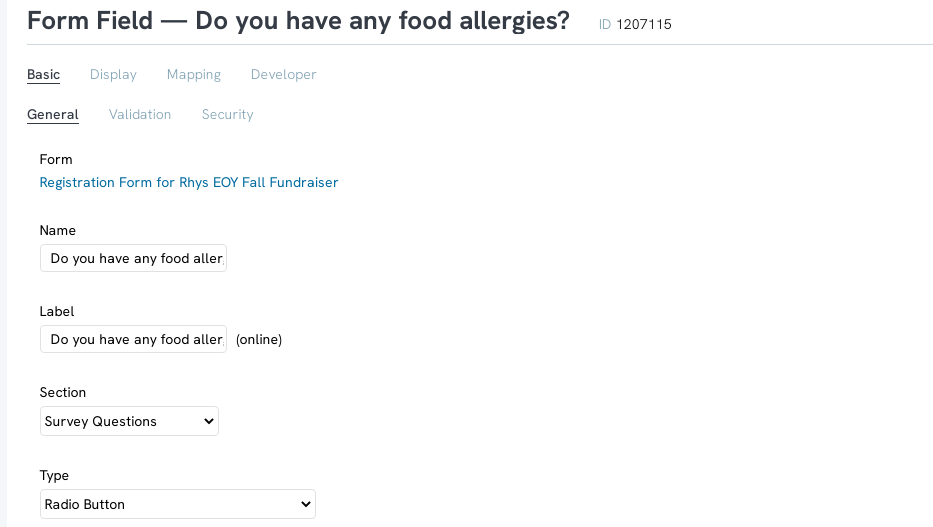
If it looks better on the form without the label, simply move the Show Label button under the Display -> General tab to “No” as shown here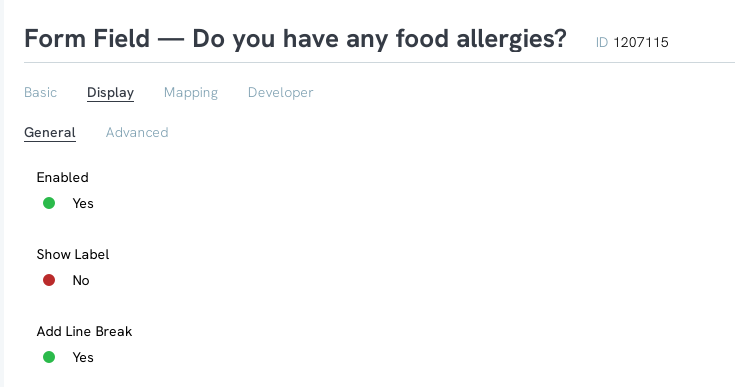
Go to the Mapping tab on the question and click Polls & Surveys. This will give you a list of the previously created Surveys from both P2p Microsites and traditional events. Select your question and click Save. 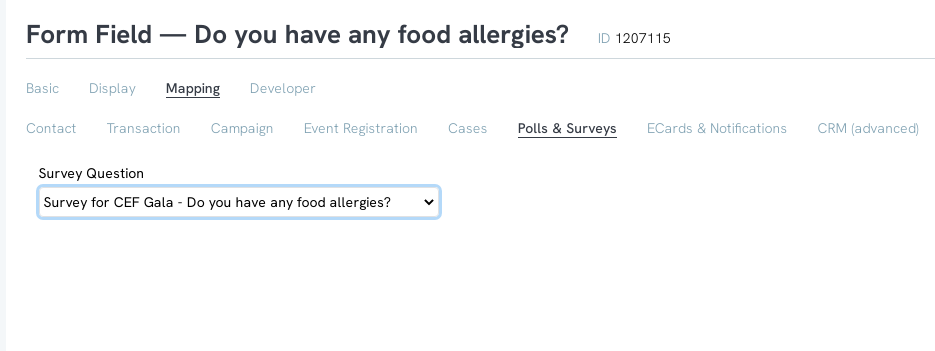
Lastly, if you answer type is anything other than text, you will need to add your answers in the Display tab under Advanced. Click Add New and add the value and label of your answers. This is why you did not need to add the answers while creating the survey as you are creating them here.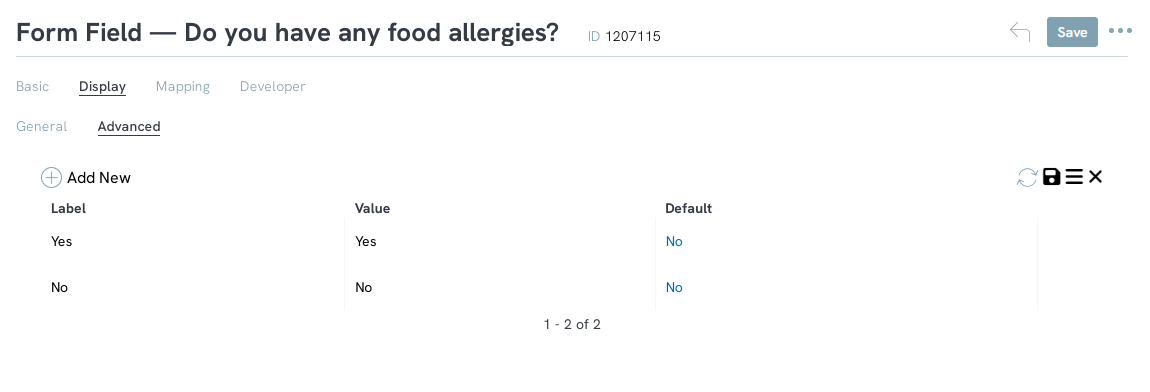
If it’s a Checkbox, like ours, that can either be one answer (as here) or multiple. If it’s Radio or Dropdown, you will likely need multiple answers. Just click the Add button each time to create additional answers. Answers can be managed under the Actions button next to it.
Once completed, your questions will now appear on the form, and directly tie into the event registration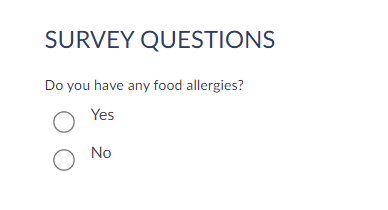
Now that you have added the survey to the form and the event, any answers that are submitted will be able to be see in the event reporting.
