Introduction
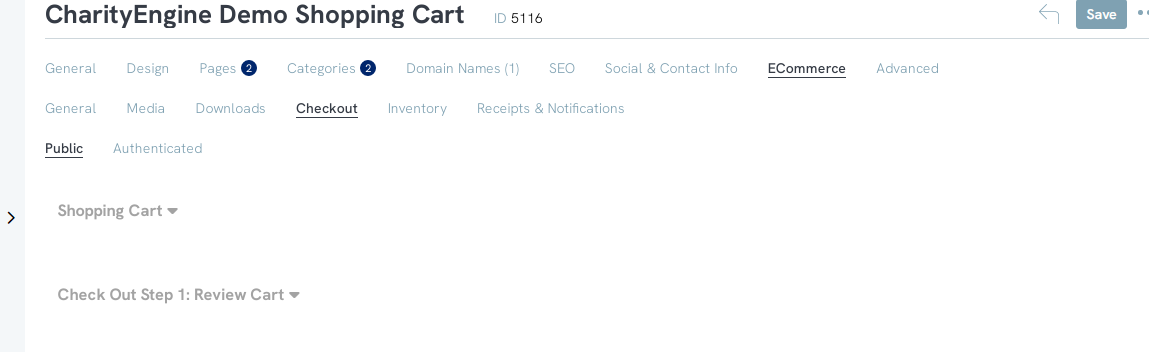
Use the checkout subtab to configure your shopping cart settings on your website. The checkout subtab will allow you to rename the titles of the sections and enter a quick description/ subtitle for the section. Several sections will have further settings you will also need to configure.Instructions
Public: a public consumer is anyone who has not logged in to your website or a new user who does not have a login created
Authenticated: an authenticated consumer is anyone who has already logged into your website. The settings will remain mostly the same, however, there will be no login or continue as guest section as they have already logged in.
Use the arrows next to the section names to open each section.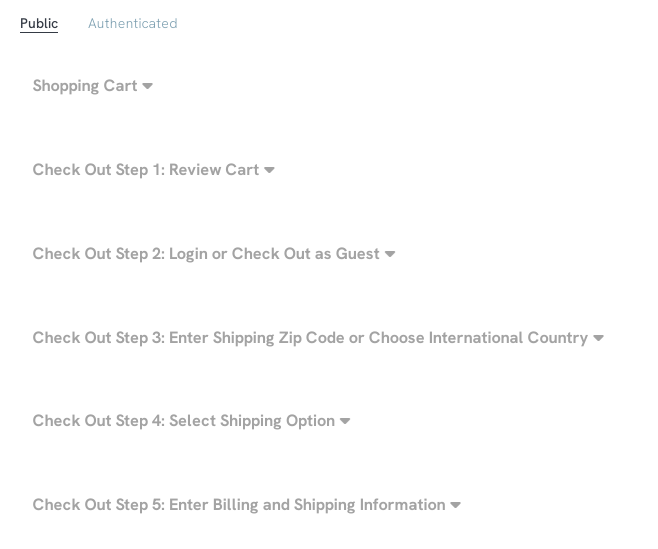
Each section will have fields that will allow you to rename the section and add a subtitle or description to the section.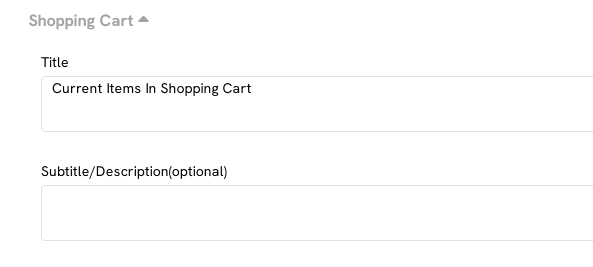
Sections 2, 3, 5,6, and 7 have additional settings that you will need to configure as they do require more collected information.
Section 2: Login or Continue as Guest
This section will allow a public consumer to create a login, access their already created account, or continue as a guest and not create an account.
Use the toggle at the bottom of the section to allow public consumers to log in or create an account. If the toggle is set to No, the consumer will continue as a guest and none of their information will be saved for future purchases.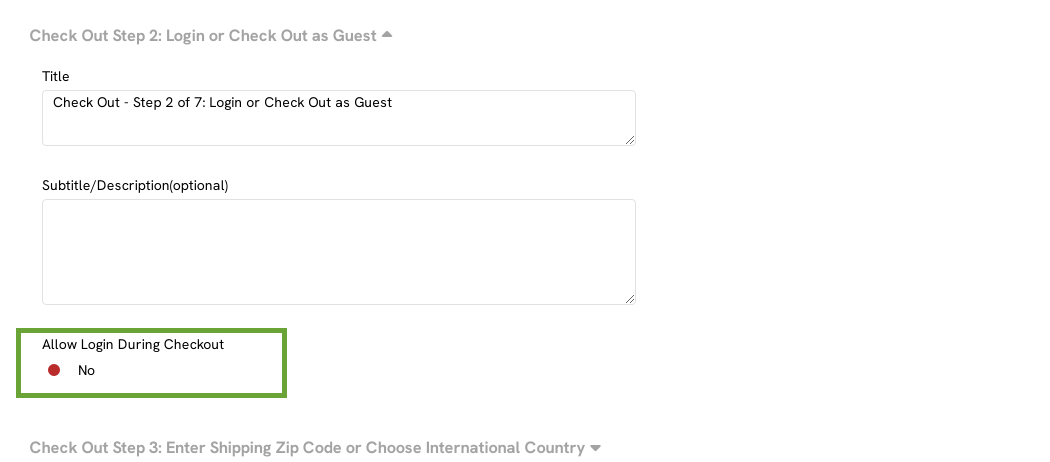
Step 3: Enter Shipping Zip Code or Choose International Country
This section will allow you to configure your shipping settings such as if you are allowing in-store pick up, shipping to the store, shipping to US states, or shipping internationally.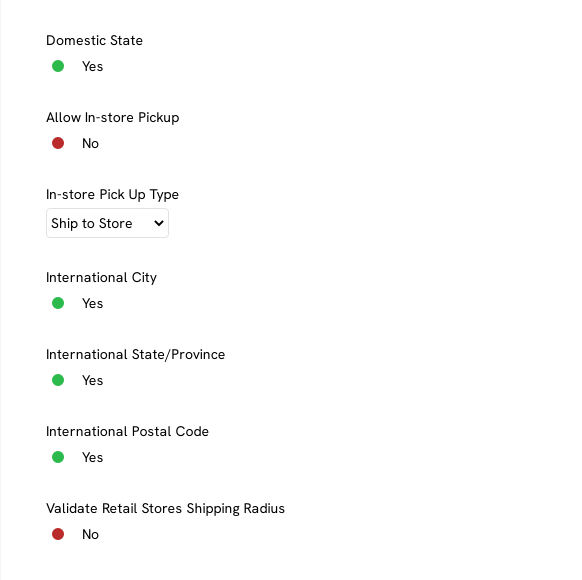
Step 5: Enter Billing and Shipping Information
In this section, you will be able to configure the shipping and billing information.
Step 6: Confirm the Order
If you want a confirmation message to be displayed to the consumer, you will be able to configure that under the confirm the order section.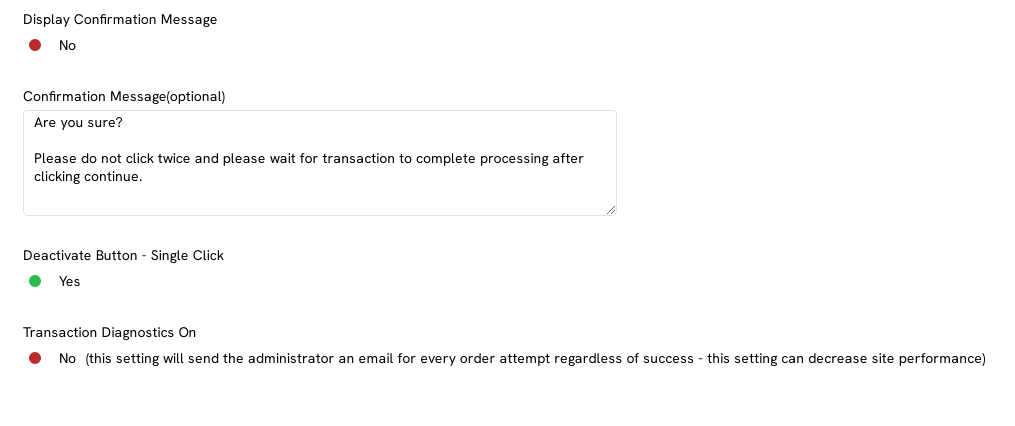
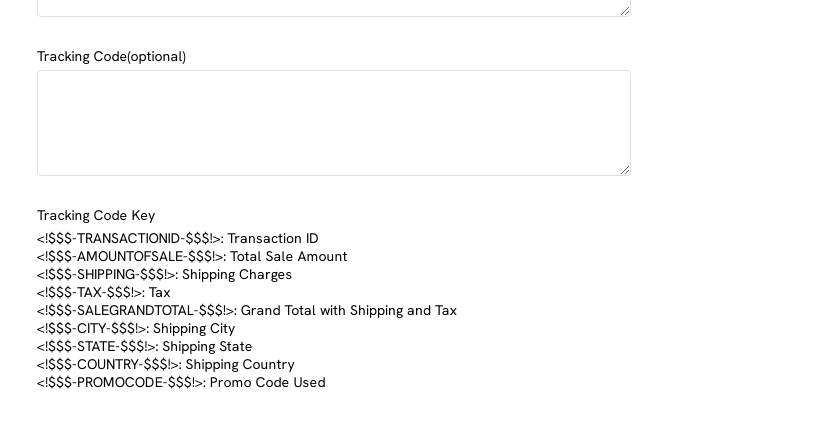
Checkout Complete: Print Receipt
The last tab will allow you to customize the message the consumer will see once they have completed the check out process. You can add additional code, however, this is not required and is completely optional.