Introduction
To help promote good data hygiene, tributes should be frequently cleaned up by identifying duplicate tributes and merging them into one tribute that contains all the transaction data. Duplicated tributes can easily be created when donors make a tribute donation due to a new tribute being created with every donation.
To eliminate duplicate tributes, you will first need to create a query to identify the duplicates, then choose a master tribute to merge all of the other tribute data to, import the data to update the tribute records, and finally deactivate the merged tributes.
Table of Contents
Instructions
Steps 1: To create the query, navigate to the Automation & Workflow App > General > Queries > Create New and select Filter: Donations from the dropdown and click Select: Tribute Acknowledgee.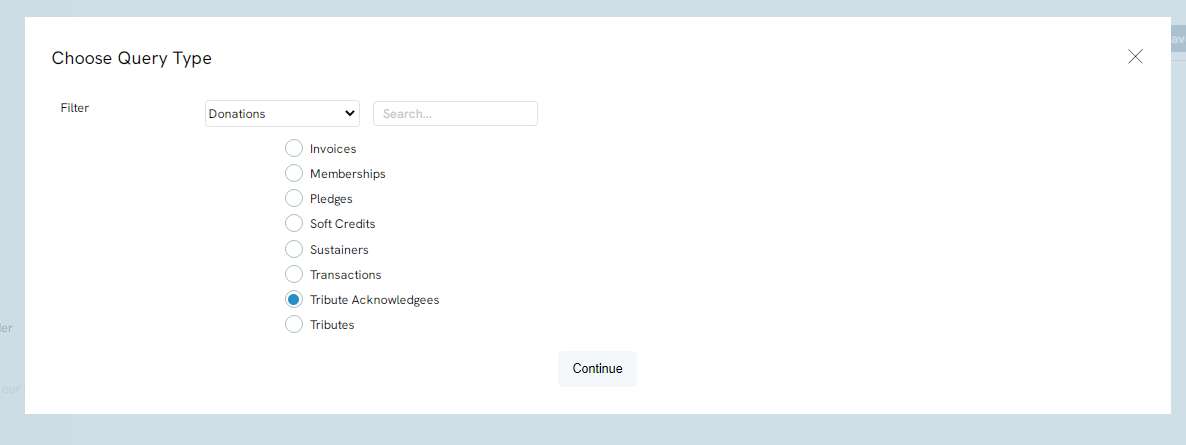
Step 2: Within the Select area, click/move the Source Transaction Id, Tribute Id, Tribute Name, and Tribute Acknowledgee Id. These fields will make it easy to identify duplicate tributes and select a master tribute.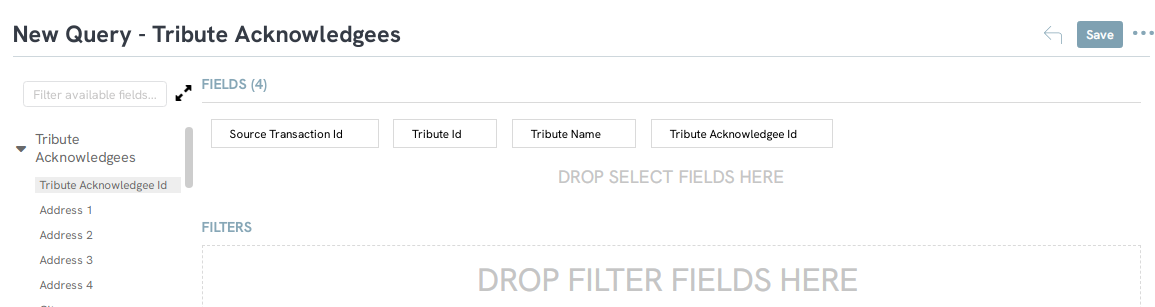
Step 3: If you do not add a filter, all tributes that live in your database will be pulled into the report. If you are cleaning up your tributes on a regular basis, you could add a date created filter to filter only tributes created within that time frame.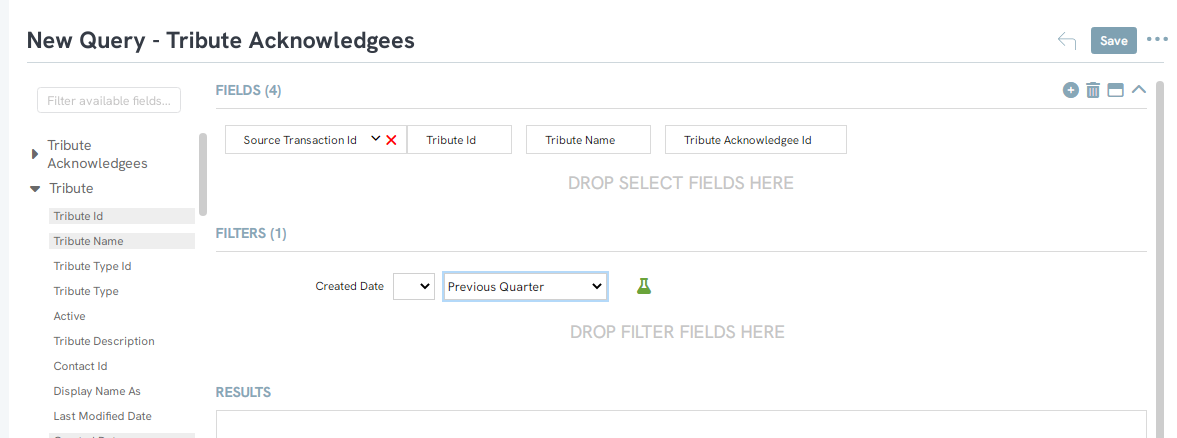
Step 4: Click RUN and then click Export using the icon to export to excel.
Step 5: Once in Excel, filter the data to sort by Tribute Name to find all the duplicates.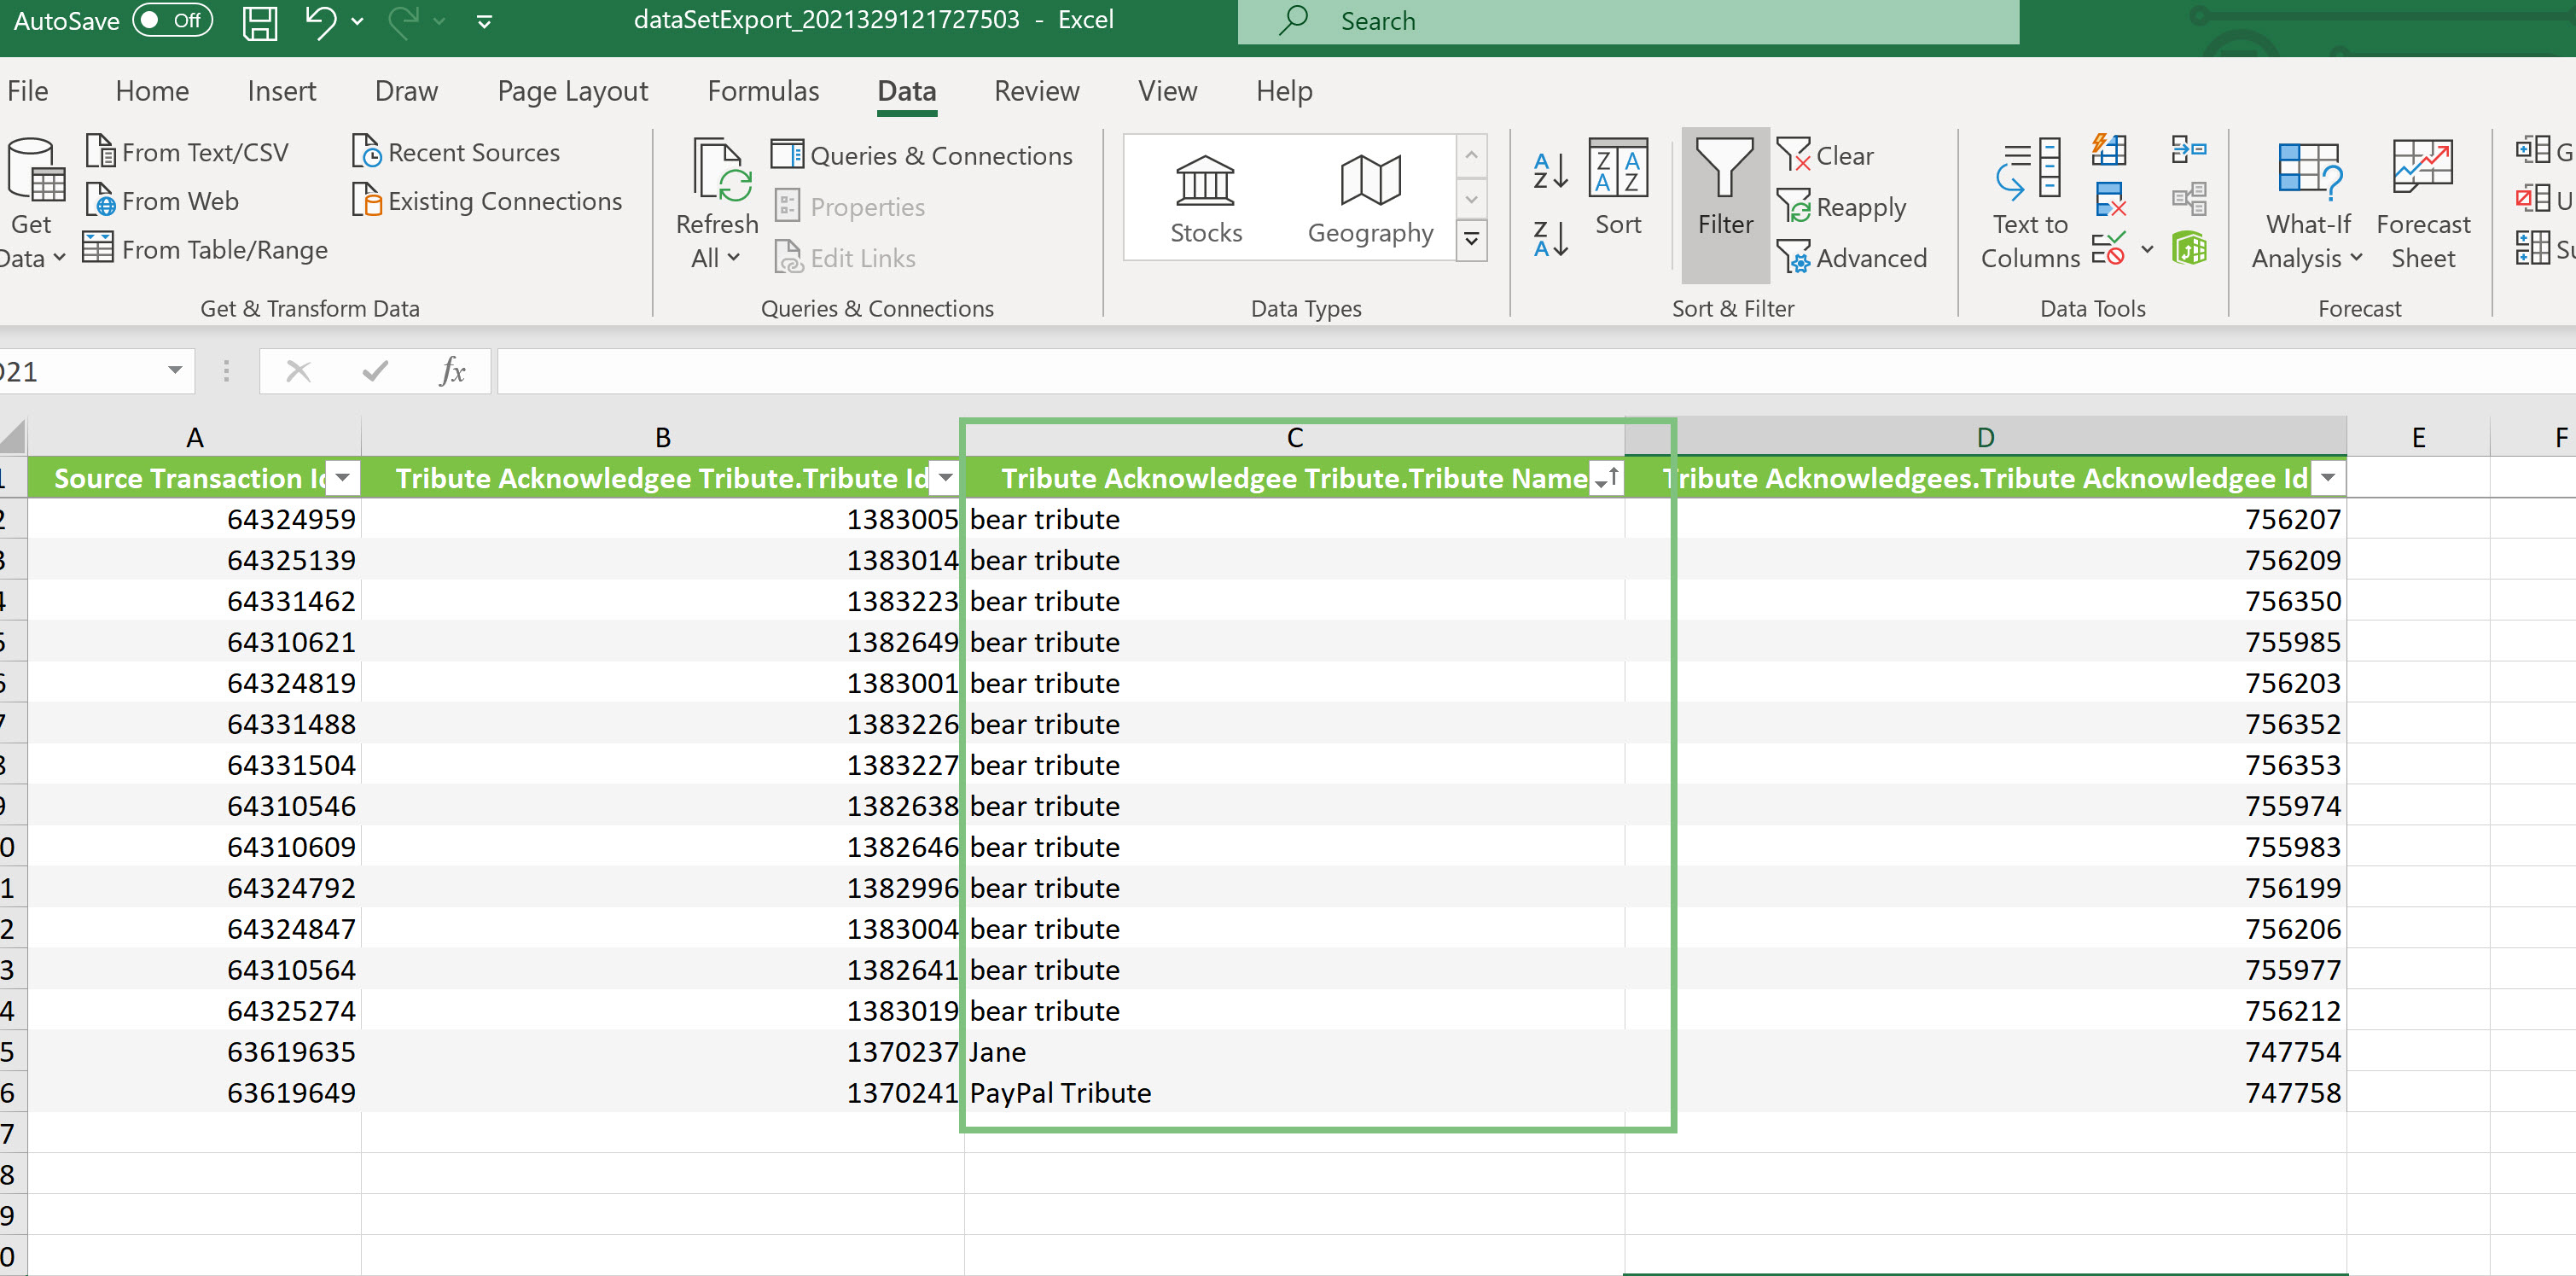
As you can see in the data above, there are multiple transactions that have the same tribute name and need to be merged into the singular tribute instead of several.
You will need to decide which tribute will be the master tribute and make a list of all the other Id’s. This separate list will be used to deactivate the old tribute records in a second import. Once the list is made change the Id of all of the other duplicates to that Id (the master tribute ID).
Step 6: Once the list is made change the Id of all of the other duplicates to that Id. As you can see below all of the tribute Ids have been changed to 1383005. This will ensure that all of the transaction data will be attribute to the tribute, including the Acknowledgee data.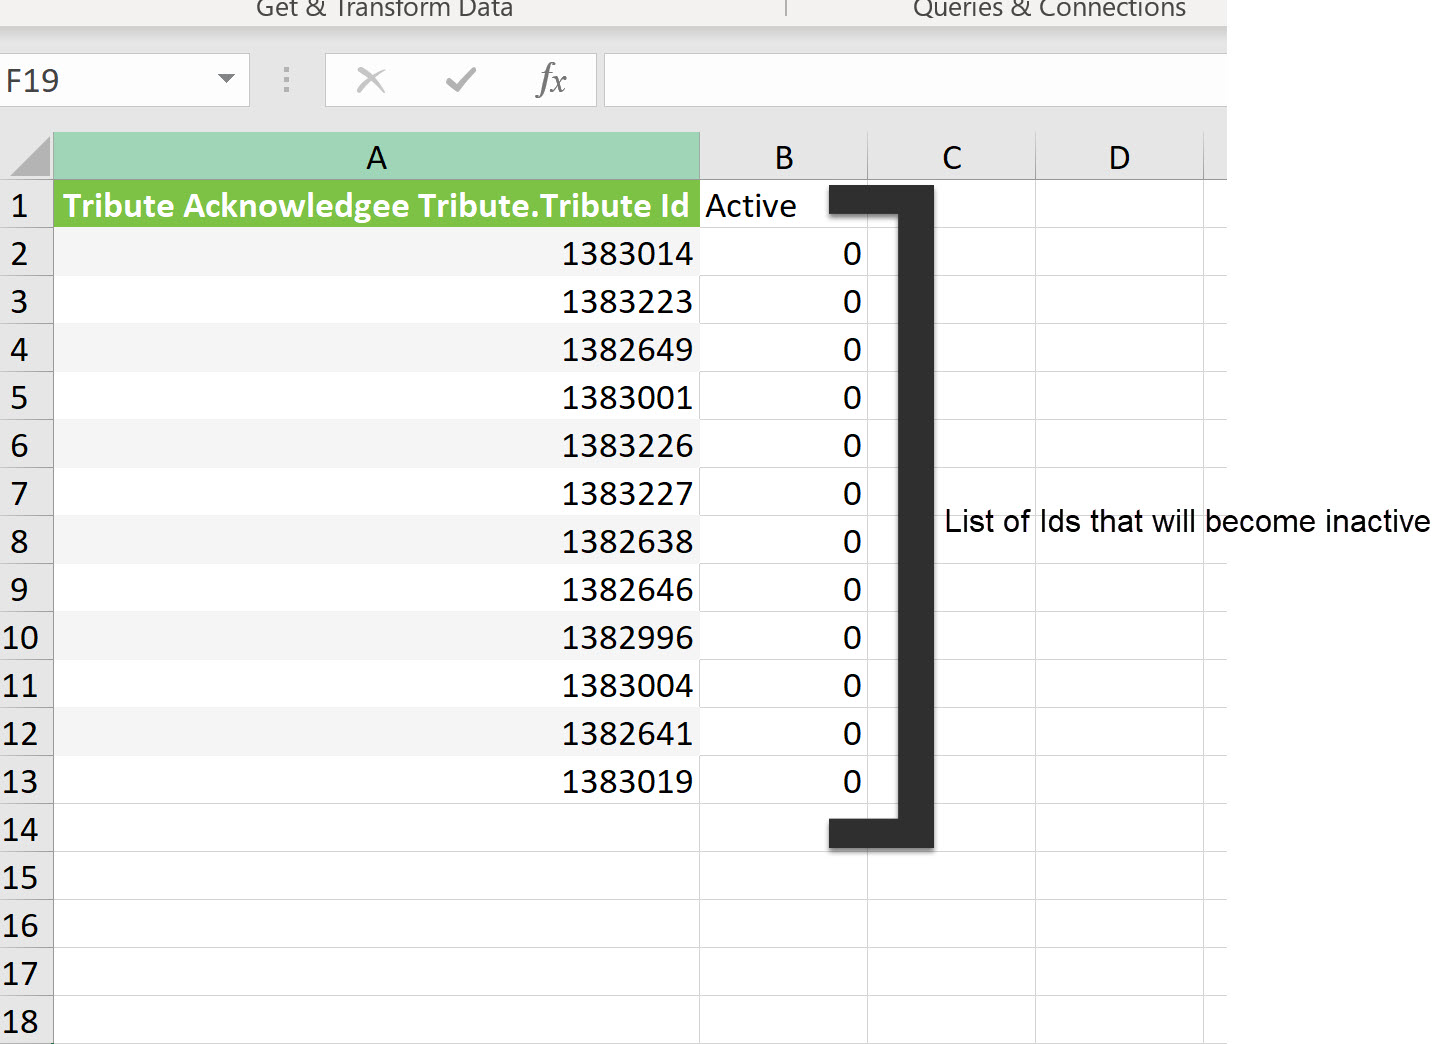
Step 7: Now that the spreadsheet has been manipulated, navigate to the Automation & Workflow App > General > Import & Export > Create New: Import.
Step 8: Import to: Tributes. Click NEXT.
Step 9: Upload your file
Step 10: Use the dropdown to select the CharityEngine fields you want to map your data to and finish your import.
Step 11: Once the import has processed, navigate to the Tribute listing screen and search for the tribute Id. On the Acknowledgee tab, you will now see that tribute acknowledgees have been attributed to the tribute with their transactions.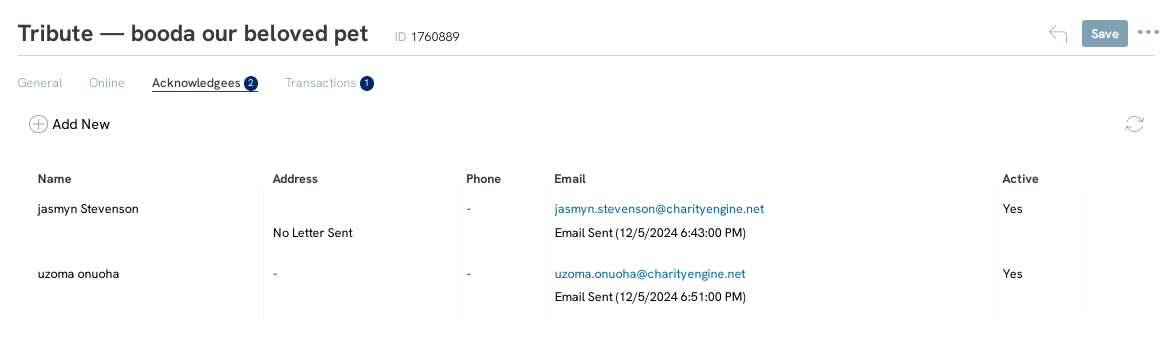
Step 12: The last step is deactivating the tribute Id’s that these transactions were originally associated with. Navigate to Automation & Workflow App > General > Import & Export > Create New > Import > Import To: Tributes , just as you did in the first import.
Step 13: Upload the new file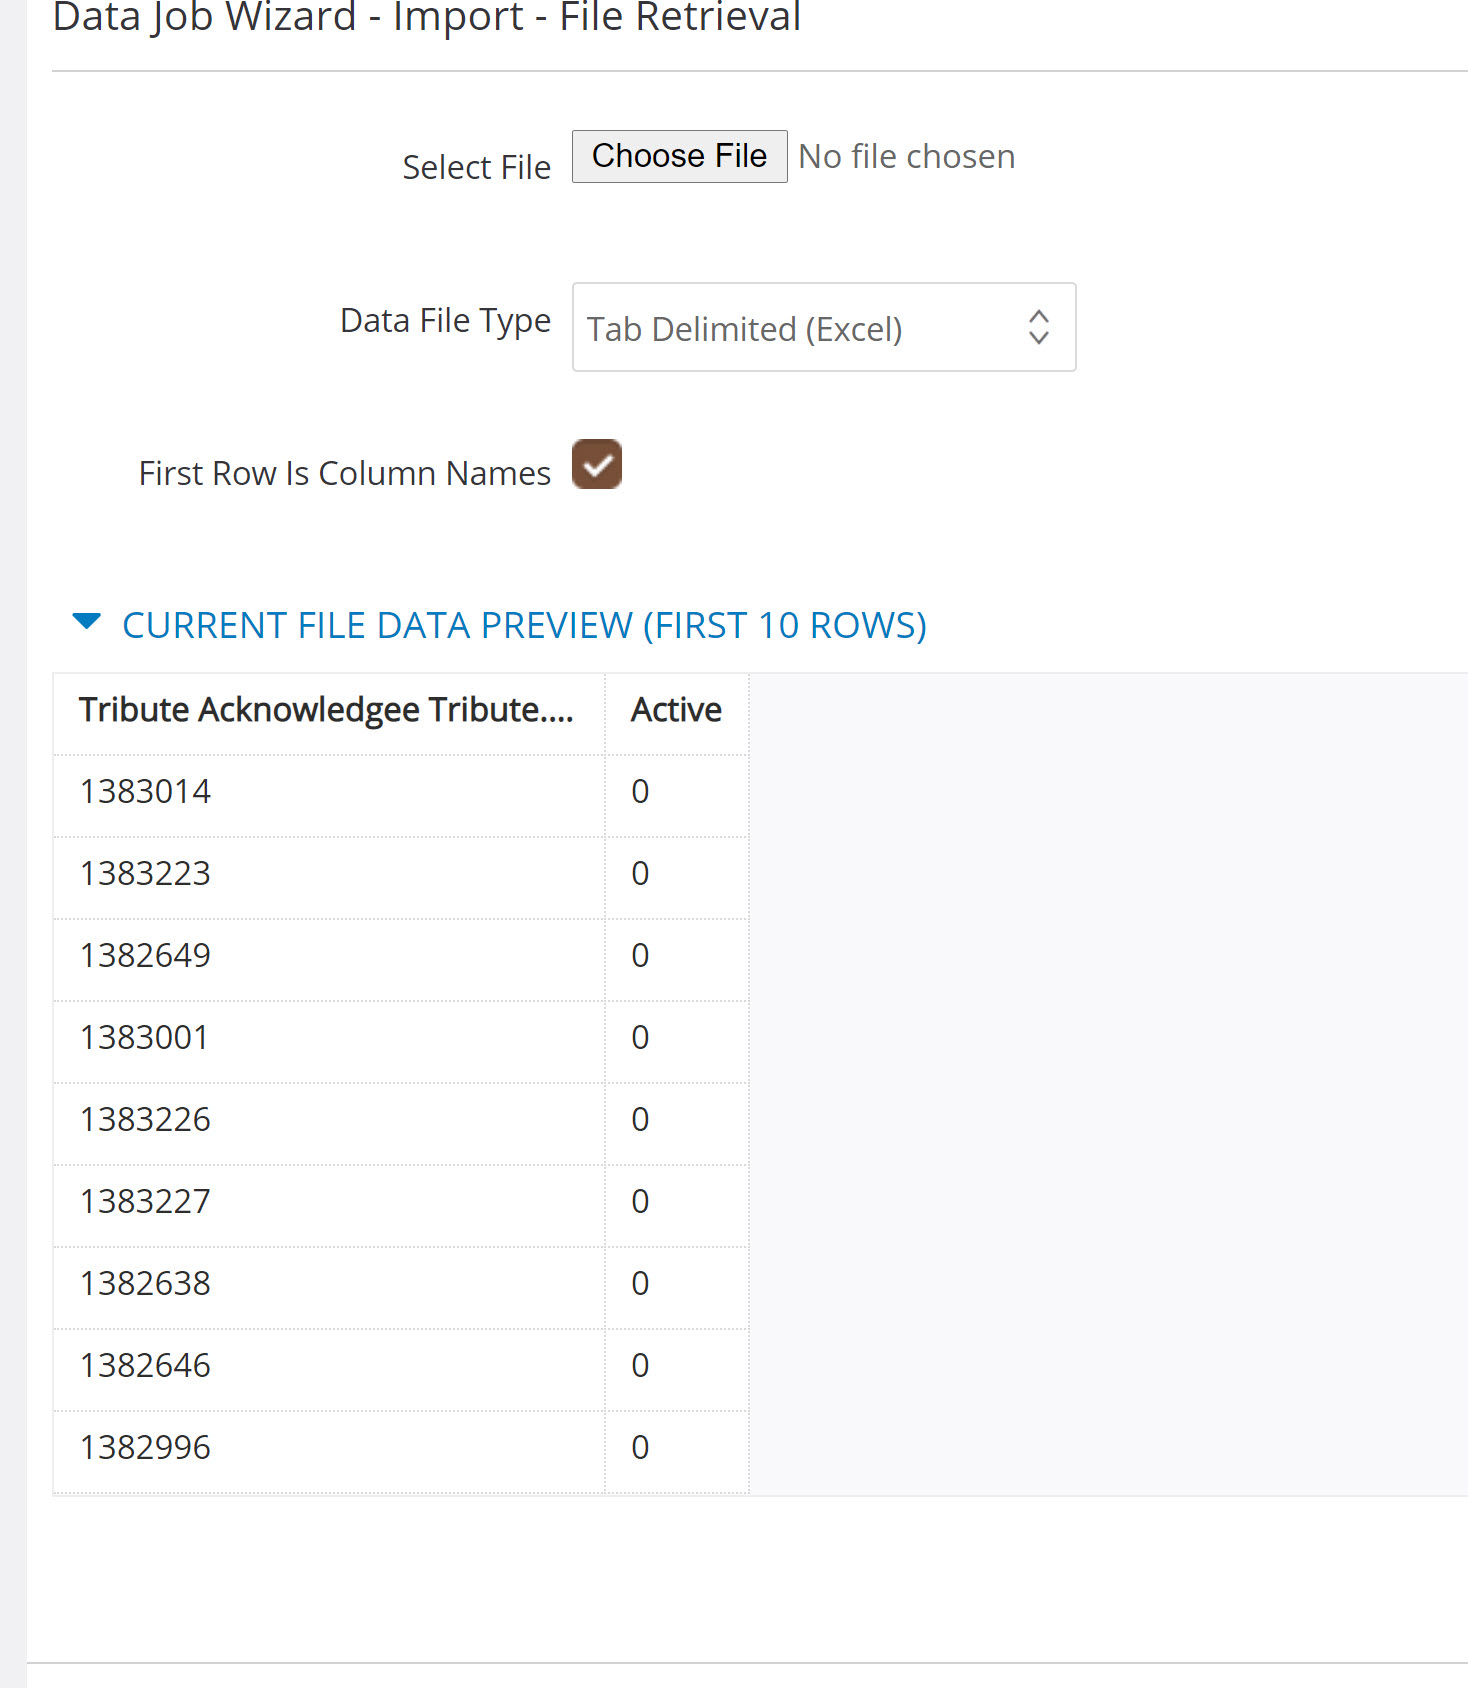
Step 14: Add Tribute Id and Active as fields for the import. To make them inactive add 0 in your excel spreadsheet under the ‘Active’ column.
Step 15: Once the import job process, all of the tributes will become deactivated.
FAQs & Additional Reading
Q. How do I clean up tributes without Acknowledgees?
A. Read more in our article here: How to Clean Up Tributes without Acknowledgees
