Overview
CharityEngine now allows you to customize contact status and types to assist member of your organization to easily view and identify constituent groups within your database. While there are default system status, you can add, rename or remove a status or priority. Further, these attributions can be set within web forms for automatic assignment - or blending with Automation & Workflow to create triggers to add, create, delete. This can be a powerful tool to assist your organization to provide easier access to donor cultivation activities.
Table of Contents
Prerequisites
- Consider business practices that align with your organizational goals.
- Use of automation can be used to automatically assign status and priorities helping to reduce manual data governance. This can be a powerful way to manage donor cultivation.
Instructions - Configuring & Customizing Contact Status Attribution
Step 1: To add, manage, or edit your contact Status types, navigate to the Configuration App > Contacts > Contact Status.
Step 2: You will see any status you have you created and statuses that are CharityEngine system attributions. You can manage or delete any status types by clicking on the ellipsis under ACTIONS and selecting Manage or Delete.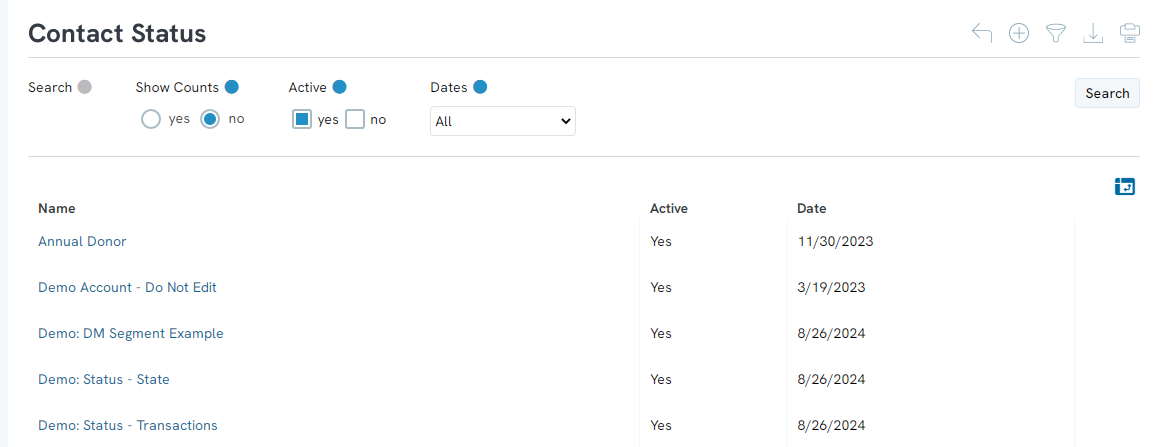
Step 3: Click on Create New or Manage to create or change any details of the status, such as the name, if it is active, and a short description 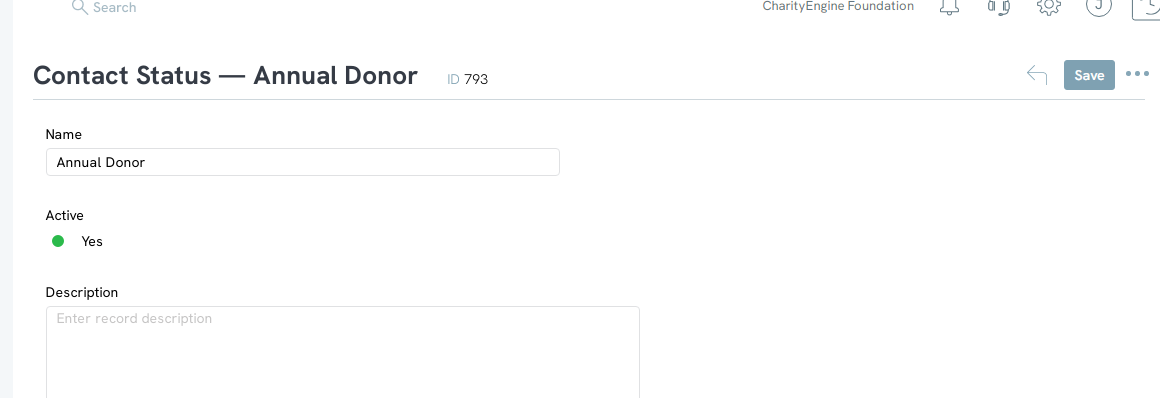
Instructions - Configuring & Customizing Contact Priority Attribution
Step 1: To add, manage, or edit your contact Status types, navigate to the Configuration App > Contacts > Contact Priority.
Step 2: You can also make modifications to the Priority just as you can with the Status types by navigating to the Configuration App > Contacts > Contact Priority > ACTION > Manage.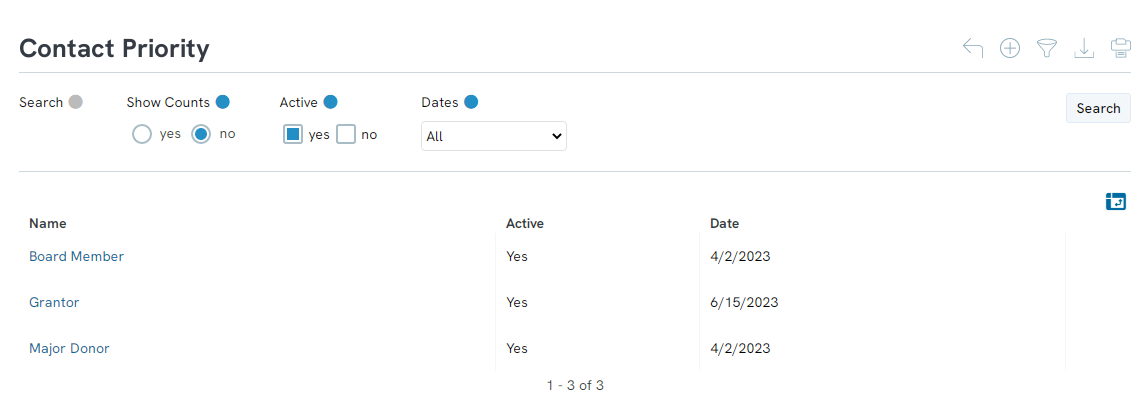
The Manage and Delete buttons are located under the Actions column.
Instructions - Manual Edit for Status and/or Priority on Contact Records
Step 1: To add, manage, or edit your contact Status types, navigate to the Configuration App > Contacts > Contact Status.

Step 2: From the General tab, use the drop down to adjust Status and/or Priority attribution.
Step 3: Click SAVE to secure your changes.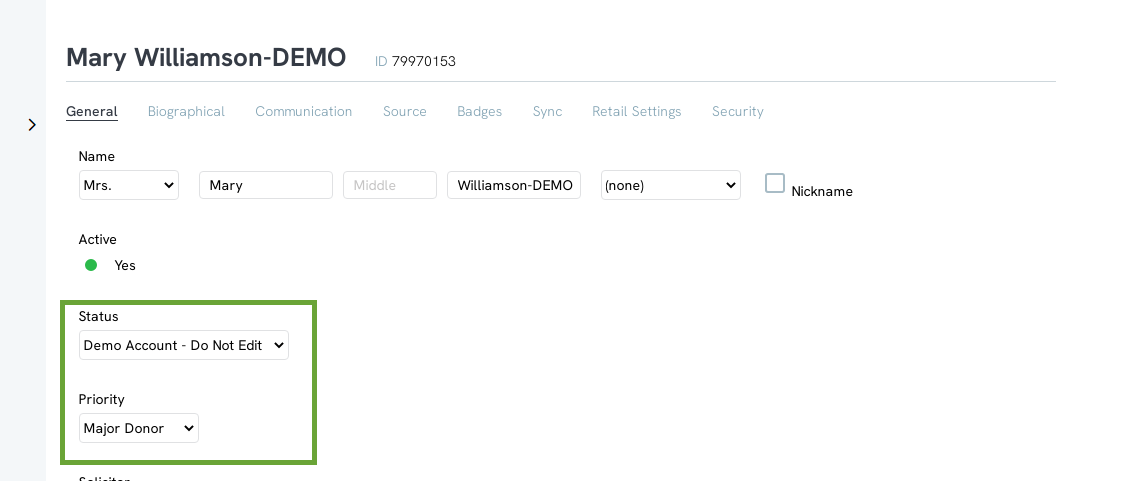
FAQs
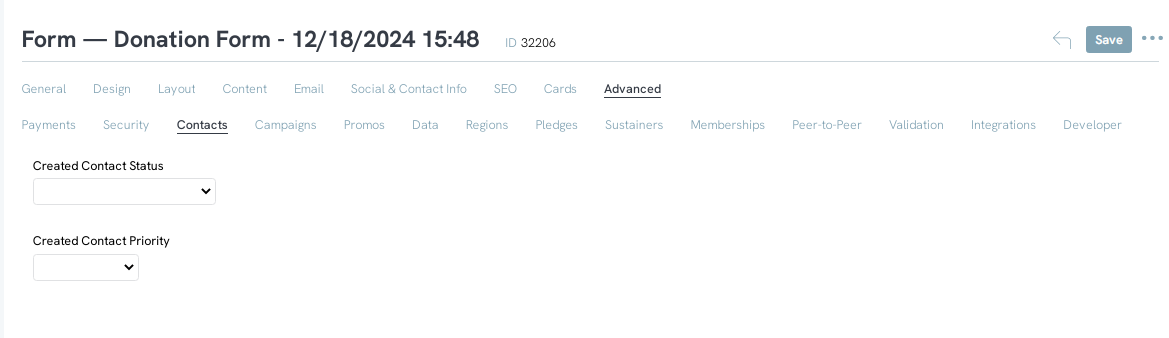
Q. Can I automatically apply a status or priority through a web form?
A. Yes, navigate to Online App > Web Forms > Search & Manage > locate your identified web form > ACTIONS > Manage > Advanced Tab > Contacts Sub Tab. Set contact status and/or contact priority and confirm changes by clicking SAVE.
Q. Can I automatically apply a status or priority through a data transformation?
A. Yes. You can establish the necessary thresholds that qualify (or disqualify) a contact record from a status or priority. Use our article Automation & Workflow: Data Transformation to learn more.
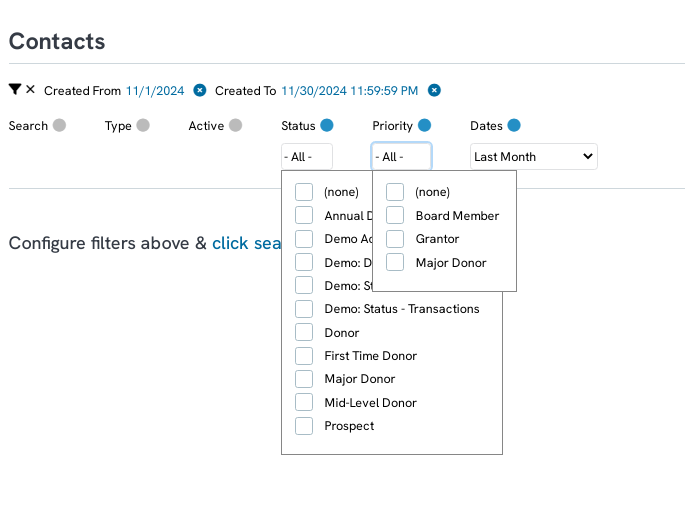
Q. Can I report on status and or priority?
A. Yes. Navigate to the People App > Organization & People > Contacts and use the Quick Filter to sort by one or more of the organization's Status and/or Priority attributions. through this filter, you can easily apply bulk updates using the bulk action feature. Learn more with our Contacts: How to Easily Bulk Update Contacts (Groups, Solicitors, Activities, Opt Ins, etc.)