Introduction
Linking transactions to opportunities is recommended when an opportunity seeking financial support is successful. Linking the transaction can be done in three different ways, through the opportunity itself, when creating the transaction, or editing a transactions attributions after it has been created.

Table of Contents
- Introduction
- Prerequisites
- Instructions: Create and link a transaction through the opportunity feature
- Instructions: Link an existing transaction through the opportunity feature
- Instructions: Link an existing transaction directly within the transaction
- Return to: Opportunities & Moves Management: Comprehensive Guide for Set Up, Configuration, and Reporting
Prerequisites
- Establish your solicitors or identification of applicable solicitors
- Establishment and configuration of Opportunities and Moves Management
Instructions: Create and link a transaction through the opportunity feature
Step 1: To link a transaction through the opportunity screen, navigate to the People App > Opportunities > Database > locate the opportunity > select Conversions tab > Add New

Step 2: Select the transaction type from the pop-up. Please note, options for pledge, membership, and sustainers are also available for ease of use. The user may also select a Change of Status at this step.

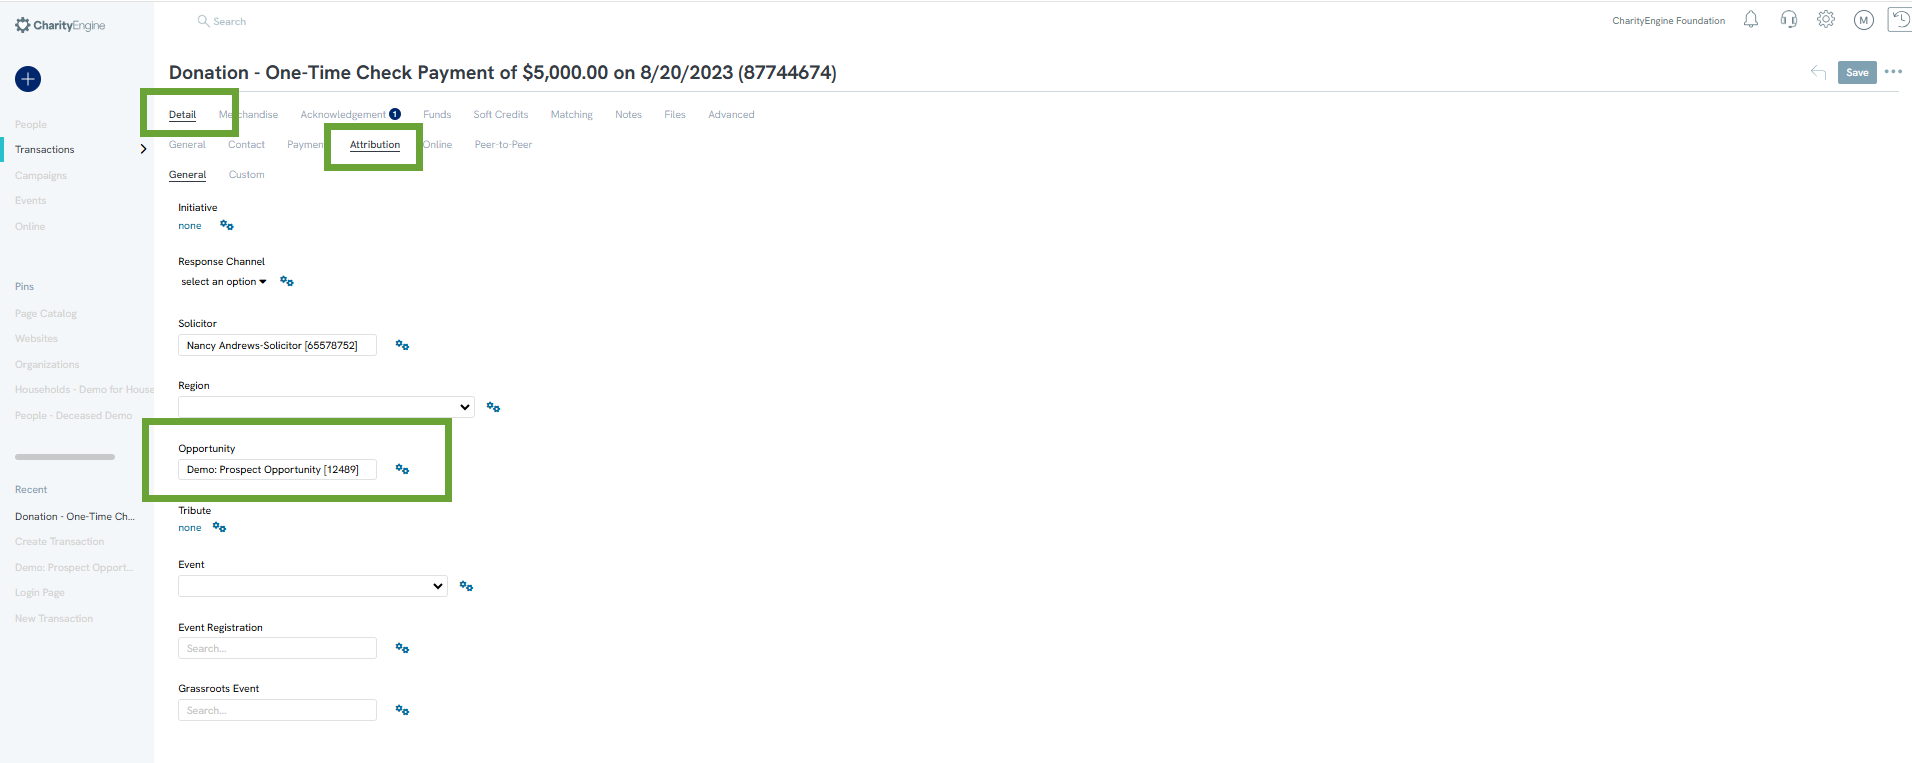
Step 3: You will be navigated to create a new transaction/pledge/sustainer/membership. Click SAVE. Once the transaction has been created, it will automatically be linked to the opportunity and can be verified by navigating to the Attribution tab.

Step 4: The transaction will automatically be linked to the opportunity upon saving and be viewed on the Conversion tab.

Instructions: Link an existing transaction through the opportunity feature
The second way to link a transaction to an opportunity is through the transaction quick create process.
Step 1: Navigate to the Transactions App > Quick Action > New Payment

Step 2: Enter the contact and payment information for the transaction. Once on the opportunity step, any opportunities that the contact is linked with will appear. View/select the opportunity for connection - see Check Mark to confirm. Click next.

Note: if no opportunities appear, the contact is not linked to an opportunity. You may also leverage the Search Opportunities to locate an opportunity.
Step 3: Continue with transaction entry until steps have been finished. Your transaction will now be linked to the opportunity - see Detail tab > Attribution tab > General tab

Step 4: The transaction will also appear on the opportunity record by accessing the Conversions tab

Instructions: Link an existing transaction directly within the transaction
The third way to link a transaction to an opportunity is done by searching for an opportunity through an already existing transaction.
Step 1: Navigate to the Transactions App > Transactions > Search & Manage > locate the transaction you wish to link > Manage
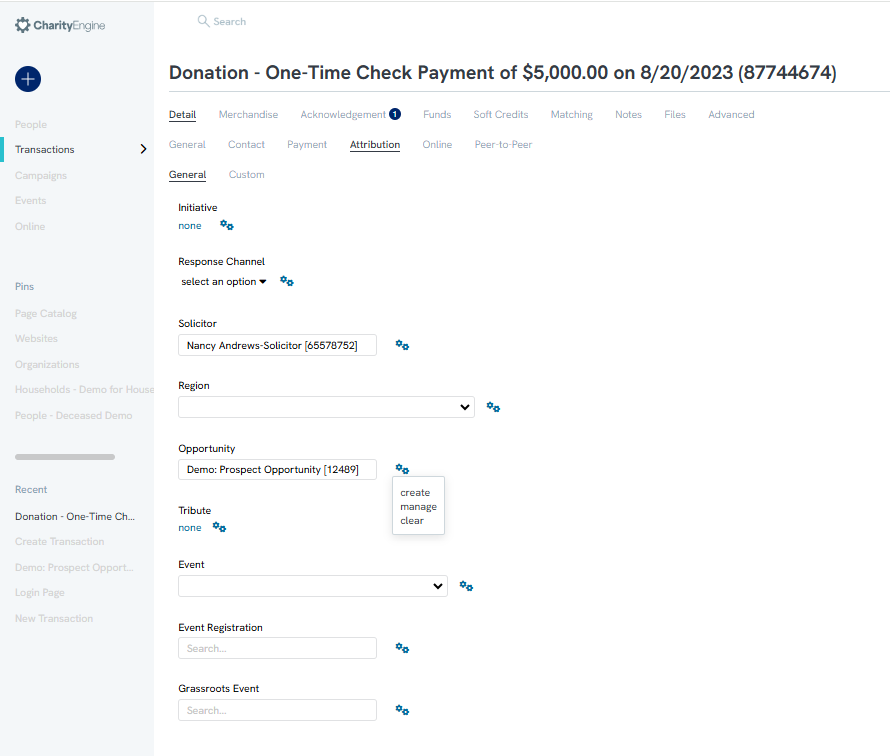
Step 2: Navigate to the Details tab > Attribution tab > General tab > Search for the opportunity name > SAVE

Step 3: The transaction is now also associated and presented under the Conversions tab

Note: If the opportunity has not been created, click on the Action drop-down and click create.
